Hello Tatertots and Jello Readers! I am so excited (and a little bit nervous) to be here today posting on Jen’s blog! She is fantastic and I am thrilled to be here!
My name is Amanda and I am the creative mind behind “Every Crafty Endeavor.” I am married to a dashingly handsome, hard-working man named Spencer and we have a little boy named Quinn and are expecting our first little girl in November. I work part time as a writer on a marketing team for an Engineering Company and craft in my “spare time.” I have been a “mommy blogger” for a couple years – and started Every Crafty Endeavor to showcase some crafty ideas that I have made.
Sometimes I come up with ideas on my own and sometimes I see ideas that I love and copy – always giving credit of course! That is what I love about blogging – everyone shares ideas and our homes and babies and lives are much cuter! I love to craft and cook and I have lots of fun ideas and tutorials that I love to share. I am constantly thinking about things to cook, make or sew, accessories that pop, ways to decorate my home and things to photograph.
Since the Fourth of July is right around the corner I thought it would be fun to do a tutorial on a Rustic Fourth of July flag that I made for my garden.
First: I went to Home Depot and loaded up my car with 4 lengths of Cedar fencing. I cut them to be 3 feet long, so I ended up with 5 lengths and then I cut two more pieces just long enough to stretch across the backside so I could nail them together.
Second: I painted all of the boards white.
Third: I used the Cricut and cut out a few primitive stars with some extra vinyl and secured them to where I wanted them on my flag. Then I painted over them with blue. You can see in the picture that I cut them in half so I could pull the boards apart.
Fourth: I painted on my stripes. I wanted this to look really rustic so I sponged my red paint on however I felt like it. I tried to get them a little bit straight but I didn’t want straight lines.
Fifth: After it was all dry, I pulled the vinyl stars off and flipped it over. I nailed the shorter boards to the back so the whole thing was one big flag.
Sixth: I took it out to my front yard garden, set it up and am now enjoying it.
You can see that the stars are a tiny bit off and the ends aren’t lined up just right –
I wanted it that way! I want it to look a little weathered and now I can’t wait for my flowers to bloom a little bit more around it. Here in Utah we have two Red, White and Blue holidays so I get to have my flag up all month long!
Please come by sometime and say hello! I love to make new friends!
Thanks for coming over today Amanda! Such a fun project. Here’s button for sharing your tutorial with us!
Be sure to check out Amanda’s blog for other great projects like:

And, I am sharing a little 20-minute Project to spice up a plain t-shirt over at Every Crafty Endeavor if you want to check it out!
XOXO
PS – The Weekend Wrap Up Party starts tonight at 8 PM {MST} — See ya then!


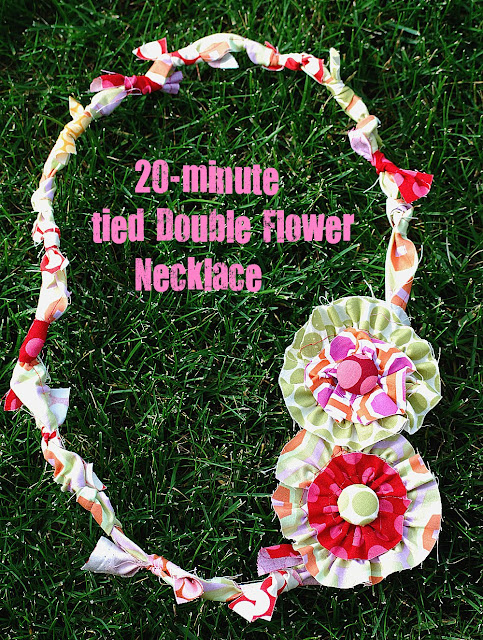
Jen, I love that tied necklace! I'll be doing that this weekend hopefully. super cute. xoxo
I love your flag!! Rustic is right up my alley 🙂
This is a great post and I love the additional stuff I see, I am off to check out your blog! Thanks for the inspiration!
Love the flag! And I think I need to go check out that cake too. 😉
I just love flags. There's just something about Americana Decor that alway catches my attention. What a great idea for the yard.
The flag is adorable!!! I made one also after seeing this on Simply Sweet Designs!! You ladies are all so creative!!!! Keep inspiring us!!!!
love your flag! working on one myself (not exactly like yours).