
Hello! I am SO EXCITED to be guest-posting on Tatertots and Jello today! This is my first-ever guest-post and my first-ever tutorial, so it is an honor to have them featured on a blog that I have loved for AGES!

Walking through a store the other day, I spied some decorative spiders ($5 apiece!) that had plastic bodies and colorful beaded legs. I really liked them but I have two rules about holiday decor: it has to be homemade and it has to be cheap. (Both components are necessary for the crafting high! And that’s what it’s all about, right? 🙂 ) Besides, I thought an all-bead spider in black would be much cuter anyway and it was!
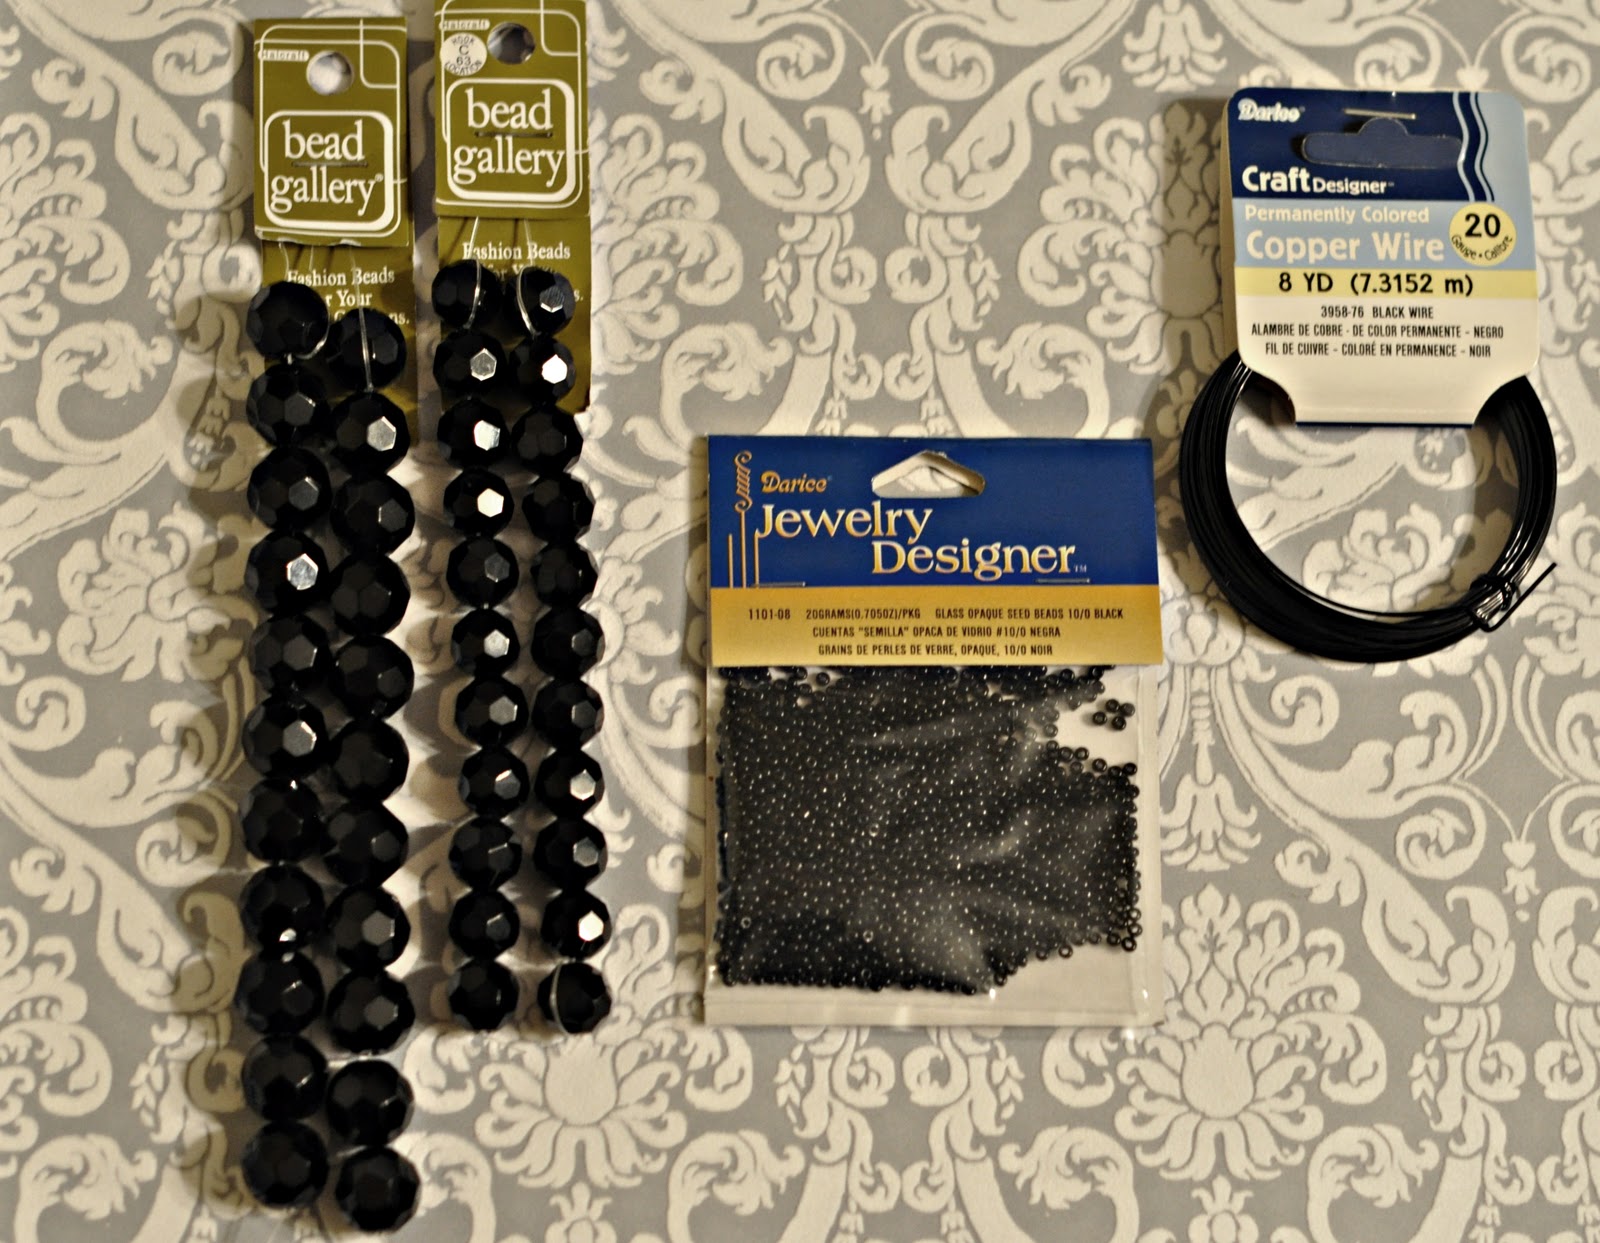
You’ll need some 20-gauge wire, black seed beads (for the eyes and legs), and two sizes of larger black beads (for the head and body).
For each spider, cut five lengths of wire, about six inches long apiece. This gives you plenty of extra room to work with. String your beads onto the first wire in this order: two seed beads, smaller black bead, larger black bead.
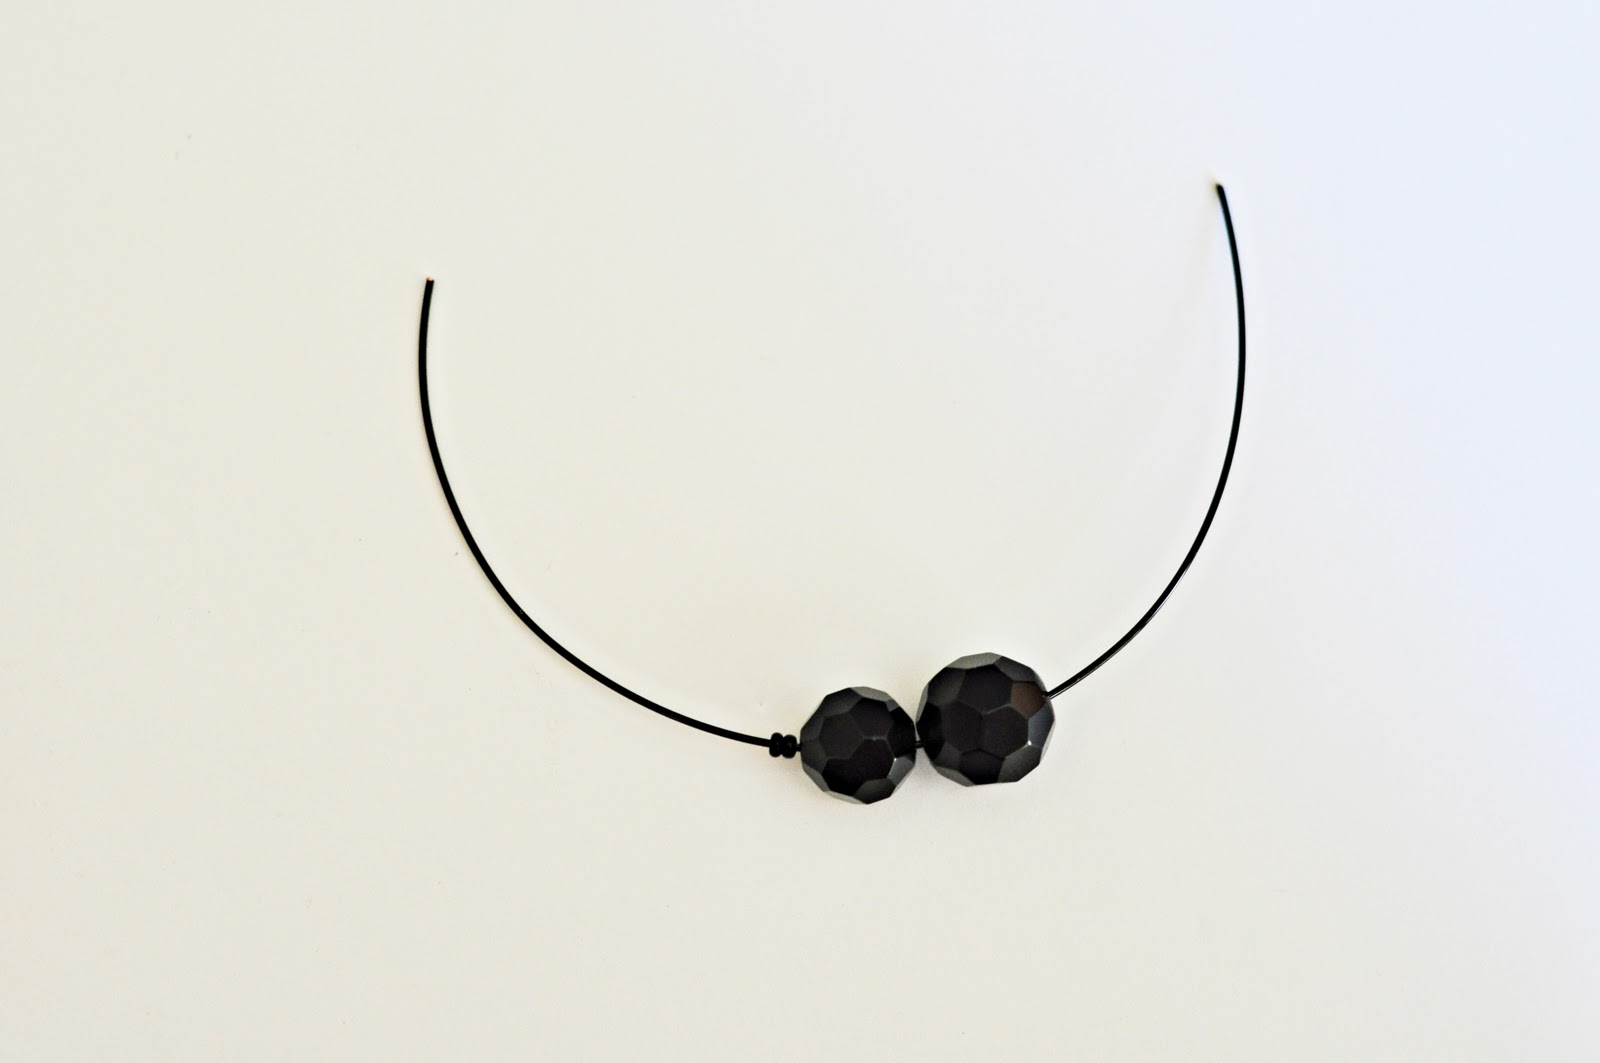
Take the end with the seed beads and feed it back through the large beads. You’ll now have two wires coming out the bottom of the largest bead.

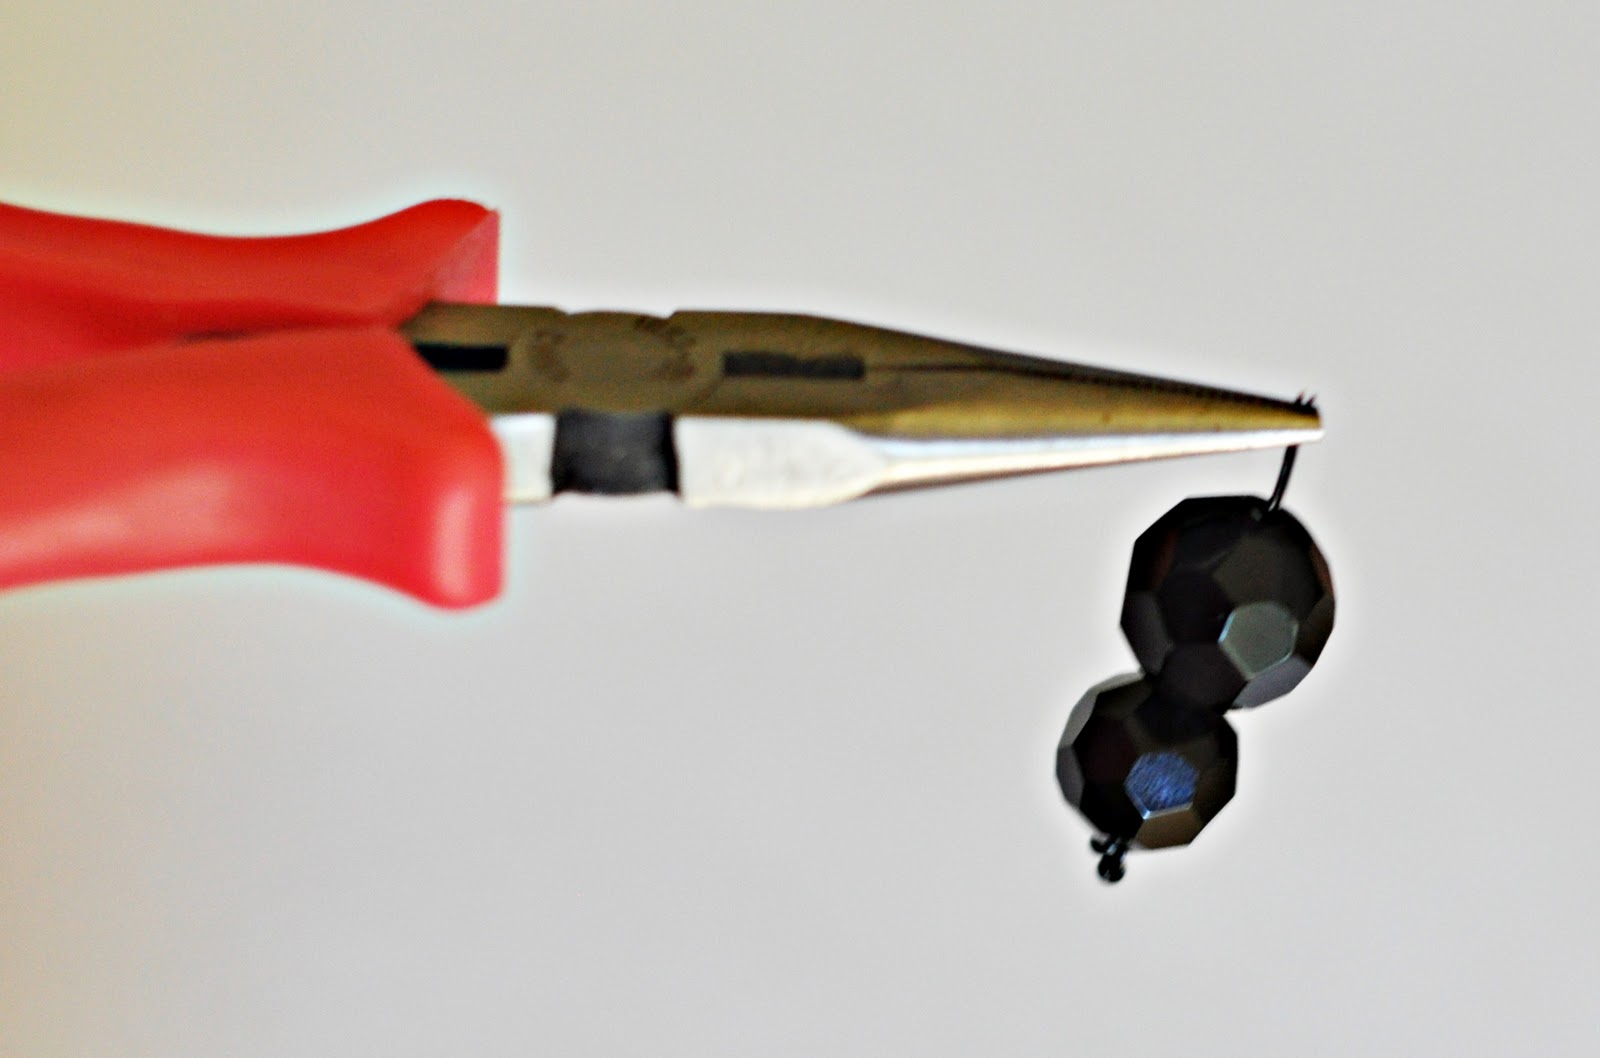
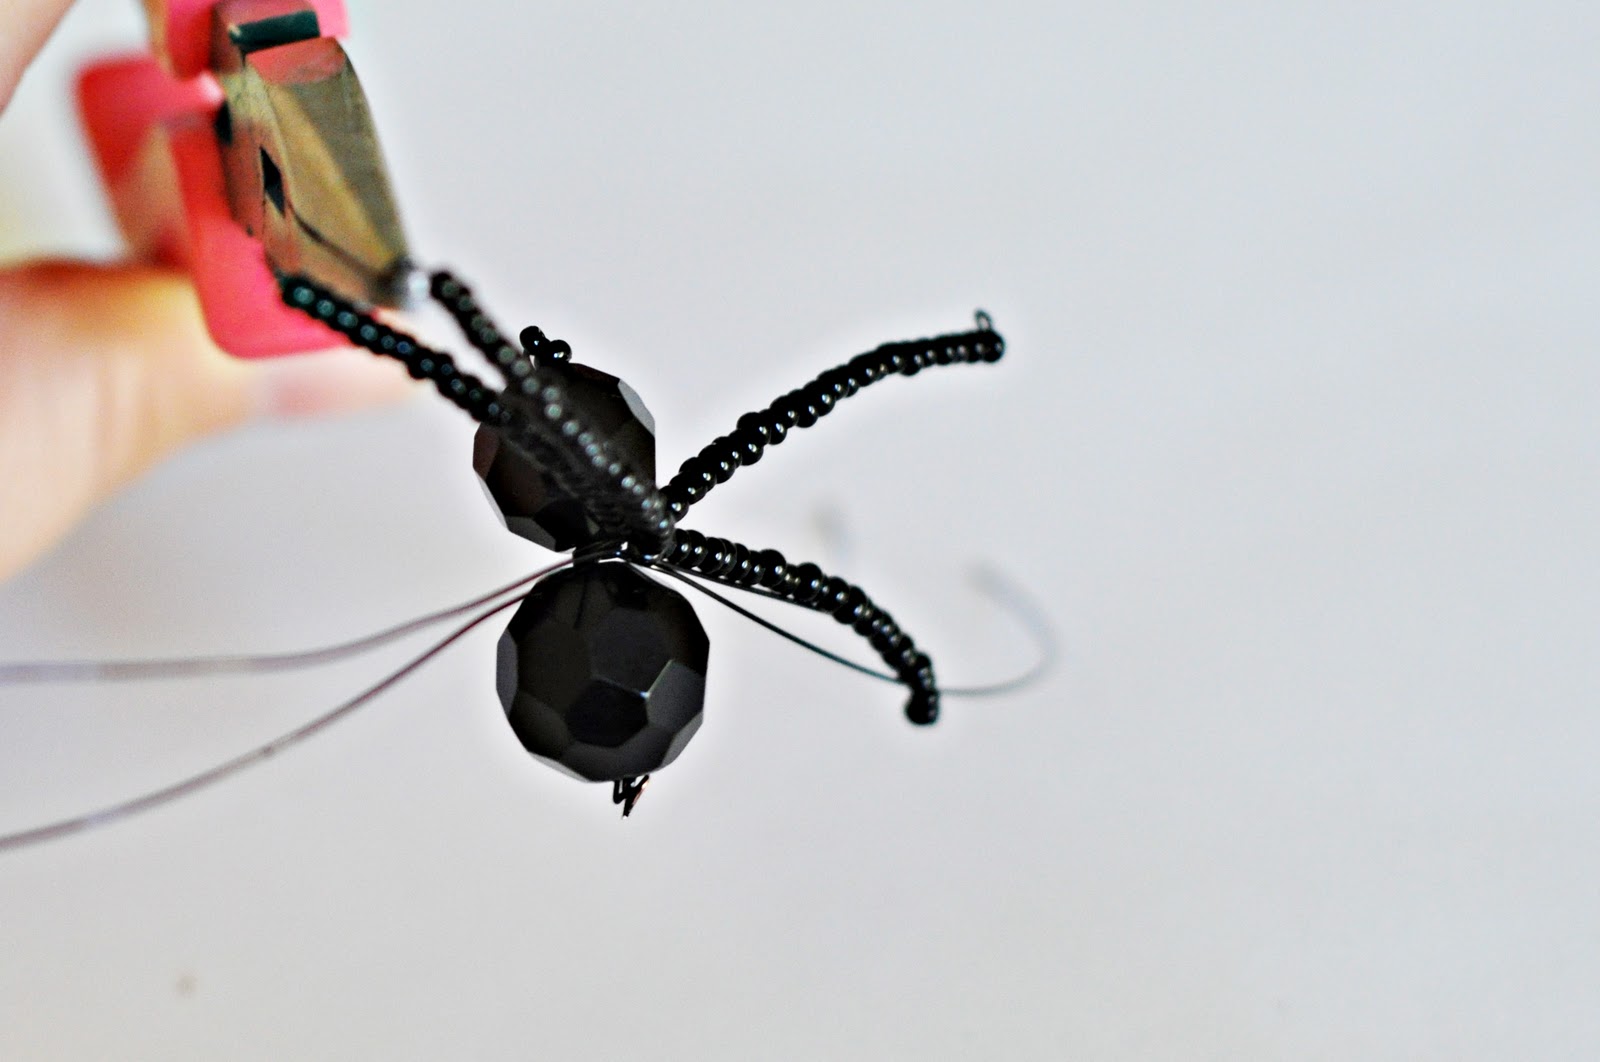
Pull the beads taut and clip the wires with just enough room to twist the ends into a loop with your needle-nosed pliers.
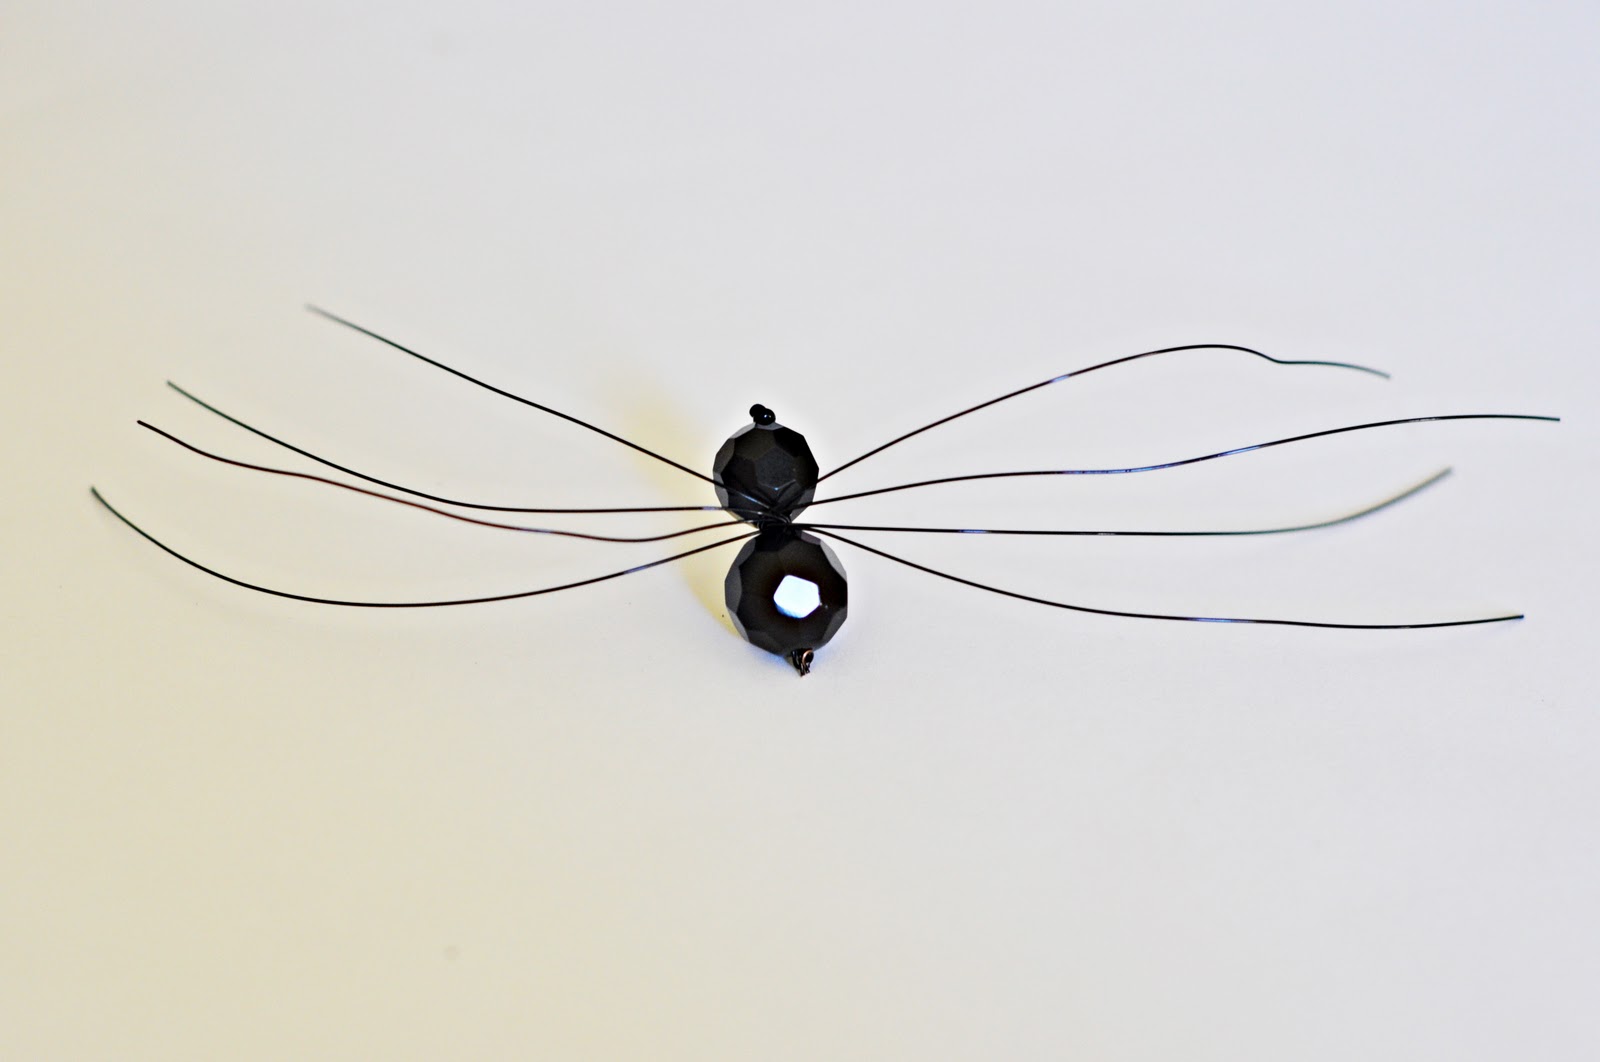
For the legs, wrap the remaining four wires once around the wire between the head and body beads.
I used about 25 seed beads for each of the front four legs and about 35 for each of the back four. After stringing the beads on each leg, clip the wire close and curl it into a loop to secure the beads (and to make a cute little spider-foot!)
After all eight legs are beaded, bend them into shape and your little bead spider is complete!
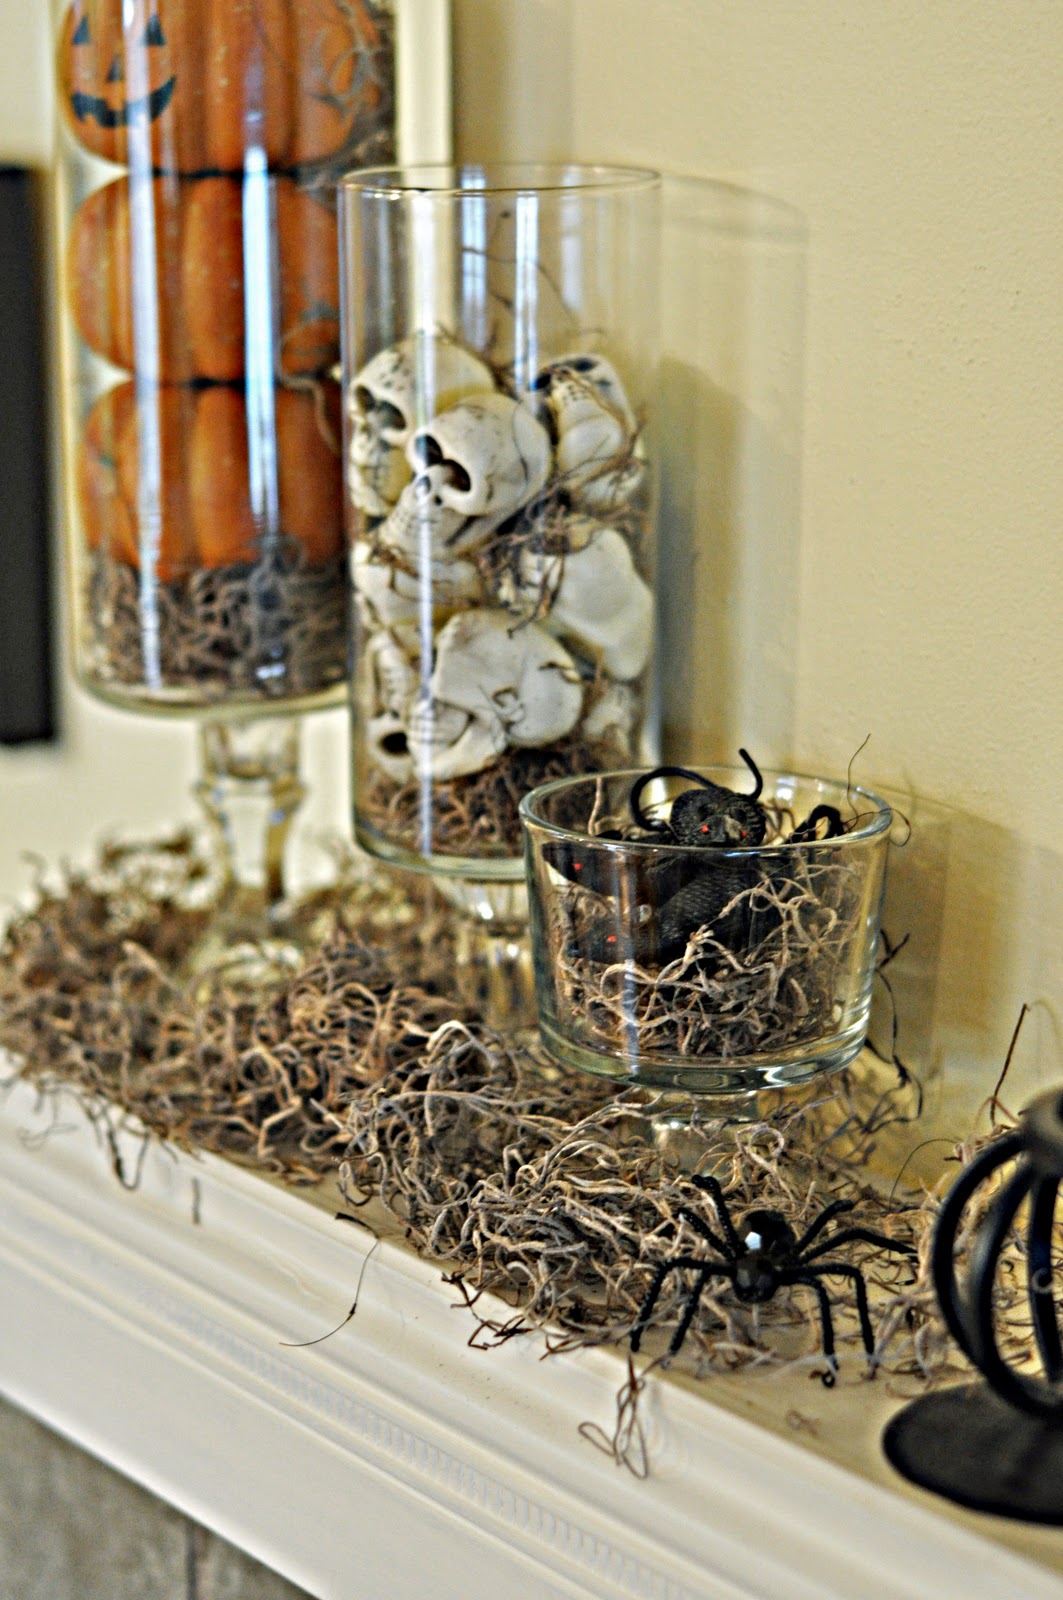
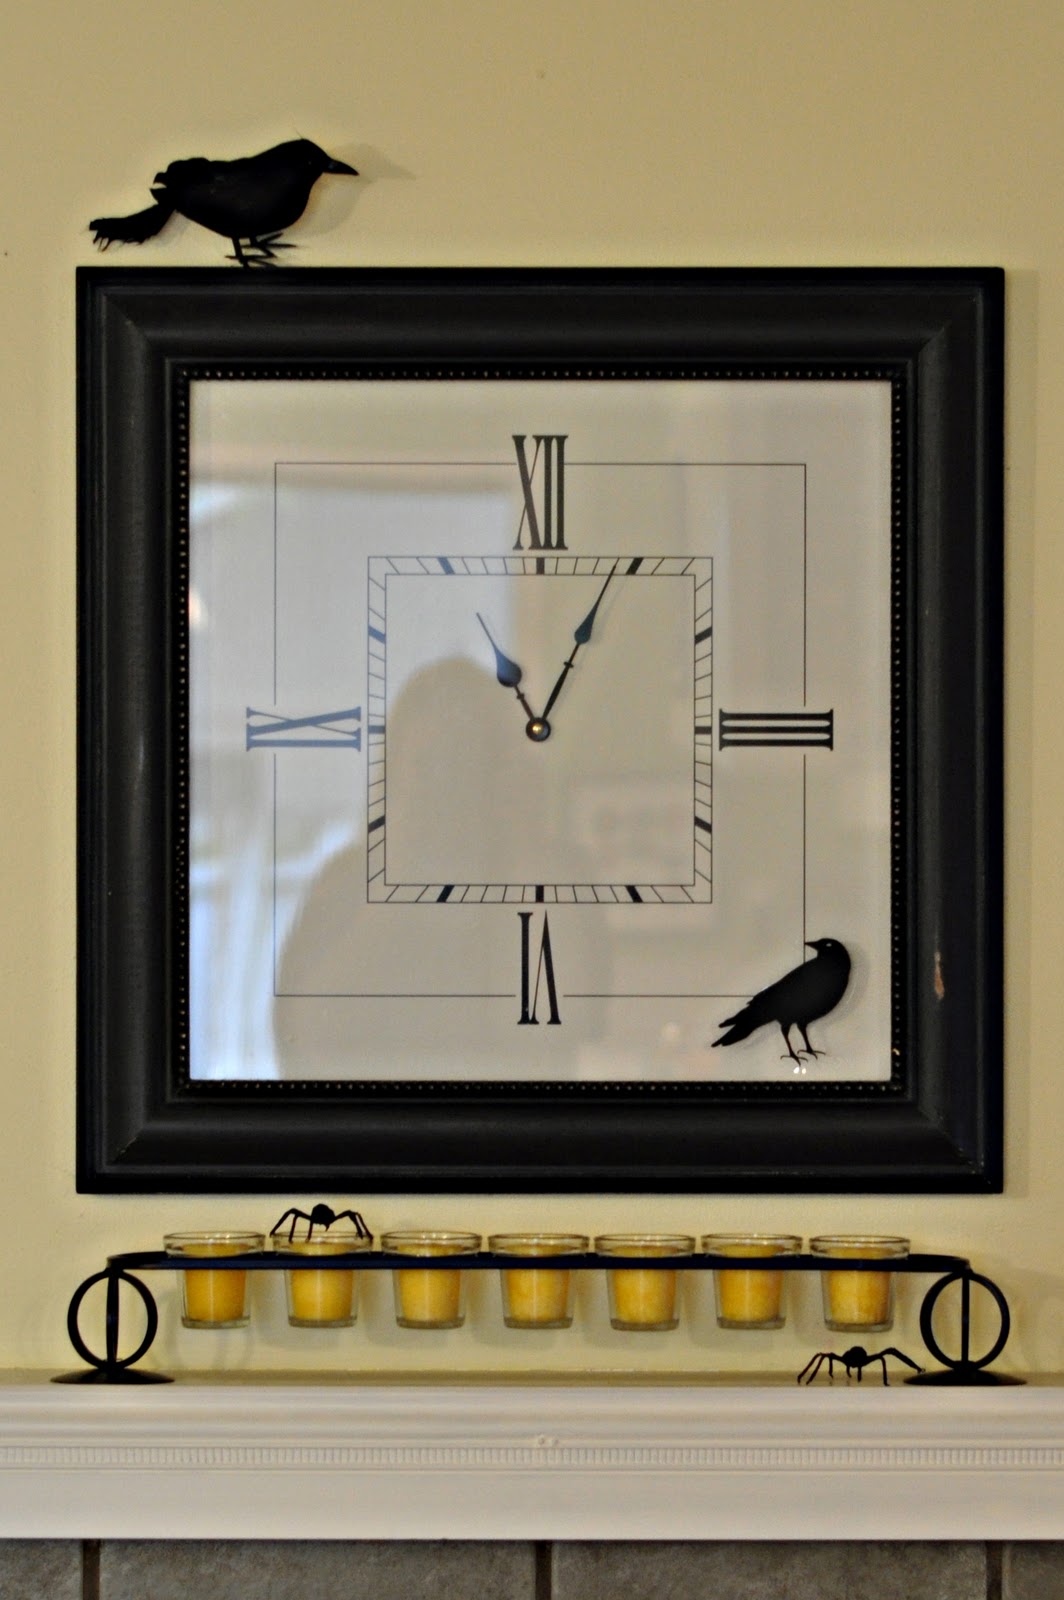
And these creepy-crawlies are so versatile! Scatter them about on your mantel,
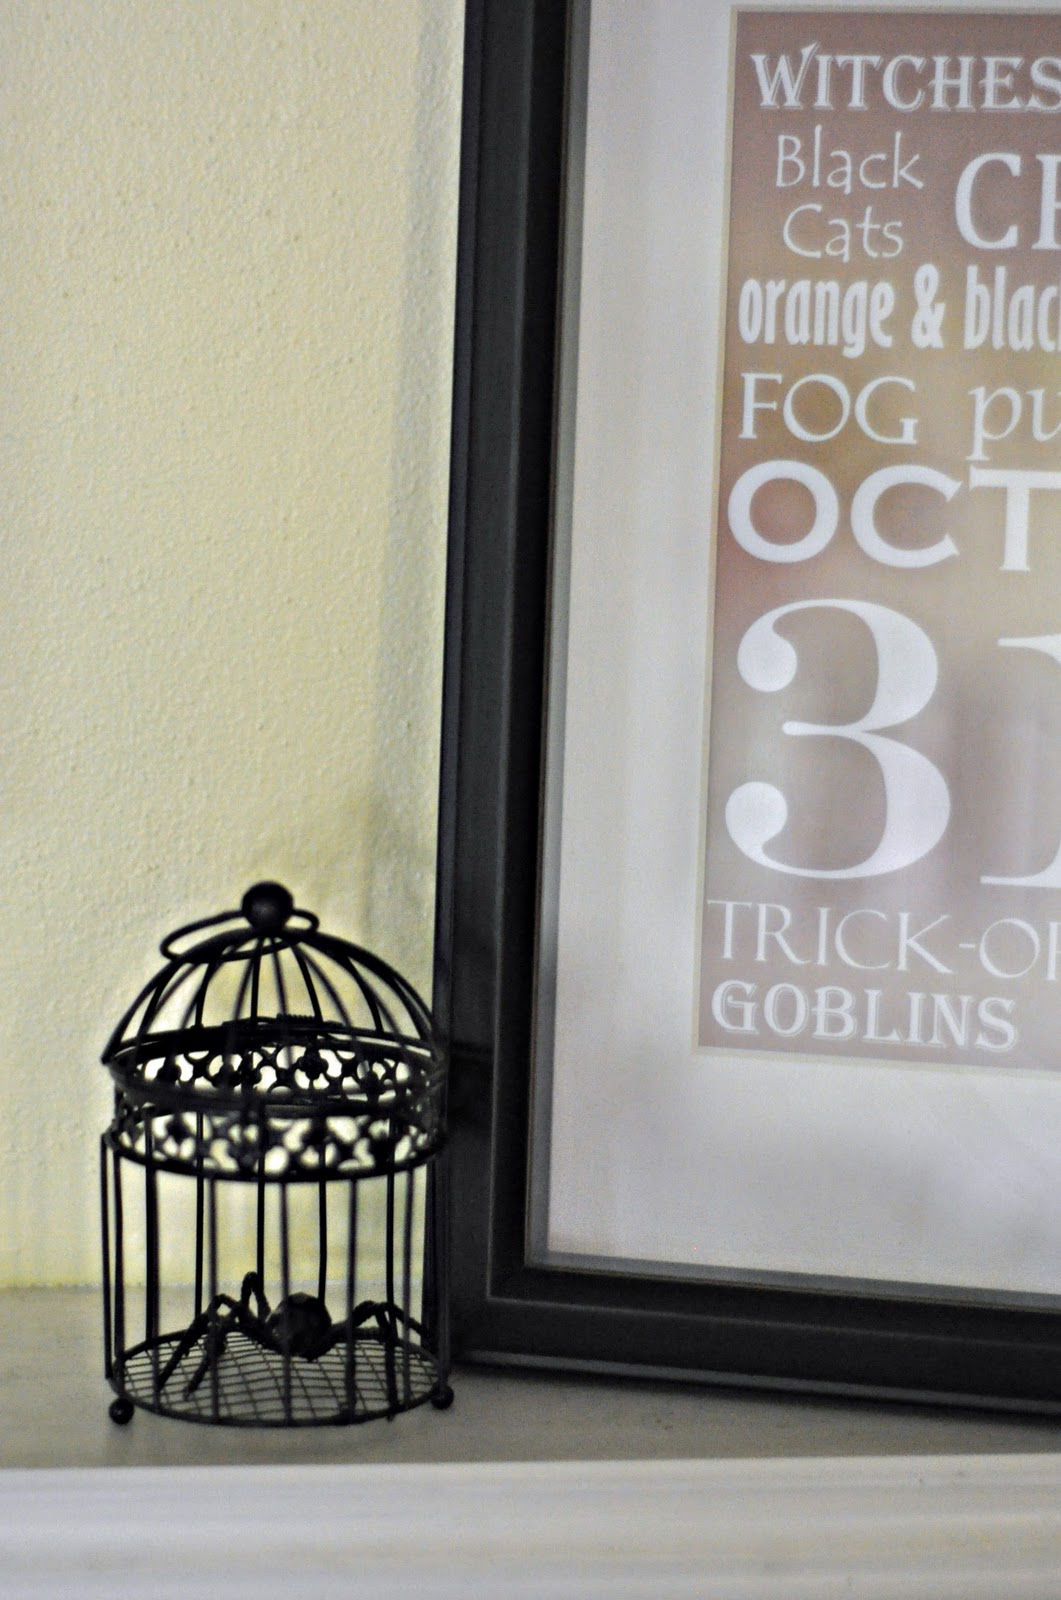
or contain them in a spooky birdcage spider-cage ($1 at Michaels!).
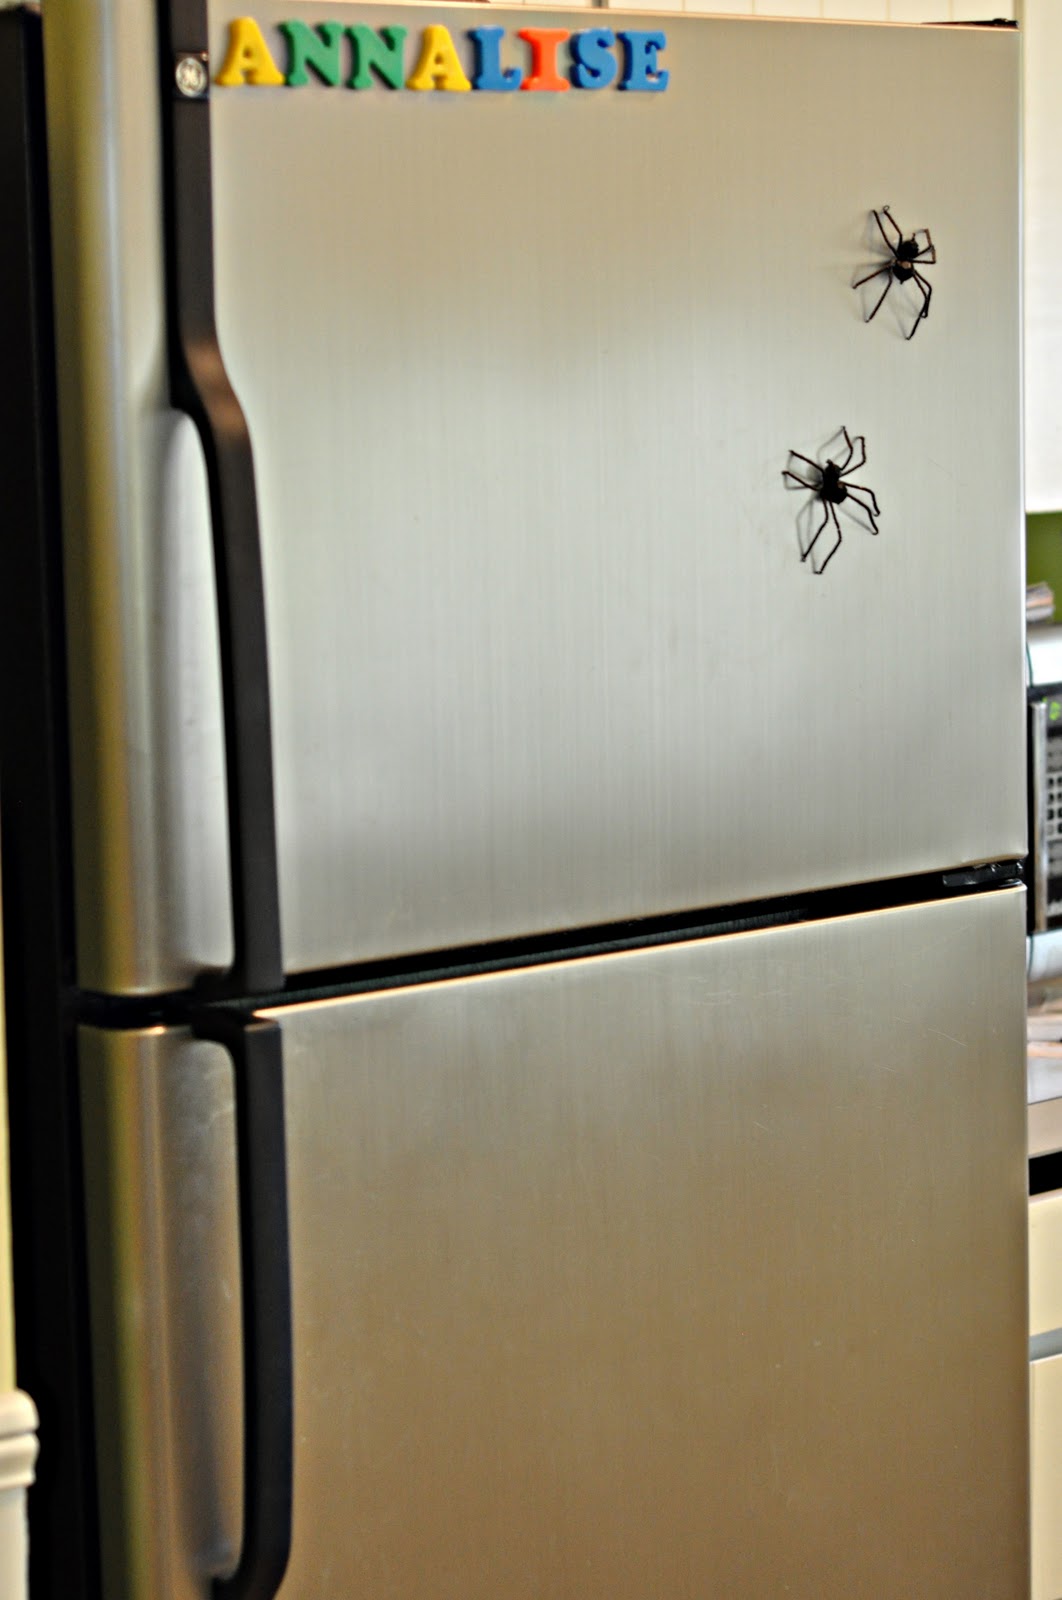
You could attach some magnets, and spookify your refridgerator,
or attach them to some elastic and decorate your daughter’s head!


Happy Halloween!!
–Jessica

Wow – that is such a fun project Jessica!! Thank you so much for guest posting. It’s been so fun having you here! Jessica has a new blog, but she is on fire with her ideas! She has made some wonderful printables:


And, I adore her Dollar Store frame turned Fabulous Chalkboard:

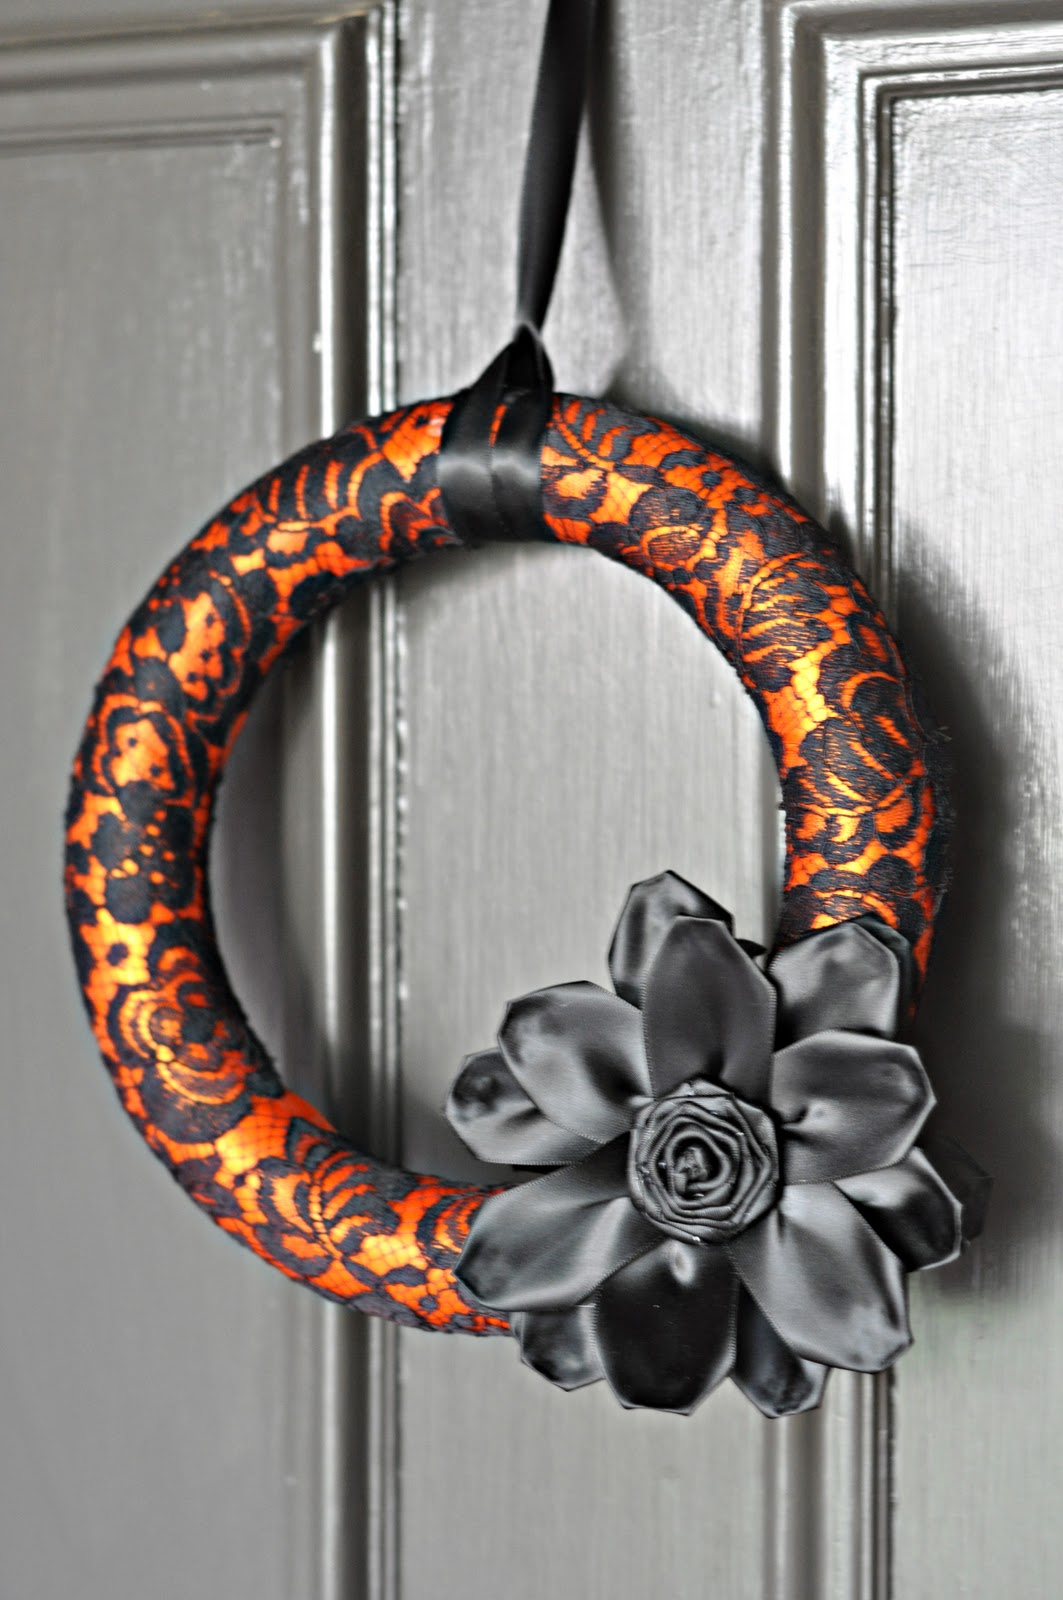
This Beautiful Wreath she made from one of her grandmother’s lace jackets:
And so much more!
Head over to Craftily Ever After and see what I mean!
xoxo
PS – another “Great Ideas” post is coming up in a bit 🙂


In fact no matter if someone doesn’t understand after that its up to other people that they will assist, so here it takes place.
I had so much fun making these beady spiders! They turned out so cute and were so easy to make! Thanks for sharing your creativity!
Jessica – you are so creative. These spiders are totally glam! i love them and your sweet little girl is beyond adorable. I'm headed over to your blog to read more! Thanks for sharing!
Another project I absolutely must do before HAlloween is over! Thank you for the AWESOME tutorial. You are amazing!!
Thank you SO MUCH for featuring my little spiders! It truly is an honor and I'm so happy people liked them! The idea to use them on a napkin ring is a good one!! 🙂
That is such a cute tutorial. I can think of so many possibilities for this spider!
Wow she is one talented person. Can't wait to go to her blog and see what other great ideas she has.
Oh my gosh, that is so incredibly cute! I've got to think of somewhere to use these!
I saw this tutorial this am and went to Joanns to get everything.
I already had the tools, but the beads and wire only came to $7.50 and I have enough to make at least 5. I've made one so far and it only took about 10min.
Thank you for a great easy to follow tutorial.
So cute! I love them!
I love those spiders!!! So clever!
Thanks for the great tutorial! I saw those $5 spiders at the store too (they were used as napkin rings).
This may be a craft for my child's upcoming birthday party:-)
Oh! That is a great idea for a spider! So pretty! They would be fun to wear in your hair on Halloween!
What a fantastic tutorial.. I LOVE the way these turned out.. Thank you so much for sharing your talents.
Love it
Love this craft and all the fun applications!
These are awesome! Thanks for a great tutorial, and I will definitely have to go check out her website!
Wow, that looks great! How can something so scary look so pretty? I really like the headband idea, very cute!
Wow, what a neat idea – would have never thought of that! Thanks so much for sharing :-).
Hope you're having a great weekend,
Lindsay
So spooky and glamorous! I don't like spiders, but I adore these…especially on a headband…so fun. When you are that cute you can pull it off. If I wore one someone would call the health department for sure! Thanks Jen and Jessica for bringing us such a fun idea.
These are eerily gorgeous–especially love the magnets and headband! Great guest post, Jessica!
What a great guest to share. Thanks.
Look at that cutie-pie with the spider headband.. love it!
Thanks for sharing!
Sandy
Thanks for sharing…Love this tutorial!
What a great guest post tutorial! This is cute & easy, and once I saw all the pictures of ways to use the spiders, I'm even more excited to make them!