
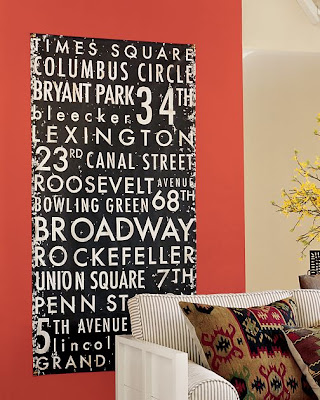
I have been a little obsessed with Subway Art over the past year or so. It all started when Pottery Barn came out with this canvas:
I was in love! I made plans to immediately make one. Of course life got in the way and it wasn’t until February that I actually did and I made a few for Valentines-themed ones:

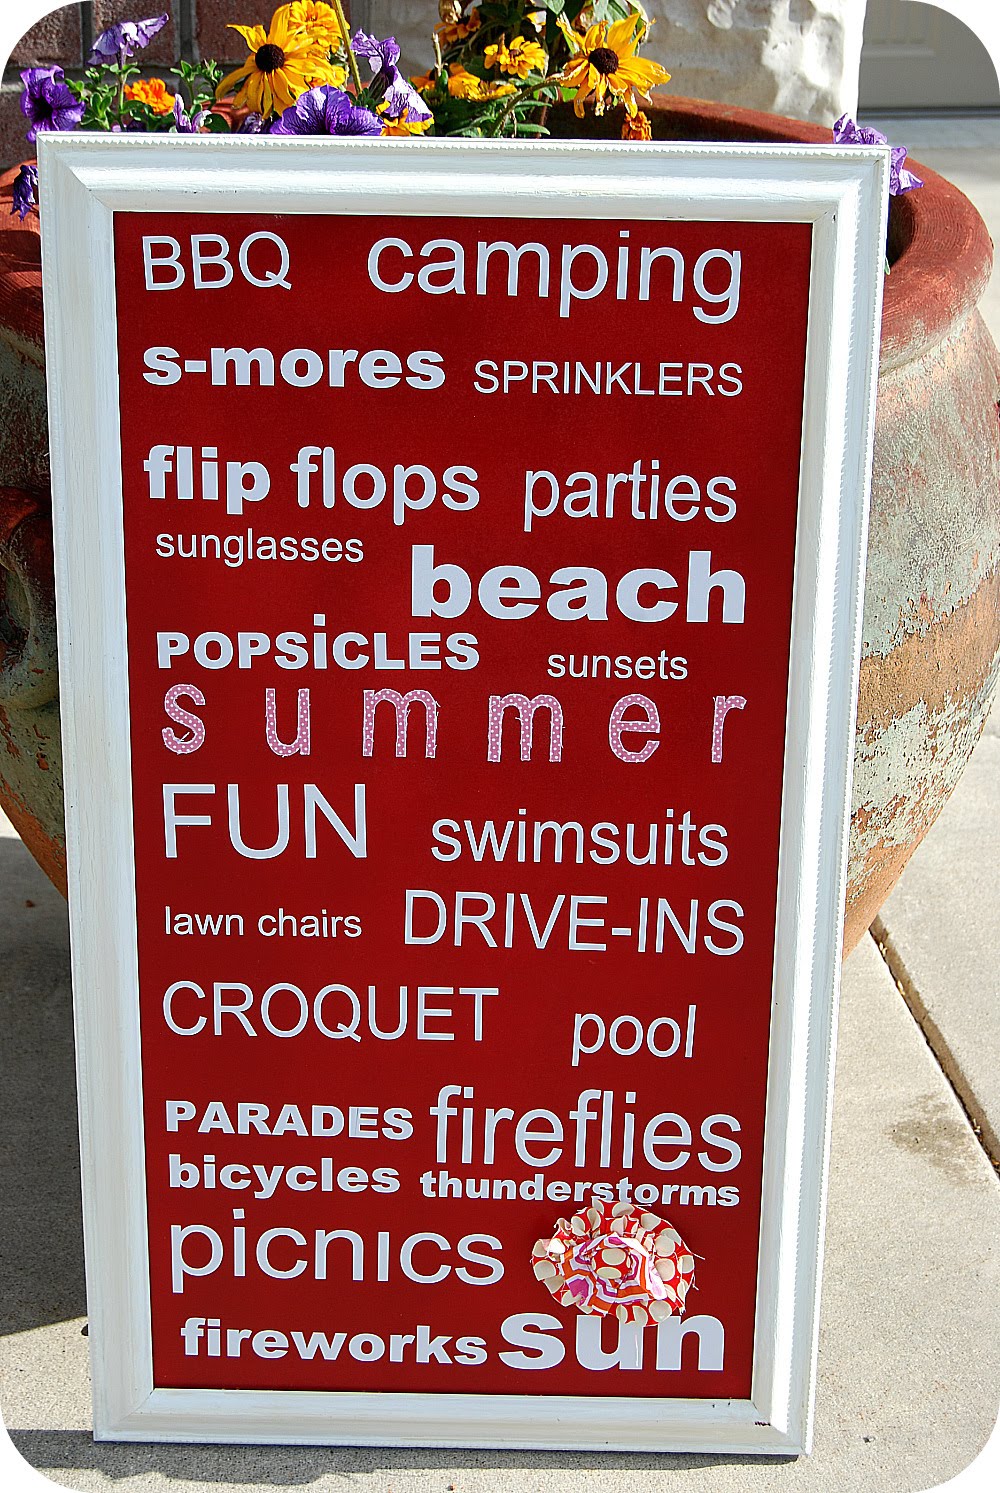
And then I made my Summertime Subway Art using my Silhouette:
 But I had another type of Subway Art Project in mind. I even found a frame at Ross on clearance for $10 that I thought would be perfect! So when Studio 5 asked me to do a segment on Subway Art, it gave me the push I needed to finish a project that has been on my mind for awhile.
 But I had another type of Subway Art Project in mind. I even found a frame at Ross on clearance for $10 that I thought would be perfect! So when Studio 5 asked me to do a segment on Subway Art, it gave me the push I needed to finish a project that has been on my mind for awhile.

For this new subway project, I thought I would try a new technique. I had a roll of vinyl contact paper and thought I would try cutting the letters out using that medium. Plus, when I priced out the cost of vinyl versus the cost of contact paper — I saved about $40.

The first thing I did was take the board out of the back of the frame and I painted it. If you don’t have a frame you can use a sheet of thin plywood or mdf. Once the board was painted, I made my words. I used the addresses of all of the places that we have lived since we’ve been married. I used my Silhouette machine to make and cut out the letters.
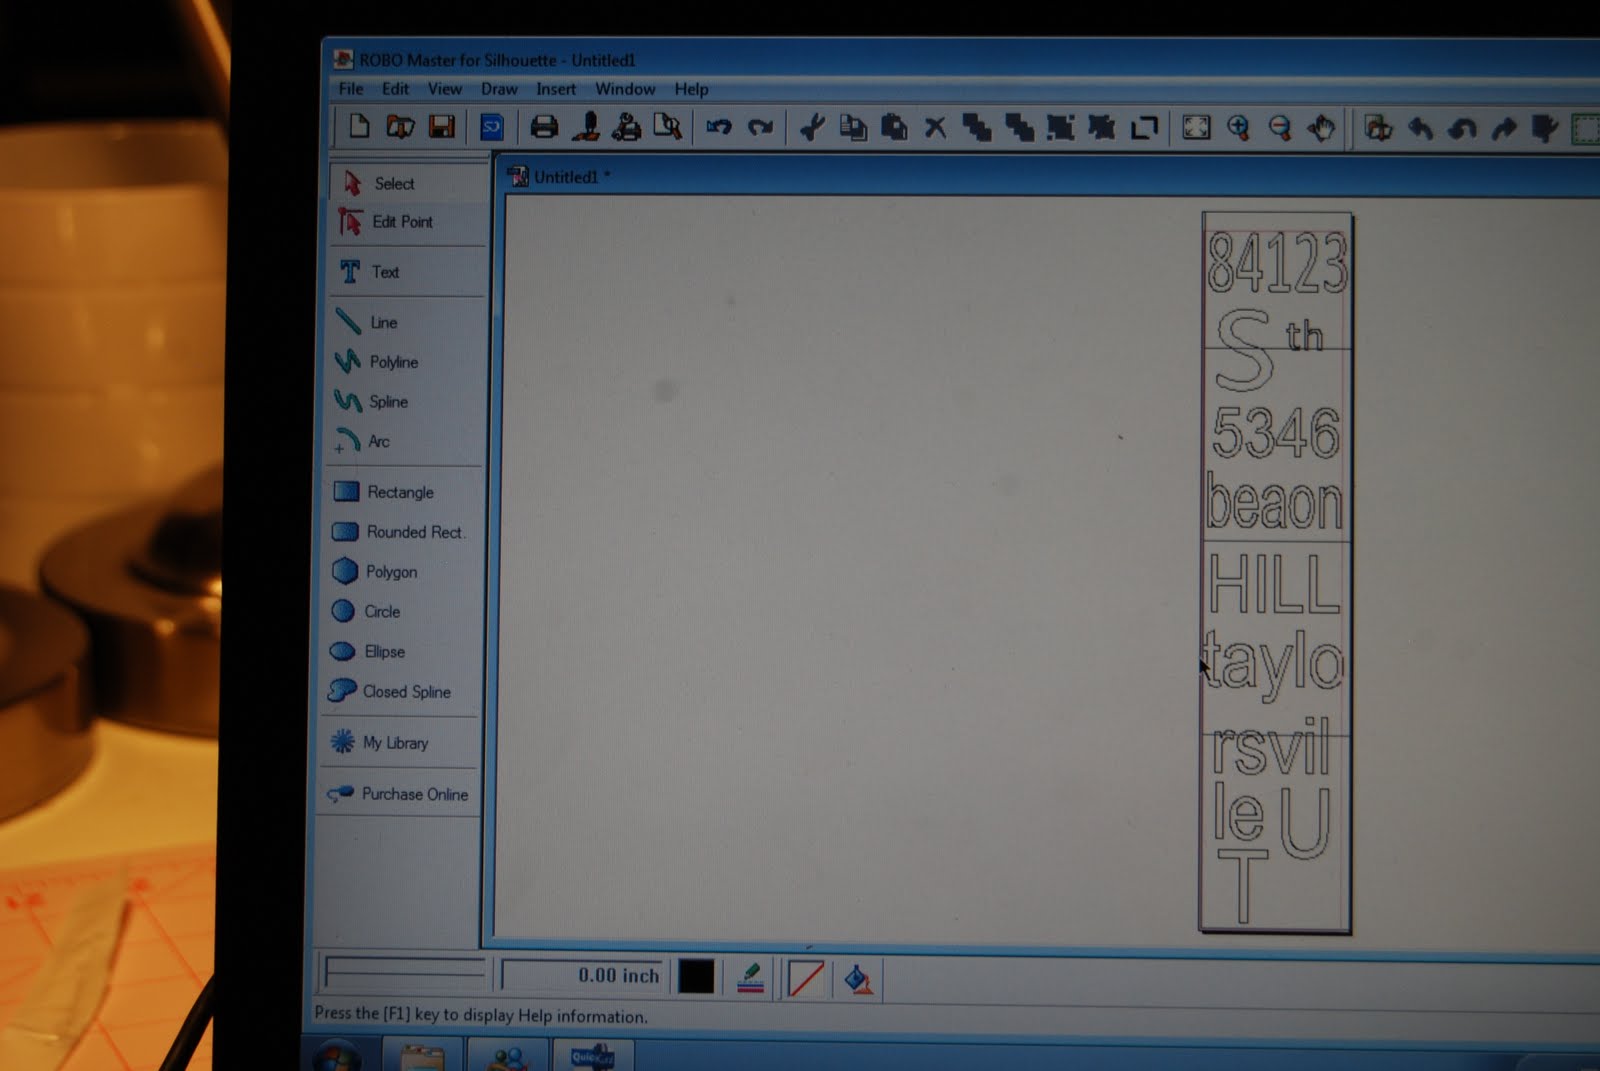
If you have a Cricut you can use that machine to cut out the letters too. If you don’t have any of those machines you can create your words on your computer (use Ariel font) and then print them off the computer and use spray adhesive to stick them onto the contact paper. Then use an exacto knife to cut out the letters.

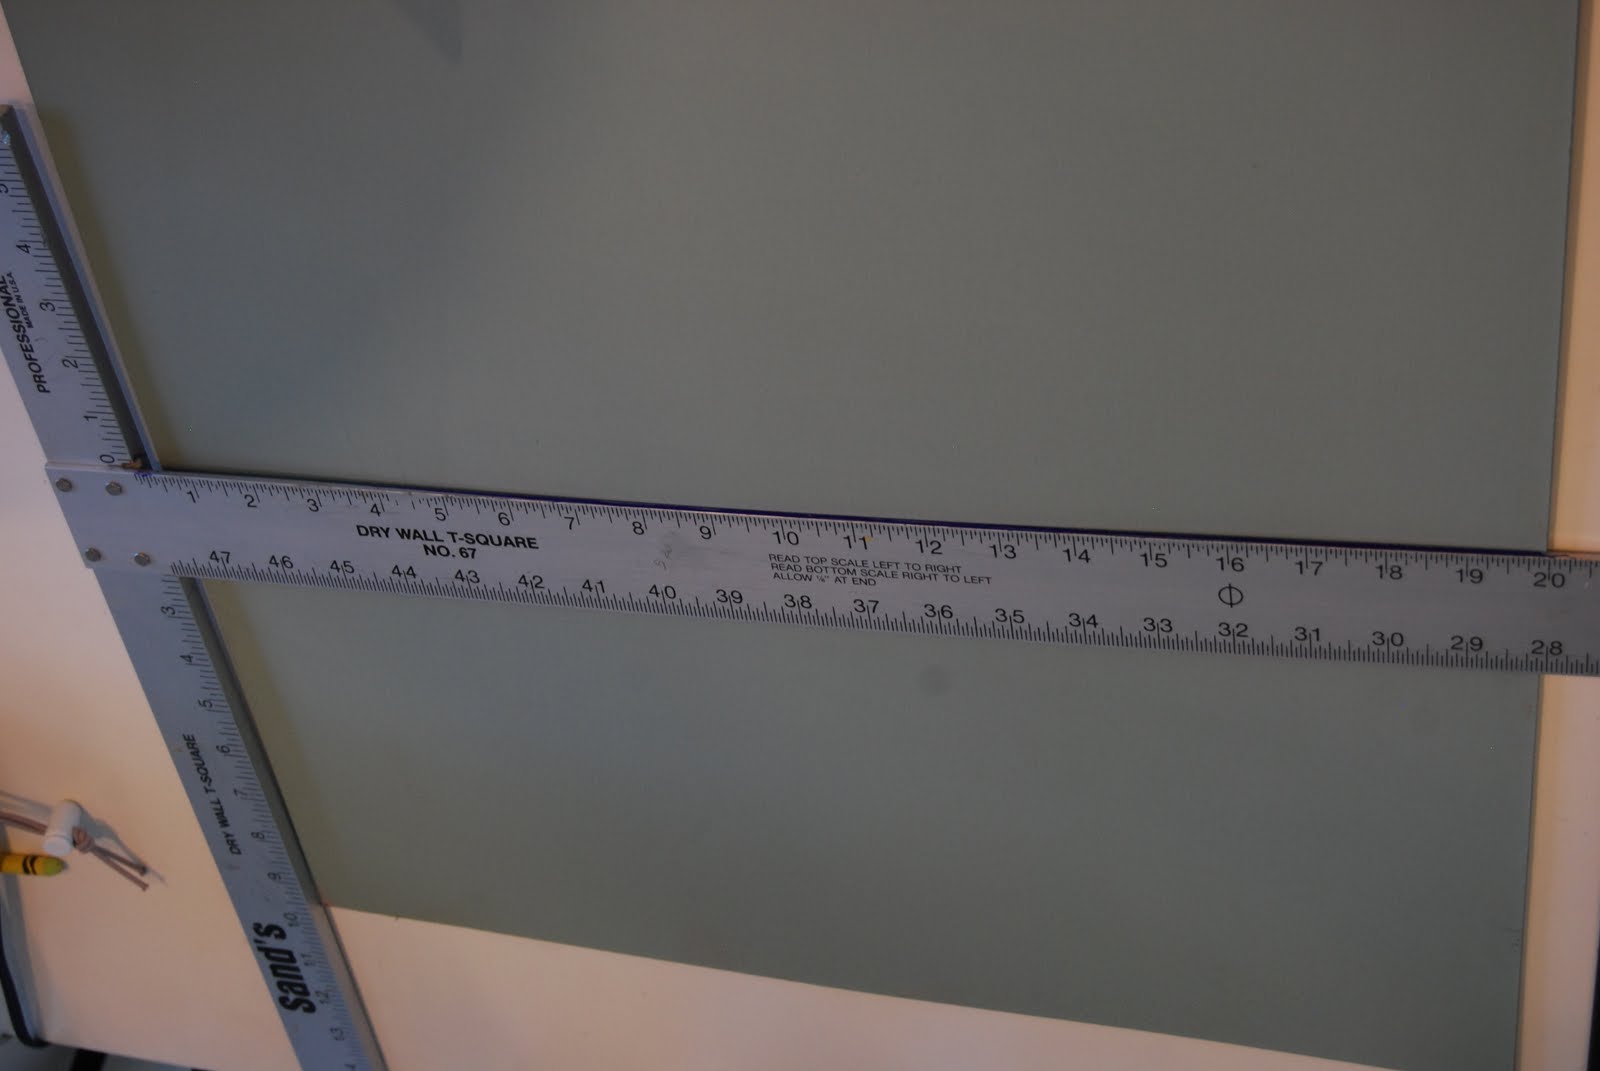
I used a t-square to make the letters even. The trickiest was putting the almost invisible letters on the board so they were straight. It took quite a bit of time. Once they were on the board, I smoothed all of the edges of the letters to make sure they had a good seal.
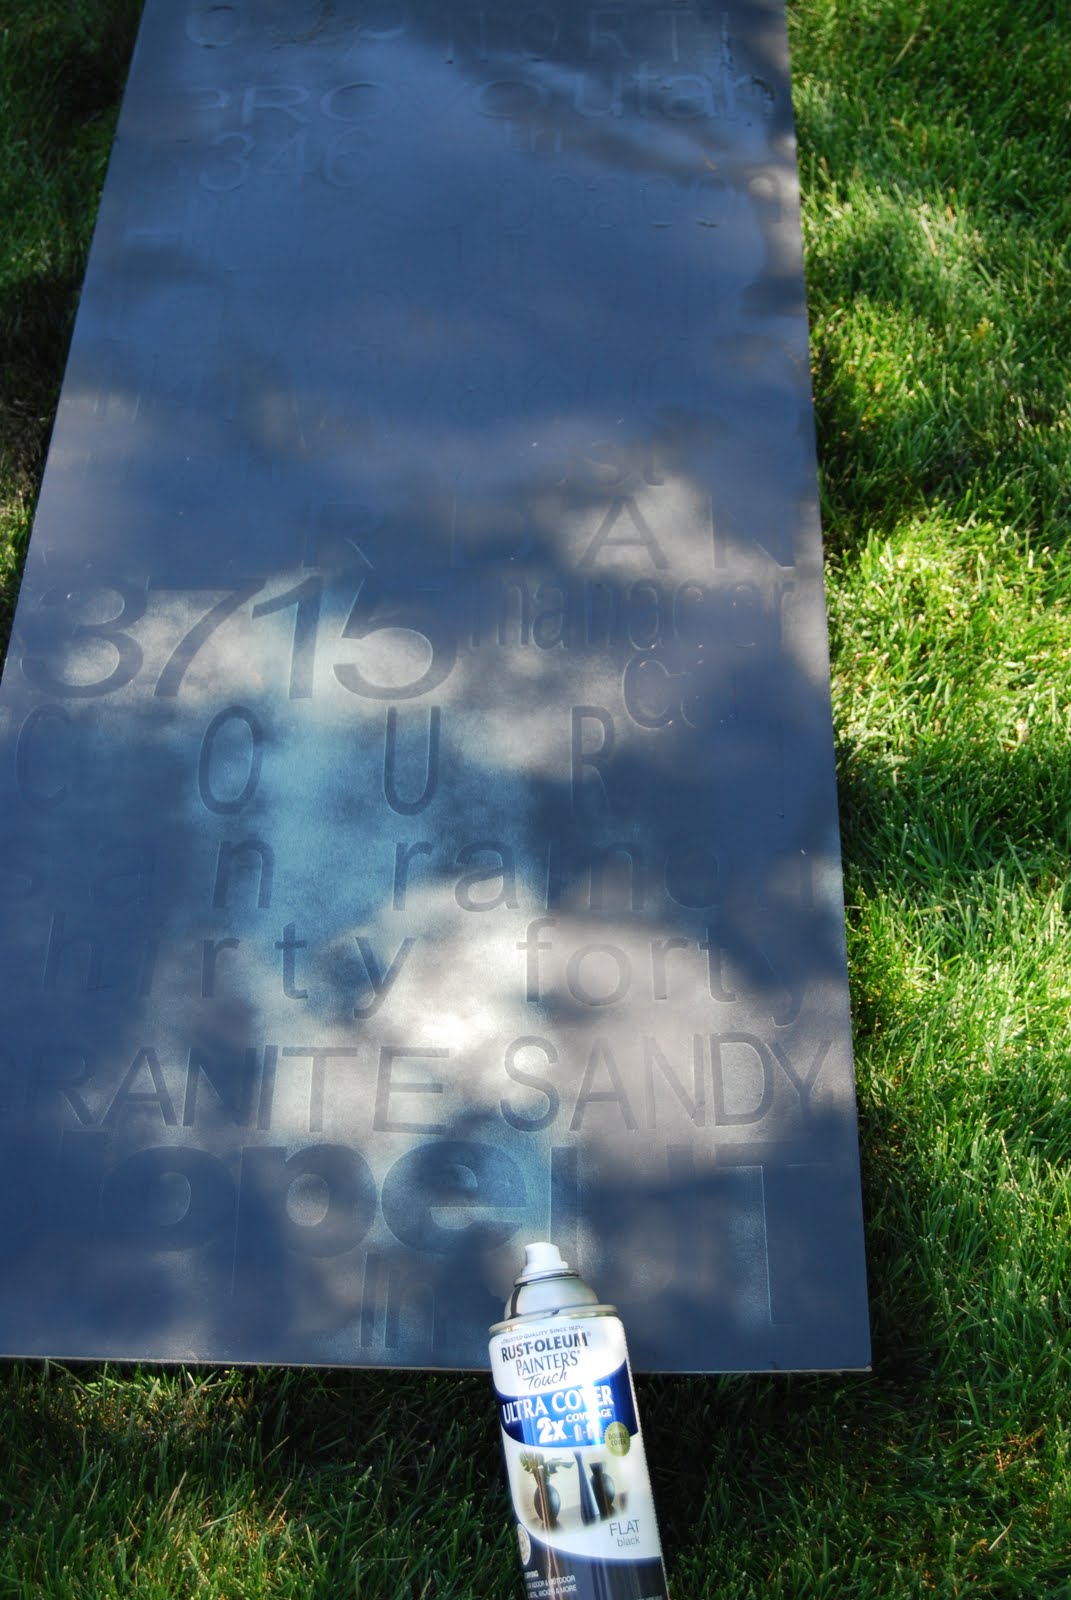
Then I took the board back outside and spray painted the whole board black. When that was dry, I splattered some white paint on the board and used a small brush to make some smudges on the edges of the board so it resembled the Pottery Barn picture.
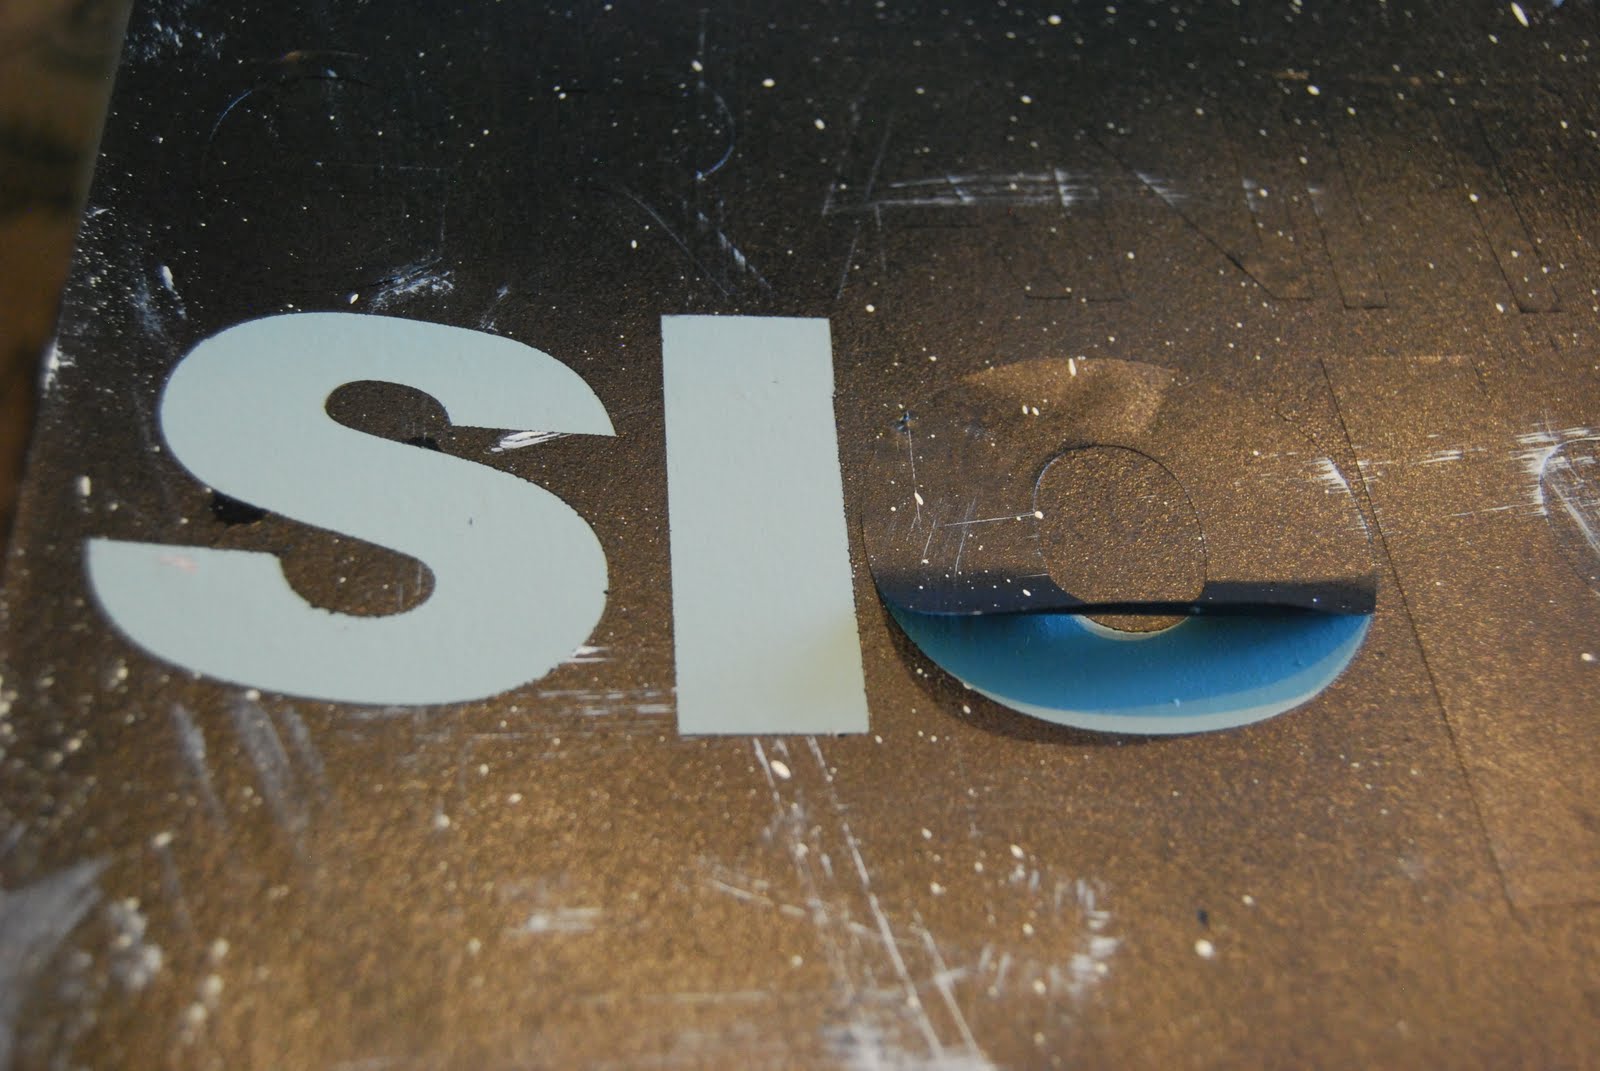
Then I brought the board inside and peeled the letters off. Then I put a thin coat of clear polyurethane over the top.
And now I have a cool piece of art that has our all of our homes on it!
Total cost = $15
(including the frame)
Total cost = $15
(including the frame)
Here’s the Studio 5 clip if you want to check it out:


Have a Terrific Tuesday!!
I’m linking this project up to these fun parties:


XOXO


Did you have the background on the wood too or just the cut out of the letters??
Good stuff! I like the way this website is built!
How did you decide what letters to make what size…I am having crafters block with that part…
Maggie » Maggie – I just experimented. I sketched it out beforehand to see what might look best and then once I had it looking the way I wanted on paper, I cut the addresses out. Good luck with yours!!
xoxo
Hi! Love your blog and projects! I've featured you in my Friday Finds post this week on my blog! Go take a peek! Thanks for your amazing ideas!
http://sarahndipities.blogspot.com/2011/02/friday-finds-subway-art.html
-Sarah
Sorry I am late getting to see your project…thanks for joining us last week for Anything Related! ~Bridgette
Hey I found this thru Get Your Craft on Thursday !! I LOVE the subway art too ! This is sooooo going on my have to make list !
This is gorgeous! I'm hoping I have the exacto patience to cut out all of the letters!
Cheers,
Laura
Love this idea!! Well done.
I saw one of these signs a while back for a nursery – it had bath,pyjamas,teeth,stories, SLEEP!
I love this–especially that it lists all the addresses of where you have lived. Awesome!
Hi Jen! What an adoirable project! I love the address idea – how cool!Wanted to let you know I'll be featuring this today. Thanks so much for joining the Sunday Showcase – I greatly appreciate it. Hope you have a fabulous week! ~ Stephanie Lynn
ADorable. You are on a roll with your subway art. I must try this. I got my Silhouette today. Holy moley what a learning curve. I love the contact paper idea. I would have never thought of that. I stumbled you of course my dear. I have a truckload of addresses we have lived. I am pretty sure I will steal this idea from you!
Wow, I just love these, they are wonderful!
Thank you for sharing!
Have a good evening!
Leticia
http://www.msbinglesvintagechristmas.com
This caught my eye on SSS. Really sharp,love it!
Most excellent subway art tutorial ever! You have really motivated me on this one! Love your clever ideas.
SO so cute ~POTTERY BARN AND YOU, have the cutest SUBWAY ART E-VAH! love the idea of where you lived, so darlign JEN! I would love lOVE if you linked this up to my CraftOManiac Monday party going on now. HUGS, Jenn
This is so fun and has so many applications! Love it! Joni
*swoon*
I absolutely LOVE this! Never saw PB's, but I like yours better. Now we need to move to a few more houses so I can make one of my own, haha! 😉
-Ann Marie
im an idiot… i just watched the video and the whole contact paper makes so much sense… i think that might be the route i have to go since i wann make this HUGE!!! and vinyl sounds expensive. so i am gonna try this… i also saw this one someones blog where they actually traced the words and painted them white over a black board… that might be the route i go too…i have no idea yet… i just love the way YOURS turned out. i might have to play around with it and see what i like… but thanks so so much for responding to my email that video helped immensely…and i love the idea of reverse printing and just doing it that way… but i think with sucha a big piece i wanna do it would be obvious of the printed paper mod podged on their… okay… thanks so much again Jennifer!
This project is fabulous!
I recently bought a Silhouette. I find all of the tutorials on how to use it difficult to understand, the computer software next to impossible. I've wasted so much vinyl and heat transfer. I was to return the darn thing! The Cricut is so much more simple!
oh i love this!
i need a cricut for sure…
i think i need to watch videos on the whole peeling the letters part…not quite understanding that… i need to see someone do it. it sounds easier to use a cricut…cuz i got lost with the whole contact paper part….or its just too early to think about…haha
i cant wait to make this for my sister with San Francisco streets as she is in love with that city!
thanks!
I seriously love all your subway art projects!
Fun subway art! Just a tip for you. To get your vinyl at a great price, go to Regional Supply in Salt Lake City. It is located about 3500 south on 300 west (kitty corner from orson gygi's). You can get a 12 x 36 inch piece of vinyl for $2.00. Same vinyl that Roberts Crafts sells.
Oh my goodness! I love this! Great job on Studio 5! I love the summer one and the address one. What a fun and clever idea!
I am totally digging the subway art too! Nice job.
This is awesome!!!
Wow this is awesome! The paint splatters add the finishing touch! I tried my own version, but I just painted on my letters. I wish I had a machine to cut out vinyl. That would be so great!
That has got to be the coolest thing ever!! I saw a Cricut on clearance at Walmart for $138. I had to pass on it, but wishing I could have picked it up!!!
I love all your signs. I wish I had a cricut or a silhoette, I don't have enough patience to exacto out all those words. Maybe soon.
~Makalani
Makaz home
I love subway art..yours turned out really cute. Thanks for sharing your tutorial with the contact paper. I will have to give this a try.
I love your Subway art.
What a great idea! Thanks for sharing.
i want to do this for some of our fav vacation destinations. now i just need a silhouette…
i'm making a version of your doily project today!
What a truly unique idea! I loved that you used all your adresses, that makes it so personal! I have never seen this idea before and I am thinking that since I am a teacher, i could make a sign that has all my students names on it and put it in my classroom. I could even get my kids to help. What a great project and a creative way to use contact paper.
Oh Jen, you are the best! What a great idea. All the places you have lived. Love it. Going to try it. . . thanks for sharing.
karie @ karieschiccreations
Hi, I just wanted to say I love this idea and I say exactally that on my new blog! Thanks for giving inspiration to us new bloggers!
Make yourself necessary to someone.......................................................................
It looks awesome, Jen!!! Love your creativity. 🙂
I really love this! It think its better than the pottery barn one. I love things that actually have a meaning. Great job!
Very cute!
Jen…this is AweSoMe! LoVe the address idea! Great JoB! 🙂
Gosh, here you go with the Subway art again! I just love the idea of combining all of your previous addresses together. It looks great!
Hope you're having a great week so far!♥
You never cease to amaze me with your skills !
I am so in love with this! I need to make one!
This turned out great! I'd love to do one for the holidays and have it sit out on the front porch.
Wow, I love this!!!
What a great idea! As a military family, we've had LOADS of addresses! This would be perfect! Do you think it justifies a cricut machine though? I've been looking for a reason!
loved your segment. I did this same technique back in late may early june! I'll be sharing pics soon!
Way cute idea Jen. I love that you used your addresses. I'm decorating my little boys room in subway art and other road signs. Really fun idea.
my son just spent 12 weeks in the Netherlands and on weekends went to alot different towns ( was there for work) anyways for a xmas gift i would love to make 1 of these for him but i don't have a machine can you suggest another way ( maybe letter stencils? ) i was even thinking of doing one on a chalkboard that maybe my final option…thxs…………enjoy your postings!! ([email protected])
Love this…hmm wish I had a cricut : )
oooOOoo, I love it looks fabulous. I think that I'm going to buy the cricut they have on sale at Big Lots for $99
I think I'll try…. I have a new cricut. I did laugh, you must bump into my brother's family in the grocery store… you've lived in the same places!
It took me FOREVER to finsh my subway art family rules canvas, and here you are, cranking them out like there's no tomorrow! I wish I had the Silhouette when I was working on my project months ago. Oh well, you live, you learn.
I love this idea! Since we are military, we move constantly, and what a great way to recognize all the different states and countries we have lived! I am so making this after I move in the next few days…ugh!
BRILLIANT!!!!
Such a great idea! I LOVE following your blog for great ideas. I have recently started a blog a would love for you to check it out and follow it… http://skincareandmore-chrissy.blogspot.com/ I had a craft blog, but could not keep up with it, so this is what I have started now and it works so much better for me.
Awesome, and I love the contact paper!
Very, very cute! Alas, another project to add to my list of "want to do!" Thanks for the tutorial. It's so nice when others let you in on their secrets!!
I'm tellin' ya… I LOVE this idea, and TOTALLY want one of these cool pieces in my house! 🙂
You always do such amazingly cool things. 🙂
Proud to call you a friend!
~Shelley
What a great way to document all the places you've lived! It looks great.
right in the middle of making mine. its realy simple and cute used grayblue for the background and while letters in matt and shiny cut on my silhouette love it!
LOVE this project! I really need to get a Cricut or Silhouette.