Hi I am Sachiko from Tea Rose Home! I am so thrilled to be here today, thank you for having me to your lovely blog Jen!

On my blog I share sewing/craft ideas and tutorials and a little bit about my life. I love anything that lets me be creative, but my love is deeply rooted in beautiful fabrics, sewing and quilt making. I host weekly link parties too, so if you have something you have created and want to share with every one, come on over and have a blast!
I am sharing a cardigan refashion today.
If you have some old cardigans in your closet that needs a little facelift; then, this tutorial is perfect for you!
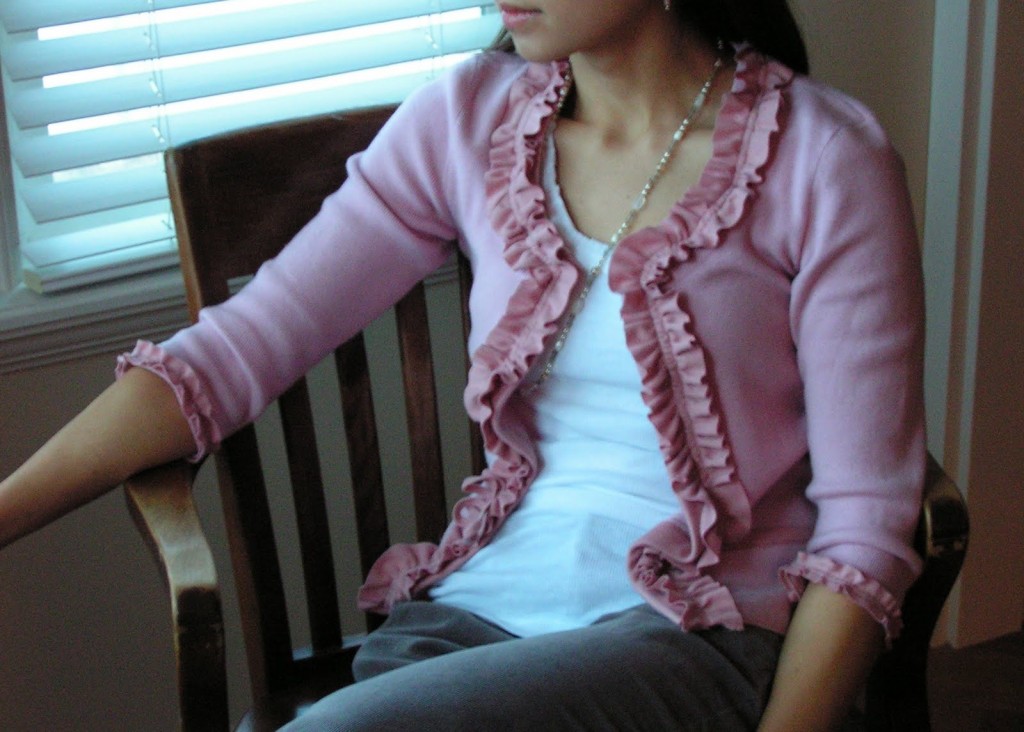
This is one of my favorite cardigans; I wore it for several years. I love the 3/4 sleeve, the open neckline, and the color… but I had this idea in my head to change the look of it, and I really wanted to give it a try.
{You will need}
A cardigan
100% cotton fabric that would match the cardigan (it doesn’t need to be the same color, but it needs to either blend in with the cardigan, or have contrast and match with the flowers that you will accessorize the cardigan with)
Various fabrics, wool, and buttons
Matching thread
{How to}
{Assembly for the cardigan}
1. To make the bottom part, I cut the fabric like I am making bias tape. I used 36″wide muslin. Make a large square, fold it in half vertically. Cut 4 1/2″ strips.
2. Piece them together. Fold the bottom less than 1/4″ twice and saw.
3. Sew the top with largest stitch setting on your sewing machine. Pull the thread to gather the fabric. For this cardigan I didn’t want lots of ruffles, so just a little to have flare. 🙂 The bottom of the cardigan measured 30″all around, so I used 45″ long bias and shrank to 30″ long.
4. Pin the bias ruffle all around the bottom of the cardigan. I used zigzag stitches to sew it on. Fold the ends and zigzag to finish it off.
5. Add wide lace little bit above the fabric ruffle using the same technique as step 3 and 4.
6. I wanted to give more interest to the back, so I added a second row of lace ruffle. I cut 14 1/2″ lace, and folded the both ends and zigzaged them prevent fraying, made a ruffle and added it in the back.
7. Cut 1 3/4″ x 6 1/2″ lace, and sew it on the waist line too. Make sure to center it so that both step 6 and 7 line up nicely.
8. For the sleeves, mine was 8 1/2″ around. I cut 14″ long lace and sewed the ends together, zigzagged the ends to prevent fraying. Using the same technique as step 3 and 4, make ruffles and sew it on the bottom of the sleeve. Do the same to the other sleeve.
{How to make flowers and Yo-yo’s}
*Folded fabric flower
1. Cut 8 – 3″ x 3″squares and fold the squares according to the picture.
2. Using two strands of threads, put through each petal, don’t forget cut off the excess.
3. Tie the ends to form a circle to make a flower. I like to sew each petal to each other to secure them.
*leaves
Cut 1″ x 2″ rectangle first, and trim them so they look like leaves. They don’t have to be perfectly unified.
*Flat flowers
Cut 1 1/4″ x 1 1/4″ square and trim it so that it will have four petals. Cut small circles for the middle.
*Felt flower(Light green)
1. Cut 6 – 1″ x 2″. Trim them so that they have round top.
2. Fold the bottom in half and pull them through the thread to make a flower. I stitched them together several times to secure them better.
*Felt flower (muted pink)
1. Cut 6 – 1″ x 1 1/4″ rectangles, trim them so that they will have rounded top.
2. Using the same method from step 2 on felt flower (purple), make the flower.
3. Cut circle for the middle and sew.
4. Sew yo-yo on top of the small felt circle
*Yo-yo
I used 3″ and 2″ circles to make yo-yo’s. Smaller ones on the felt flowers are made with 1 1/4″ circles. If you need to see how to make yo-yo, you can go to my tutorial.
{Assemble}
In my opinion, this is the most fun part. Just lay down the cardigan and lay down the flowers and yo-yo’s to see what you can come up with! It is better to deiced where you want to bigger pieces go first than diced on smaller ones.
Pin them to see if you like the lay out. If you do, it is time to stitch them onto the cardigan.
I used some DMC floss to do fun stitches on the flowers and leaves. I did lots of slip stitches around the yo-yo’s.
After you are all done with above, you can add buttons and such.
I had lots of fun making this, but wearing it was even more fun.
Why I am smiling? I have other ideas that I can’t wait to try with more fabric and wool flowers, thinking about the possibilities makes me so excited!
I LOVE how it turned out! It will be fun to have some colors under the fall & winter gloomy sky; it is one of my ways to brighten up the day a little. 🙂
I hope you enjoyed visiting me and my tutorial!
That sweater is absolutely beautiful Sachiko! Thank you so much for sharing it with us!!
Sachiko is a master Clothing Refashioner. Her creations are amazing.
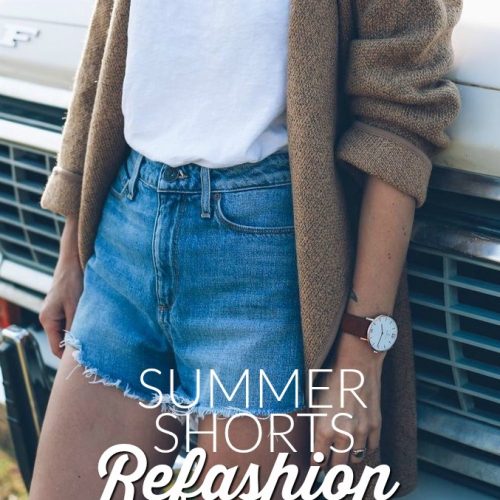
Here are a few of my favorite projects from Tea Rose Home:
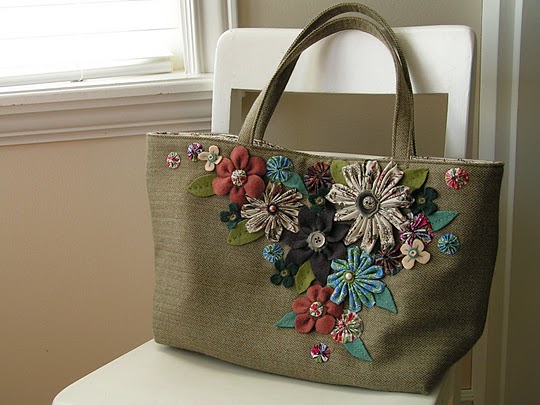
Here’s Sachiko’s She Carries Flowers Bag that matches the sweater. Gorgeous!!
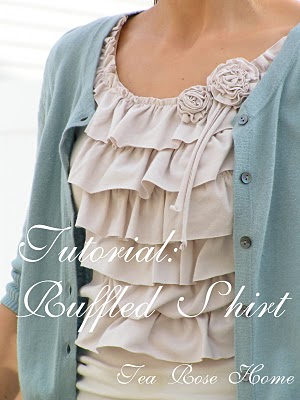
And, I think this Ruffle Shirt Tutorial was the first project I saw from Sachiko. I love it now just as much as I did the first time I saw it!! Beautiful!
Be sure to add Tea Rose Home to your “must see” blog list.
You will love following along with Sachiko and her beautiful projects!!
xoxo
PS — Have you heard about the “Sharlie’s Angels” fundraiser from 30 Days and Allorah Handmade?
It it s fundraiser for a young mom who has Cystic Fibrosis and needs a double lung transplant and heart transplant.
PLEASE help spread the word about this fundraiser.
It’s for such a good cause. Over 25 shops and bloggers are giving away awesome things to help with this fundraiser like this “We Can Do Hard Things” sign from Barn Owl Primitives:
And, are you thinking about getting Fall family Pictures taken?
I am sharing 15 Photo Prop Ideas that will make your pictures POP — today over at The New Home Ec 🙂







THAT is absolutely beautiful! thanks for sharing! ..
Great tutorial 🙂 We have featured it on our site! Thanks! I want to make my embellished flowered cardigan.
looooooooooooooooooooveeee your blog!! follow me on http://www.coloryourmoments.wordpress.com
bravissimaaaaaaa vorrei essere come te……..baci 🙂
Parabéns,maravilhosa sua dica.Continue dividindo com todos seus preciosos dotes.
Congratulations! It really worth all the effort cause it’s a awonderful piece! Thaonks for sharing your ideas with us! I always want to start doing things like this but I don’t think I’d be patient enough to get them done!
Hi! Your cardigan is exquisite – I want to do this to all my clothes!!! Love, Trish
I featured a link to this over on my blog today! Hope you don’t mind:)
http://agirlnamedleney.blogspot.com/2011/10/friday-im-in-love_28.html
<3 Leney
I have a plain sweater that is in my good will bag. I think I need to go get it out, turn it into a cardigan and add the flowers. Excellent.
I just love the items she creates! I need to channel her inner creativity!
What a difference! That embellished bag is adorable. I wish I had the patience for a project like that. I decoupaged something yesterday and grumbled after it took longer than 30 minutes. 😛
Sachiko,
you made it divine!!
I like everything about the refashion but the lace-y part.. oh my!! I am in love!!
Thank you so much for sharing this!
I feel in love with the cardigans , thank you so much and TeaRose site as well , any women or girl would also, i hope too try one in the future, The artist you are .
Since I began blogging last yeear, Sachiko has been so encouraging and kind.
I love her blog too! Isn’t she gorgeous – and so lovely. I am in love with cardigan – and the bag. So gorgeous!
Sarahx
LOVE LOVE LOVE this sweater 🙂 And the ruffled shirt. I’m headed there now to look at the tutorial…
Claire-
I haven’t washed mine yet, but I my pretty sure they are ok. I sew them on really well, and also when I wash the cardigan, I would hold it up so that the flower side will be hidden, put it in a laundry net, and hand wash it gently… no squeezing or twisting of course. 🙂
Simply stunning! I was loving the lace then noticed the flowers. Such a fabulous makeover! (ps. love the new blog look, Jen!)
Thanks Michele!!
xoxoxo
That is beautiful!! I love the addition of lace and the colors of the flowers is just perfect!
So adorable. I love the mix of flowers.
Yay Jen, I can finally see your site! It looks great! Very organized looking! Thanks for sharing tutorial very cute 🙂
Yay Jessica – I am so happy you can see it now!!!
xoxoxoxo
that’s so cute! i’d love to make one, but does it hold up well when you wash it?