Good Morning, Tatertots and Jello Fans. I’m Stacie from The Three Sweet Peas and I am excited to be back for my monthly tutorial!
It is a BEAUTIFUL spring day and I am so EXCITED to be sharing a “hoppy” little project! Can you believe it is ALMOST Easter? Just a week and half left before the Easter Bunny arrives and hopefully this little 3-D Easter Bunny will bring some Spring and Easter spirit to your life!
To RE-Create this sweet little creation you will need:
- fabric scraps.
- square piece of fabric to sew the fabric scraps on.
- needle & thread.
- sewing machine (optional)
- bunny template (scribd download available)
Gather any fabric scraps that you have available and cut into long strips. Neatness is definitely not a factor here. We are going for a rough vintage look. The colors do not need to match up exactly, it gives the piece so much more character.
Decide on what square fabric piece will be your background. I choose this light gray gingham. It was the perfect backdrop.
Trace the bunny onto the background fabric, the template is included in the post. This picture is hard to see but yes the bunny is on the fabric.
Sew directly down the fabric strips to create a ruffle.
This is the tip of the century: To create EASY ruffles take the thread that hangs at the back and bring it to the front so the sewing foot will run over it.
Your ruffle will automatically be created. If you do not have a sewing machine you will just create a basting stitch through the fabric strips and pull until they ruffle. Repeat until you have enough ruffles to cover the bunny template.
Start arranging the fabric and decide which pieces fit in the best area.
This piece deserved to be the bunny tail. Arrange the fabric and with thread and needle, do a running stitch around the fabric until it is attached to the background.
Repeat until the entire bunny is filled in with all of the different fabric.
As you can see the fabric is starting to somewhat resemble the cute little bunny.
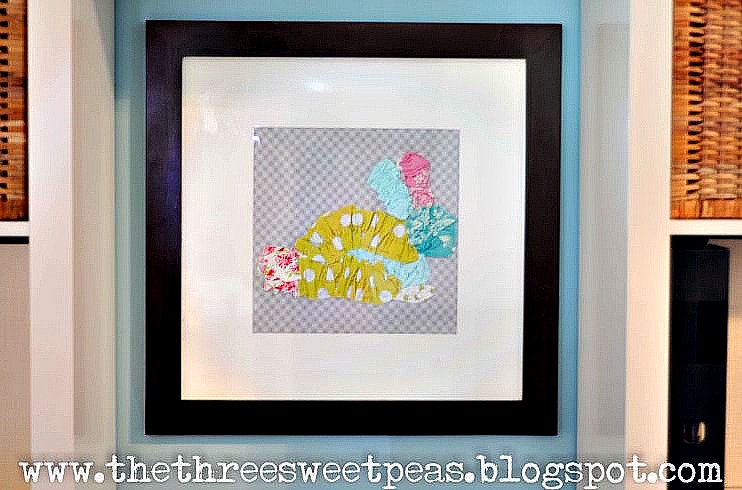
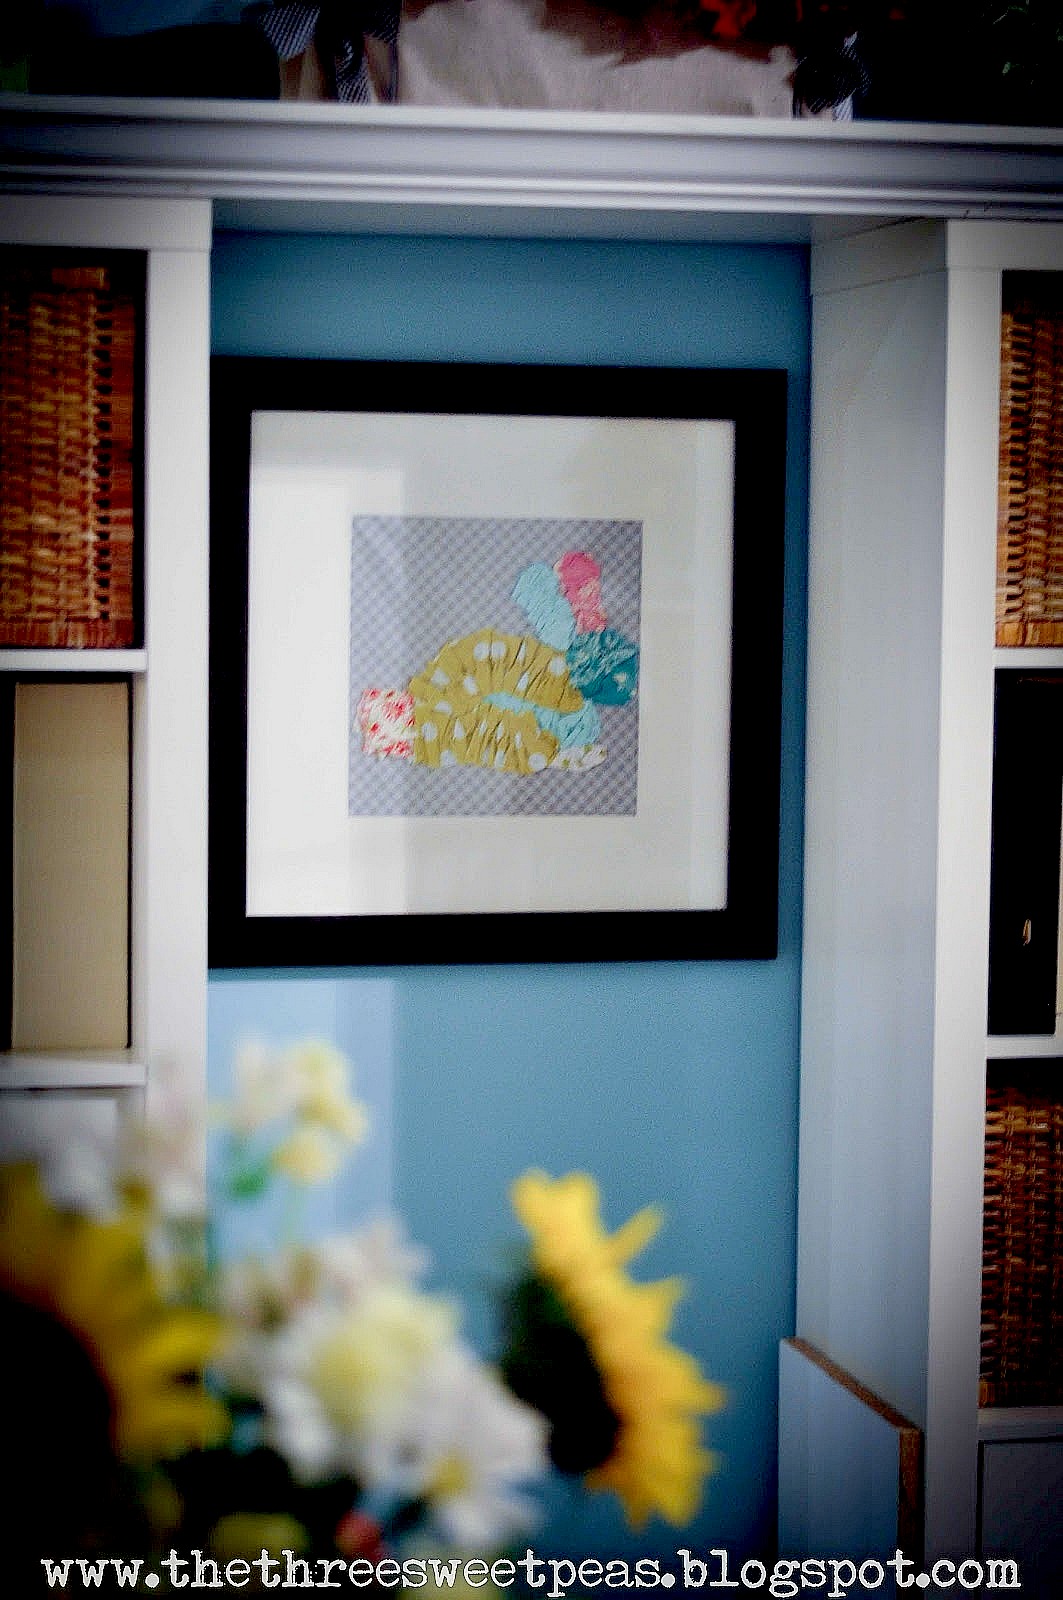
I then completed the bunny and it was frame appropriate. Super cute spring project that has found a “hoppy” home on my wall.
- You do NOT have to be neat with this project. The imperfections are what give this piece character.
- I pressed the bunny with an iron to smash it a little to fit inside the frame.
- GET creative. You can create anything you want with this technique. I think for my next one I will work on the flag. Can you imagine how cute the stars and strips would be with ruffles?

What a fun project Stacie!!
Thanks for sharing it with us.
Here are some of the great things that Stacie has been up to this month:
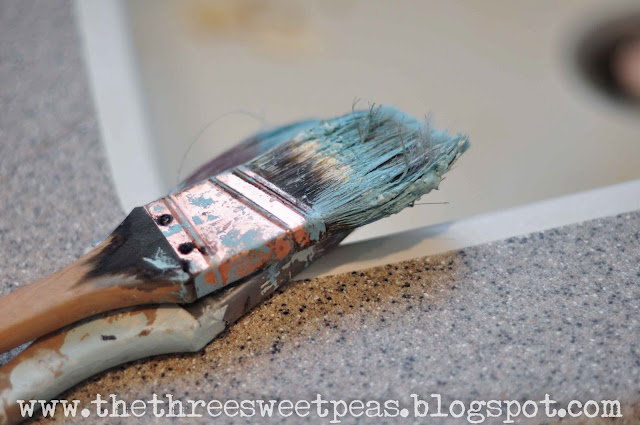 Remove Dried Paint from Brushes Tip





I think that I could tackle this project. thanks for this idea.
I love it! I am going to have to wrangle up all of my scrap fabric, but I think I will do a flower! That way it can stay up for a while! I am going to visit The Three Sweet Peas now!
Jessica @ Mom 4 Real