DIY Daisy Paper Chain Banner. Learn how to make a cheerful DIY daisy paper chain banner using cardstock and hot glue—perfect for spring decor, parties, or brightening up any space!
DIY Daisy Paper Chain Banner
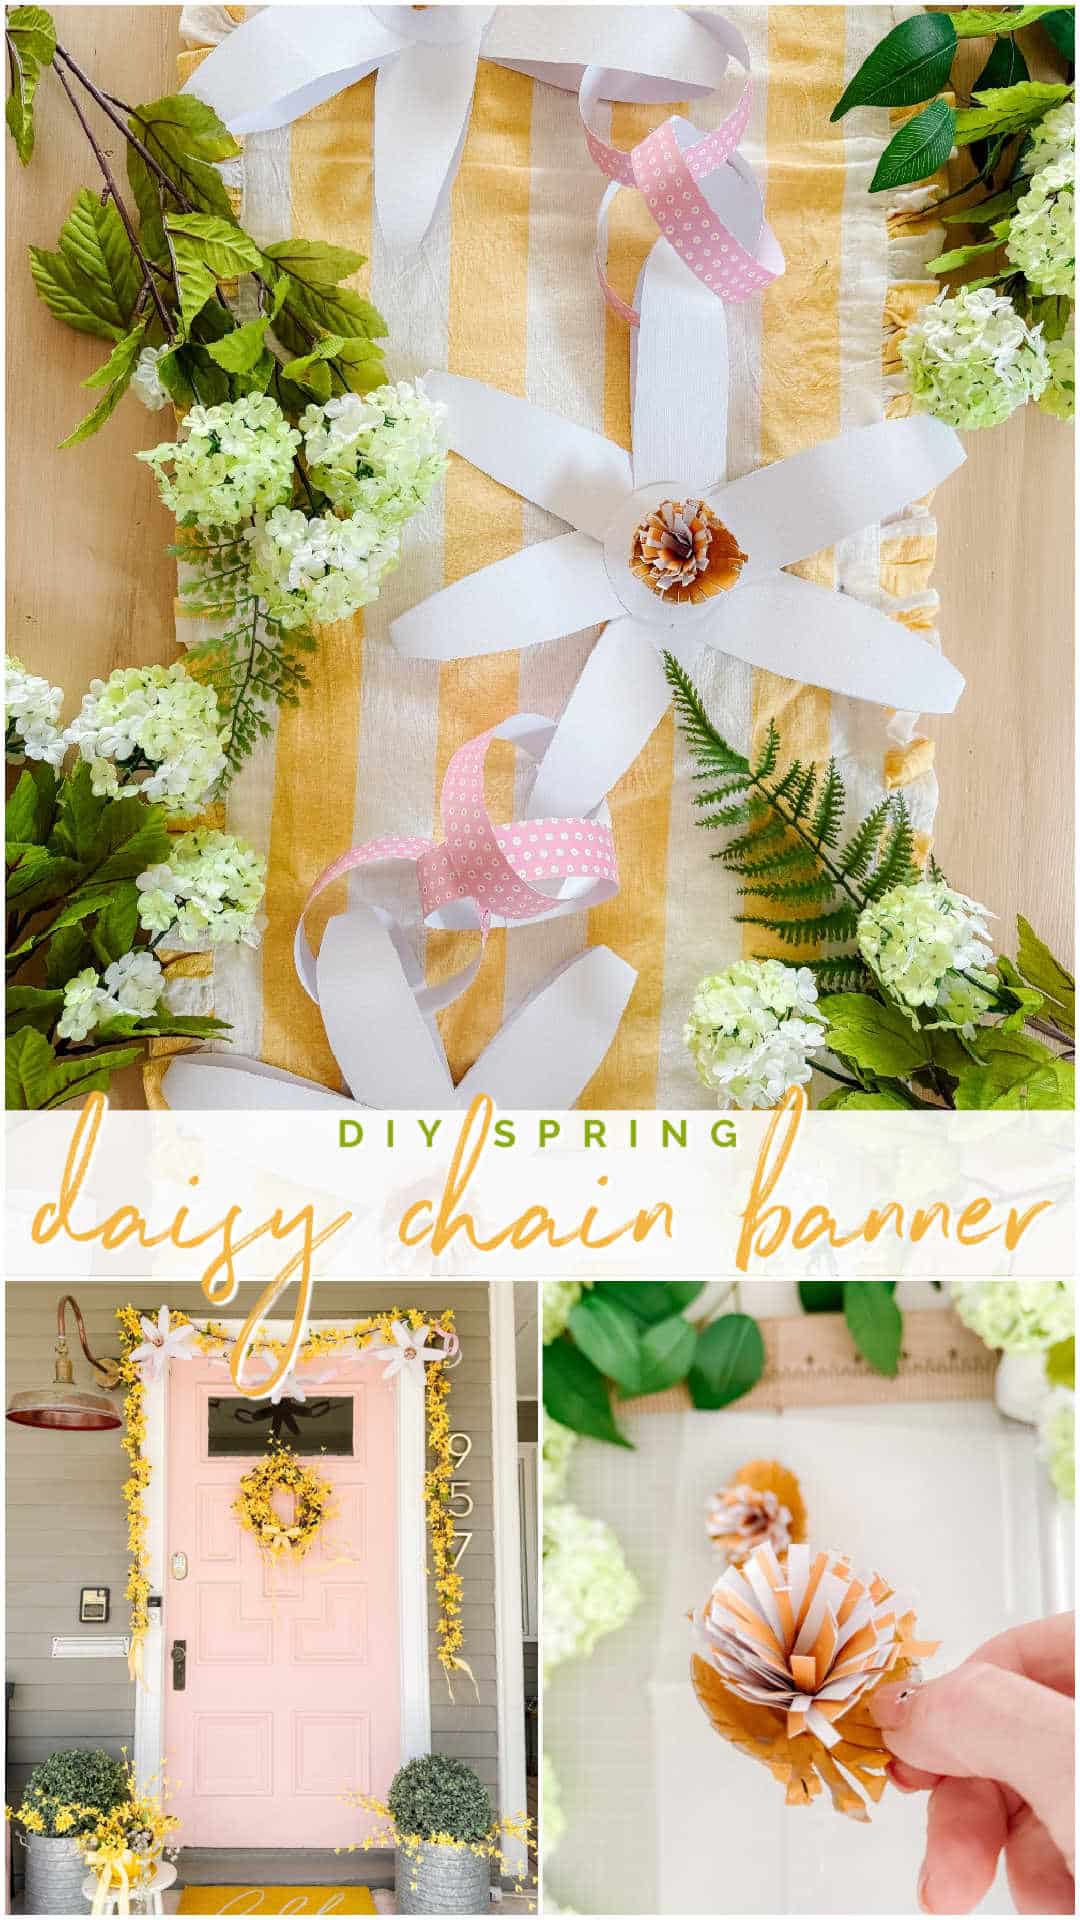
There’s just something about daisies that makes everything feel a little brighter, don’t you think? These cheerful blooms are popping up in fashion, accessories, and now—your home decor! Whether you’re throwing a daisy-themed party, decorating for spring, or just want to bring some floral happiness indoors, this DIY daisy paper chain is the perfect project. Bonus points? I used paper from my brand new American Crafts paper collection, and I can’t wait for you to see how it turned out!
Let’s get snipping, gluing, and stapling, shall we?
Five DIY Paper Crafts to Try This Spring
Today I’m joining four of my super creative friends who are also sharing DIY paper crafts—there’s something for everyone! From flowers to fun home accents, you’ll find tons of ideas to brighten up your space.
🌼 Be sure to scroll all the way down and HOP over to their tutorials for even more papery fun. You’re going to want to try them all, promise.
Supplies for Your DIY Daisy Paper Chain Garland
Here’s everything you need to create your easy daisy paper garland at home:
- White 12×12 cardstock (for the daisy petals)
- Yellow patterned paper from my American Crafts paper pad (for the flower centers)
- Matching yellow paint
- Empty egg carton (optional but fun!)
- Pink 12×12 paper (for the paper chain links)
- Hot glue gun
- Stapler
- Scissors or paper trimmer
How to Make the Petals for Your DIY Paper Daisy Flowers

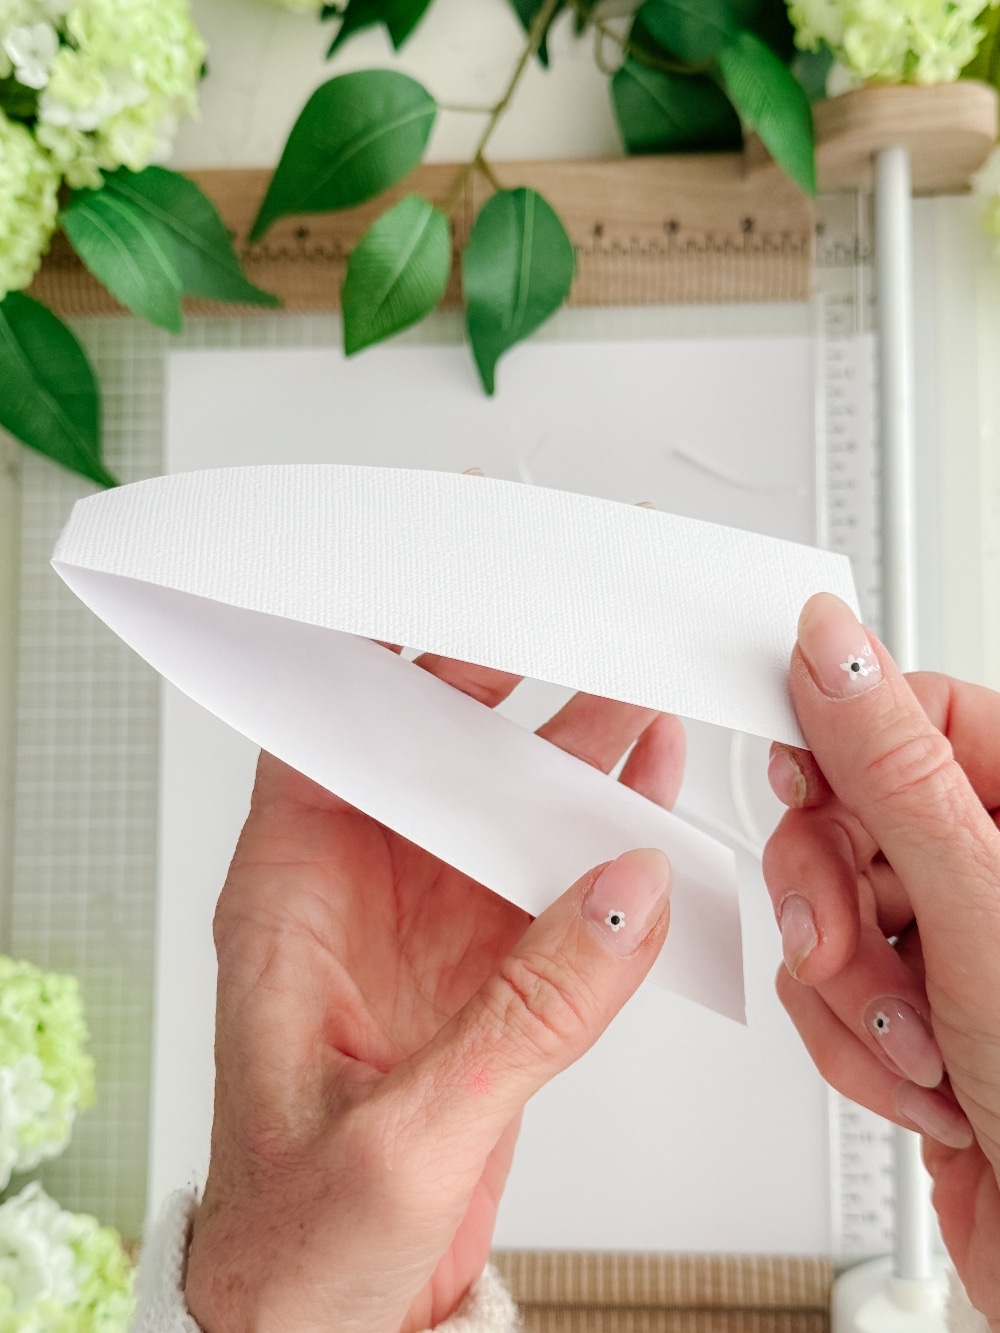
Start by making the petals for your paper daisy flowers. Use a paper trimmer or scissors to cut the white 12×12 cardstock into 2-inch strips.

- Fold each strip in half.
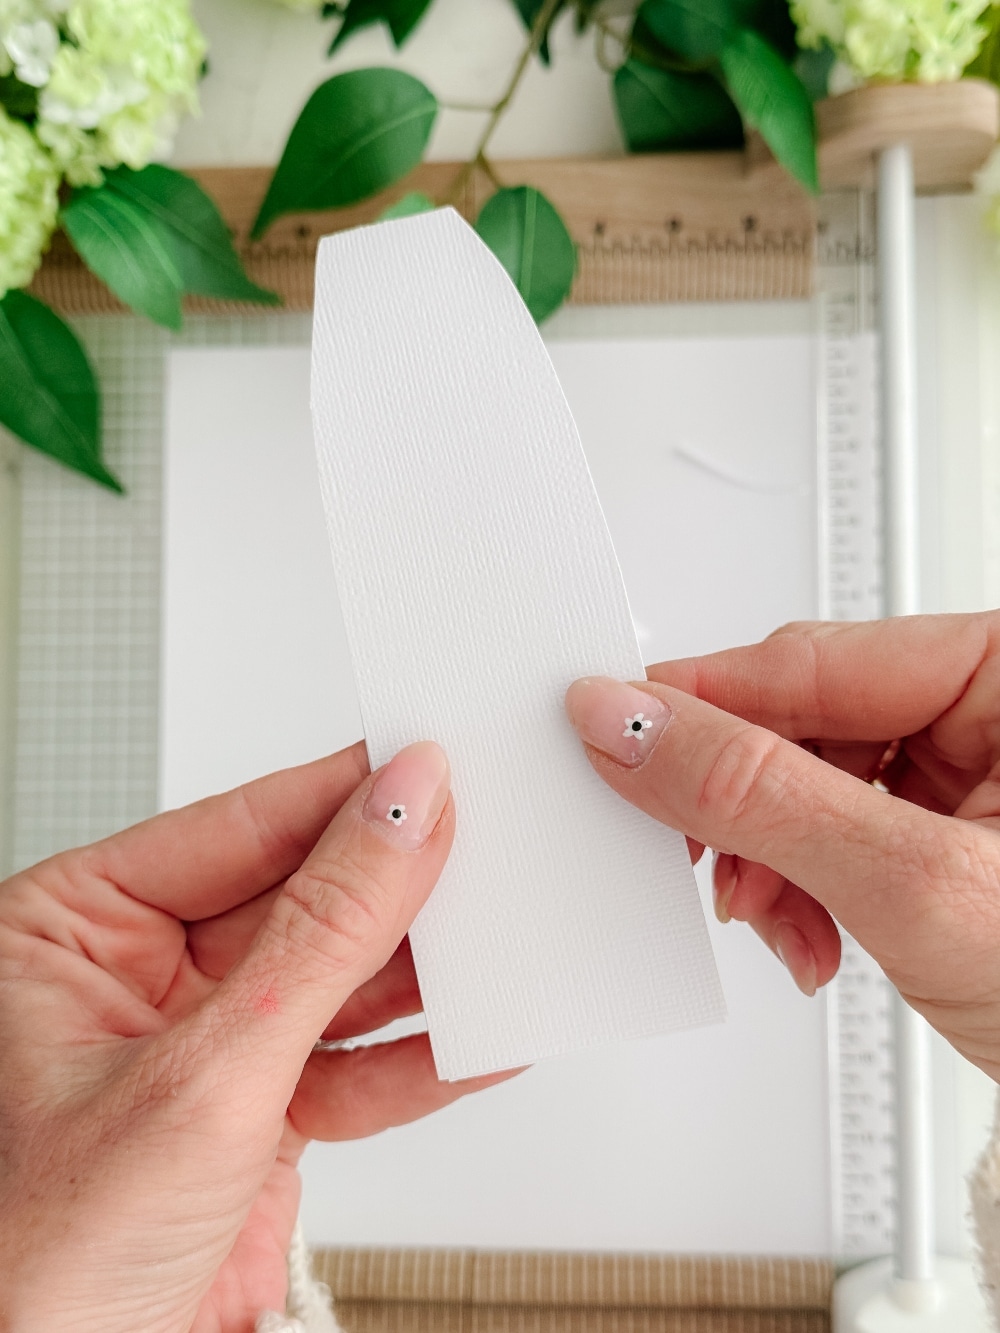
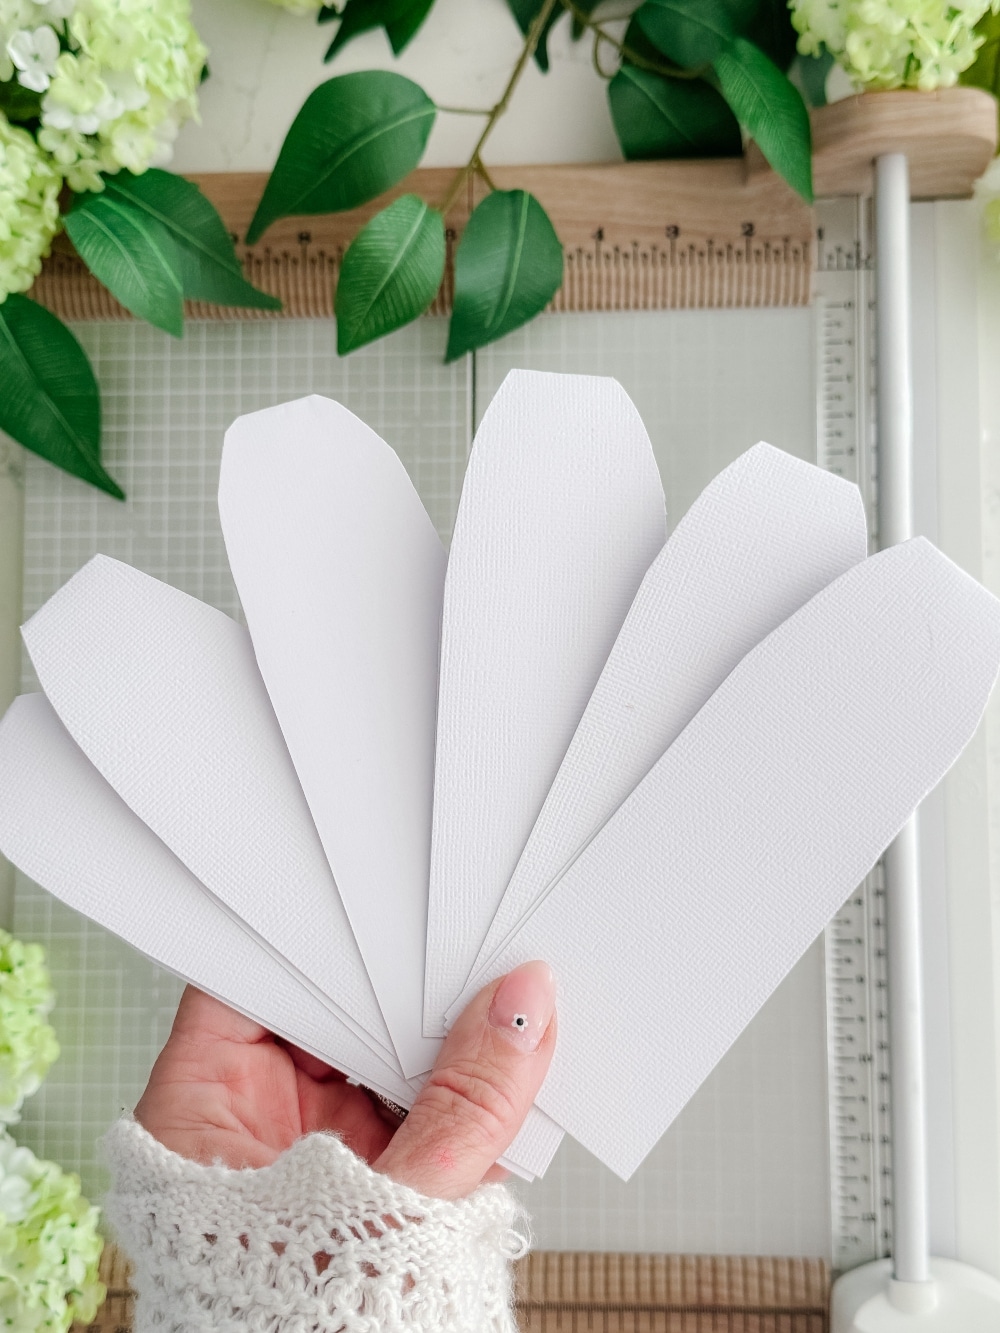
- Trim the folded end with scissors so it’s slightly narrower—this gives your daisy petals a natural shape.
- Take six petals and overlap them into a circle.
- Use a stapler to attach them together at the narrow ends.
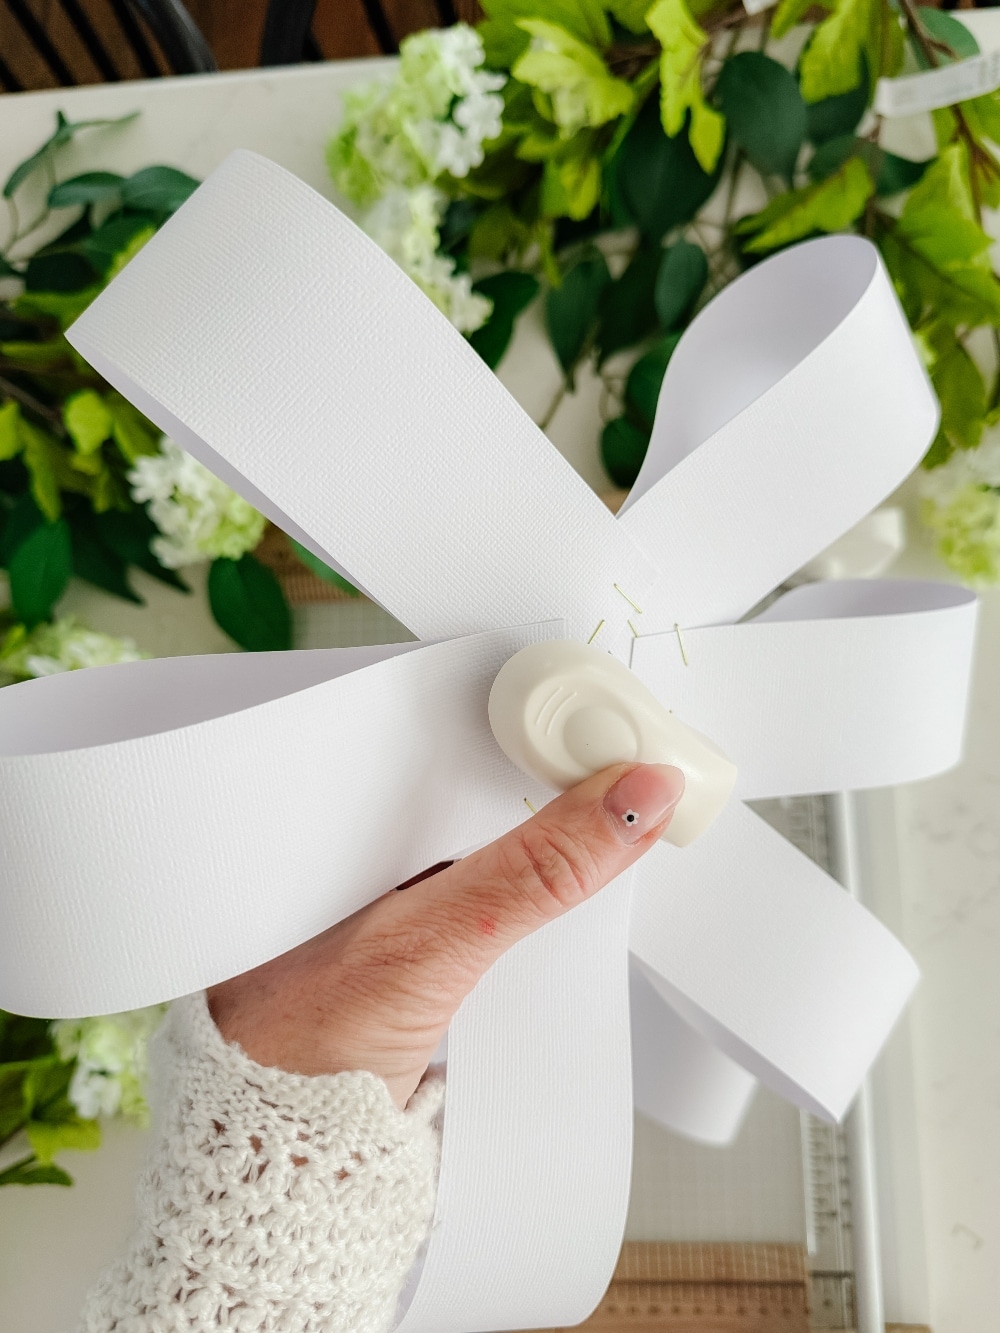
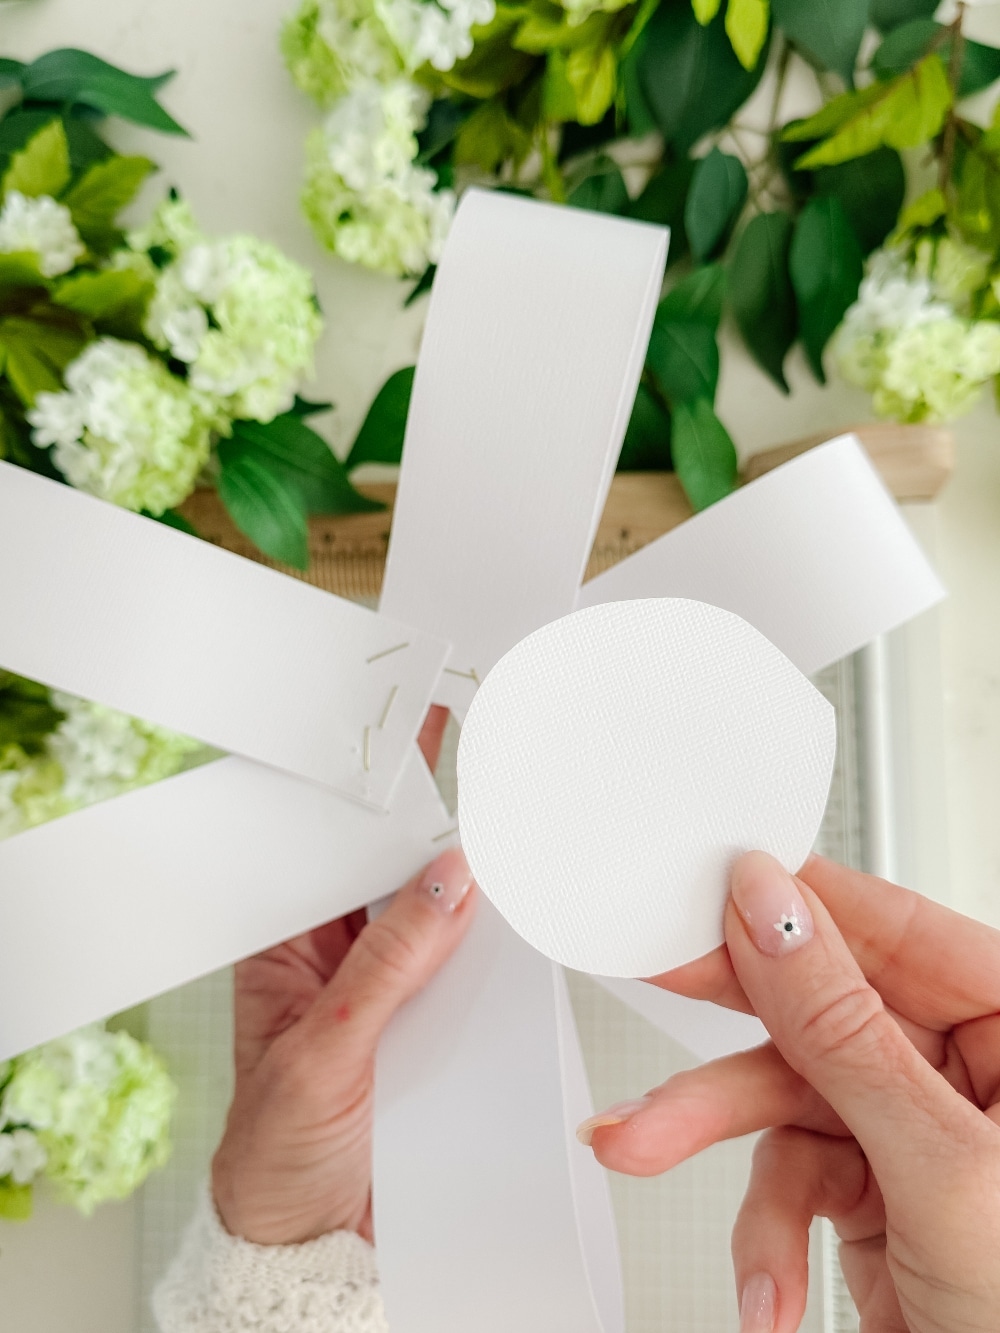
Each flower uses six petals, and don’t worry about that staple showing—now you’re going to cut out a white circle to cover up the staples.
Add the Yellow Flower Centers to Your Paper Daisy Chain
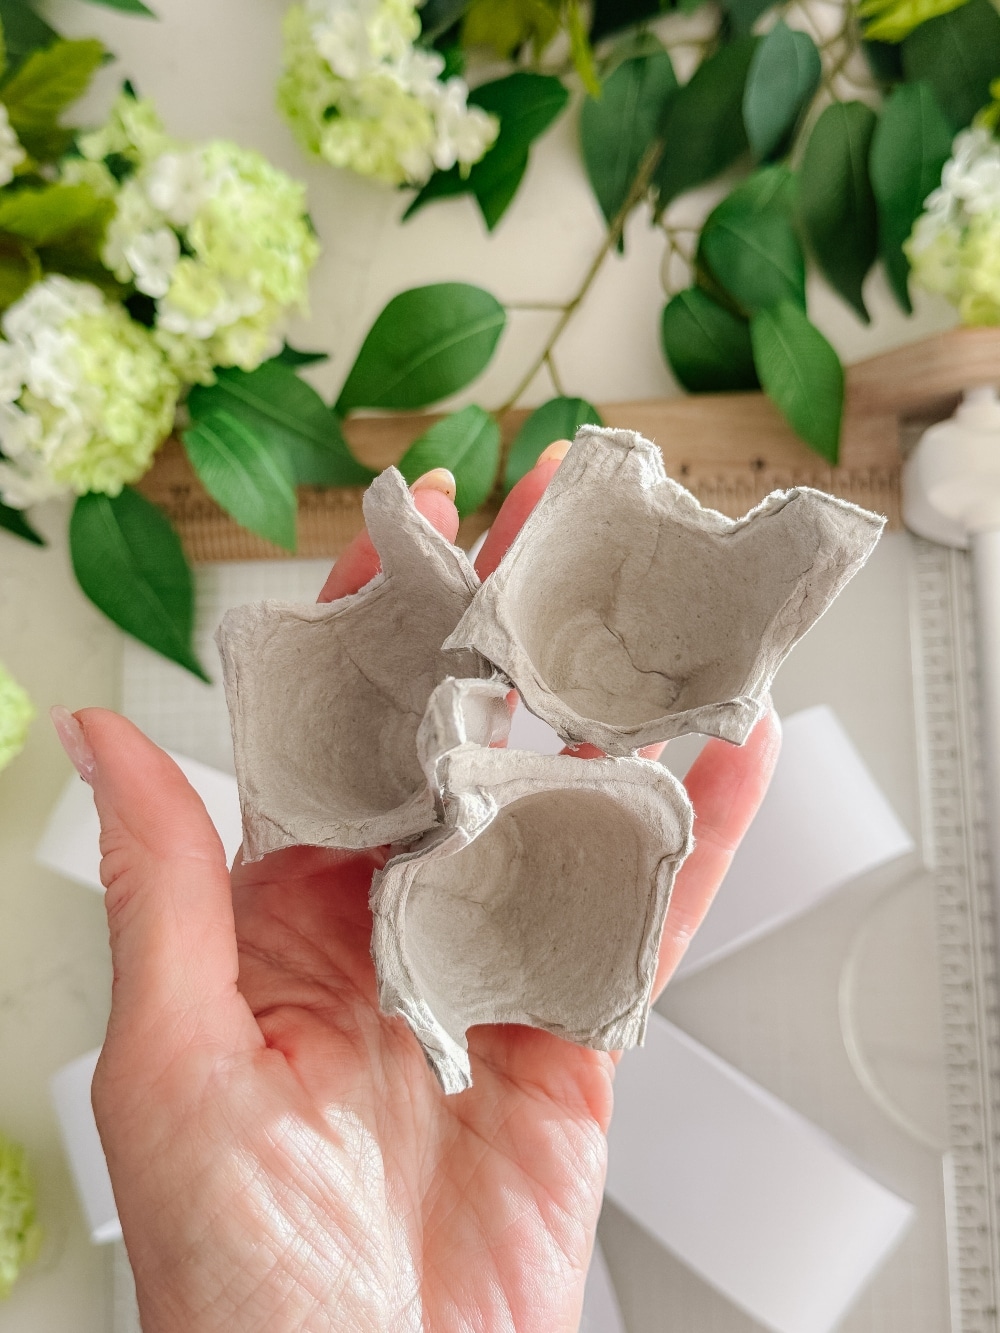
Now take the paper egg carton and cut out three of the egg holders. Then trim it to look circular.
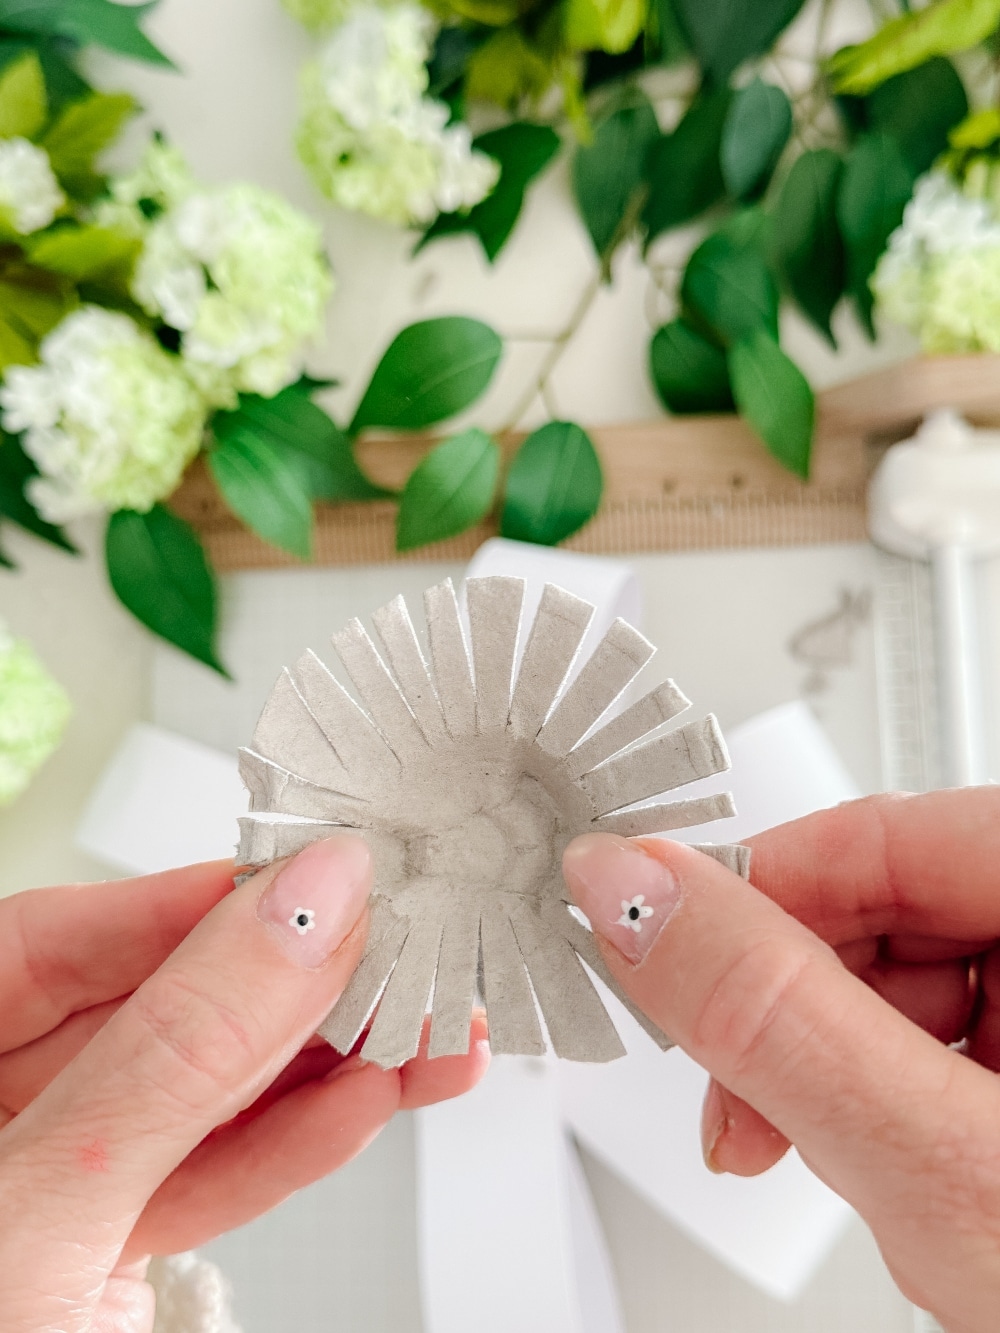
Now use scissors to make cuts around the edges of the egg container. Paint the egg cartons the same color yellow as the paper.
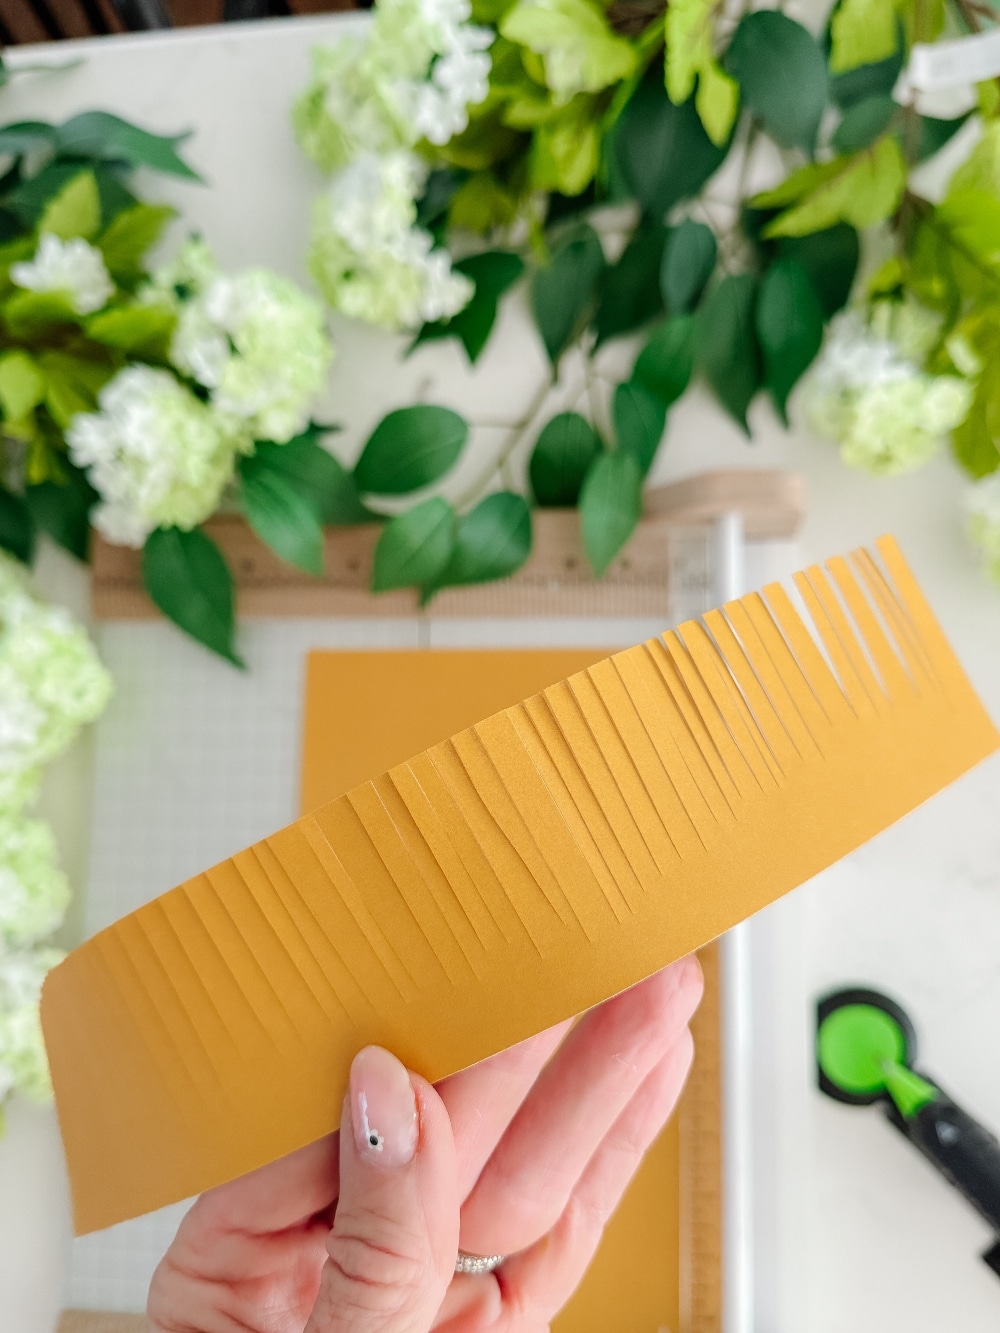
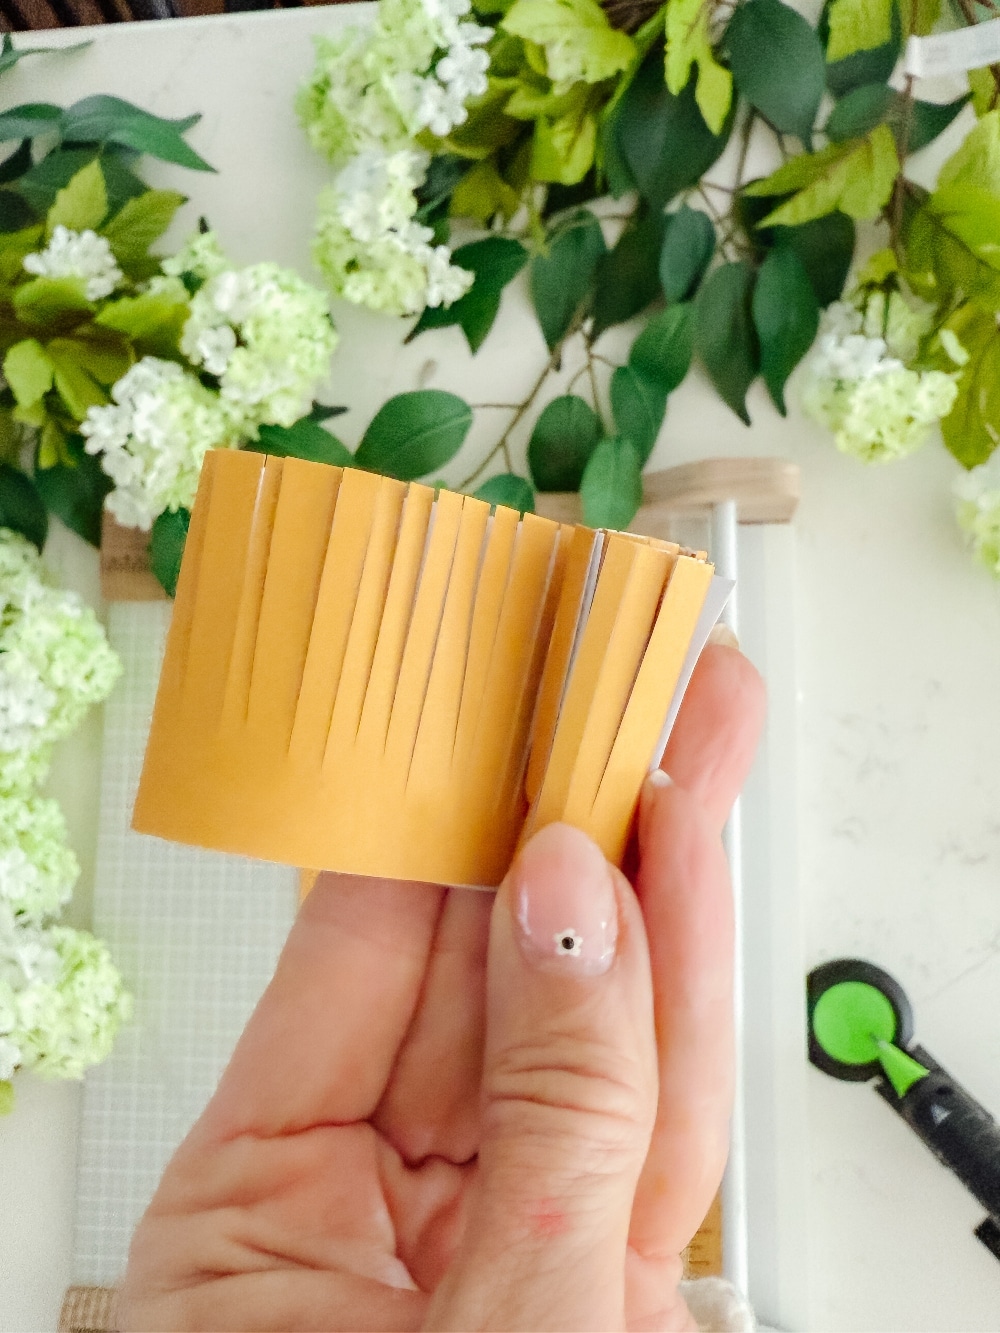
- Make 1.5 inch paper strips with the yellow paper. Then make small cuts halfway through the paper all the way down the strips.
- Fold the paper in half.
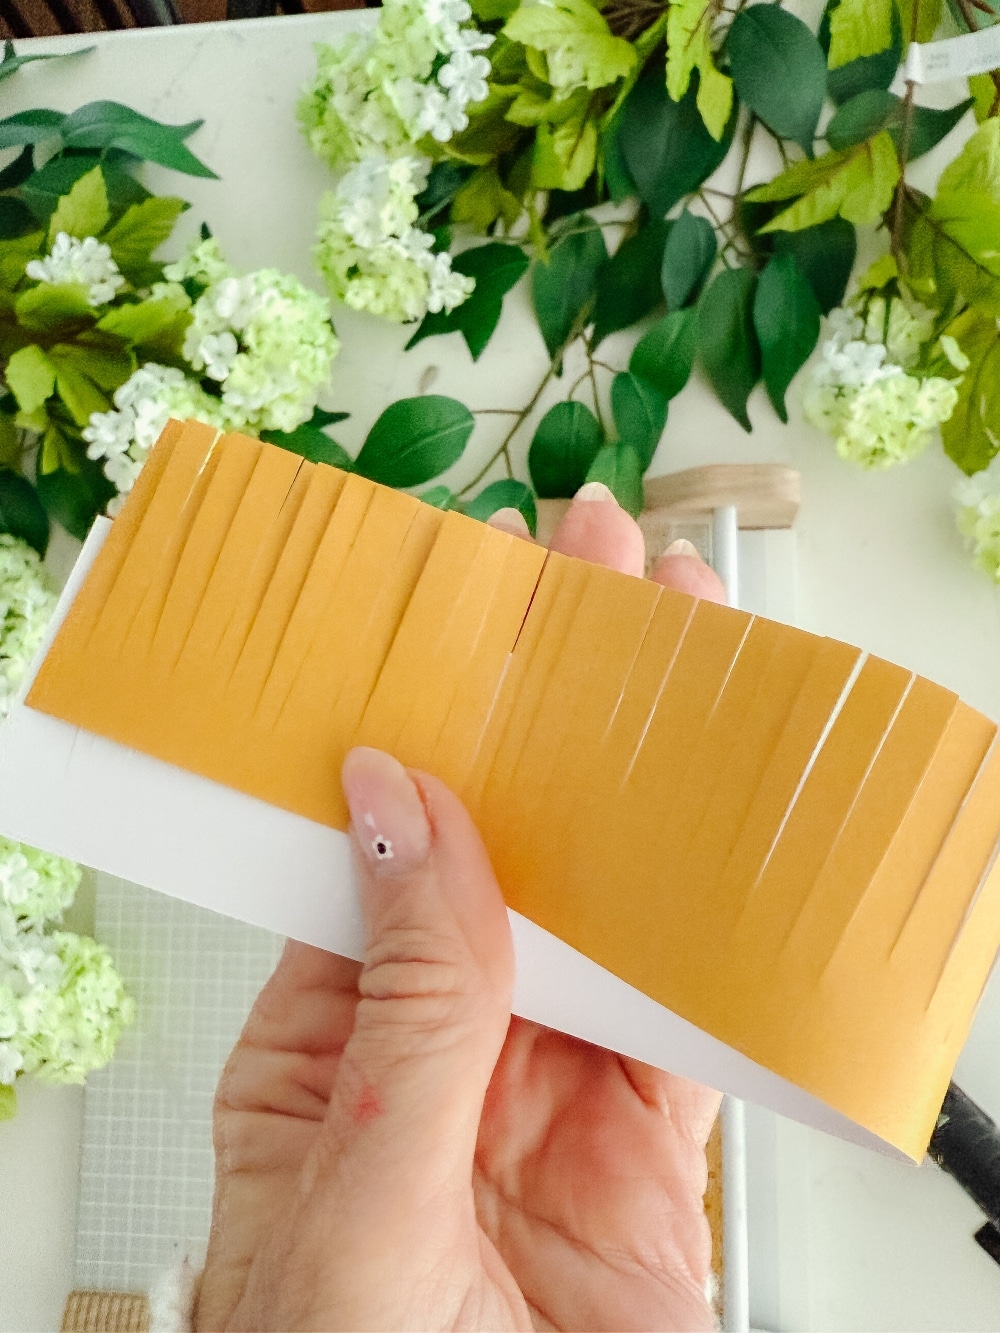
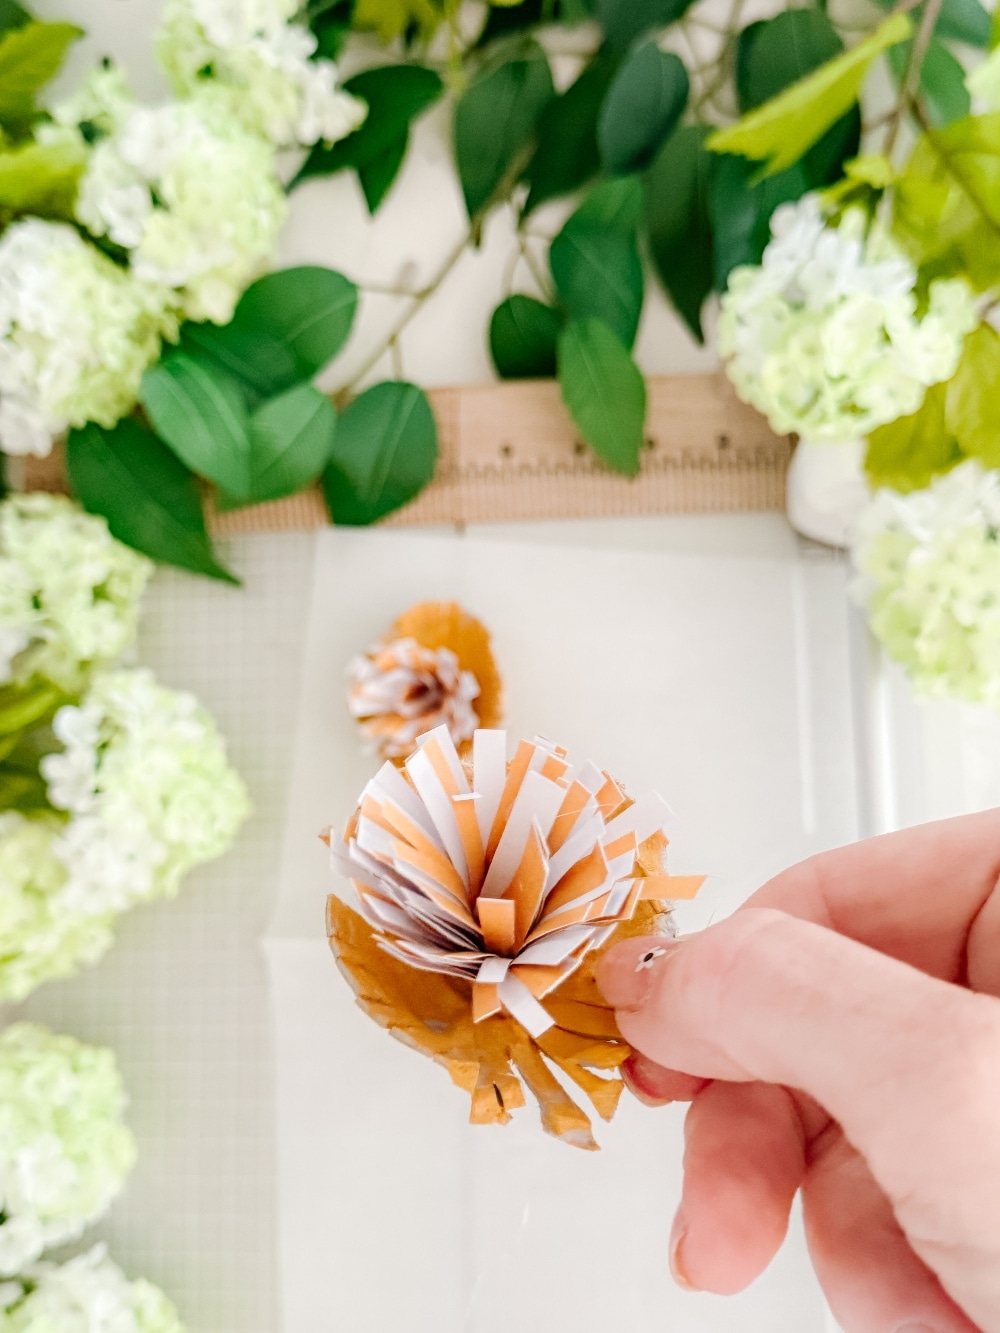
- and then roll it up and secure the edges with hot glue.
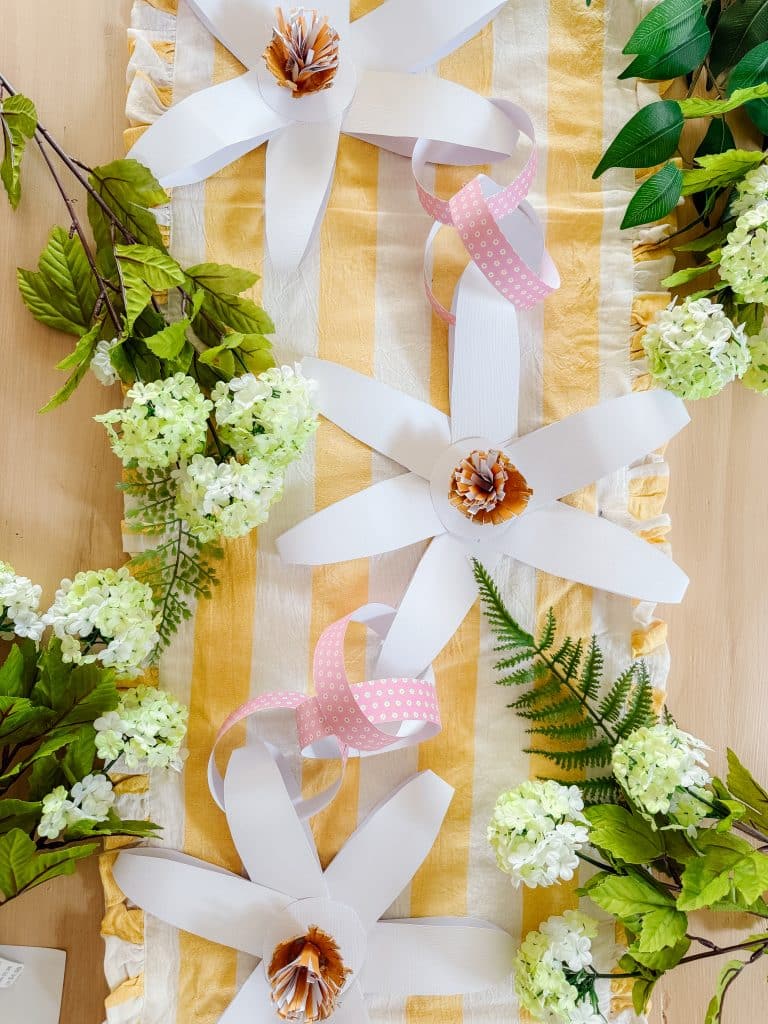
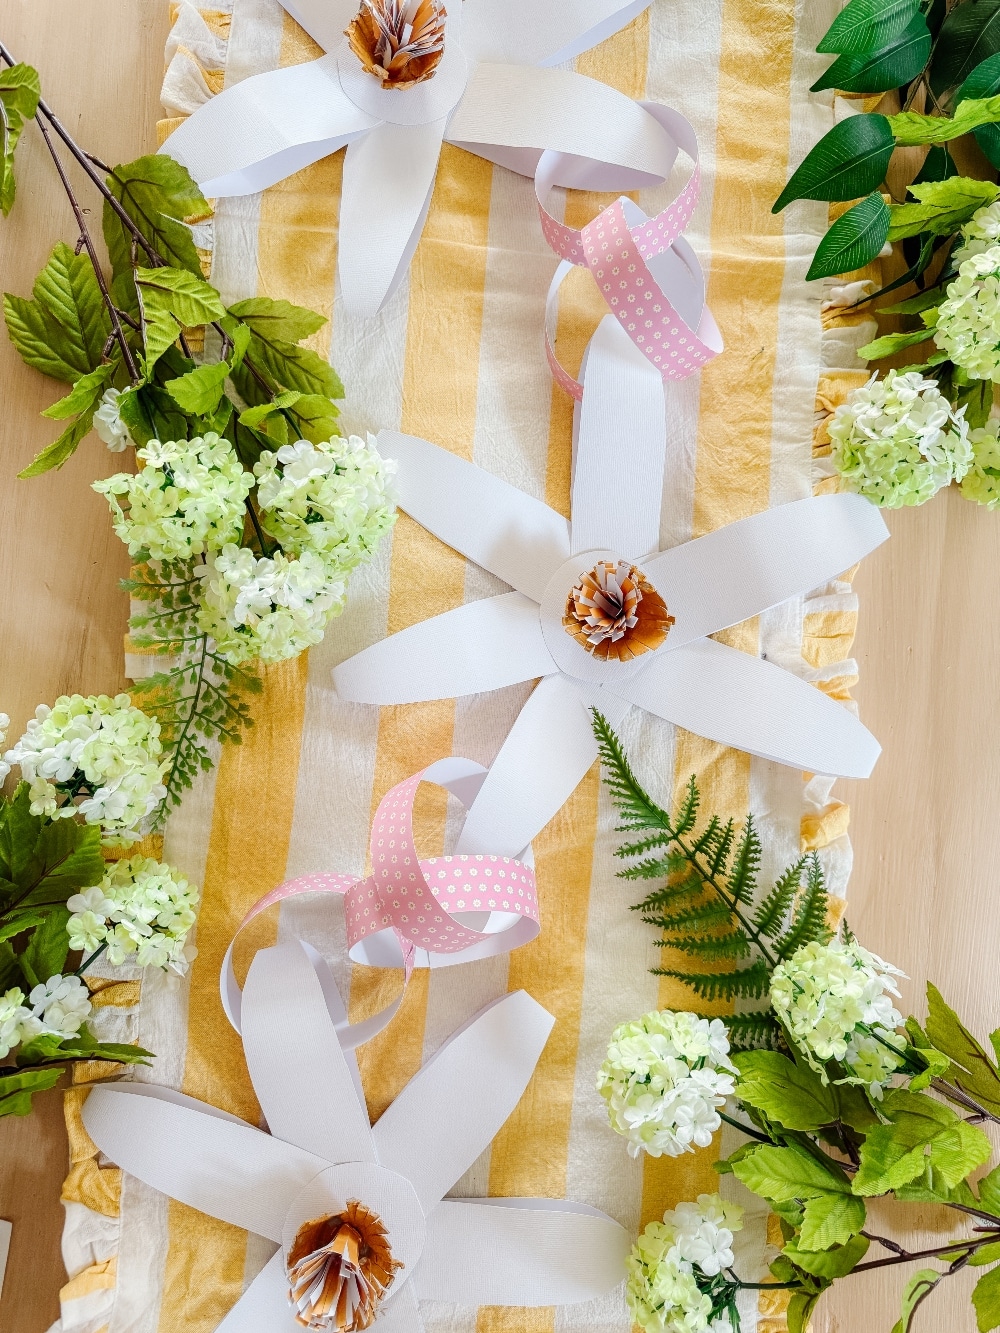
Boom—your DIY paper daisies are blooming beautifully.
Create the Pink Paper Chain to Attach the Daisy Flowers
Now it’s time to create the paper chain garland that holds it all together!
- Cut your pink 12×12 paper into twelve 1-inch strips.
- Take the first strip and glue the ends together to make a loop.
- Loop the second strip through the first, then glue its ends.
- Continue this until you have three loops.
For the third strip, loop it through the previous chain and one of your daisy petals. Hot glue it in place to connect the flower to the chain.
Repeat this on the other side of the flower with three more loops and the next daisy.
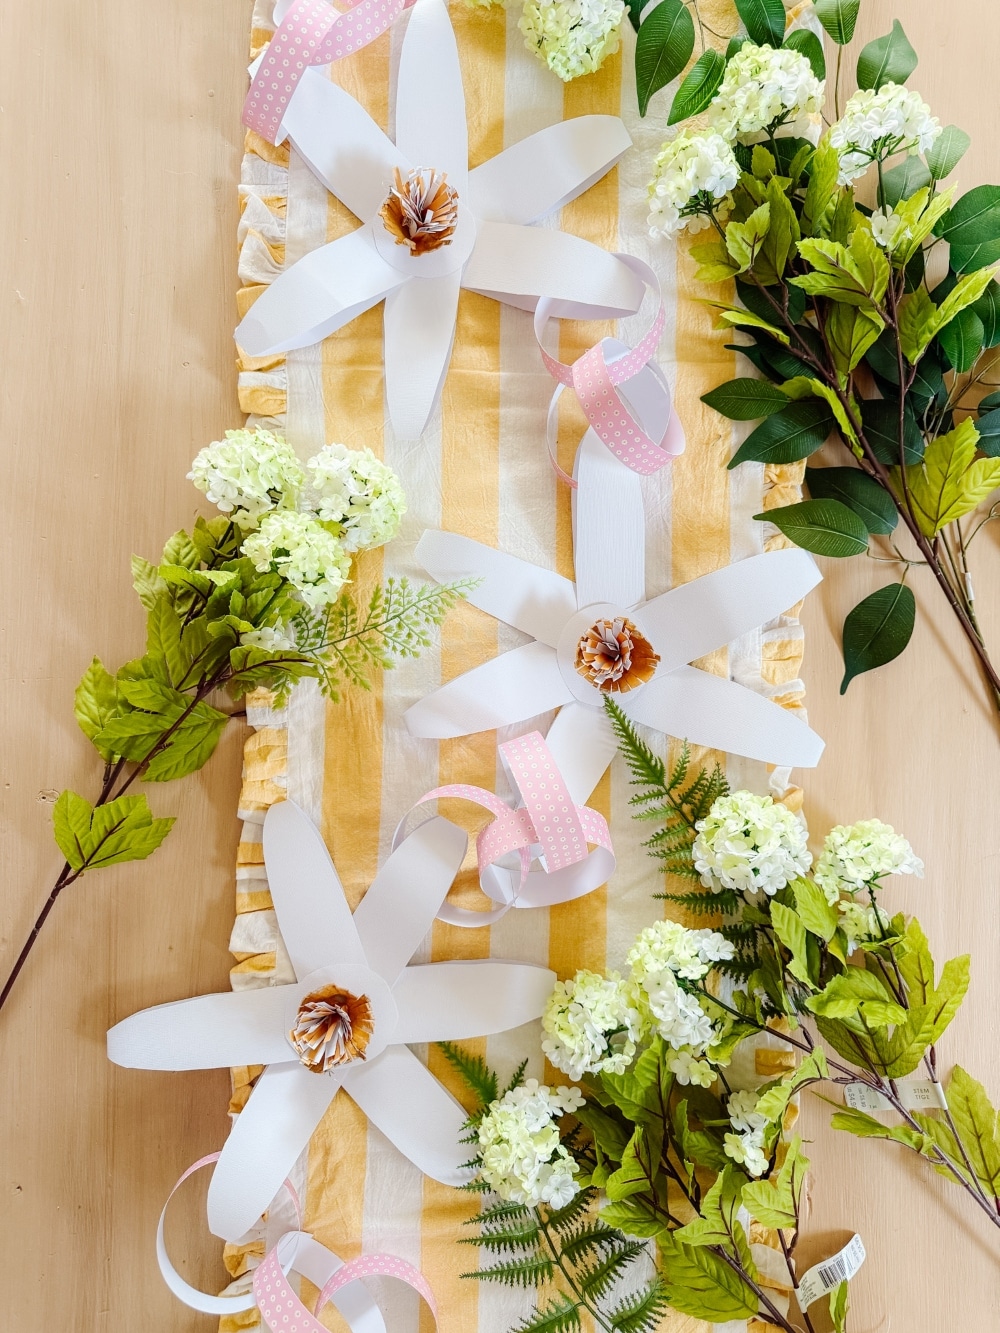
Assembling the DIY Daisy Paper Chain Banner
To build your DIY daisy banner, follow this pattern:
- Add three paper chain loops
- Attach a daisy flower
- Add three more loops
- Repeat until all your flowers are attached
You can make your daisy garland as long or short as you like—just adjust the number of flowers and paper chain links.
Want smaller flowers? Just halve the size of everything (1-inch strips instead of 2-inch, smaller circles, etc.) for a mini version.
Ways to Use Your DIY Daisy Paper Garland for Spring Decor
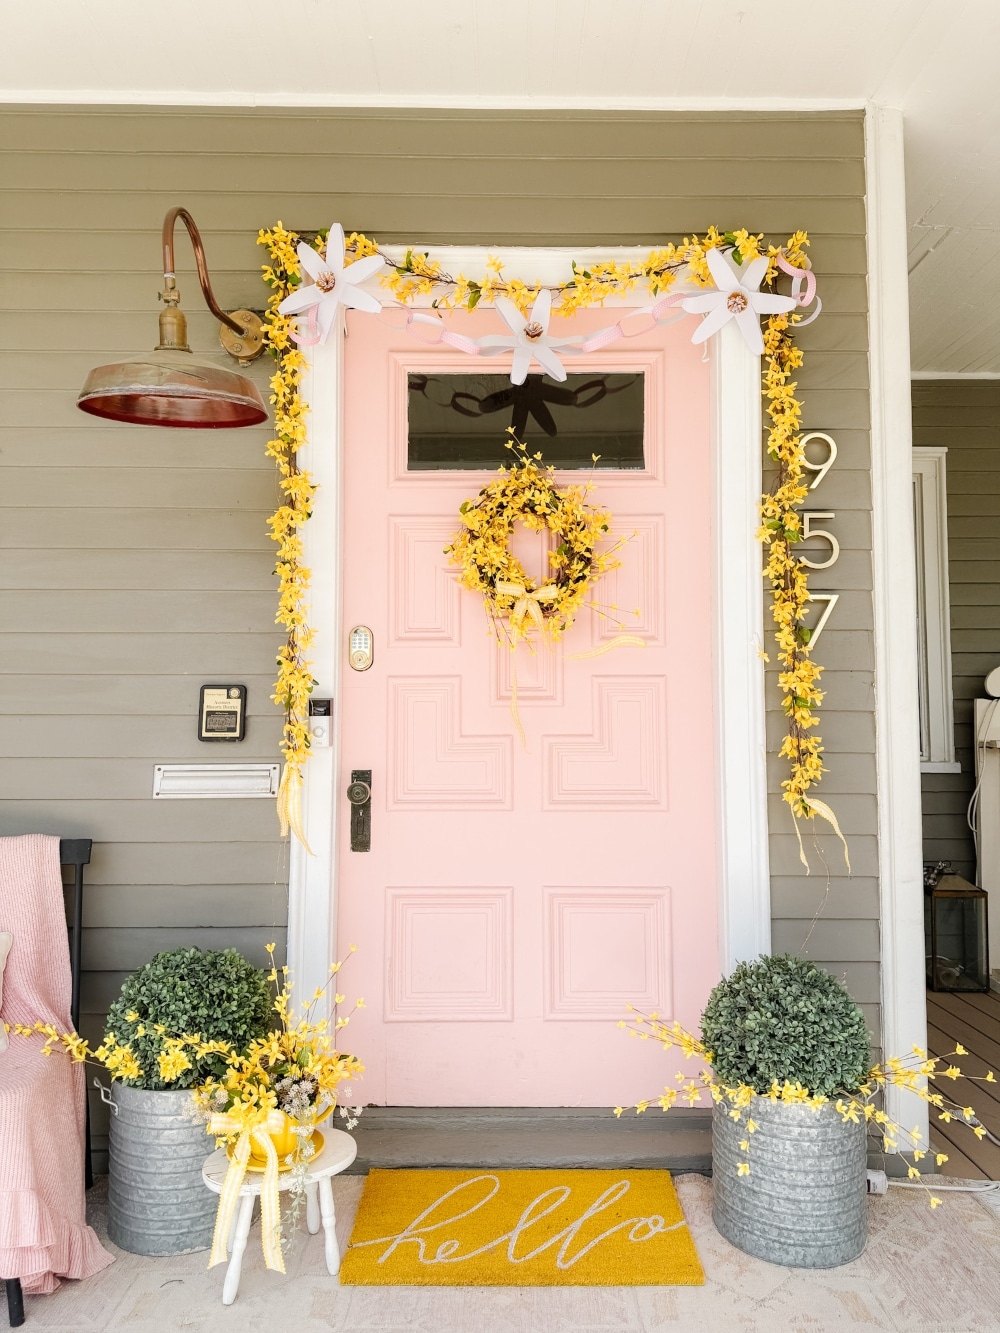
Your cheerful DIY daisy paper chain garland is now ready to decorate your space! Here are some fun ways to use it:

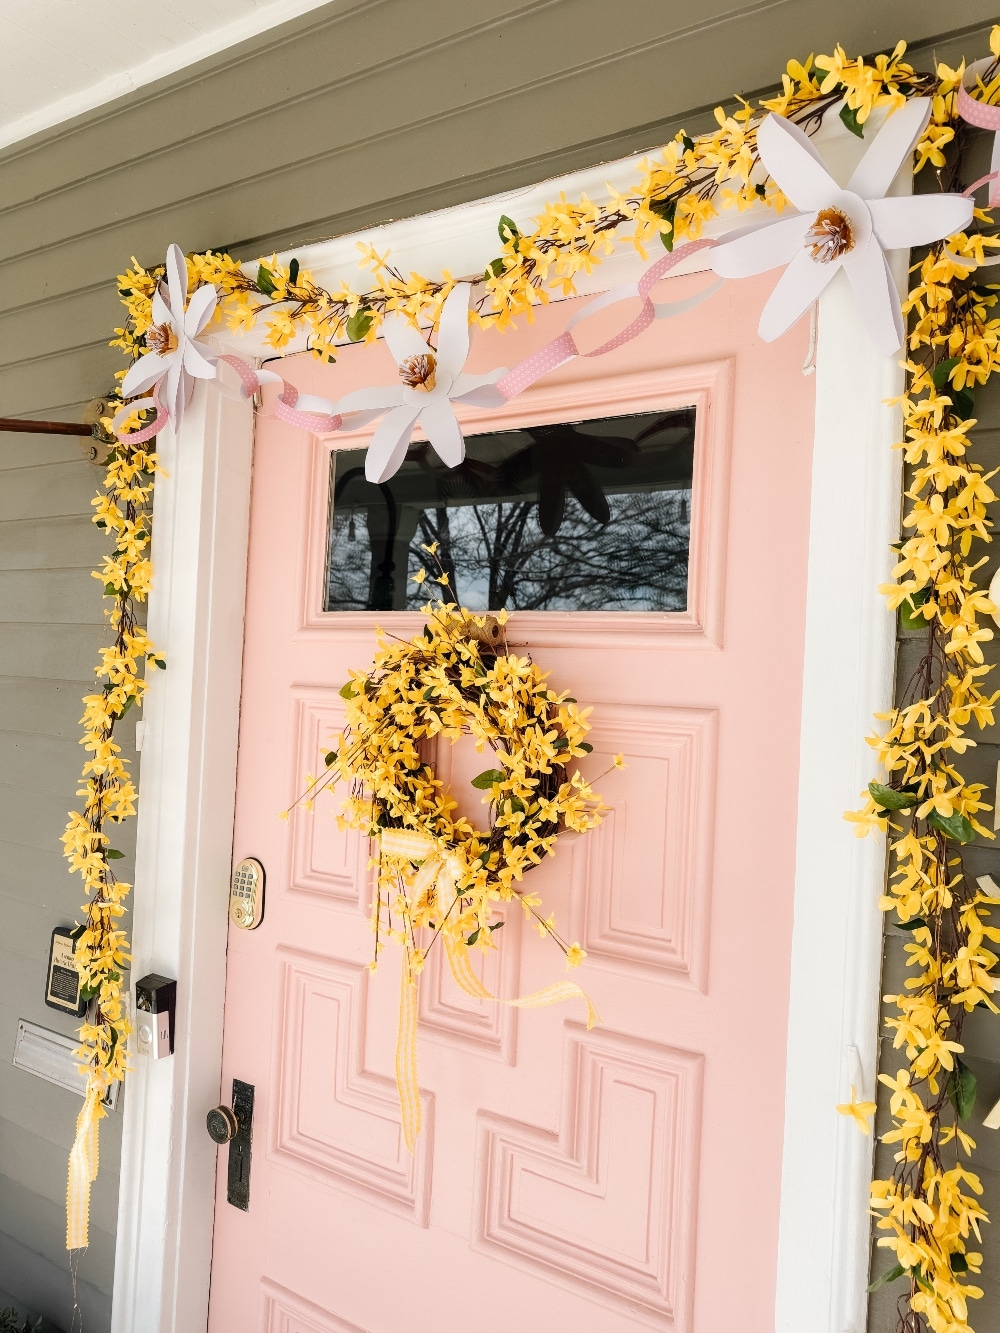
- Hang it over a doorway to welcome guests
- Drape it across your mantel for instant spring style
- Use it to decorate a shelf or tiered tray
- Add it to a spring or daisy-themed party as a centerpiece or backdrop
- String it across a child’s room or nursery for a whimsical touch
This easy daisy banner adds instant happiness wherever it goes!
You’re One Crafty Daisy 🌼
And there you have it—your own DIY daisy paper flower chain made with love (and a little hot glue). It’s simple, fun, and the perfect way to bring a little extra sunshine into your home.
I’d LOVE to see your version! Tag me over on Instagram @tatertotsandjello and show me where you’re hanging your daisy chain. Let’s fill the world with more happy handmade blooms.
🌼 Don’t forget to scroll down and visit the other DIY paper craft ideas my friends are sharing today!
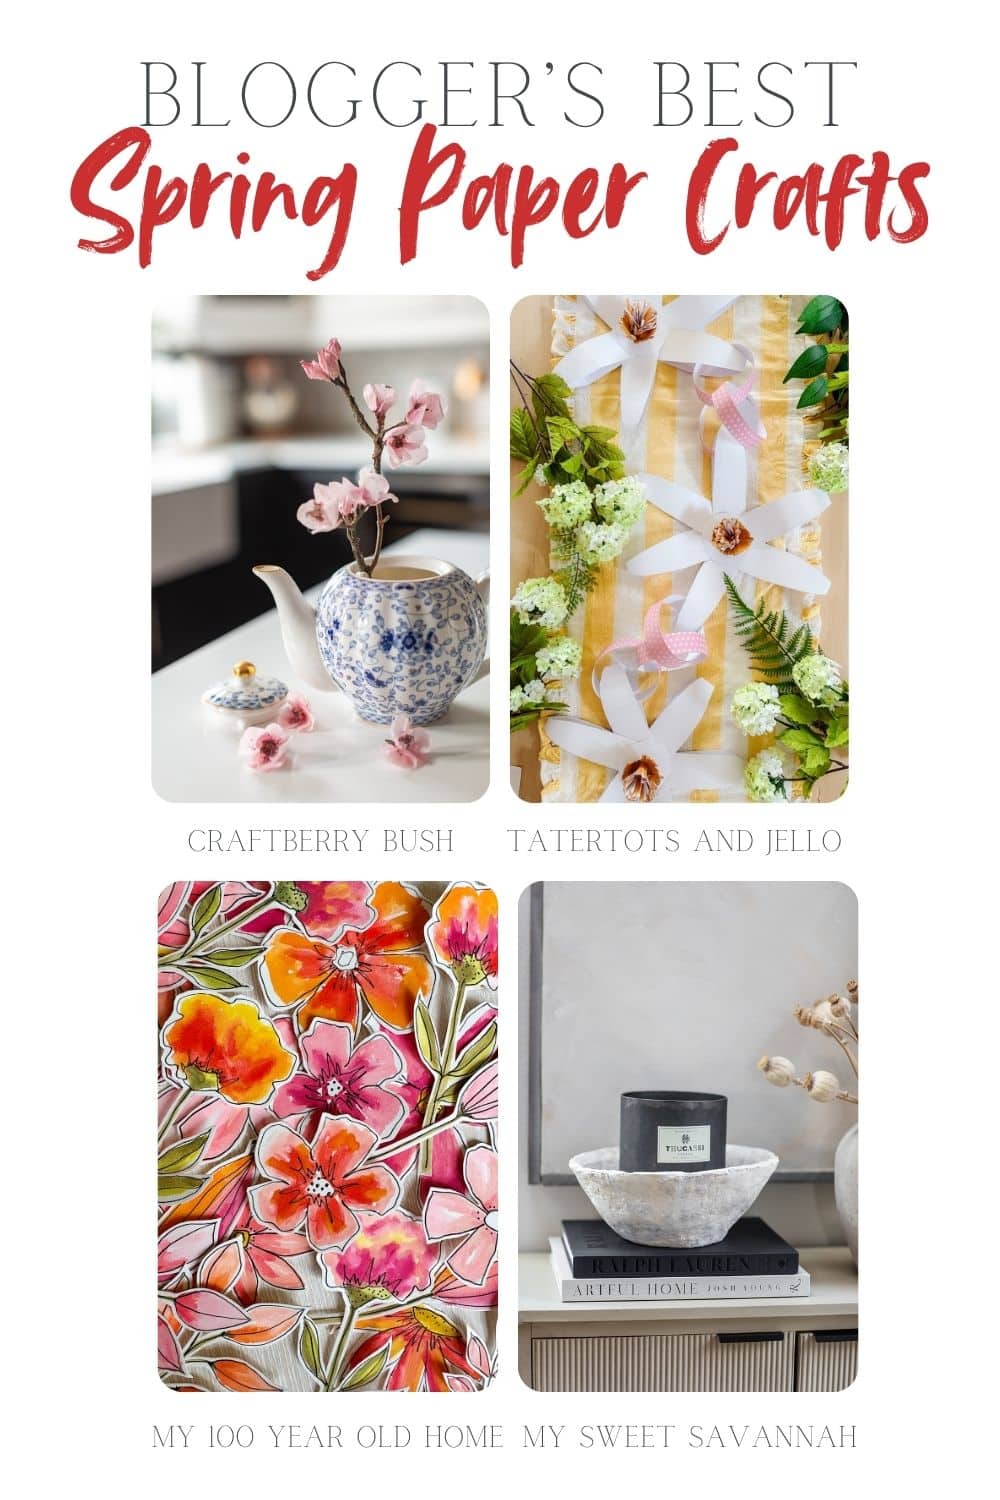
Blogger’s Best Paper Crafts
Craftberry Bush
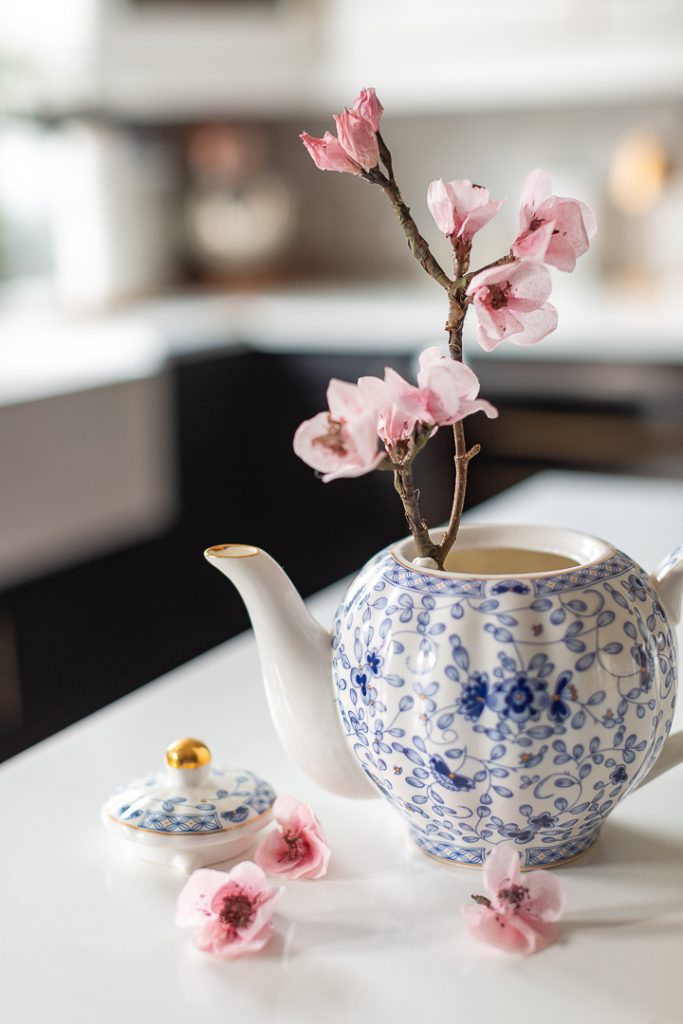
Coffee Filter Cherry Blossoms
Make these sweet cherry blossoms using dyed coffee filters.
MY 100 Year Old Home
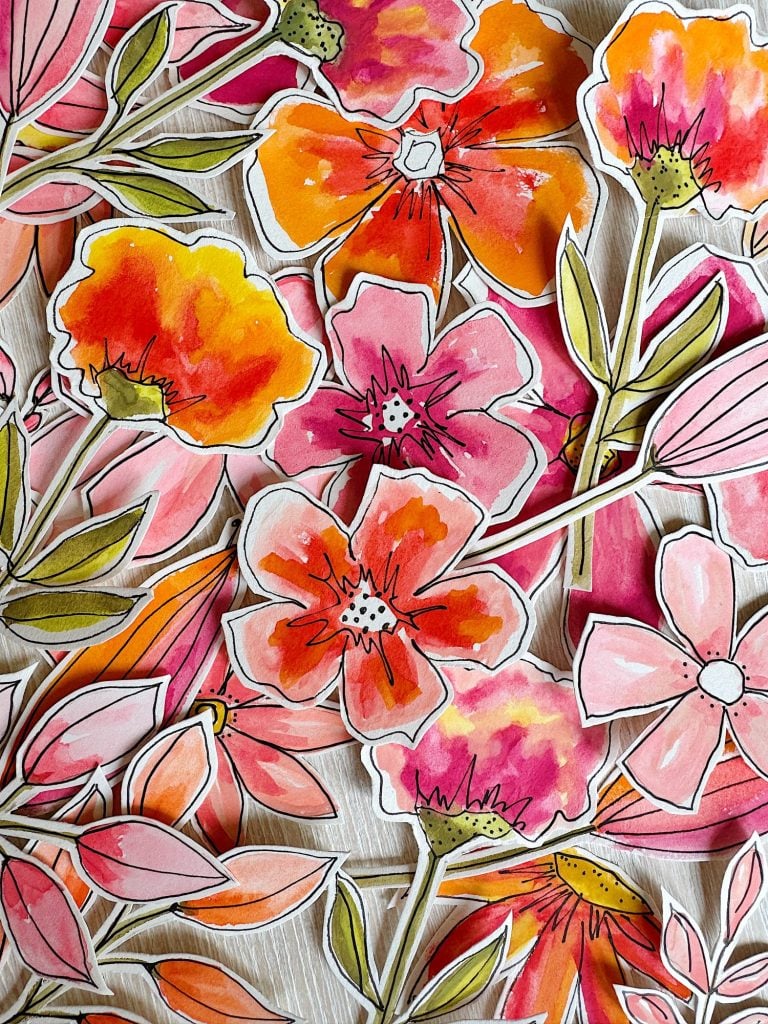
Spring Paper Craft Ideas
These whimsical and colorful paper flowers were so much fun to make. I have seen these paper blooms everywhere on Pinterest and social media. I’ve even seen them sold on Etsy! But instead of purchasing them, I decided to make my own, and I’m so glad I did.
Tatertots and Jello

DIY Daisy Paper Chain Banner
Learn how to make a cheerful DIY daisy paper chain banner using cardstock and hot glue—perfect for spring decor, parties, or brightening up any space!
My Sweet Savannah
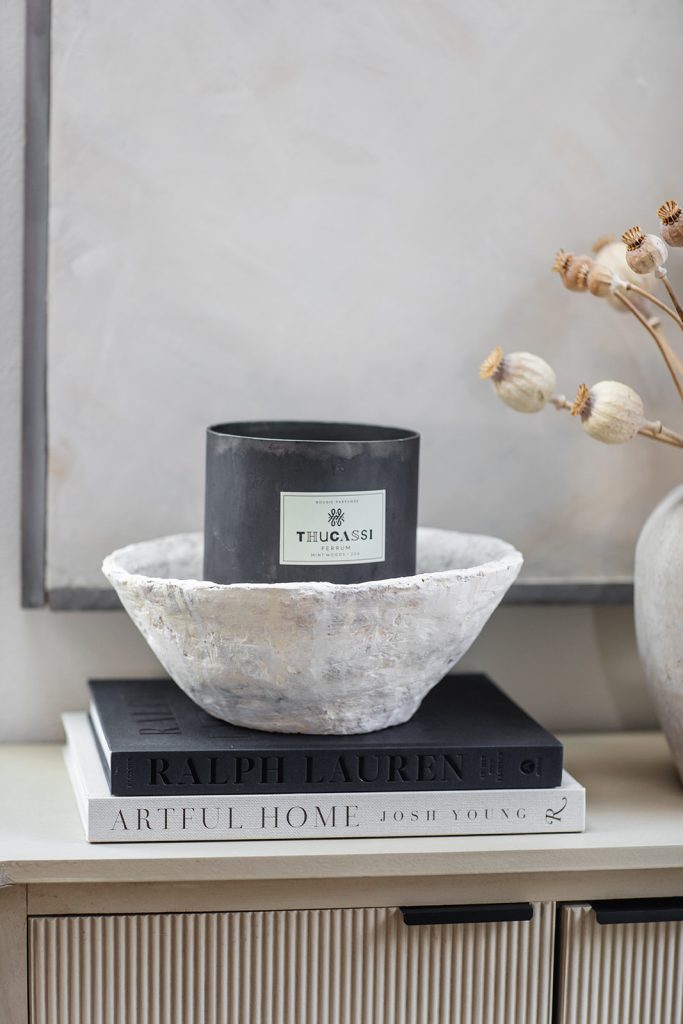
Easy Paper Mache Bowl with Peat Pots
Create a rustic, eco-friendly paper mache bowl using just peat pots and Elmer’s glue. This simple, beginner-friendly craft is perfect for adding a personalized, handmade touch to your home decor.
Have a Creative Day!
xoxo


This is the cutest idea and I love your nail art too!