Make a Macrame Market Bag for Beginners! One of the best parts of spring and summer is fresh produce at the farmer’s market. Make an easy macrame market bag with this easy DIY!
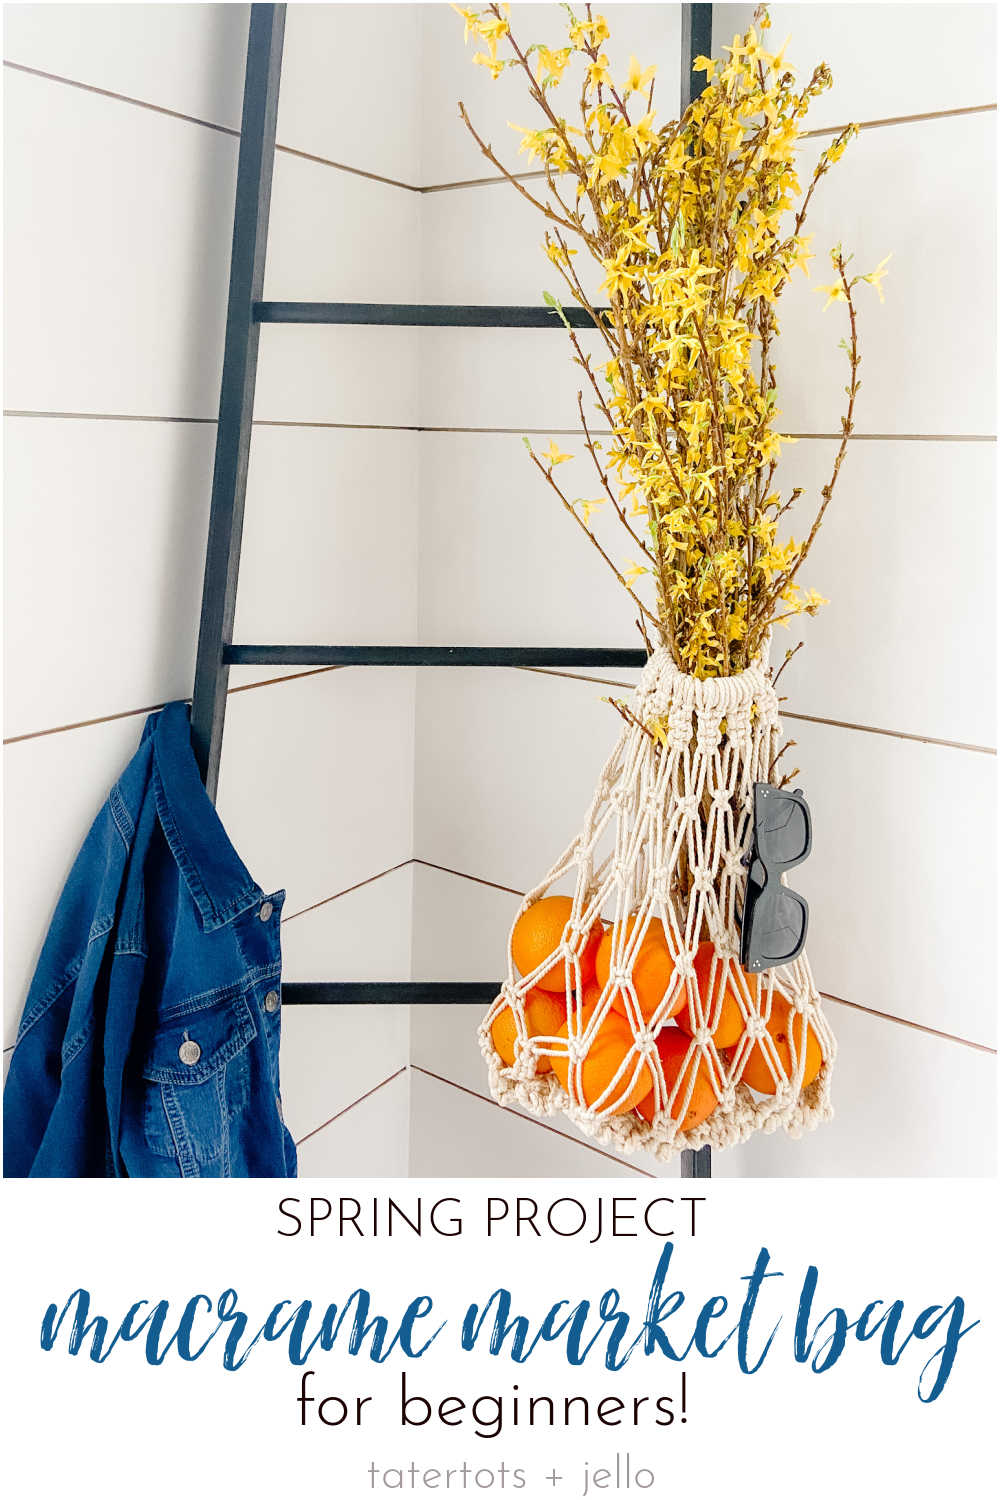
Macrame Market Bag for Beginners
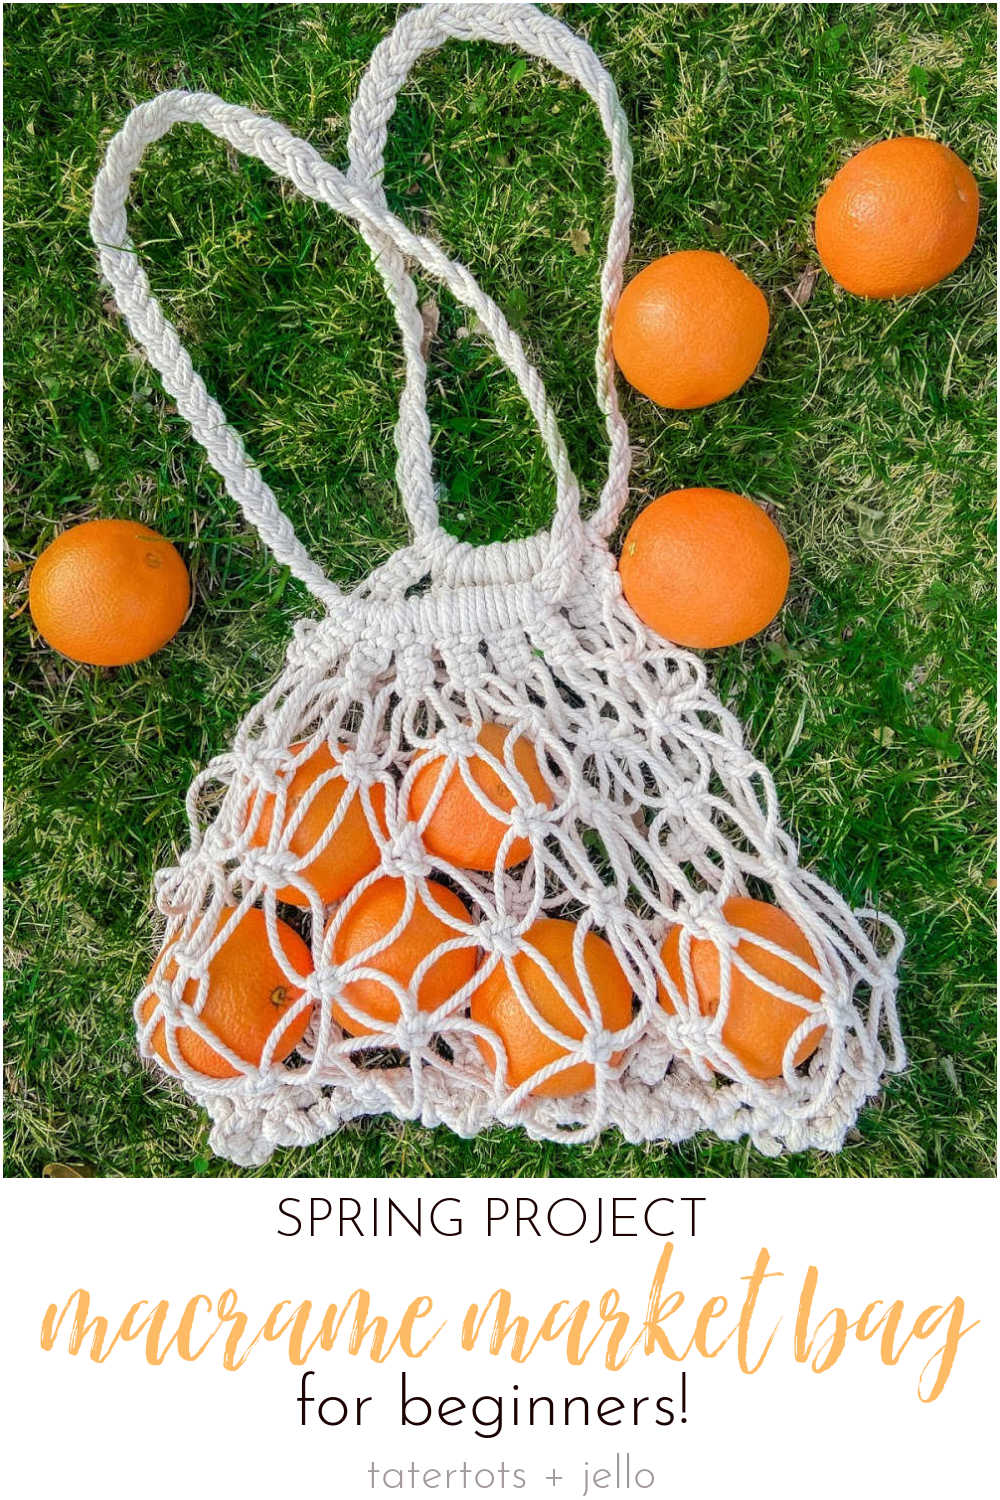
I’ve been wanting to learn how to macrame for years! I finally bought some cord and started with this DIY market bag. It’s the perfect project to start out and it’s so useful! One of my favorite things to do on spring and summer weekends is head down to the downtown SLC farmer’s market for fresh produce!
Spring DIY Projects
How to Dry Flowers and Make a Wreath
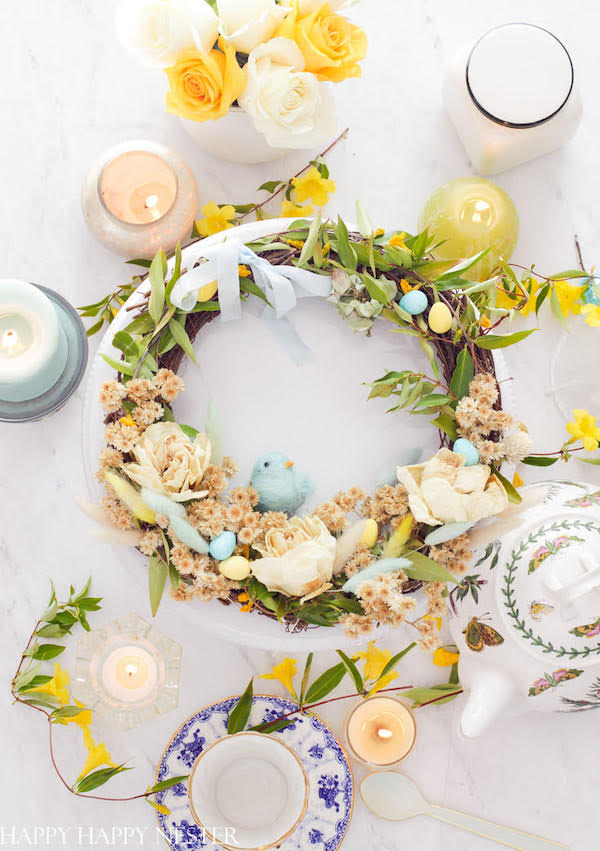
How to Dry Flowers is a simple project. No need to use silica gel since they dry quickly. I recently preserved a bunch of store-bought roses, and I made a beautiful wreath. Check out this easy DIY project.
How to Make a Textured Vase with DIY Plaster Paint
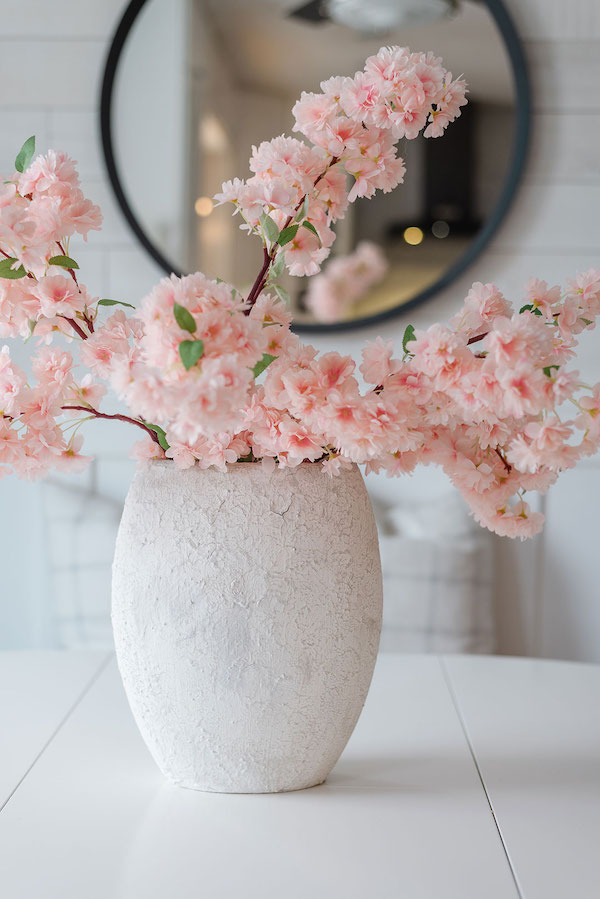
Have an old vase or jar that you want to turn into a beautiful, textured piece? Let me show you how to make DIY plaster paint to make the perfect vintage-look vase to hold your Spring blooms!
Macrame Market Bag for Beginners Supplies
This post may contain affiliate links. Affiliate links cost nothing to you and allow us to bring you free content.
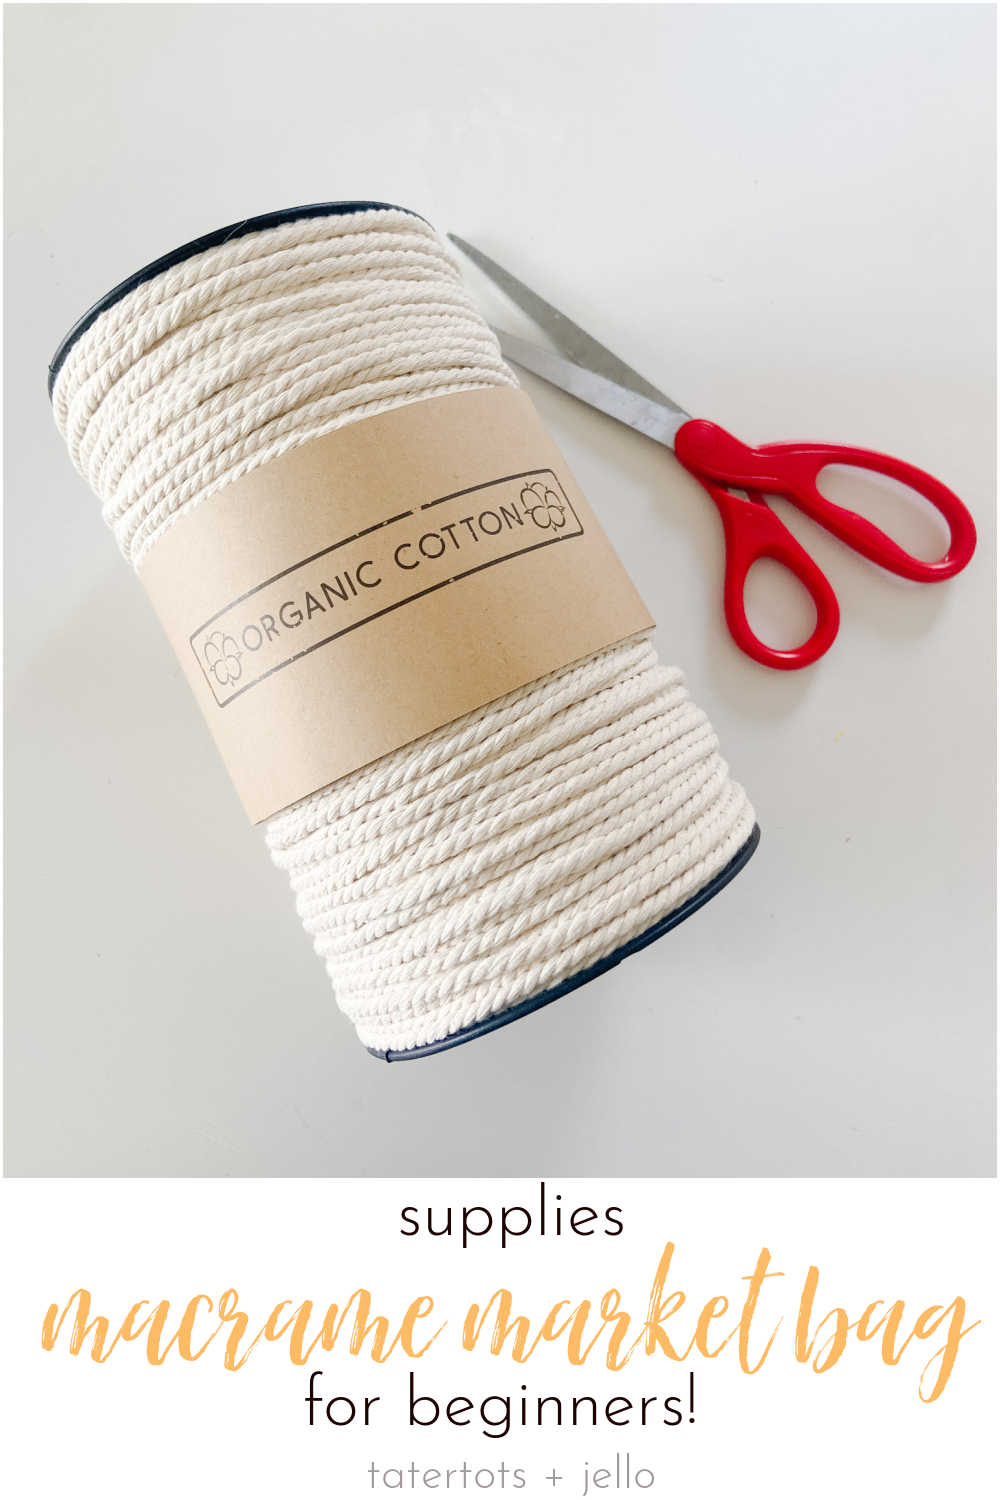
The wonderful thing about macrame is you don’t need fancy or expensive supplies to begin! For this project all you need is:
- Macrame Cord 4mm — I bought this big spool of macrame cord online. It came the next day and there is so much string that I can make many many projects using it!
- Scissors
- Tape measure
Three Basic Knots to Make Macrame Market Bag
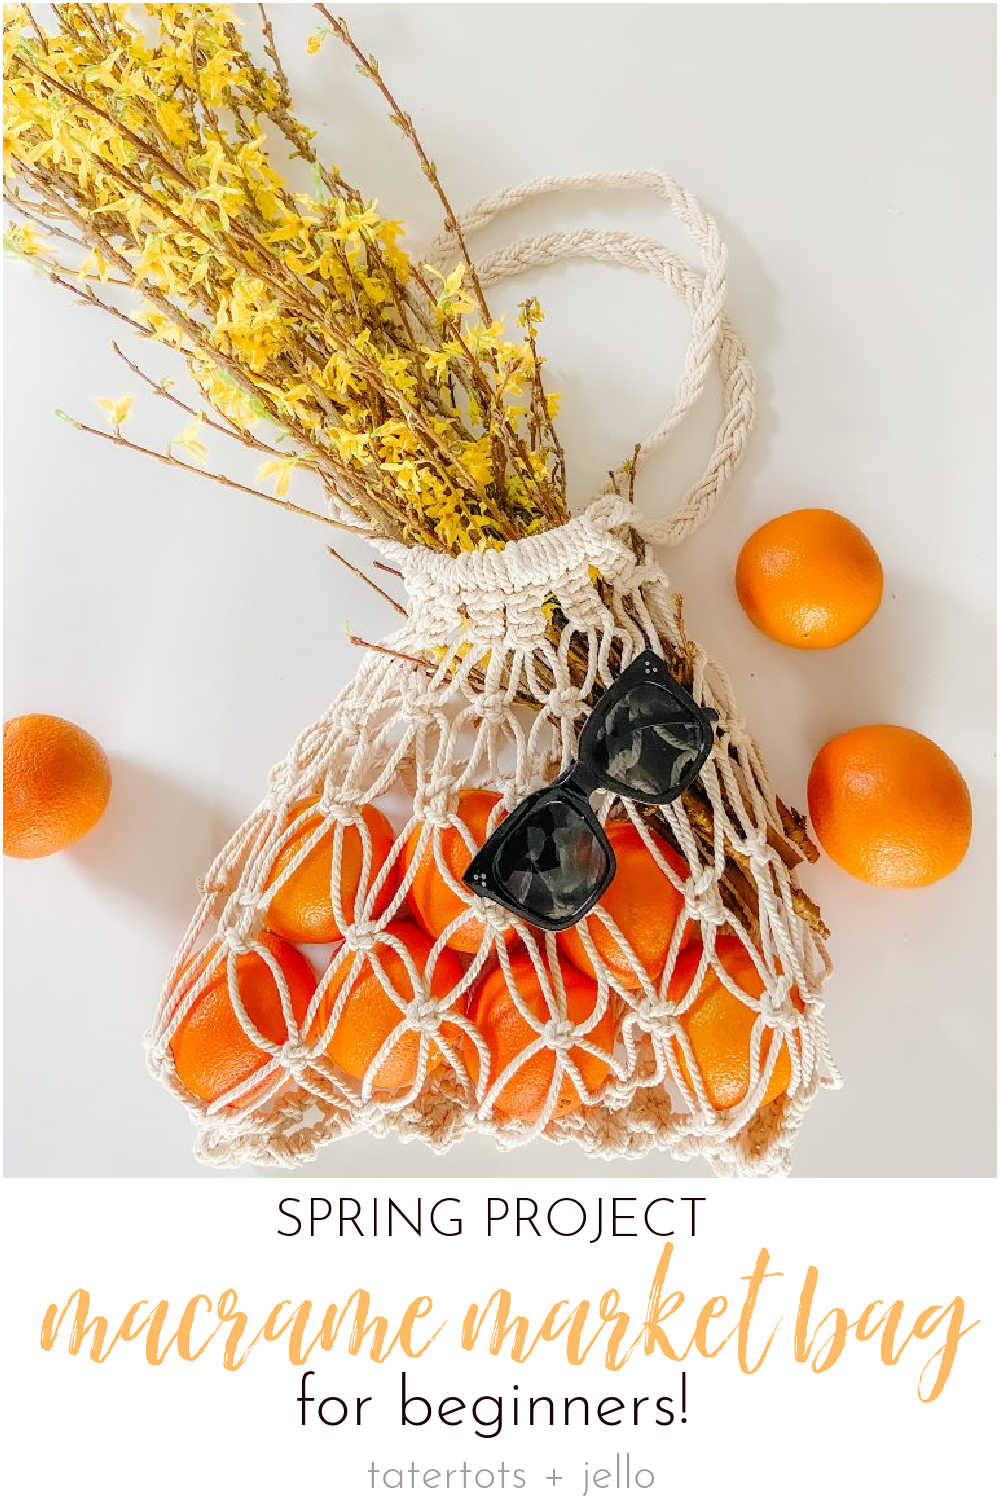
There are THREE basic knots you need to learn to make this macrame market bag. That’s it! Once you know these knots you can make hundreds of macrame projects!
Square Knot
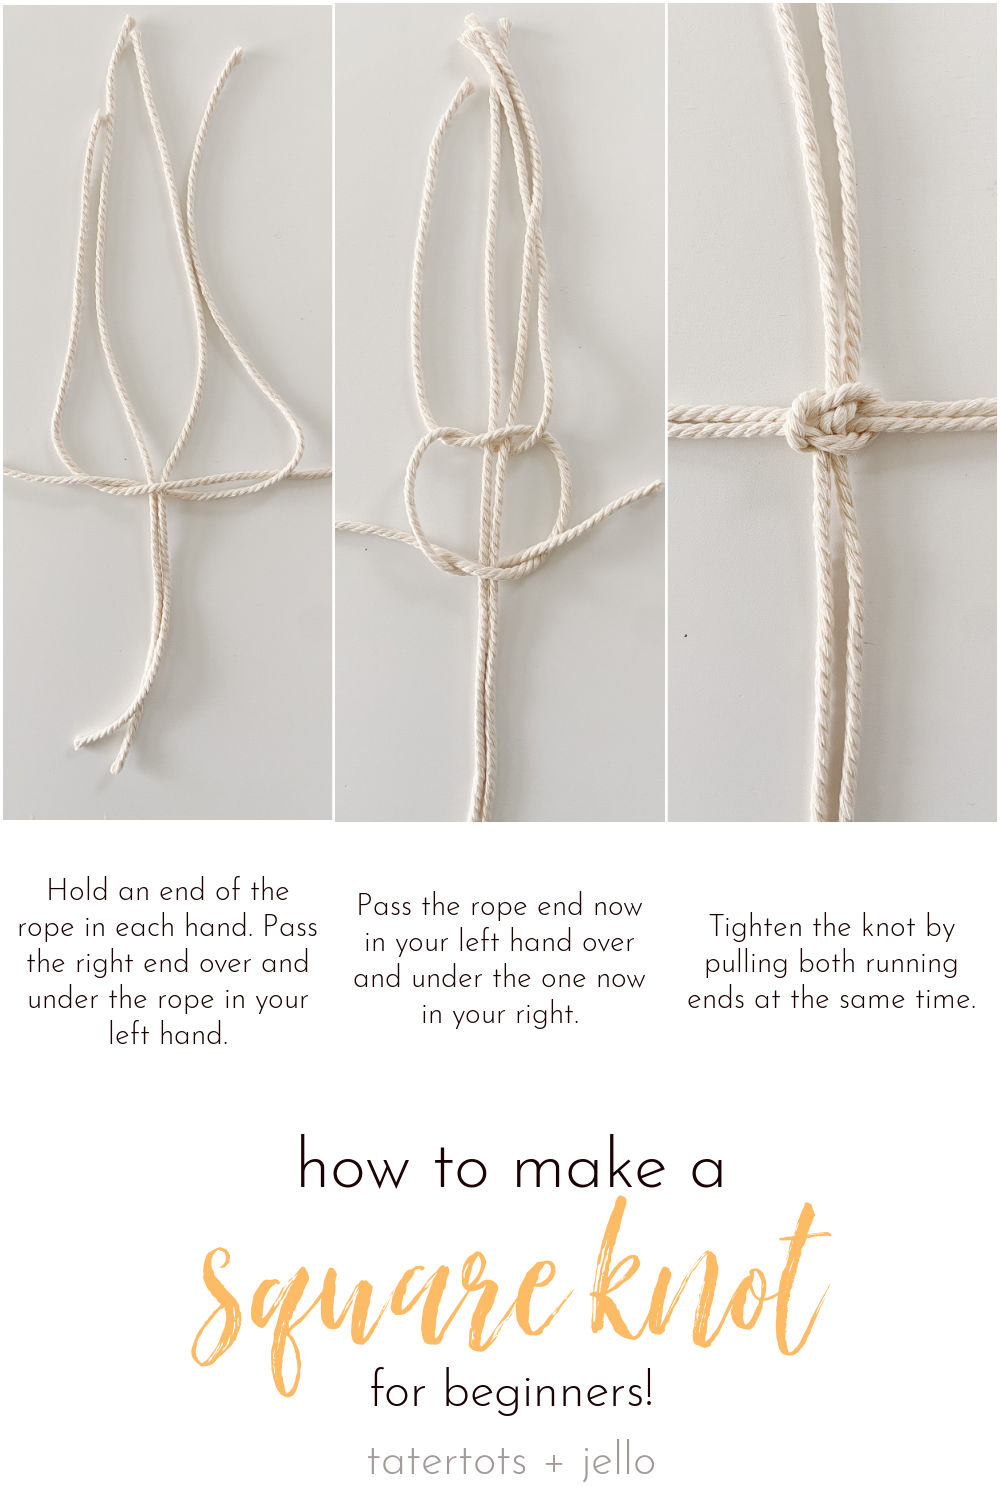
This one you probably learned if you were ever a girl scout or boy scout haha! It’s pretty simple. You take four strands of macrame string.
- Hold an end of the rope in each hand.
- Pass the right end over and under the rope in your left hand.
- Pass the rope end now in your left hand over and under the one now in your right.
- Tighten the knot by pulling both running ends at the same time.
Gathering Knot
This is a knot that I used to close the handle into a loop.
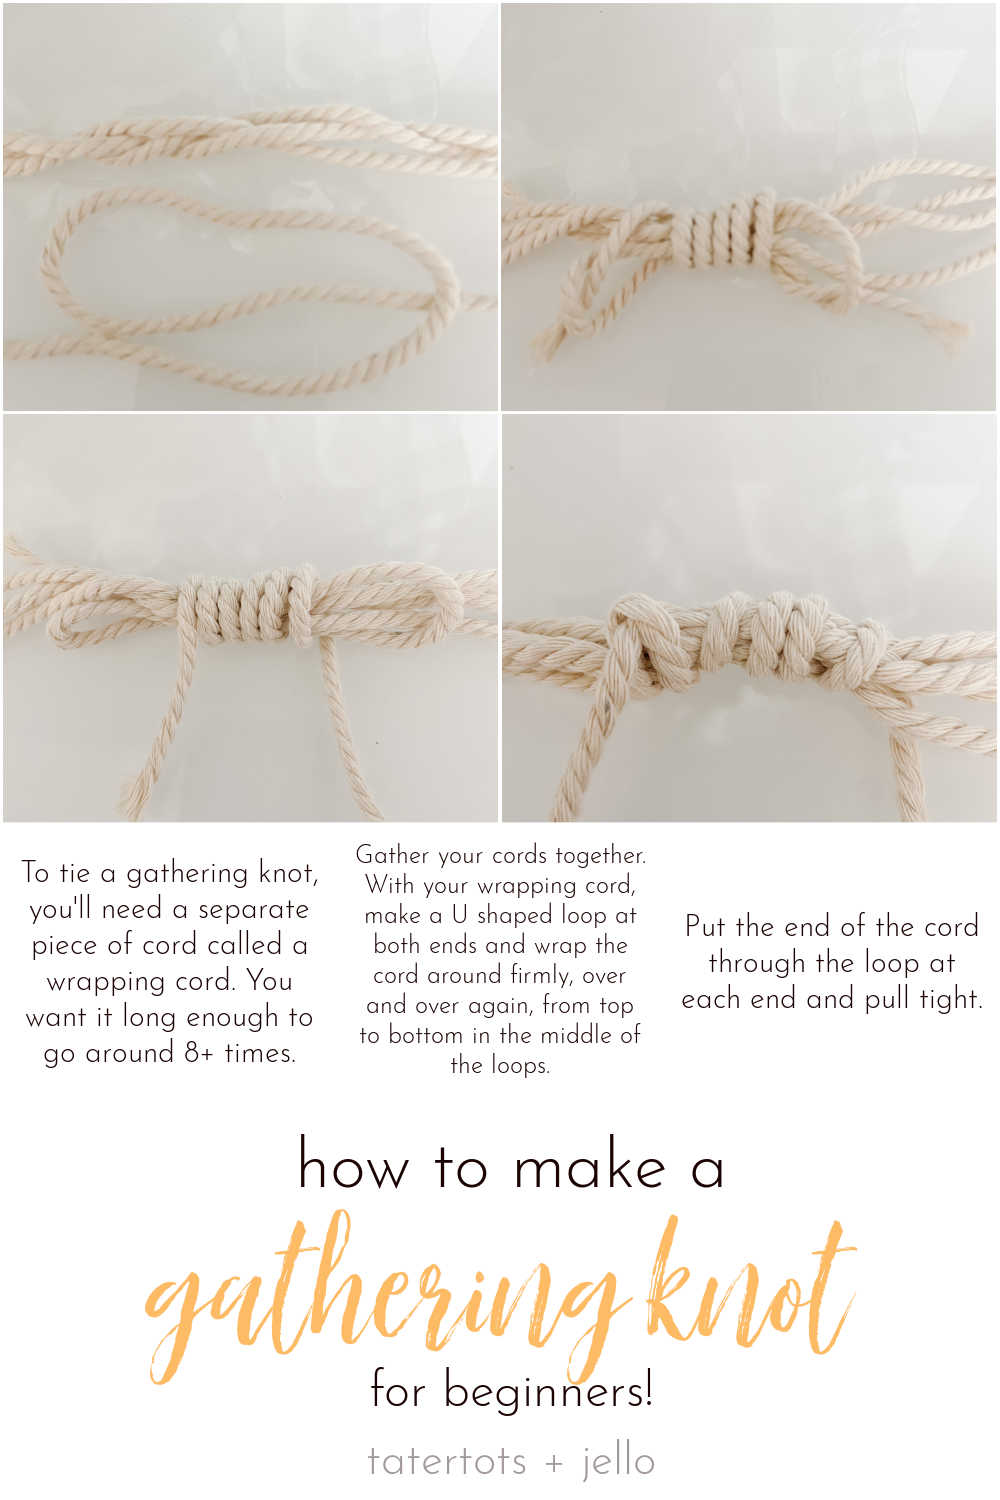
- To tie a gathering knot, you’ll need a separate piece of cord called a wrapping cord. You want it long enough to go around 8+ times.
- Gather your cords together.
- With your wrapping cord, make a U shaped loop at both ends and wrap the cord around firmly, over and over again, from top to bottom in the middle of the loops.
- Put the end of the cord through the loop at each end and pull tight.
Larks Head Knot
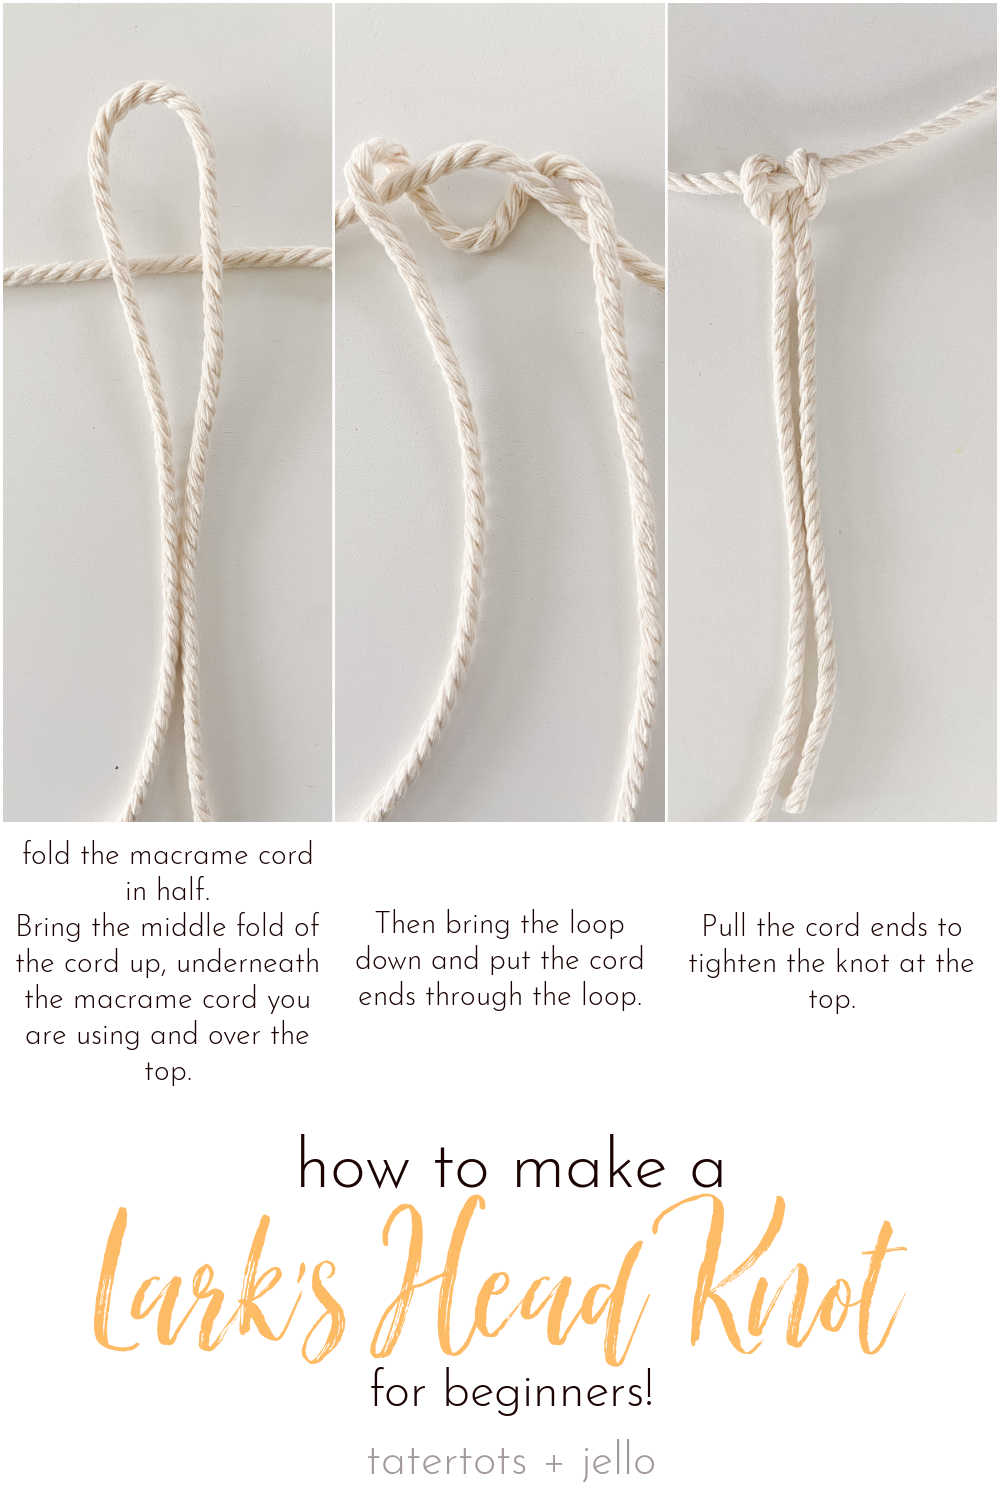
This is a super easy knot.
- fold the macrame cord in half.
- Bring the middle fold of the cord up, underneath the macrame cord you are using and over the top.
- Then bring the loop down and put the cord ends through the loop.
- Pull the cord ends to tighten the knot at the top.
Instructions to Make a Macrame Market Bag for Beginners
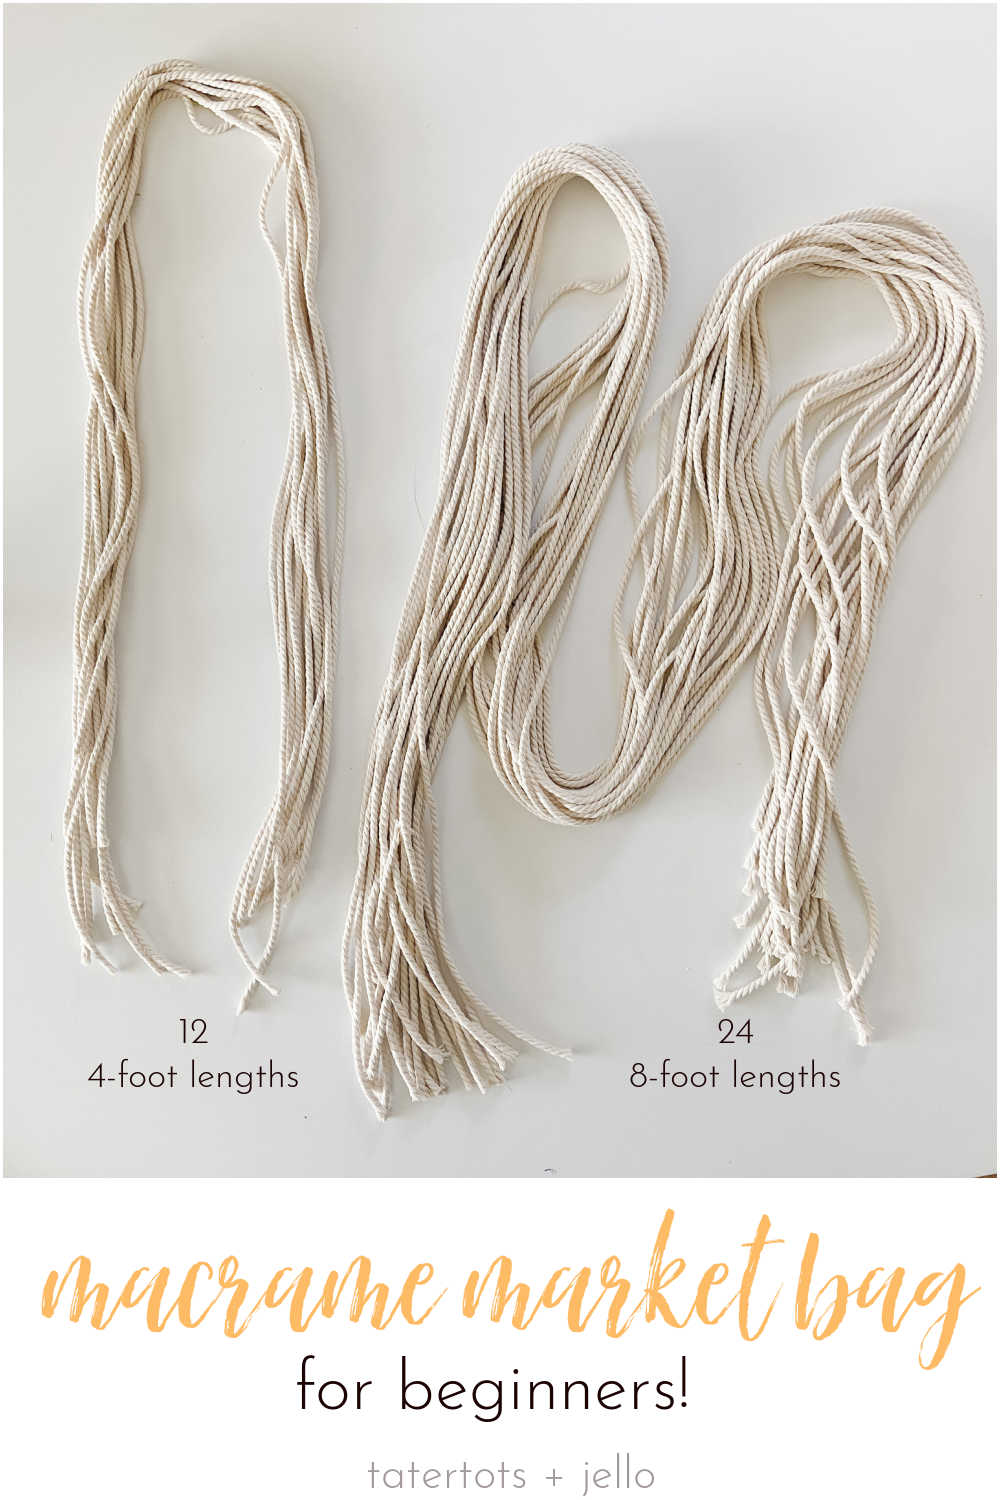
- TWELVE pieces of 4-foot cord lengths.
- 24 8-foot cord lengths.
- TWO 3-foot lengths of cord.
Note – it makes it easier to make this bag if you have somewhere you can hang it up. I used a rod that I put over my DreamBox. But you can also hang it on a hook on a wall.
Make the Handles
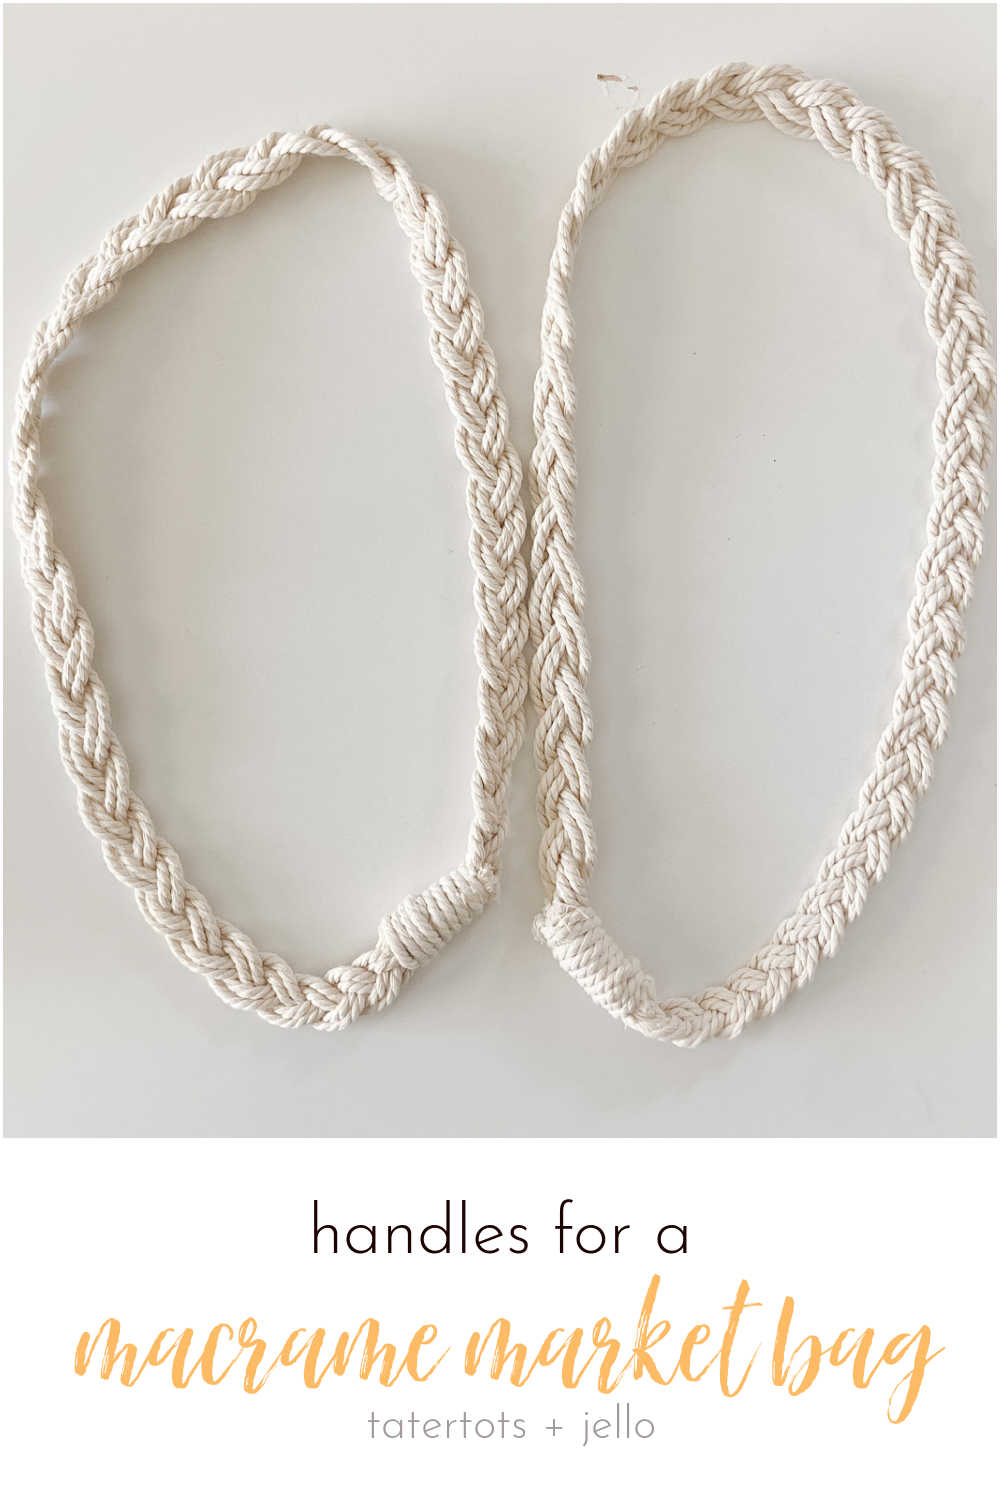
Take the four-foot cord sections. Divide the piece into two cords of 6 strands each. Tape the strands onto a table or put something heavy on the ends. Then simply braid the cords into one braid. Do this with both sections of cords. These will be your handles.
Create the Handle Loops
Once you have two braided lengths of cord. Take each braided cord and loop it with the cut sections overlapping. Then make a gathering knot over the overlapping cords and secure the knot tightly, enclosing the handles.
Loop The Handles Over a Rod or Hook
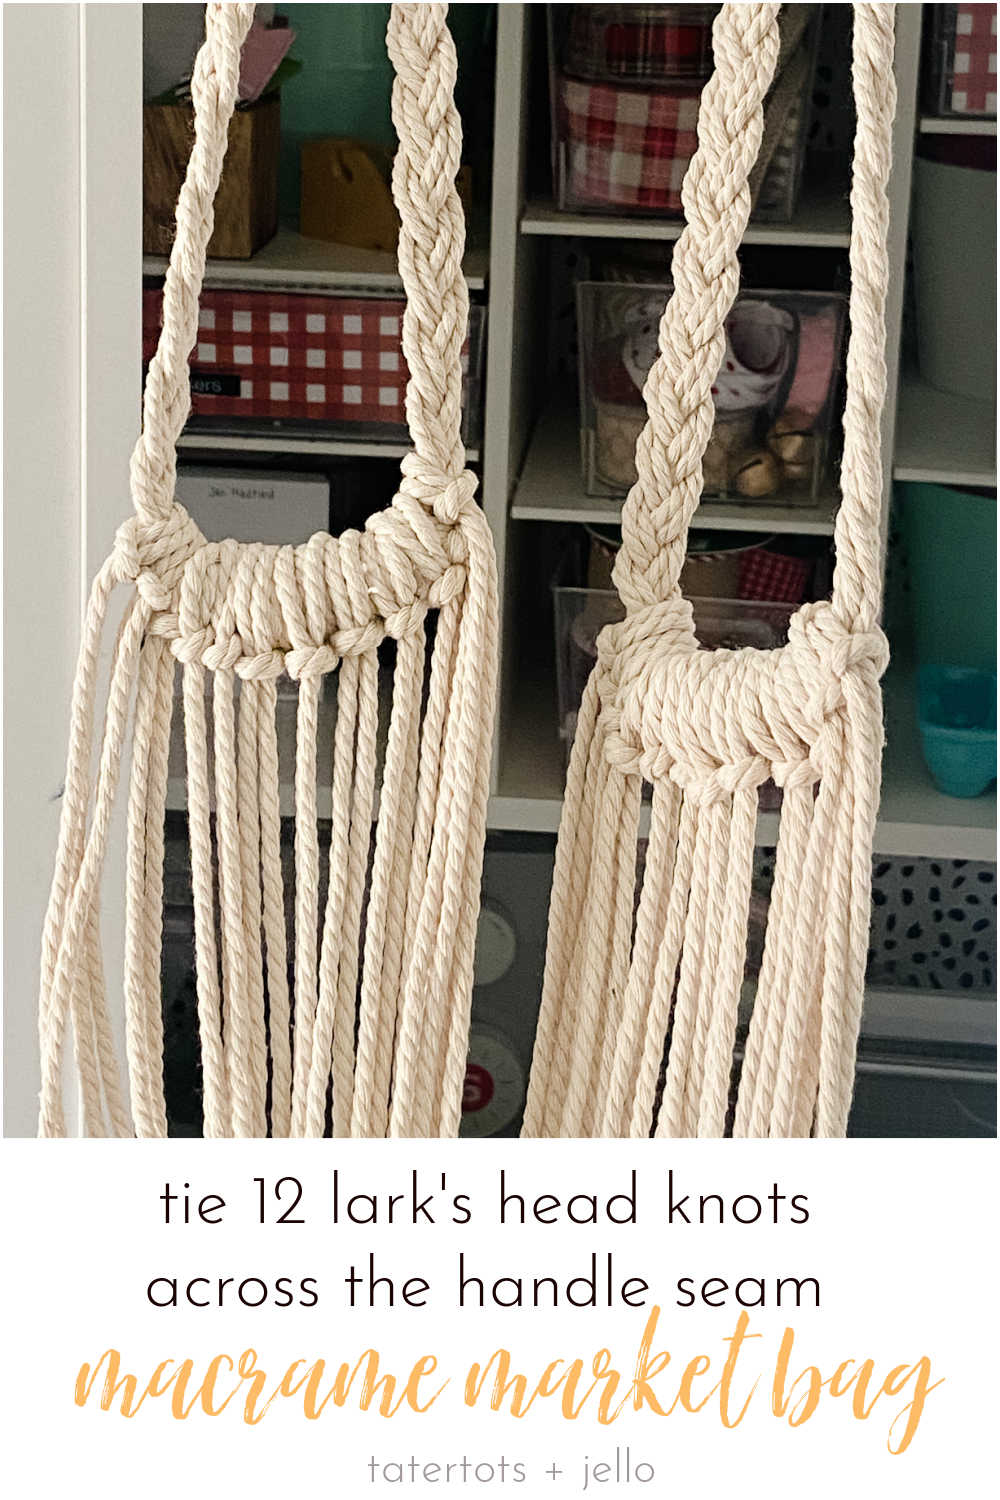
Once the handles are created, loop them over a rod. This will make it easier to visualize you bag as you create the knots.
Loop TWELVE 8-foot lengths of cords over each gathering knot on the bag handles. Use the Larks Head Knot to secure each 8-foot length of cord on top of the gathering knot in the middle of each handle. This will cover up the seam of the handle.
Make Square Knots Under the Larks Head Knots.
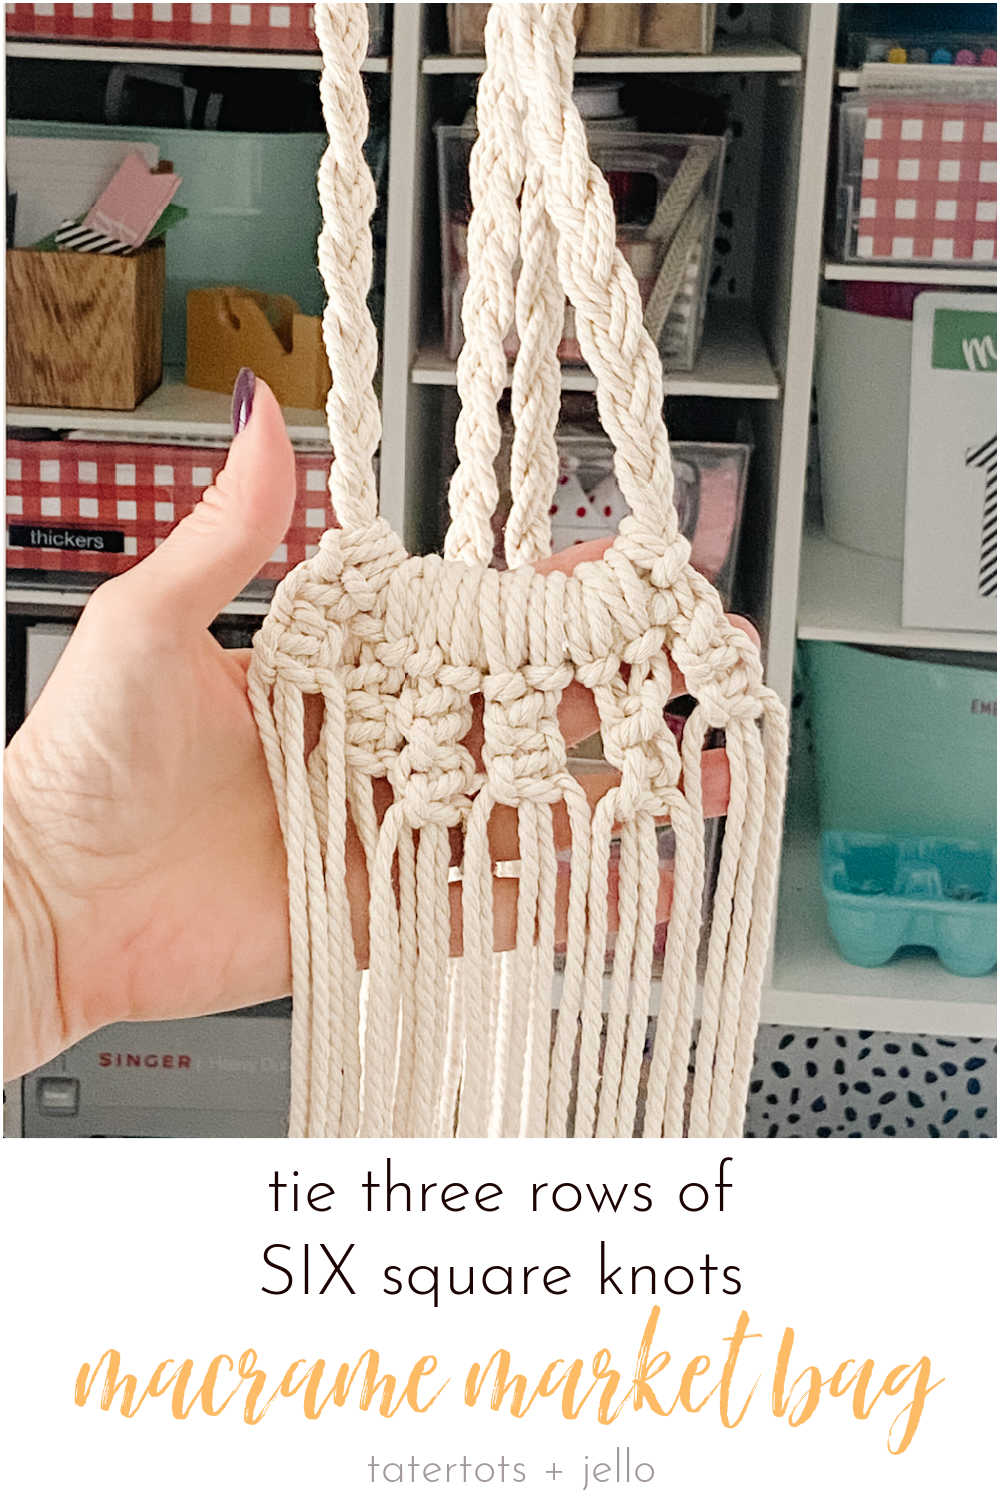
Now your handles should be hanging with the Larks Head knots covering up the seams of the handles and the ends will be hanging down from each handle. Under the Larks Head Knots you have 24 pieces of cord hanging down. Take those cords and create SIX square knots underneath on each handle.
Create Three Rows of Square Knots
Once you have created your first row of square knots, go back and do that two more times on each handle until you have THREE rows of square knots going across each handle.
Connect the Two Handles Together
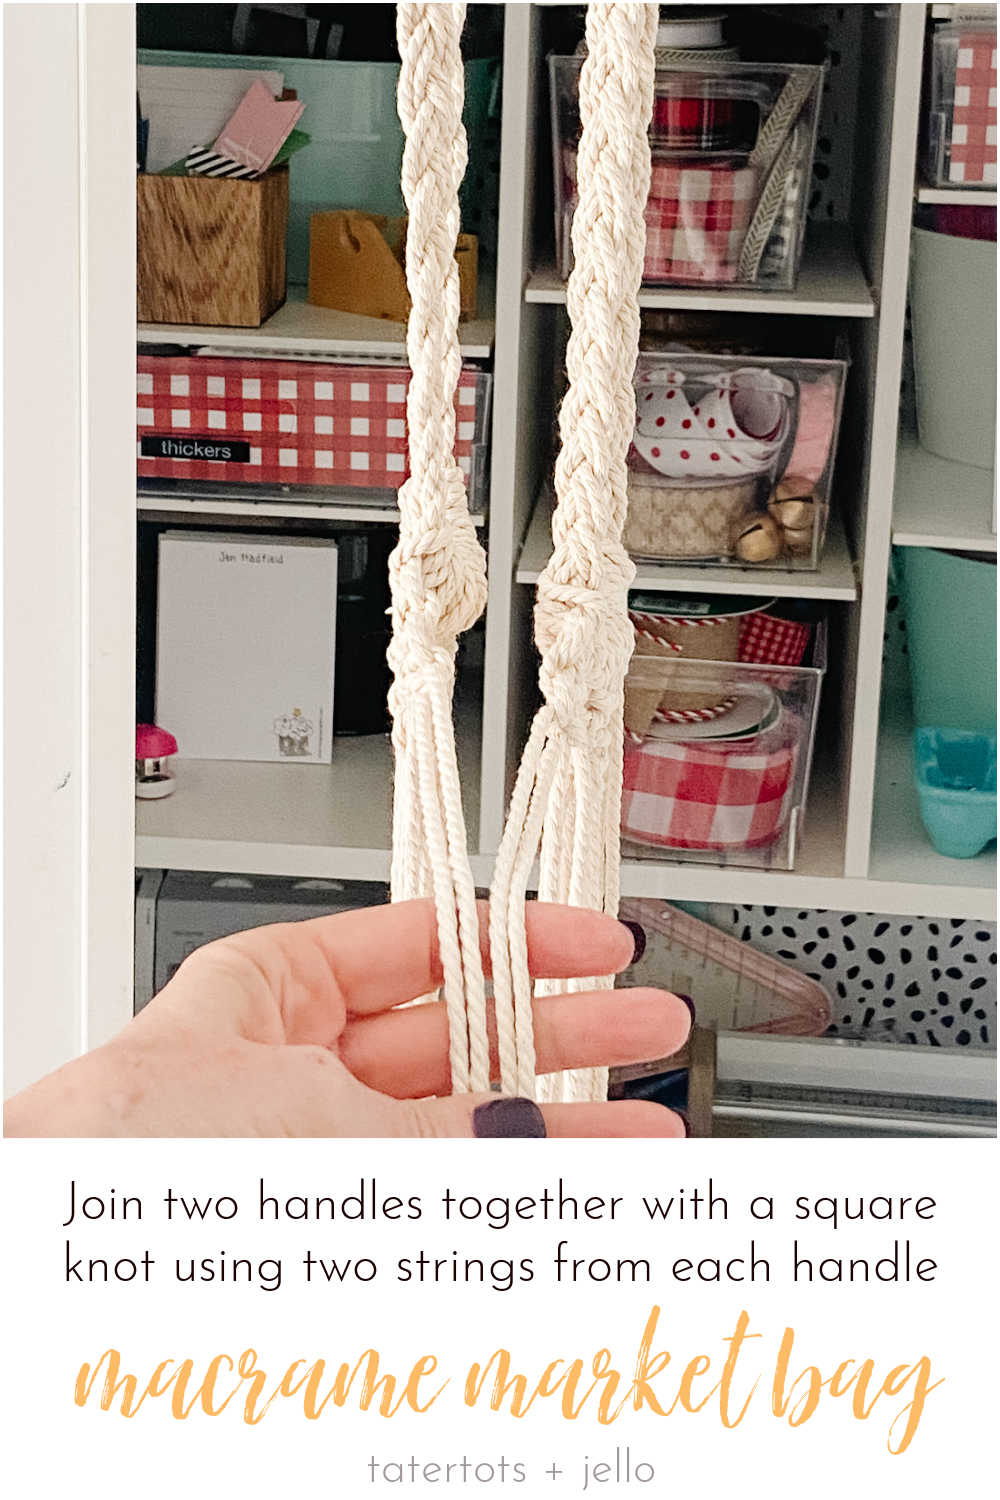
Once your square knots are made on both handles, now you connect the two handles together. Take the ends of each handle and take the TWO edge cords from both handles, Line up the bottom of the square knots and make a square knot with both ends of those cords to tie the two handles together.
Create The Pattern of Your Macrame Market Bag
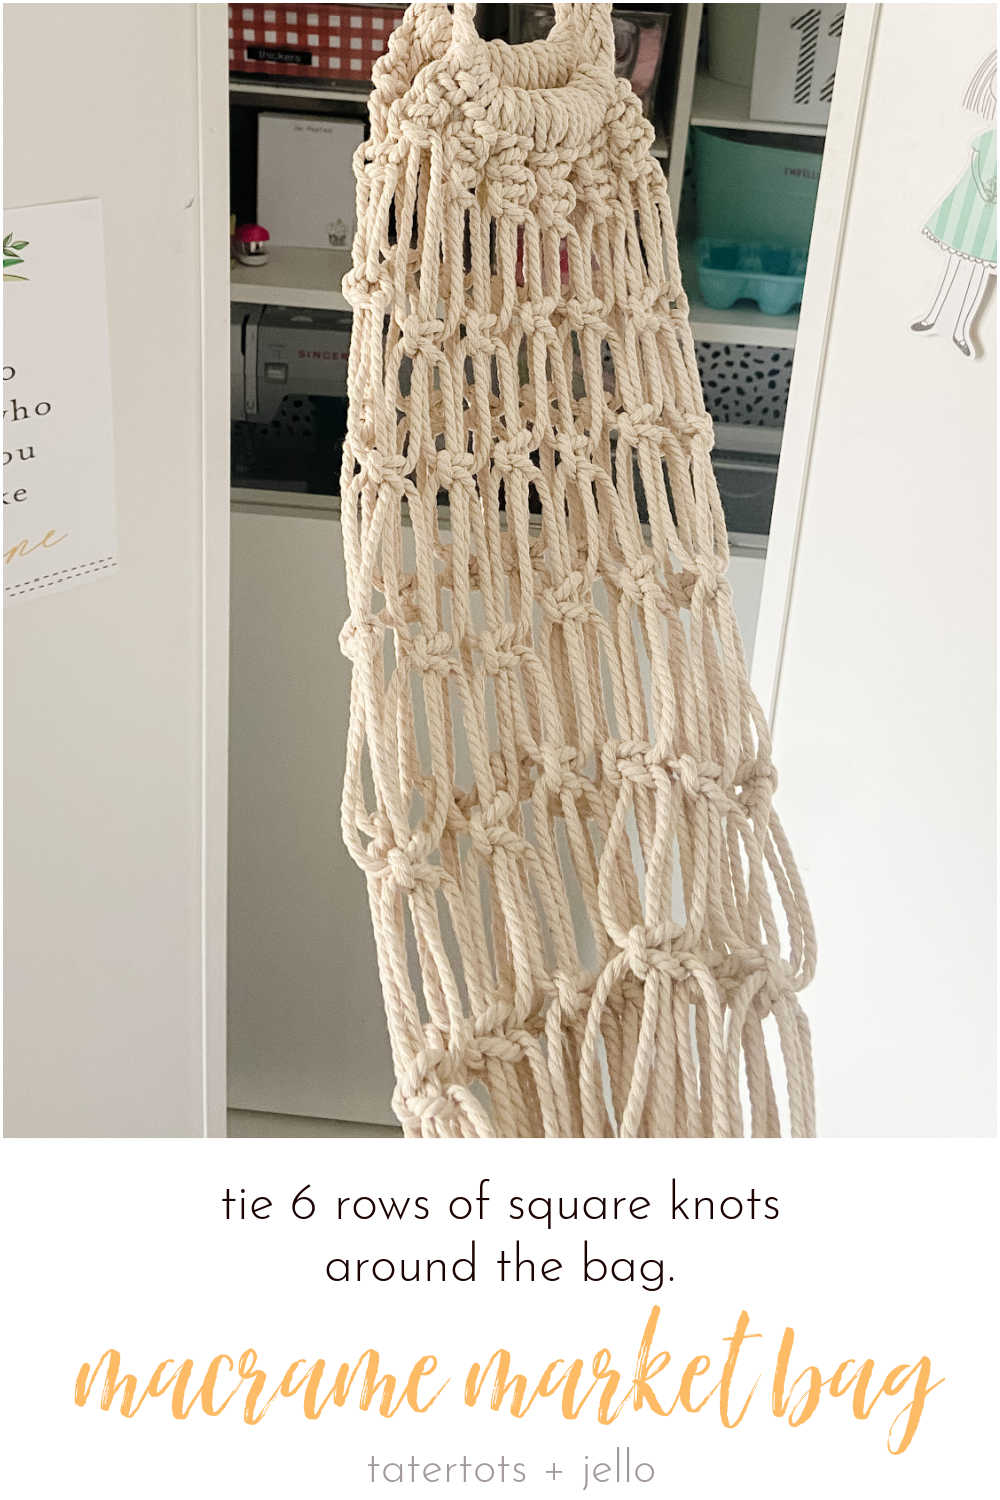
Now you can create a pattern using square knots. I made the pattern straight across the bag because this is the easiest way to do it. So once you have made the square knot on each end of the handles, you can go down about 2 inches and start a new row of square knots.
Alternate Square Knots on Each Row
When you start each row of square knots in the middle of the bag, measure down two inches and then take TWO cords from the square knot above to the left and TWO cords from the square knot above to the right and make a square knot with those cords. This is how the bag stays together. If you use the same cords underneath the square knots above you won’t have a way of holding the bag together. I hope that makes sense.
Continue Making Rows of Square Knots
Keep making rows of knots for at least 6 rows. Once you get further down and want to finish off the bag, leave enough room for THREE more additional rows of knots at the bottom.
How to Close off The Macrame Market Bag at the Bottom
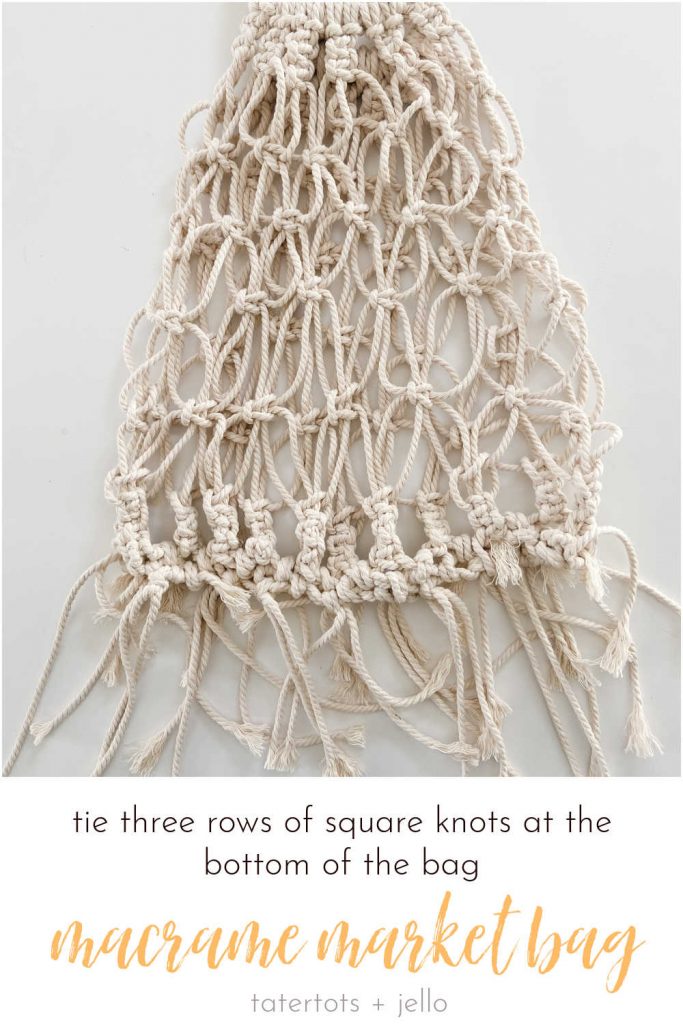
To close off the bag, start a row of square knots and continue across the bottom of the bag. Do this THREE times so you have three rows of square knots, like you made at the top of the bag. Now you should have quite a bit of cord length left under the square knots. At this point I took the bag off the rod and laid it out flat. Take two strands from one side of the opening at the bottom and two strands from the other side and knot those off with DOUBLE knots. Your bag should be laying flat.
Trim Ends and Flip Bag Inside Out
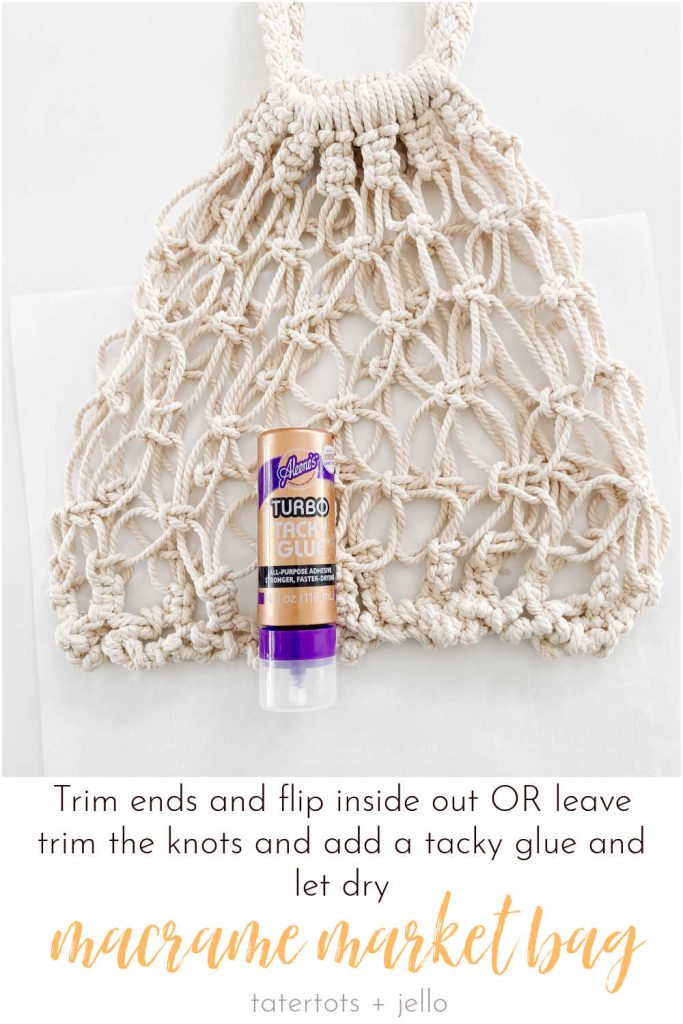
Once you have double knotted all of the strands you can knot the strands on both sides one more time to make it even more secure. Then trim the ends tightly and flip the bag inside out.
If You Don’t Want to Flip the Bag Inside Out
If you like the shape of the bag without flipping it inside out you can leave it and use tacky glue to smooth the knots out and make the bag more secure. I did this. I liked the shape of my bag better before I flipped it inside out. So I used tacky glue and rubbed it over the knots after I trimmed them. The tacky glue dries quickly and is clear.
Enjoy Your New Macrame Market Bag!
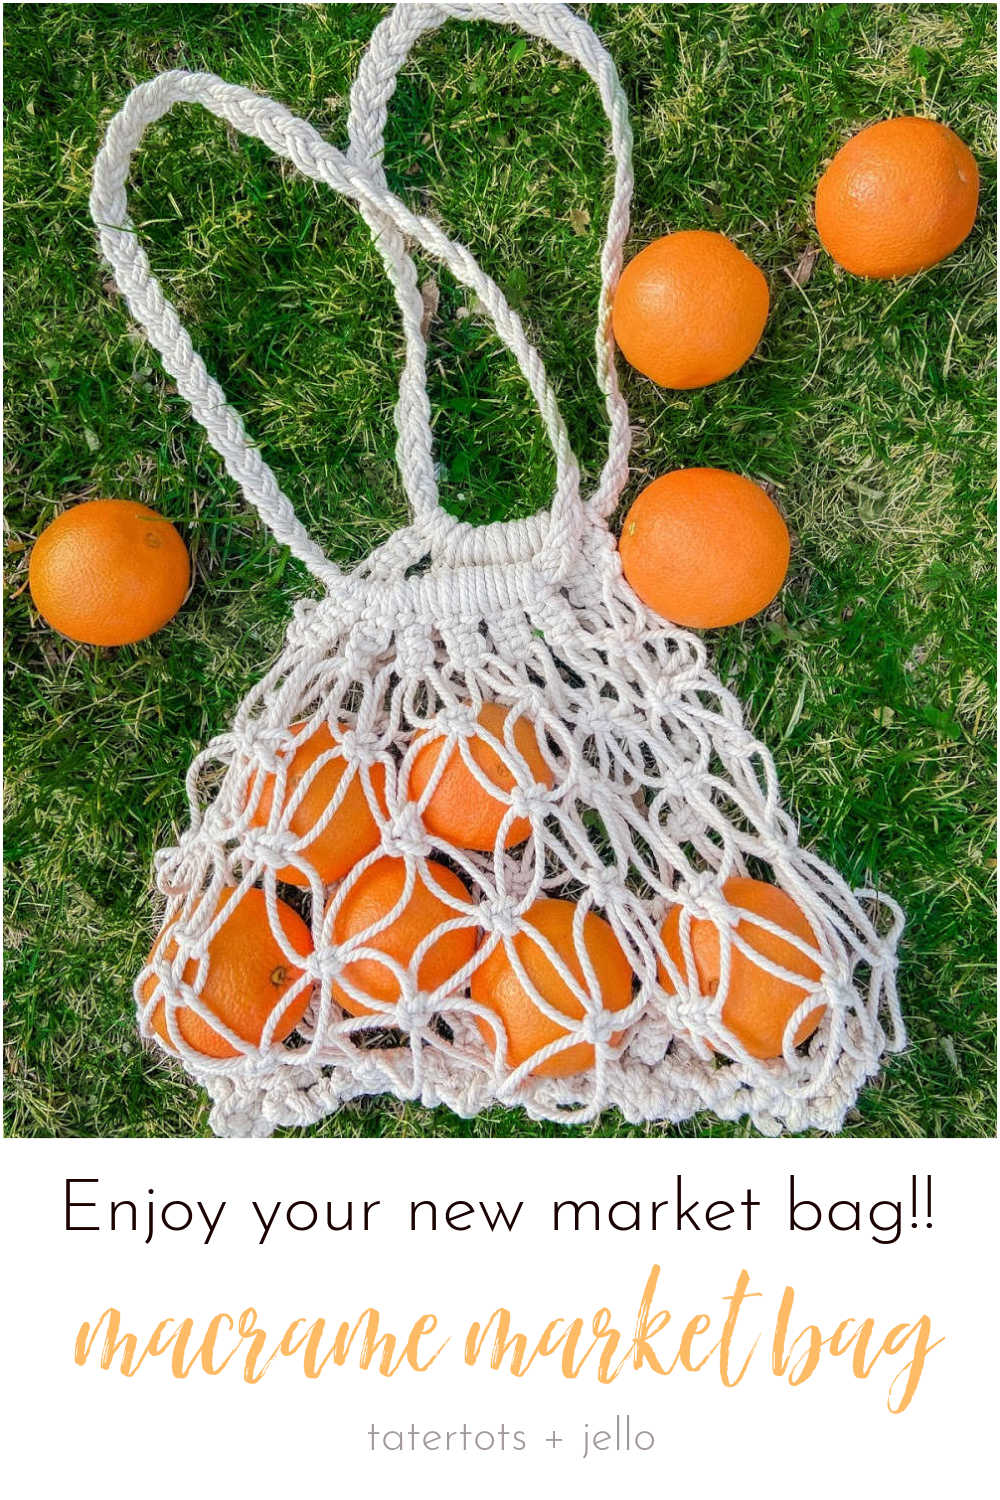
This bag is perfect to take to the farmer’s market this spring! Take it to the grocery store and use it instead of plastic bags! Stay tuned for more macrame projects!
More Macrame for Beginners Resources
I am starting out on my macrame journey. Here are some resources to help you if you want to make a macrame market bag. I found some YouTube tutorials that will help you visualize this project!
Spring DIY Ideas
More Spring Projects!
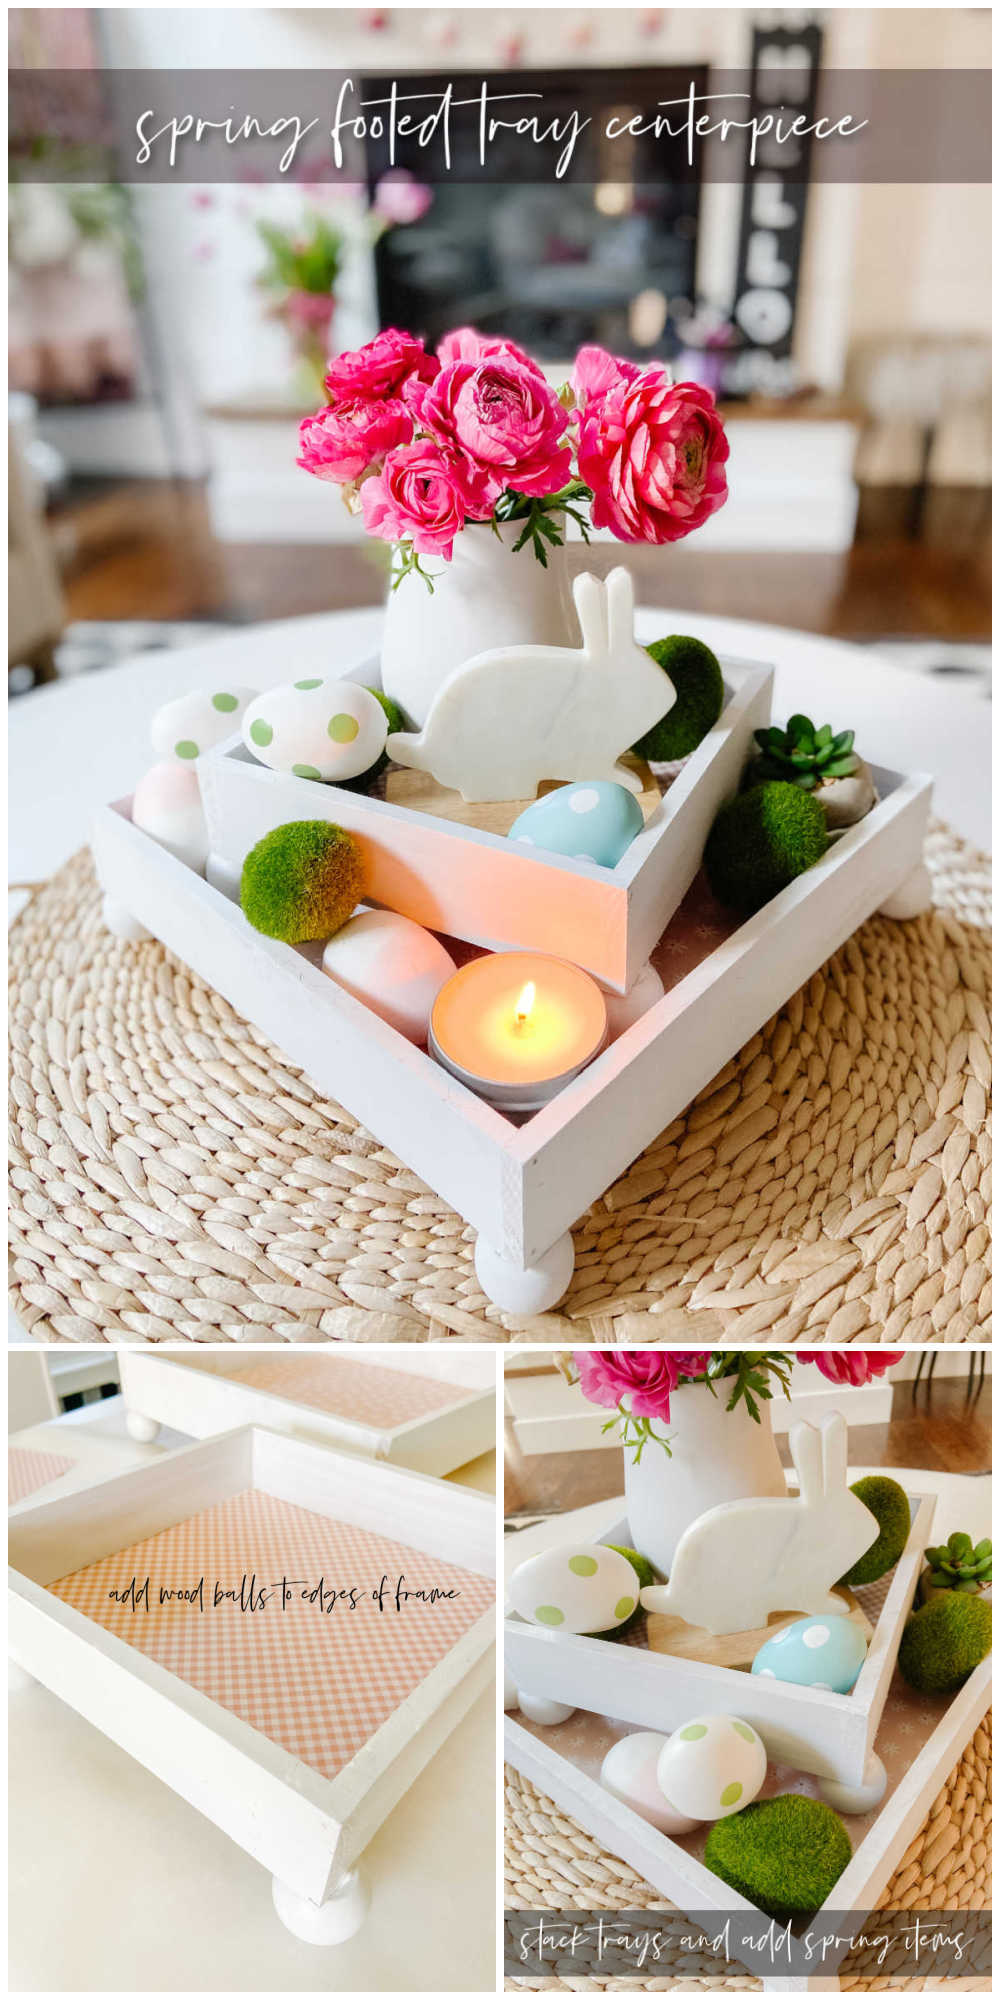
DIY Footed Tray Centerpiece
This project is so easy to make! You can use it as a centerpiece for your dining table, coffee table or on your kitchen counter!
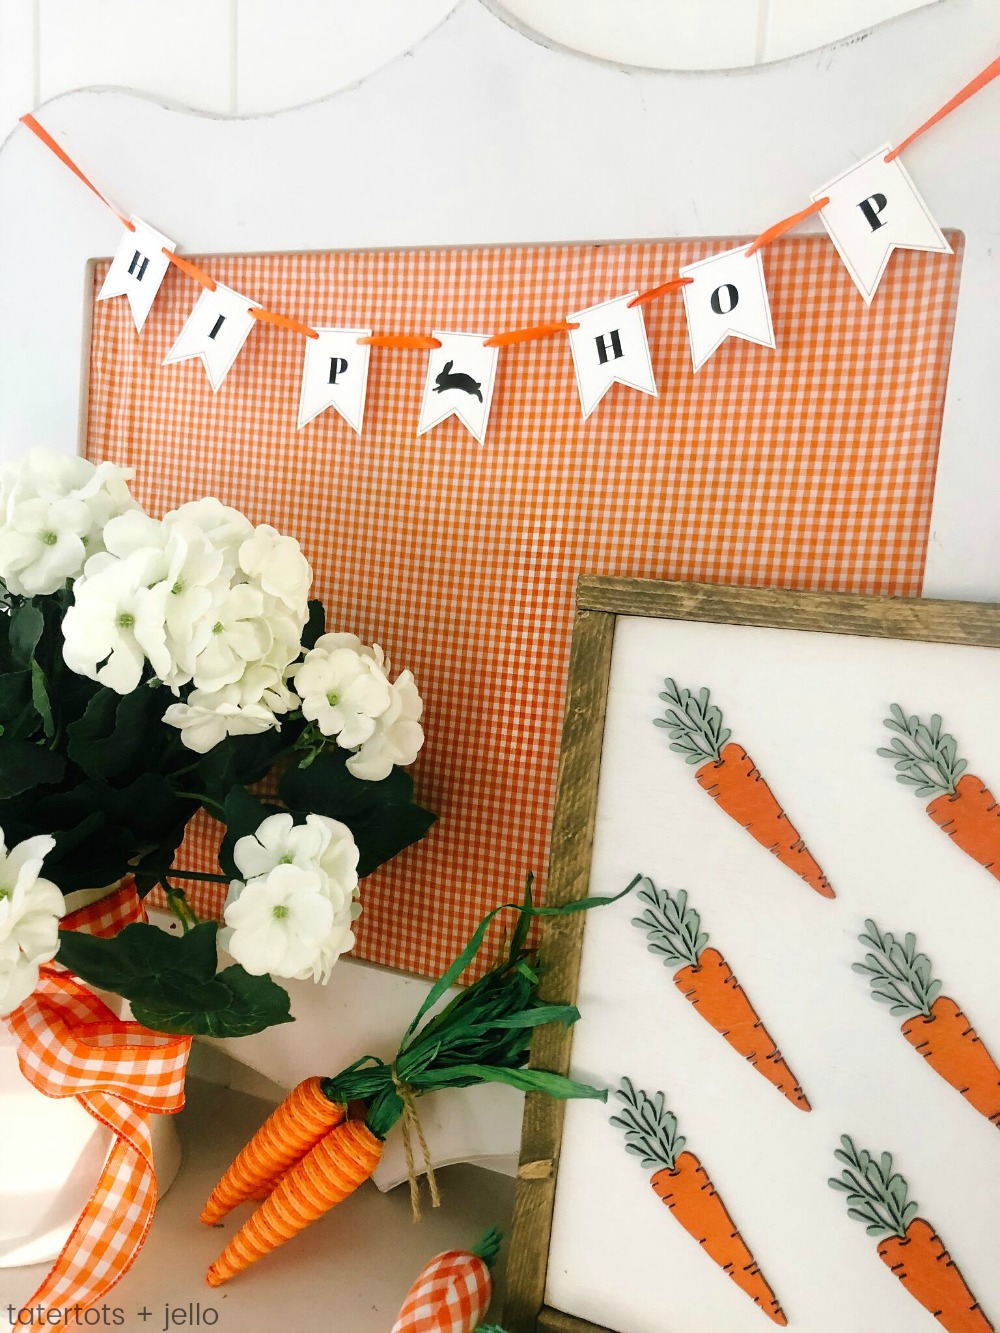
Free Spring Printable Banner
This is a full alphabet and some spring images that you can print out and spell ANYTHING you want!
Have you ever tried macrame?
xoxo


