Welcome to the Summer of Paper series – where we’ve invited fabulous guests to create projects using supplies from my Home + Made paper decor line.

Hi there TT&J readers! I am Adrianne from Dream Book Design. My husband, Jeremy, and I have a passion for DIY and home renovation. We write about DIY projects, the homes we flip, and even parenting on our blog Dream Book Design. We live in Phoenix, Arizona with our two baby boys Braylen and Winston.

I am so excited today to show you how to make a really easy, but super helpful Childrens Learning Center. This project was so fun to make using Jen’s crafts supplies she sent, so I am so happy to share it with y’all.
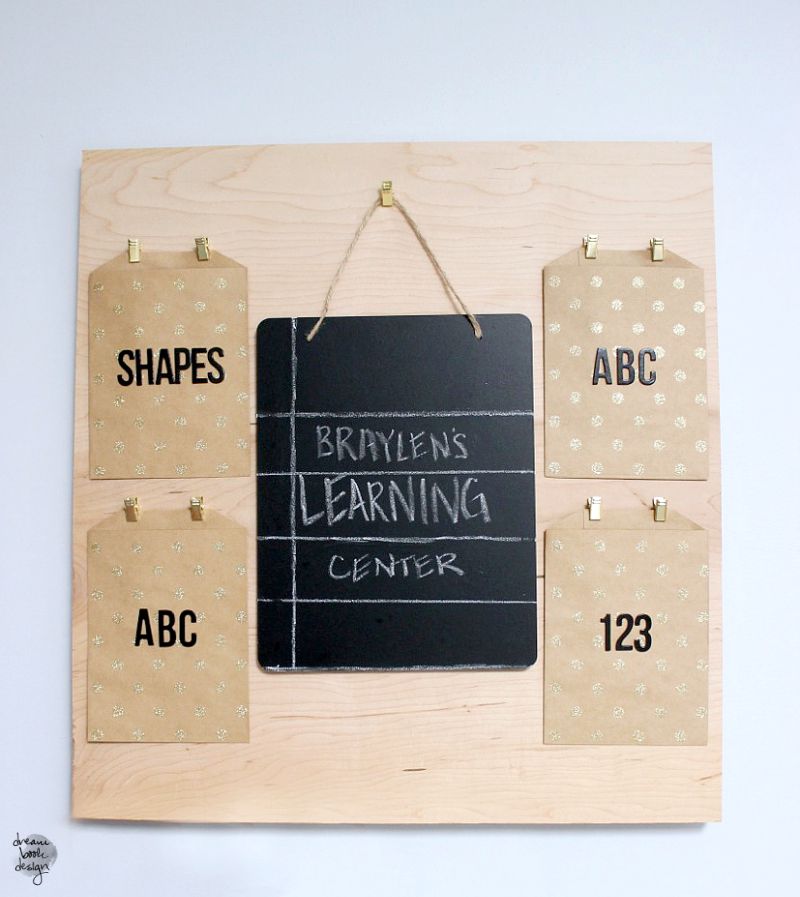
My oldest boy is starting Pre-school in about a month and I am really wanting to work on some basics with him before that happens. ABC’s, numbers, shapes, etc., are all things he will be working on while at school- so I wanted to continue it at home! I really didn’t want it to seem like ‘lessons’ to him, so I thought it would be great to incorporate some of Jens fun supplies to make it seem exciting rather than boring!
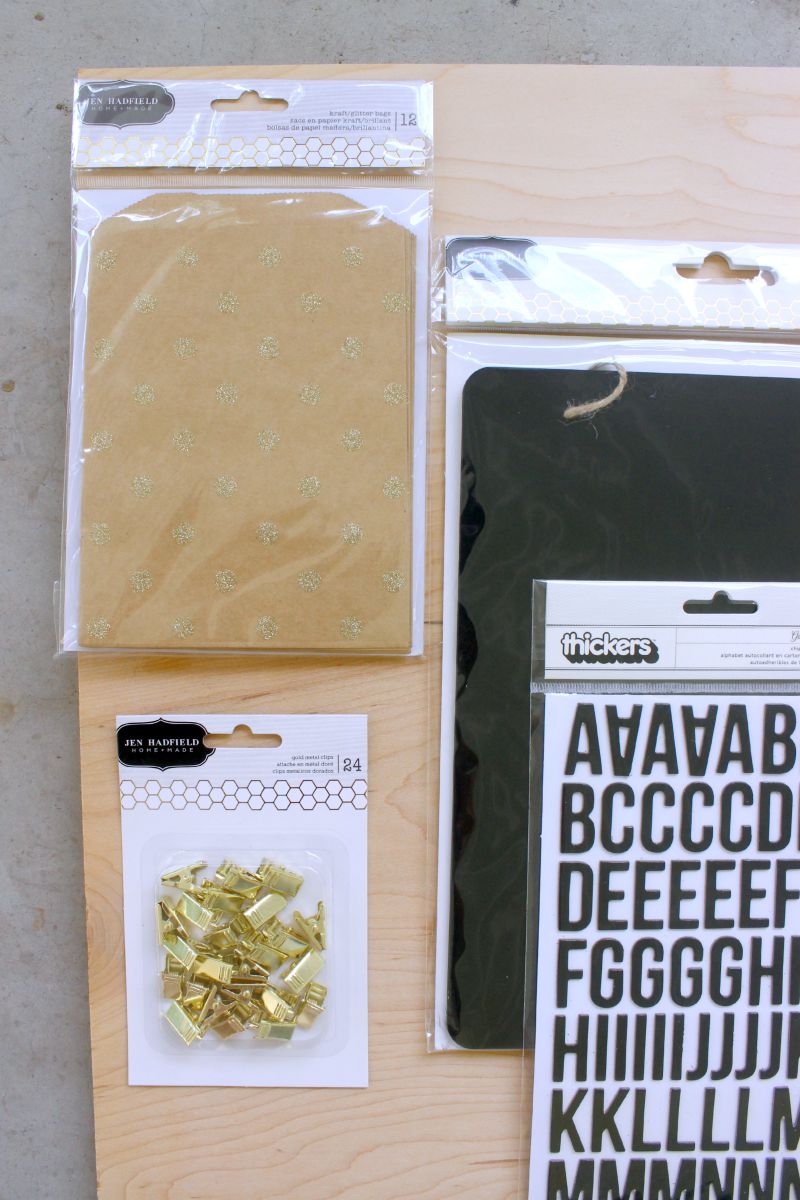
Supplies:
- Plywood cut to the size you would like
- Jen Hadfiled’s scrapbook paper
- Jen Hadfiled’s gold metal clips
- Jen Hadfiled’s chipboard letter stickers
- Jen Hadfiled’s craft paper bags
- Jen Hadfiled’s hanging chalkboard
- Wood glue
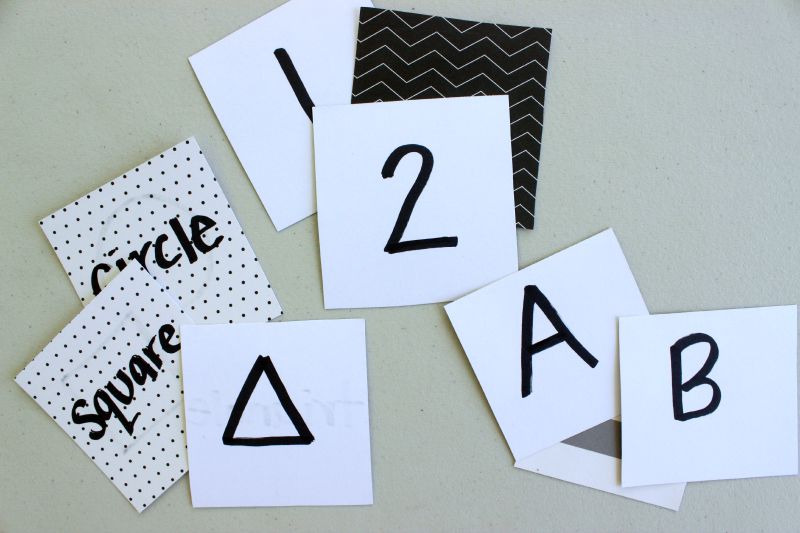
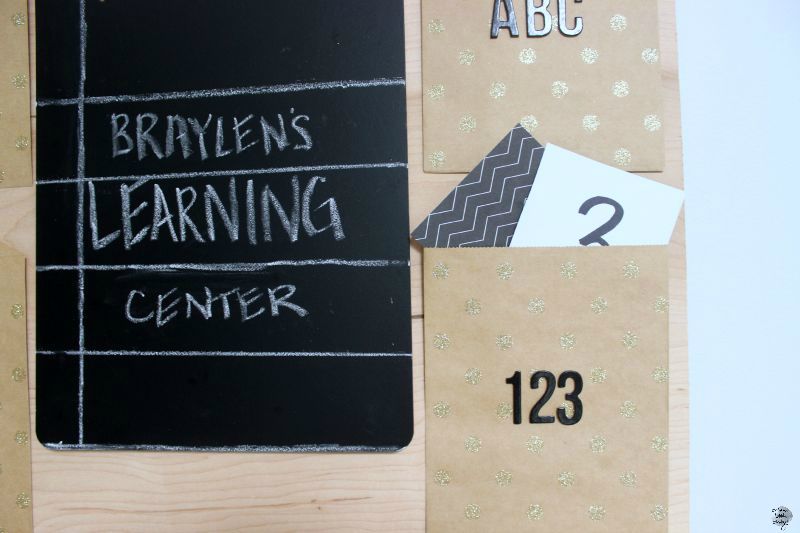
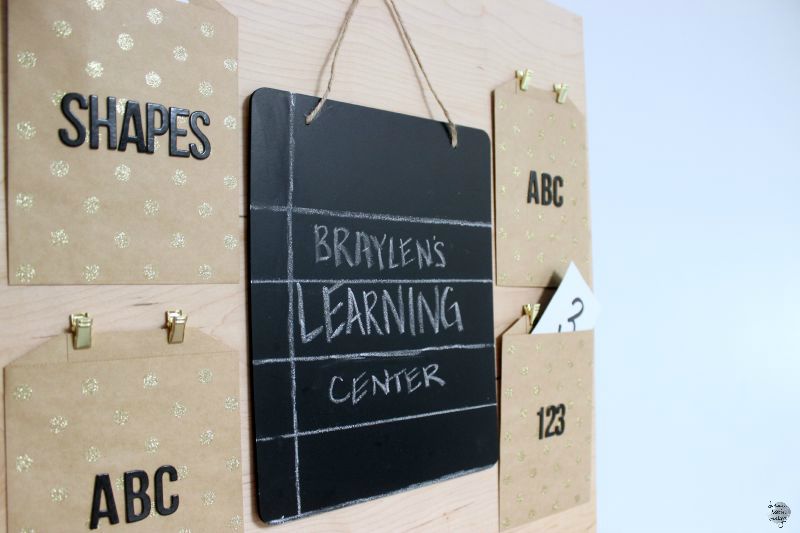
Step 1- I started by cutting scrapbook paper in to squares to be used for the flash cards. I broke up the learning center in to Four categories. Capital letters, lowercase letters, numbers, and shapes. I used different scrapbook paper for each category to keep it fun and interesting for my boy. Once they were all cut and written on I put them in to their individual craft paper bags.
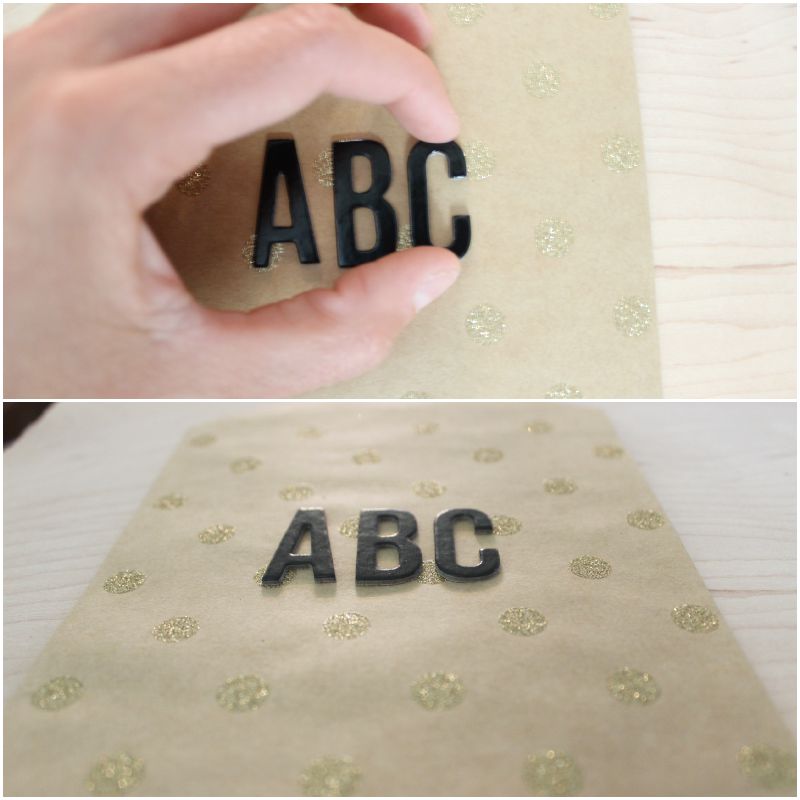
Step 2- I labeled each bag with the Chipboard letter stickers. My little guy even got to help me do this {which was fun for him, and stressful for me- who else wants it to be perfect but has to let that thought go when letting kids help?!} Once the bags were labeled and filled, I simply attached the gold metal clips to the tops and glued them to the Plywood.
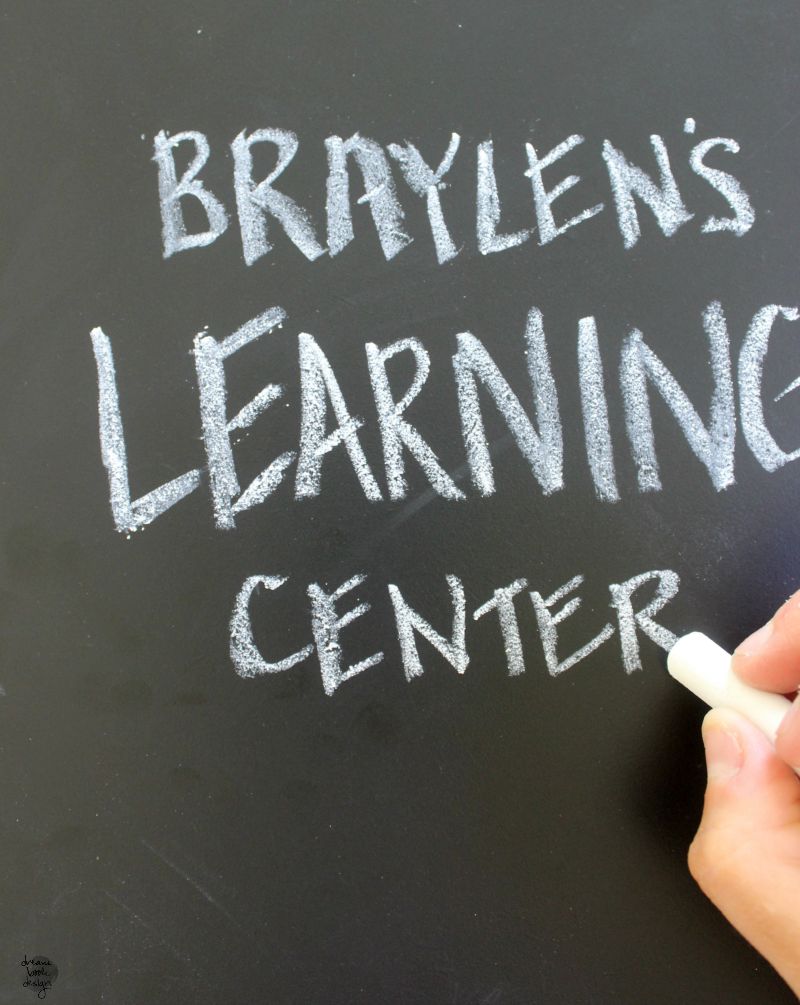
Step 3- I wrote {in my not so beautiful handwriting} out what the board was for, and made it look school like by adding the paper lines! Now for those of you who have beautiful writing- go crazy with this. Do something extraordinary! For those of you that are like me, and struggle with it- keep it simple:):) The only time my handwriting looks good is when I use a projector with it and a wood burning pen {like we did with our DIY Driftwood Wall Art}. Once all the writing was finished, I added a metal clip to the top of the rope and glued that to the Plywood as well.
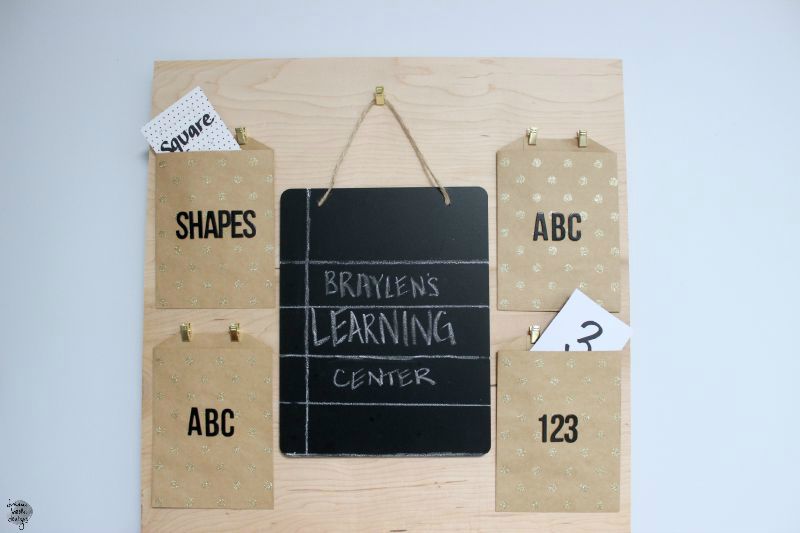
Step 4- Once everything is nice and secure, hang the board to your wall however you would like! I initially hung this a little too high, to where my little guy couldn’t reach it. I thought that would be good because I could keep it all in order, but I think I will end up lowering it so that he can have fun with his learning center, or maybe even move it to his room! Anything to have him think learning is fun!!
***********
Thanks Adrianne! What a creative idea to make learning fun for your kids! And, it’s perfect for back to school, too!
Adrianne and Jeremy have great ideas on their blog. Here are a few I know you’ll love:
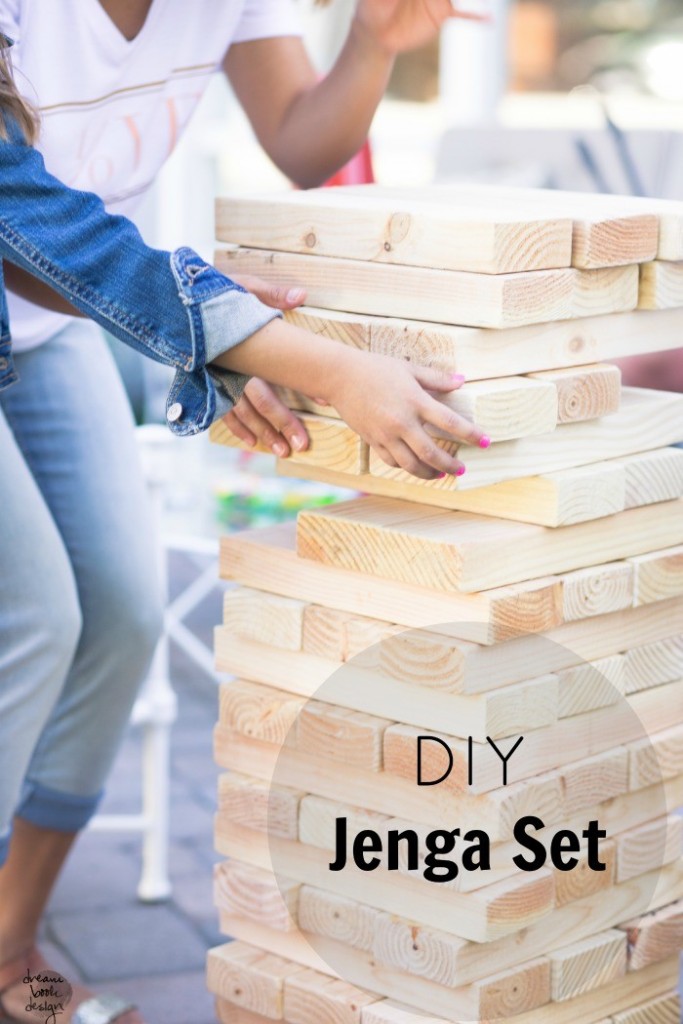
You’ll love their tutorial for a DIY Jenga Set! Such a fun idea for parties and outdoor fun!
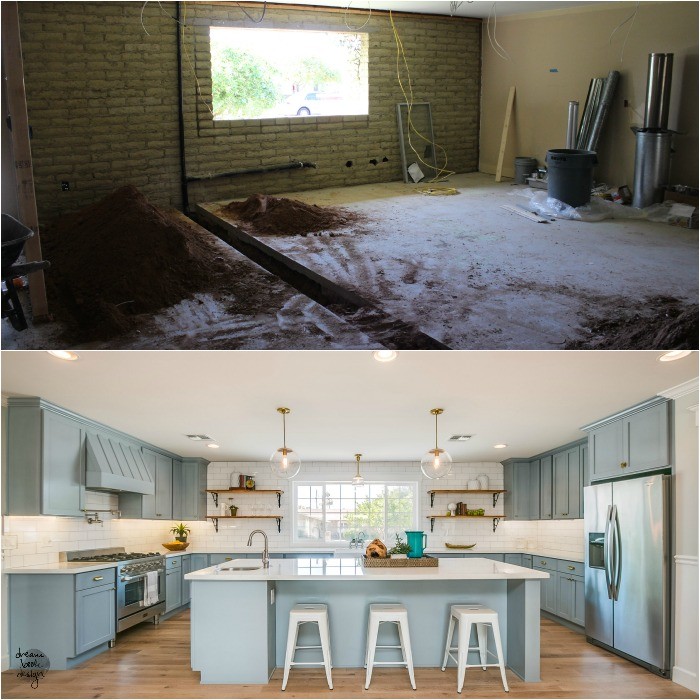
You’ll also love seeing the transformation of the houses they flip! Look at this awesome kitchen!
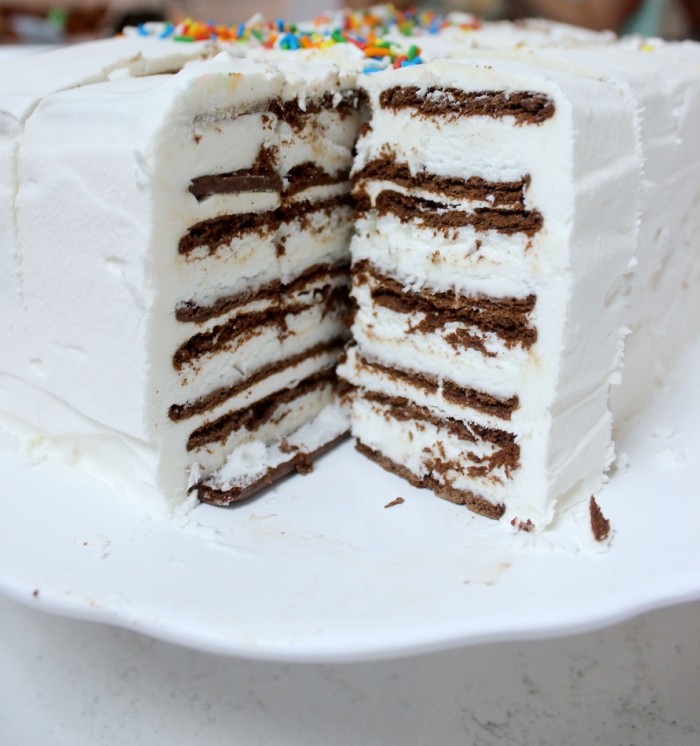
And, make sure you grab this recipe for a super easy Ice Cream Cake! YUM!

