Tatertots and Jello

COLORFUL HAPPY HOME -- Daily DIY, Decor, Craft and Recipe Tutorial

  • My Home
    • 1905 Cottage
    • Daybreak House
  • DIY
    • DIY Projects and Ideas
    • Organizing
    • Tutorials
    • Printables
  • Decor
    • Spring Projects
    • Summer Projects
    • Fall Projects
  • Crafts
    • Kids Crafts
    • Painting Projects
    • Paper Projects
    • Sewing
    • Wreaths
  • Holidays
    • Valentines Day
    • Easter
    • Halloween
    • Thanksgiving
    • Christmas
    • HAPPY Holidays Series!
  • Recipes

Explore

  • my home
  • diy
  • decor
  • crafts
  • holiday
  • printables
  • recipes

Connect

Home » christmas » HAPPY Holidays: Faux Hand Painted Sign

christmas, diy, free printables, guest tutorials, HAPPY Holidays, painting projects · December 17, 2014

HAPPY Holidays: Faux Hand Painted Sign

Tatertots & Jello is a participant in the Amazon Services LLC Associates Program, an affiliate advertising program designed to provide a means for sites to earn advertising fees by advertising and linking to amazon.com.

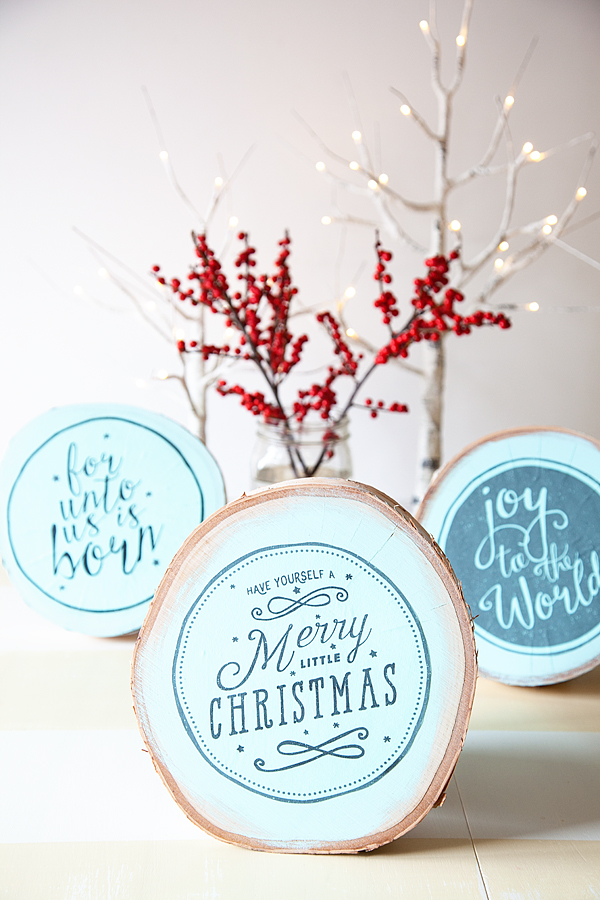
Hello Tatertots & Jell-o friends! I’m so thrilled to be here today to share my quick and easy Holiday project!

I adore handmade gifts and this one is soooo easy and yet… It looks like it’s a labor intensive hand painted sign.

The secret… it’s NOT!!

Let me show you how…

Faux-Hand-Painted-Christmas-Signs--4

Supplies

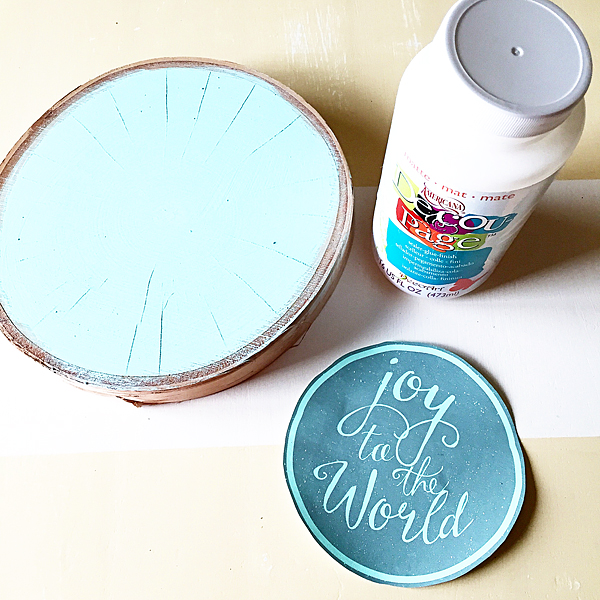
  • Some type of surface to “paint” – I used some wood cuttings that I bought at the local craft store. You really can use anything that has a flat surface. I typically use this method of graphic transfer on furniture even.
  • Ink Jet Printer
  • Printer Paper
  • scissors
  • Chalk Paint – I prefer BB Frösch Chalk Paint Power mixed with my favorite Flat Latex Paint Color.
  • Small Chalk Paint Brush
  • Printable Graphics – You can download my graphics HERE
  • Mod Podge or Decoupage
  • Small sponge brush
  • BB Frösch Premium Finishing Wax
  • Small wax brush

happy-holidays-2014-300-tatertotsandjello1

Faux Hand Painting Directions

The first step for your Faux Hand Painted Sign… If you are using BB Frösch Chalk Paint Powder, you’ll need to mix up your paint. Click here to see how easy it is to mix.

how-to-mix-BB-Frösch-chalk-paint-powder

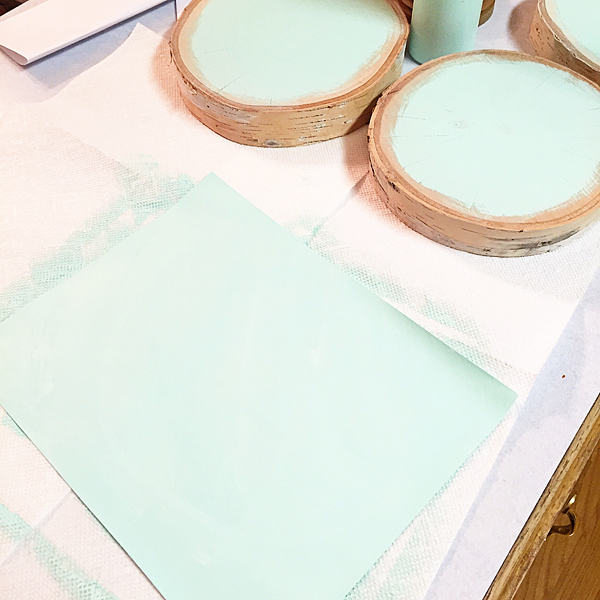
Once your paint is mixed, paint the surface that you are going to “hand paint.” Then, you’ll need to lay out your printer paper on some paper towels and paint your paper… Yep, you heard me right… PAINT YOUR PAPER with the same color that you painted your surface with. Let both items fully dry. This should take roughly 15-20 minutes. BB Frösch Chalk Paint dries fast.

paint-paper-with-BB-Frösch-chalk-paint

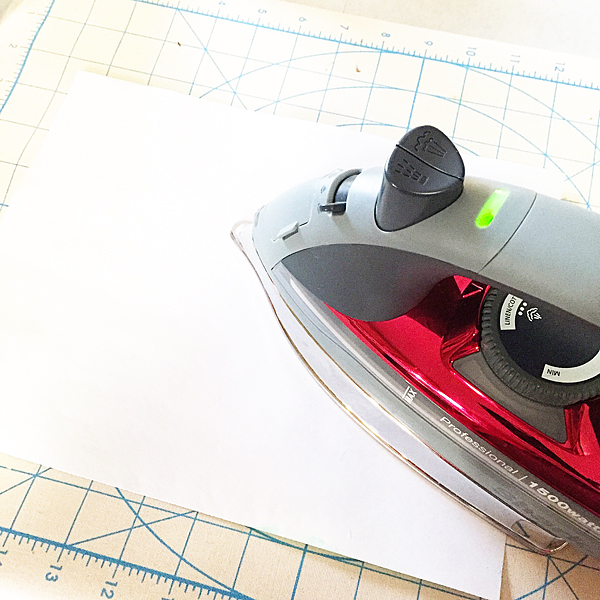
Once your paper is completely dry, it will have curled in on it’s self a bit. No worries… All you need to do is iron it.

the-paper-will-curl

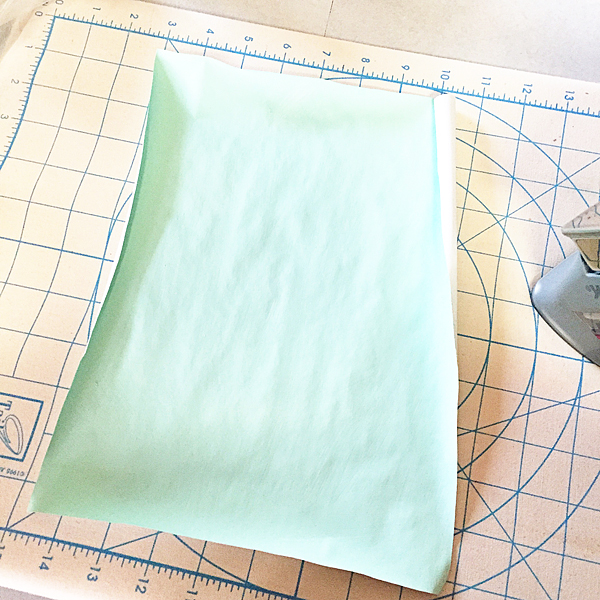
Turn the paper over and iron the paper until it is completely flat.

iron-the-painted-paper

Now you are ready to print on your painted paper. Download my graphics if you would like, or create some of your own.

WhipperBerry-Christmas-Graphics

Place your paper in your paper tray of your printer. You may need to figure out the best way to place it so that it will print on the right side. Then print your graphic.

run-you-painted-paper-through-your-printer

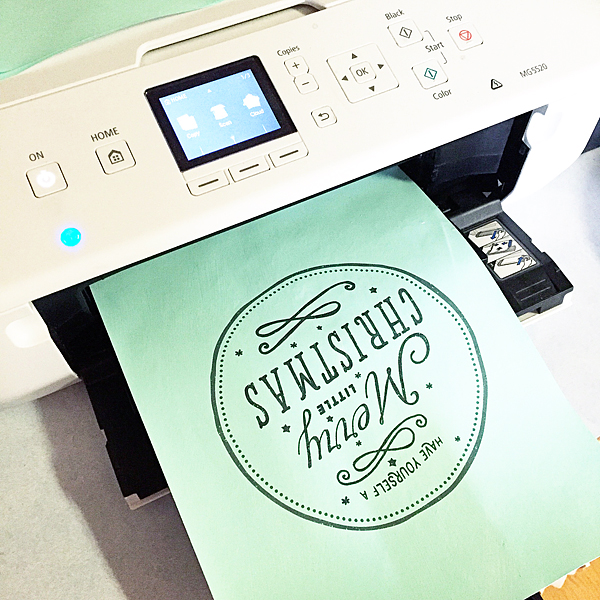
It prints beautifully! Now… Don’t touch the ink at this point, it will smear. You need to set your ink. I have tried several methods of fully setting the ink. I have sprayed it with hair spray… Works great. For this project I heat set the ink. I placed a piece of paper over the top of the graphic and pressed it again with my iron.

Place-a-piece-of-paper-on-top-of-your-graphc-and-iron-to-set-the-ink

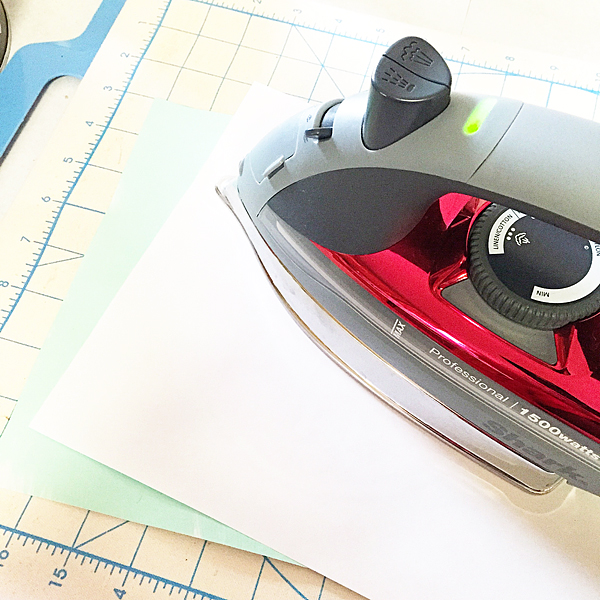
I also let the paper set for a few hours or overnight, just to make sure you won’t have smearing issues.

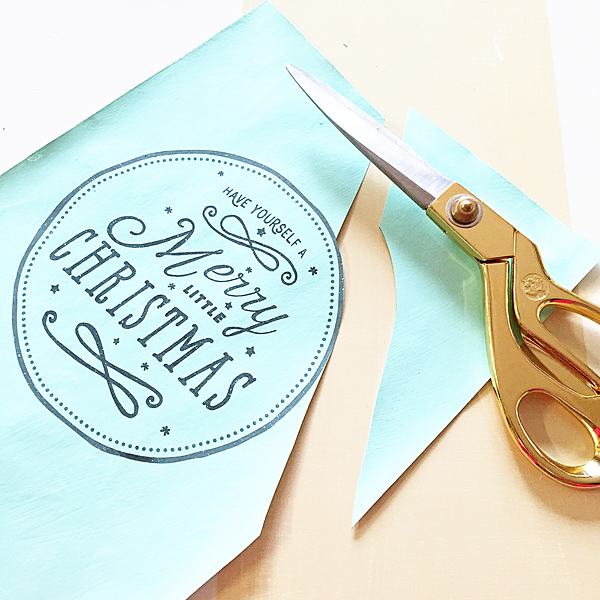
Once the paper was ready, I carefully cut out the image.

Trim-the-image

This is where it gets super fun!

use-Decoupage-on-the-back-to-affix-the-graphc-to-your-piece-of-wood

Brush some Decoupage on the BACK of your graphic. BACK ONLY.

paint-decoupage-onto-the-back-of-the-graphic

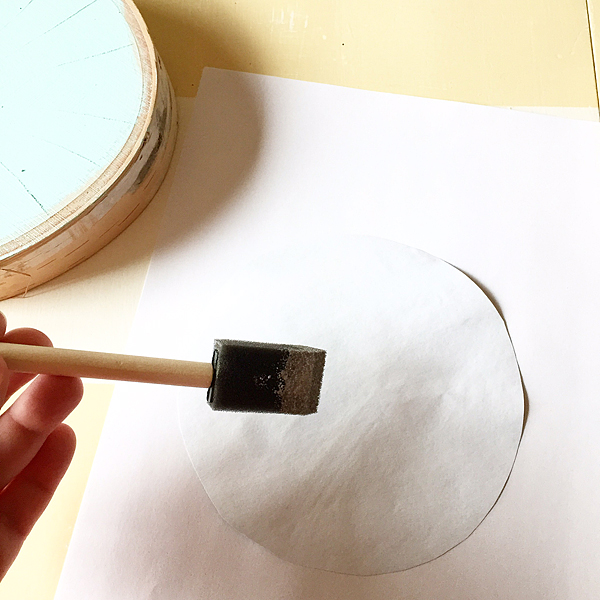
Then place your graphic onto the painted surface. In this case the wood cutting.

gently-press-image-onto-the-piece-of-wood

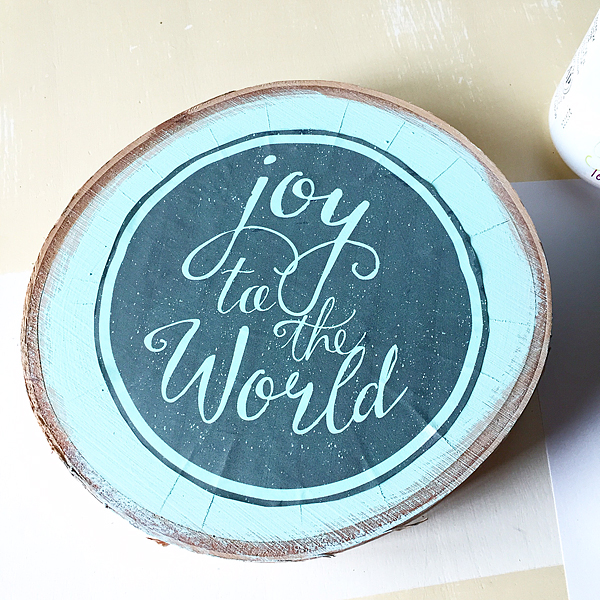
Carefully smooth out the image and let dry. The cool thing is that the image will take on the characteristics of the surface. For example, the wood has all kinds of ridges and such. The graphic doesn’t hide any of that character.

Once the Decoupage is totally dry, you will want to seal your piece so it will be protected. This is super easy with BB Frösch Premium Finishing Wax.

Waxing-your-faux-painted-Christmas-Sign

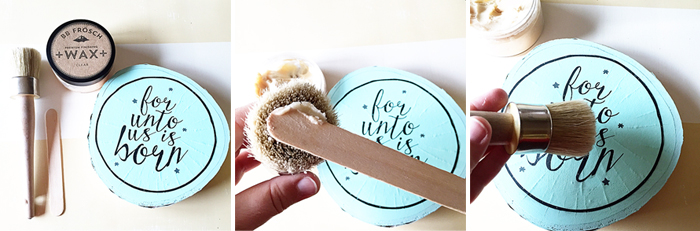
Using a wooden stick, “butter” your brush with the wax. Brush back and forth over the surface of your piece making sure the entire surface is covered.

Use-a-lint-free-cloth-and-wipe-off-the-excess

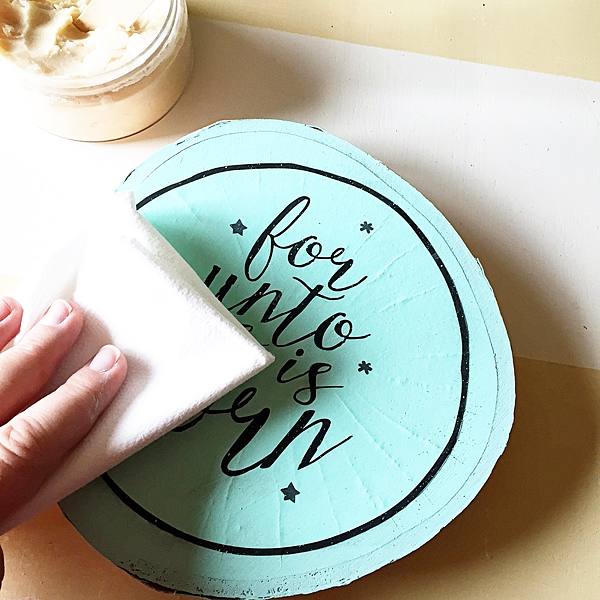
Using a lint free paper towel, wipe off any excess wax. Let sit for 15 minutes and then buff to your desired sheen.

Faux-Hand-Painted-Christmas-Signs--3

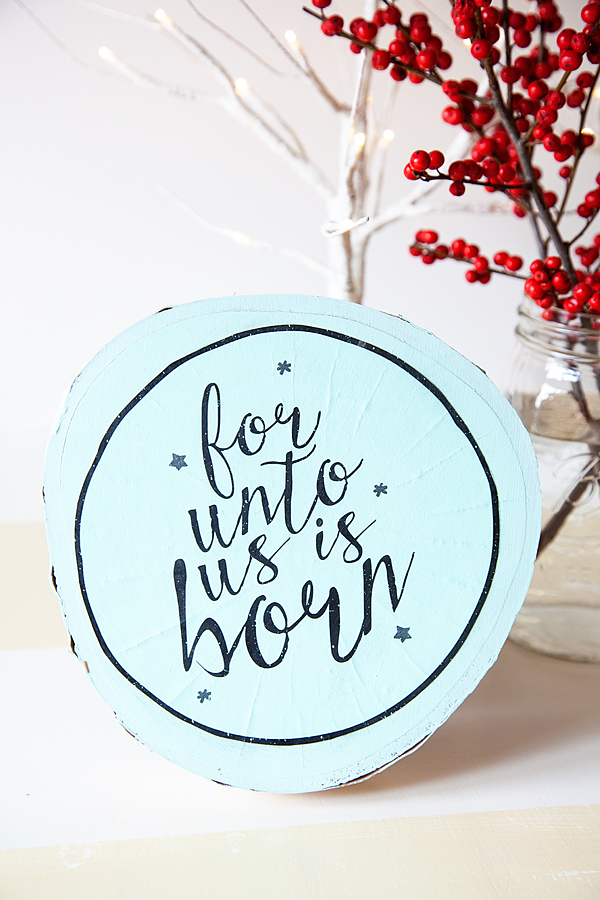
Voilà, you’re finished. It’s amazing how the paper just blends right in. You would never know that this wasn’t hand painted.

Faux-Hand-Painted-Christmas-Signs--1

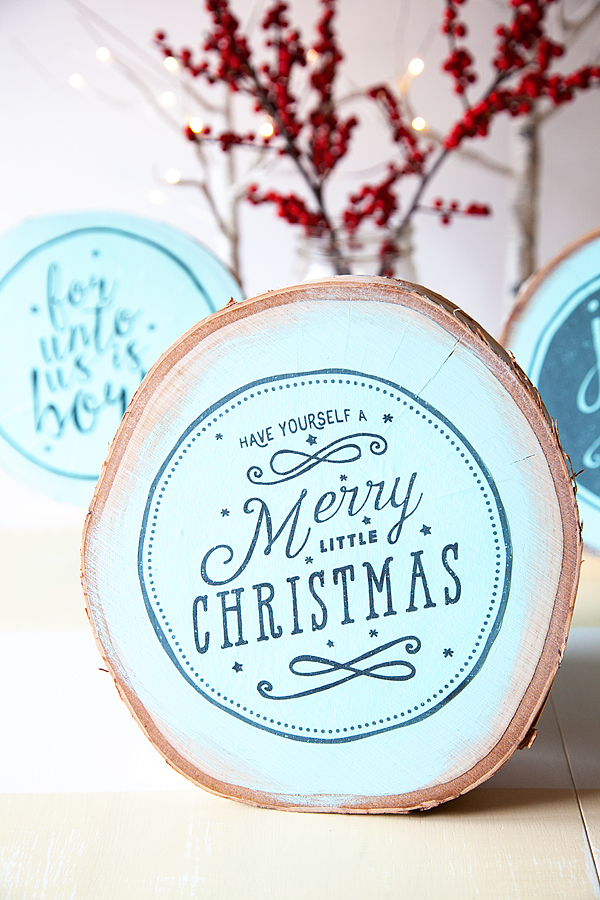
Isn’t it fun?! You’re friends are going to LOVE these simple, heartfelt, handmade gifts and you’re going to look like a ROCKSTAR!

Don’t worry, I won’t tell your secret!!

***********

Thanks Heather! Those signs are beautiful, and they do look like a hand painted sign! Such a pretty accent to your holiday decor. Heather has amazing ideas on her blog. Here are a few I think you’ll love:

Silk-Holiday-Nog-Pull-Apart-Bread-WhipperBerry

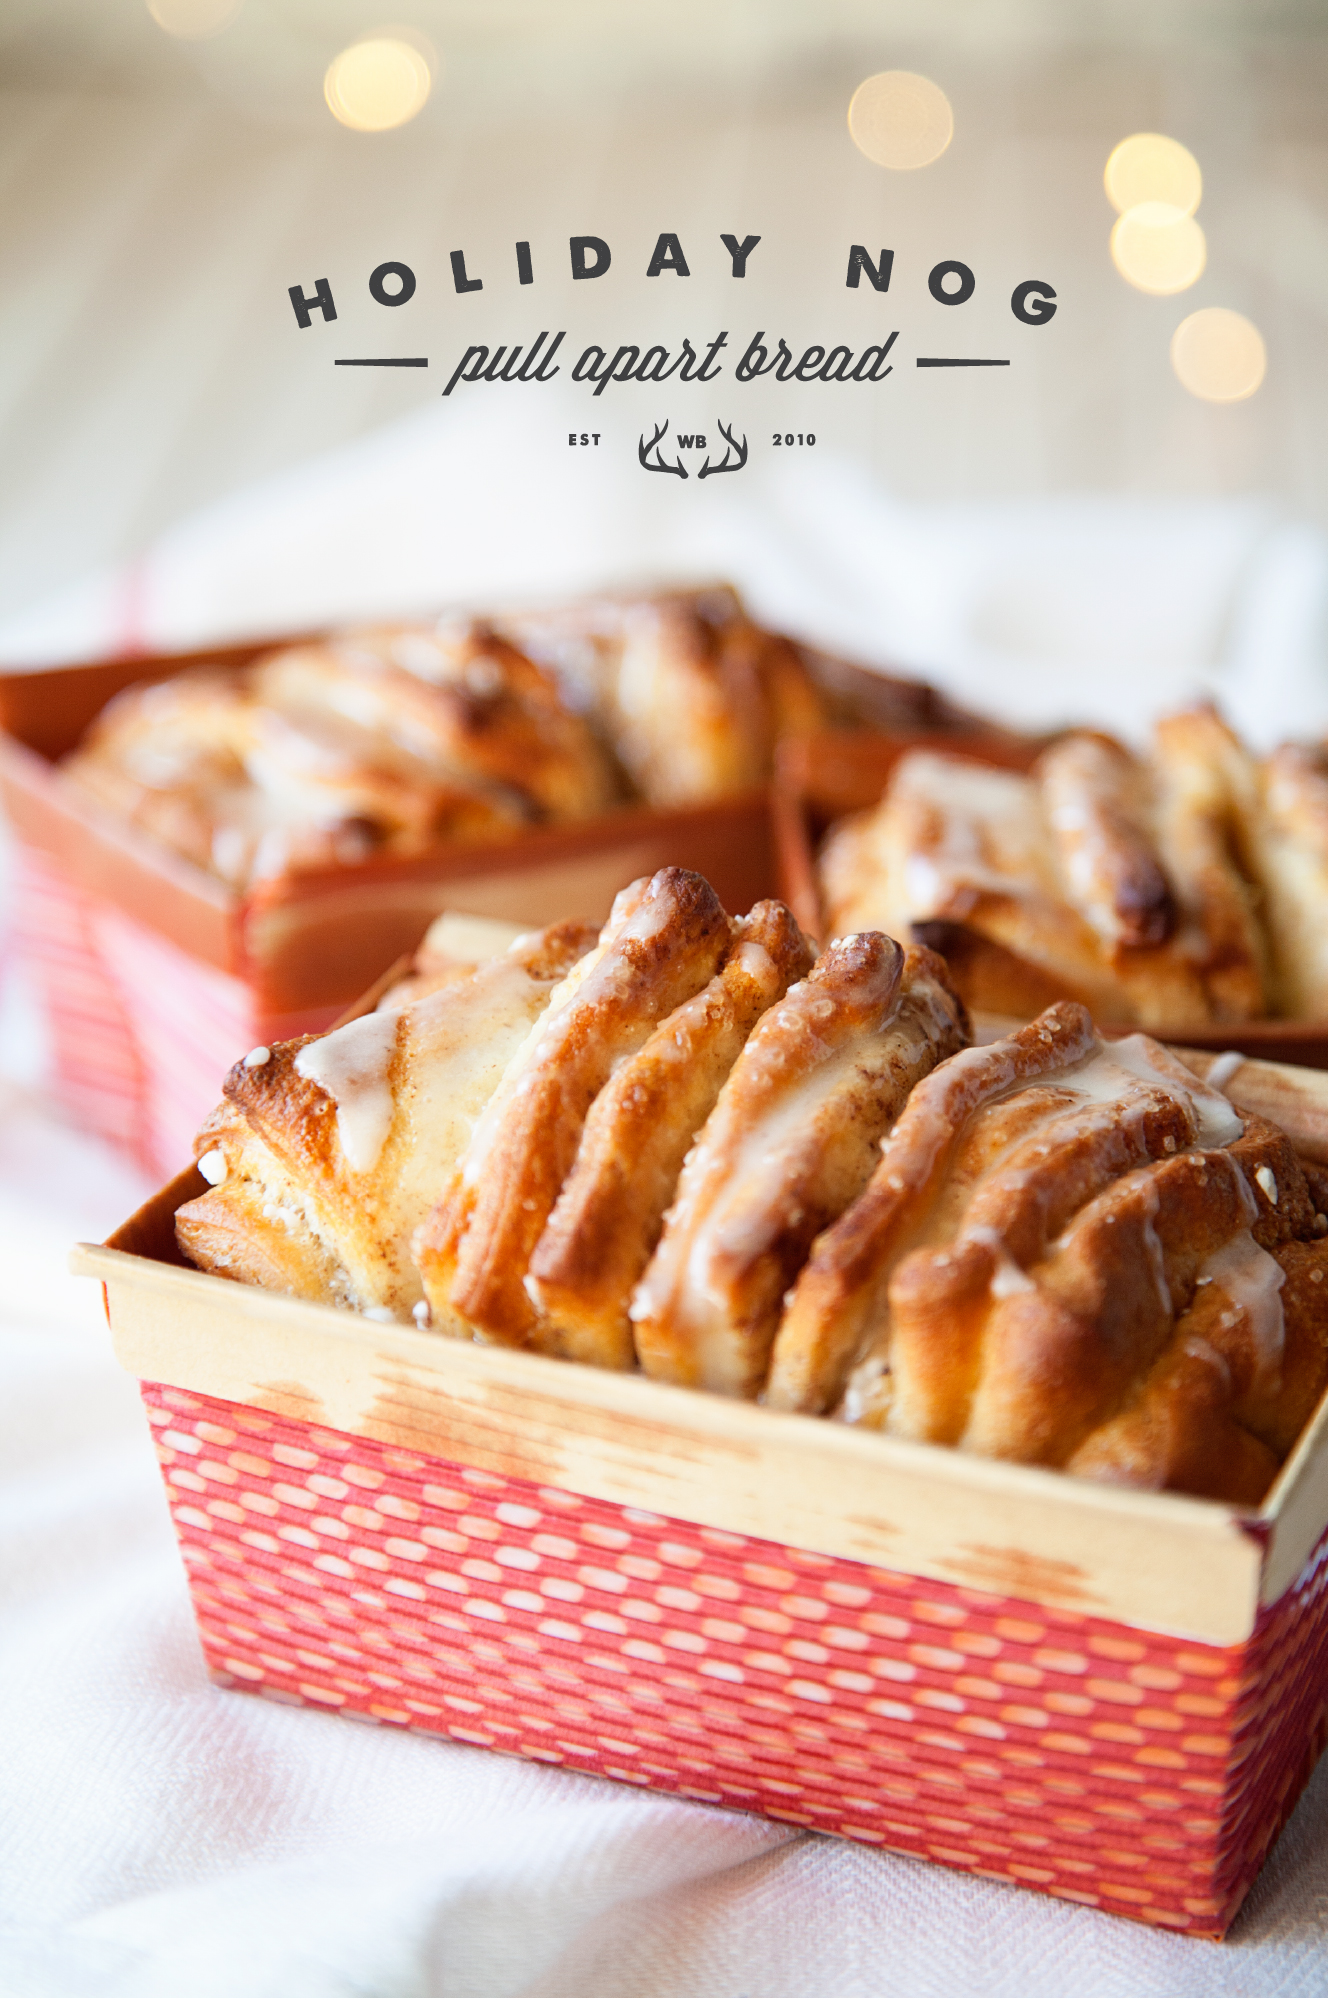
Heather has amazing recipes on her blog. This Holiday Nog Pull Apart Bread looks amazing!

Orange-You-Sweet-Printable-Stickers-from-WhipperBerry

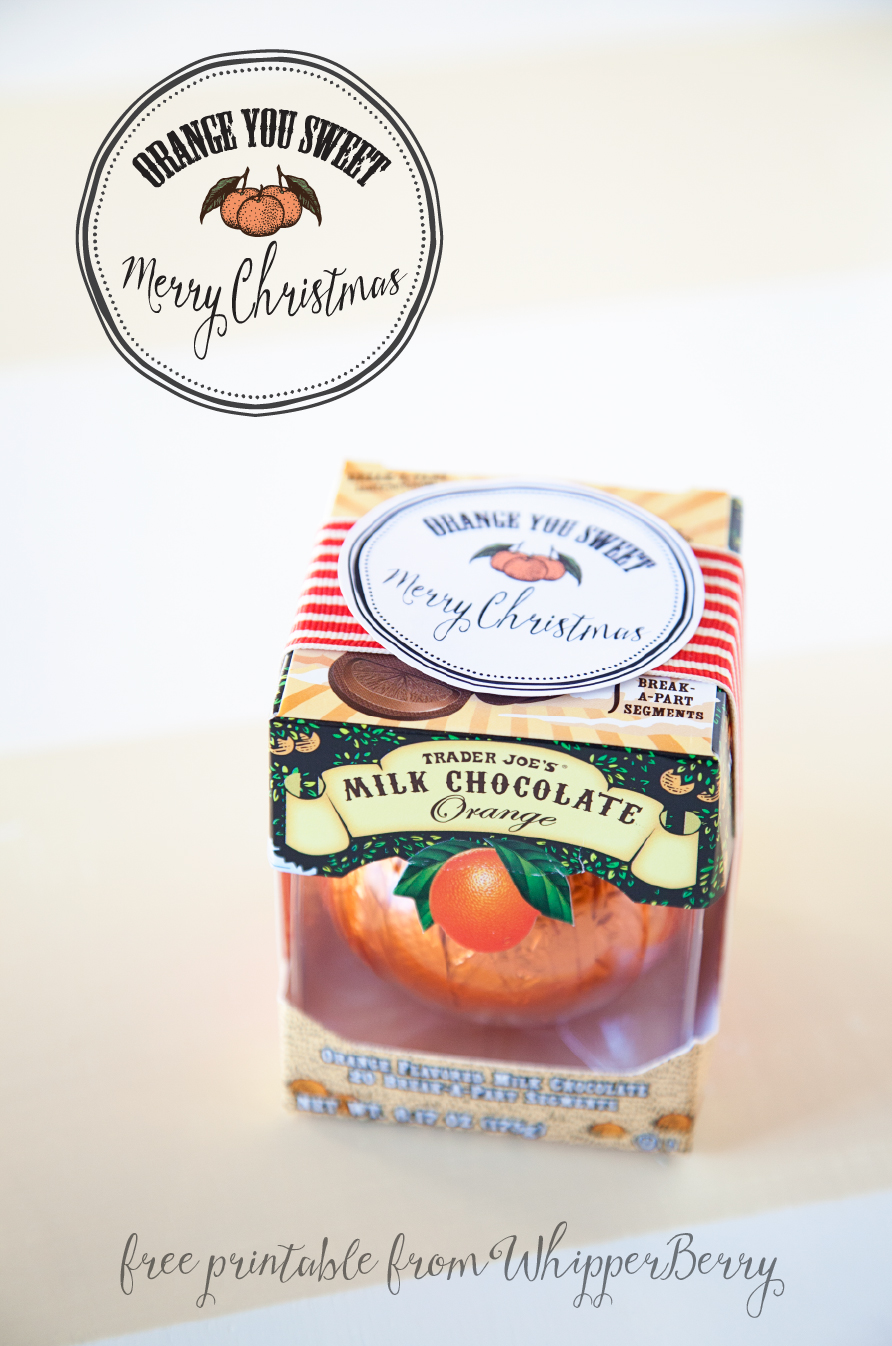
And, she always has darling printables, too. Use her Orange You Sweet Printable for an easy neighbor gift idea!

Hostess-Christmas-Snowball-Fight-2014-1

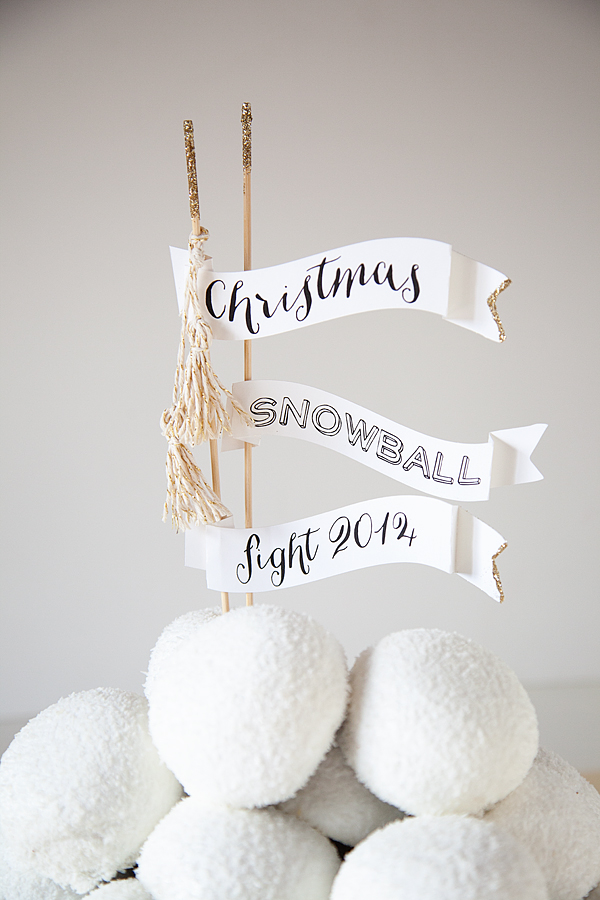
And, her idea for a fun Edible Christmas Snowball Fight Centerpiece is so fun! That’s a tradition your kids will love!

 Visit Whipperberry and

pinterest.32x32.icon.circle
Follow Whipperberry  on Pinterest
instagram.32x32.icon.square
Follow Whipperberry  on Instagram
twitter.32x32.icon.circle
Follow Whipperberry  on Twitter
facebook.32x32.icon.circle
Follow Whipperberry  on Facebook

happy-holidays-2014-300-tatertotsandjello1

Follow the HAPPY Holidays Event at Tatertots & Jello
all through the holidays with awesome tutorials, recipes, decorating ideas and more from some amazing blogs!
xoxo
jen signature

Posted By: Jen · In: christmas, diy, free printables, guest tutorials, HAPPY Holidays, painting projects

HAPPY Holidays: DIY Washi Tape Spool Tree
HAPPY Holidays: Cream Cheese Mints

You’ll Also Love

DIY Halloween Bat Mantel Ideas
make a dog playhouse out of a box. all the instructionsMake an Adorable DIY Dog Playhouse Out of a Box!
Make a DIY Marble Kitchen Pedestal

Comments

  1. Kiki Comin says

    December 19, 2014 at 4:47 PM

    LOVE this idea, heather. i can’t wait to try it on a few things. 🙂

  2. KpMcD says

    December 17, 2014 at 9:10 AM

    this is a great solution! A few years back I tried to do a DIY on painting your own placards just like those, but got feedback that the hand-lettering was too difficult. Wonderful fix, thanks for sharing!

Hi! I'm Jen Hadfield. I'm a mom of 5 restoring an 1891 home in the heart of Salt Lake City. I love being creative and sharing simple ideas to make your life easier and more beautiful!

Receive the Latest Crafts, DIY, Recipes and More in your INBOX!

Follow us on Pinterest! It's awesome!

Top Posts & Pages

Spruce up Your Outdoor Space with a DIY Recirculating Fountain! (tutorial)
Copycat Panera Spinach and Artichoke Egg Soufflés - SO good!
12 Must-Have Items to Pack on an Alaskan Cruise!
A New Deck in Under 30 Minutes!
DIY Secret: How to Print on Post-It Notes (and Free Printable Template)
DIY Fountains to Make Your Yard Amazing!


Popular Posts

  • Spruce up Your Outdoor Space with a DIY Recirculating Fountain! (tutorial)
    Spruce up Your Outdoor Space with a DIY Recirculating Fountain! (tutorial)
  • Copycat Panera Spinach and Artichoke Egg Soufflés - SO good!
    Copycat Panera Spinach and Artichoke Egg Soufflés - SO good!
  • 12 Must-Have Items to Pack on an Alaskan Cruise!
    12 Must-Have Items to Pack on an Alaskan Cruise!
  • A New Deck in Under 30 Minutes!
    A New Deck in Under 30 Minutes!
  • DIY Secret: How to Print on Post-It Notes (and Free Printable Template)
    DIY Secret: How to Print on Post-It Notes (and Free Printable Template)
  • DIY Fountains to Make Your Yard Amazing!
    DIY Fountains to Make Your Yard Amazing!
  • How to Change a Recessed Can Light into a Pendant Light with No Remodeling!
    How to Change a Recessed Can Light into a Pendant Light with No Remodeling!

As seen in


Amazon Affiliate

Tatertots & Jello is a participant in the Amazon Services LLC Associates Program, an affiliate advertising program designed to provide a means for sites to earn advertising fees by advertising and linking to amazon.com.
  • About Me
  • Advertising
  • Get Featured

Copyright © 2025 Tatertots and Jello · Privacy
This site is a place for positive discussion and ideas. Negative talk, comments that disparage others, and similar are not welcome and may be removed.