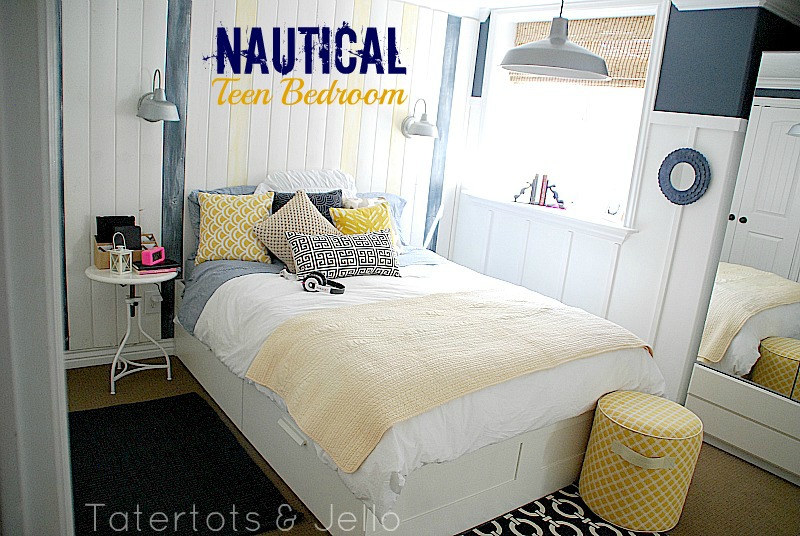
Thanks for all of the sweet comments on Hayley’s Nautical Room Redo!!
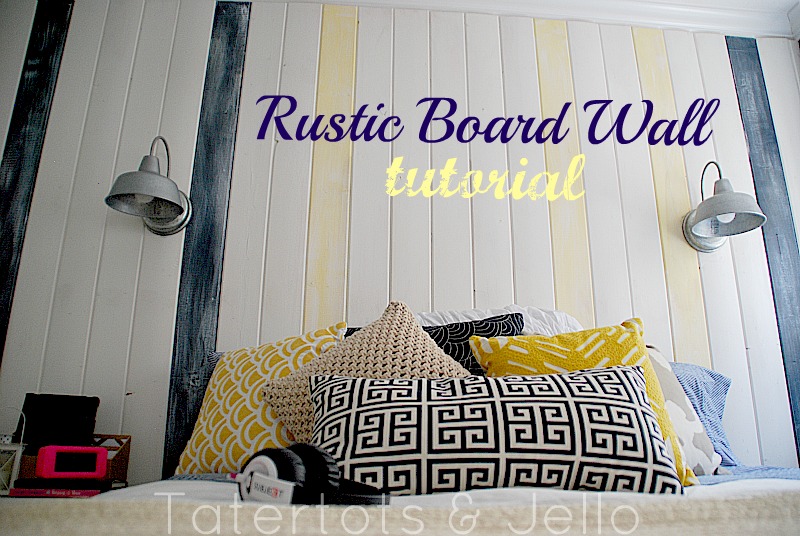
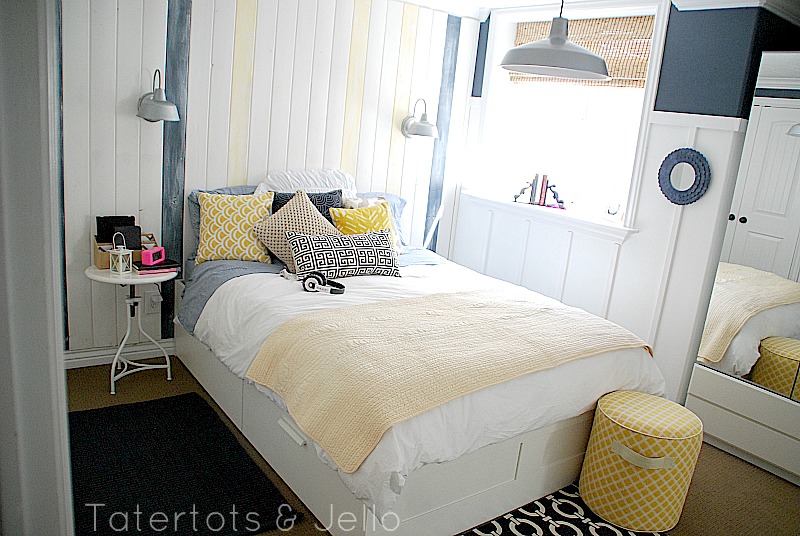
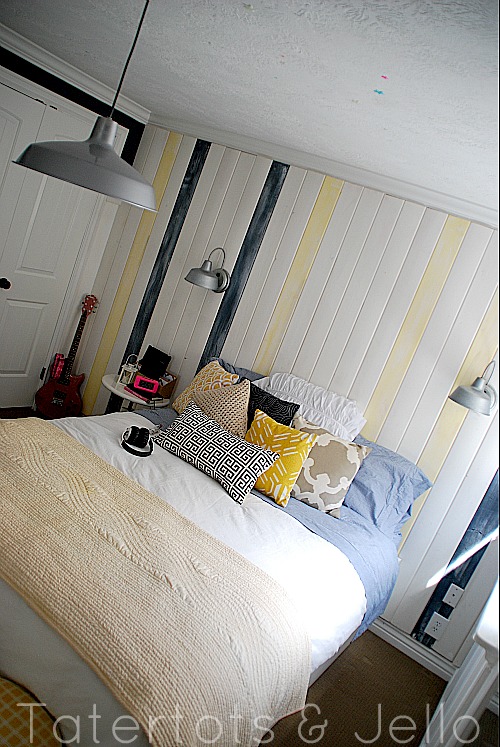
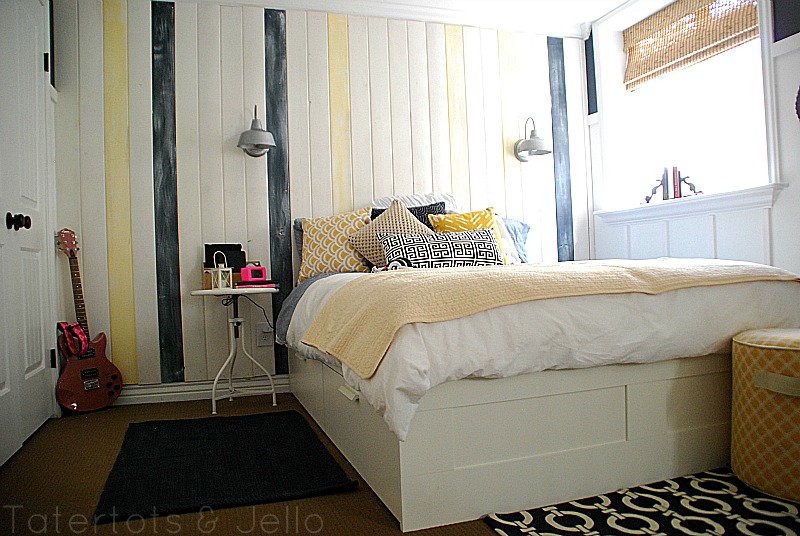
This will be the last post on the room for awhile 🙂 I had a lot of emails wondering how I made the Rustic Focal Board Wall in her room.
Here’s what I did:
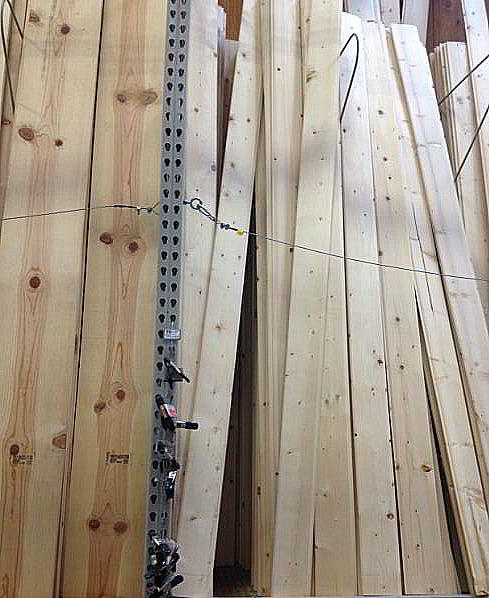
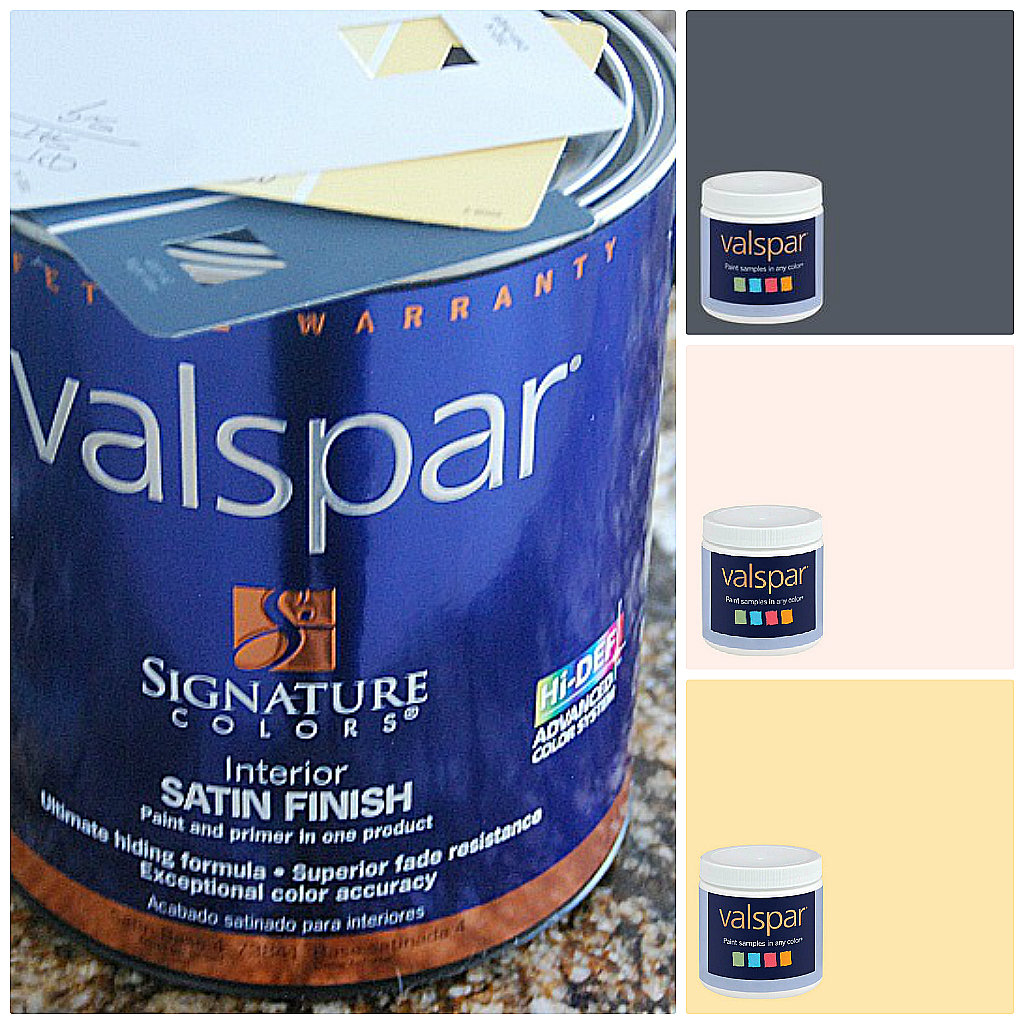
The whole room redo started off when I saw these boards at Lowe’s:
I brought them home and painted them three different colors:
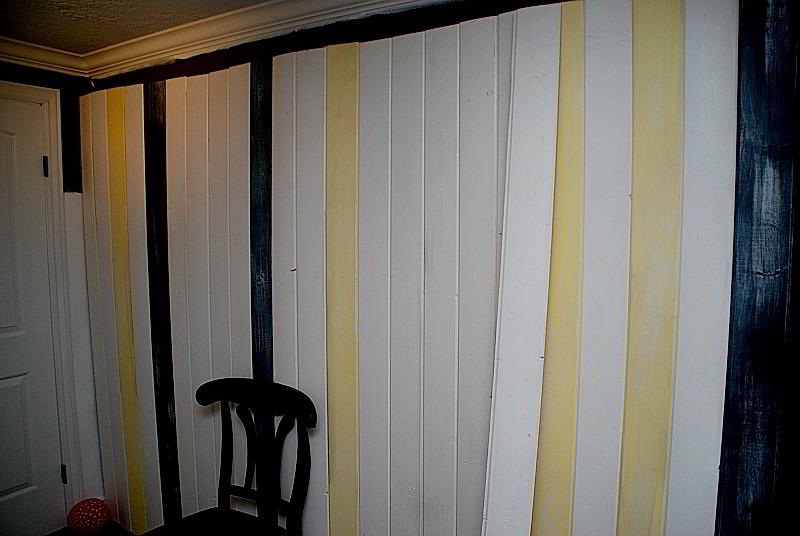
I experimented a little with how many boards of each color. I knew that I wanted the majority of the boards to be a neutral white. But I wanted to bring in the navy and a little bit of yellow for fun.
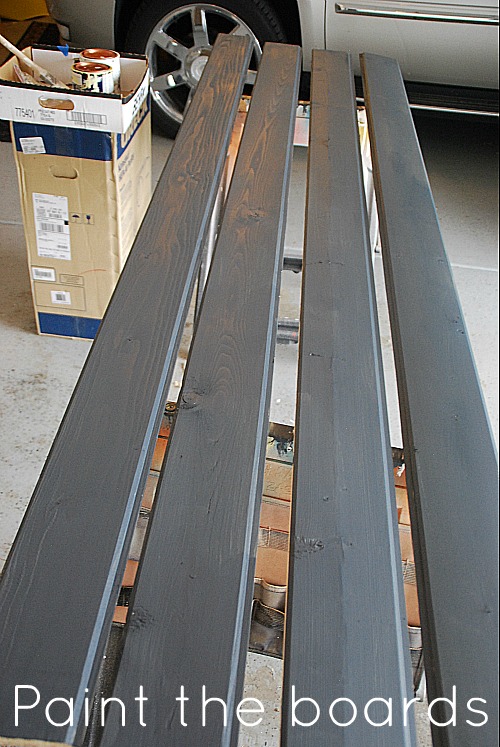
- I painted the boards.
- I sanded the boards.
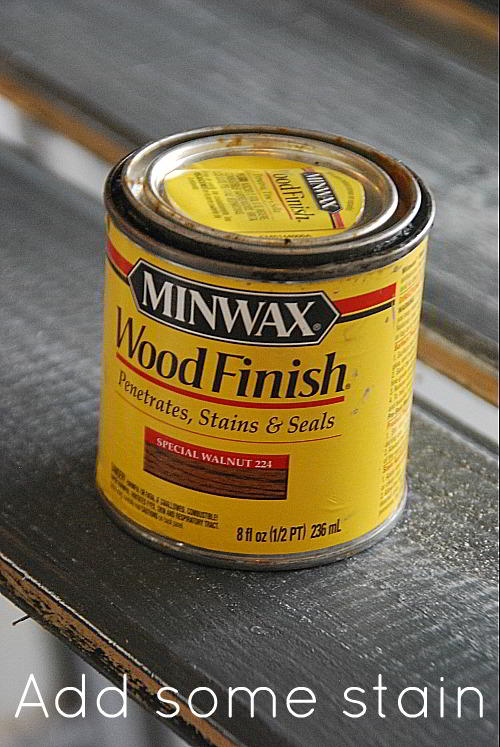
- The once the boards were painted I put a light layer of stain over them all.
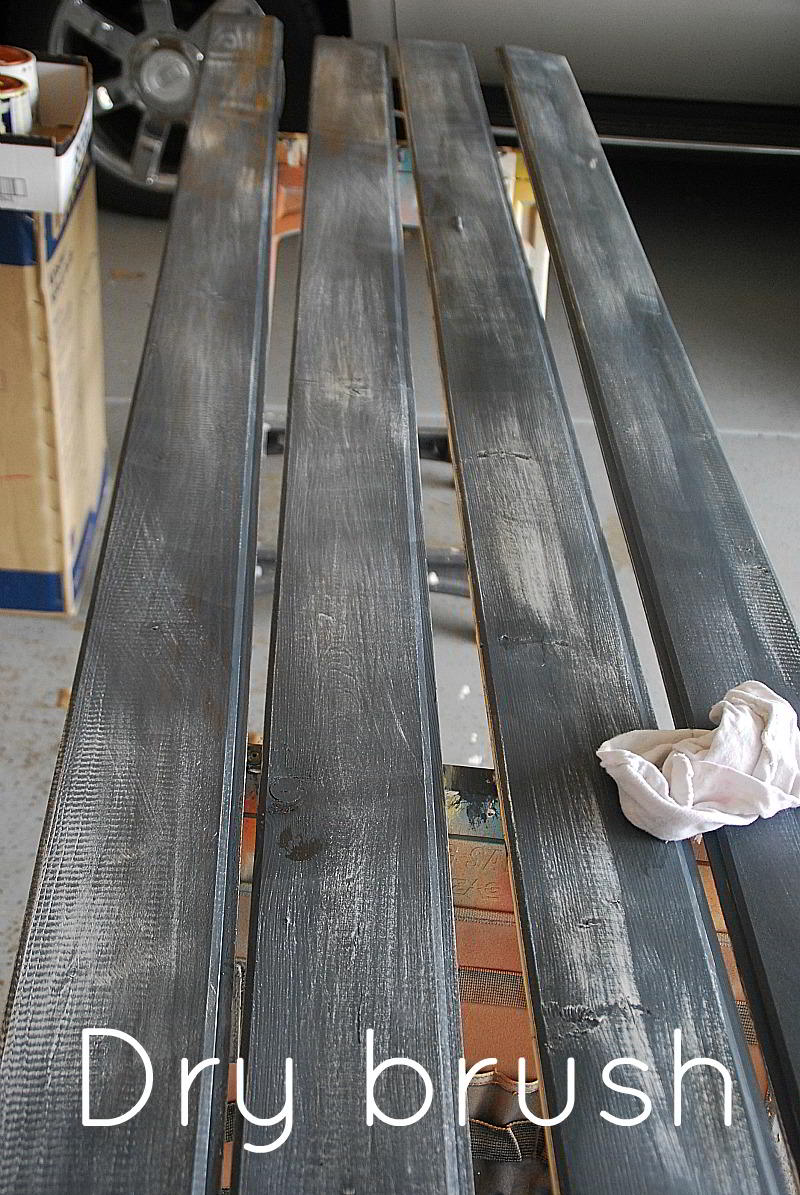
- And then I dry-brushed white over the colored boards to make them look old.
- Once the boards were painted, I measured the height from the top of the bottom molding to the bottom of the crown molding in the room and then cut all of the boards to that length.
- I laid all of the boards out against the wall to figure out the placement of the boards.
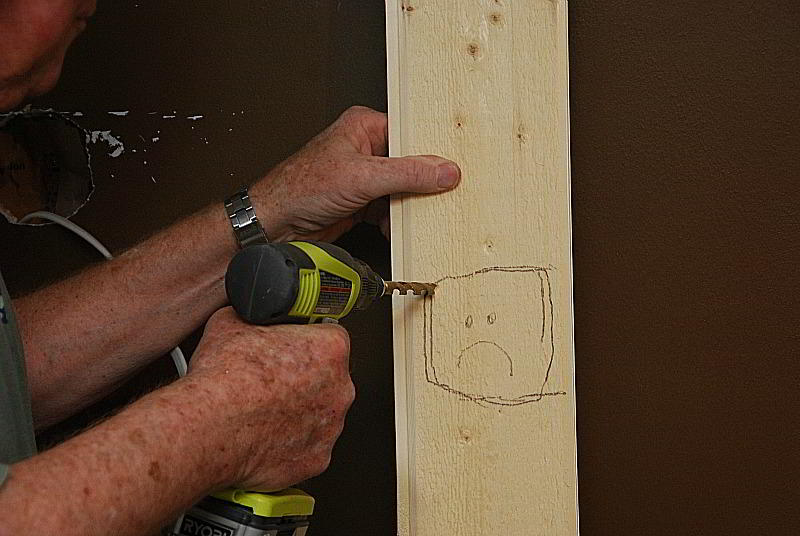
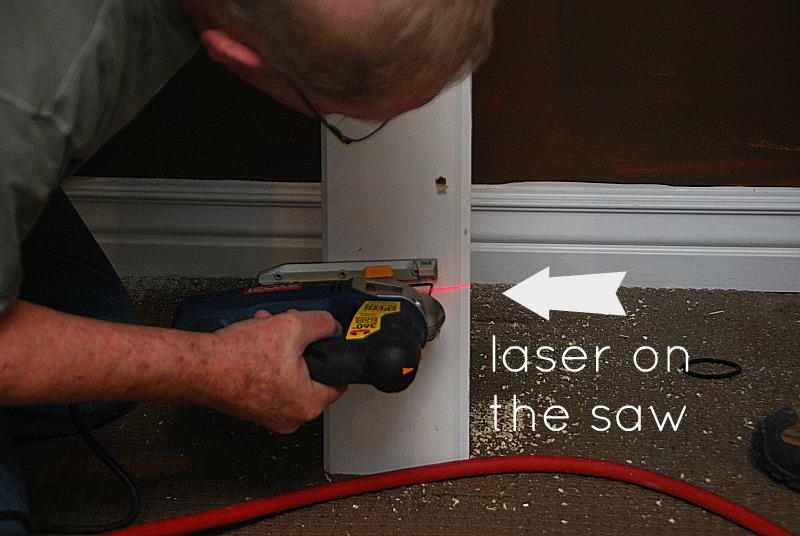
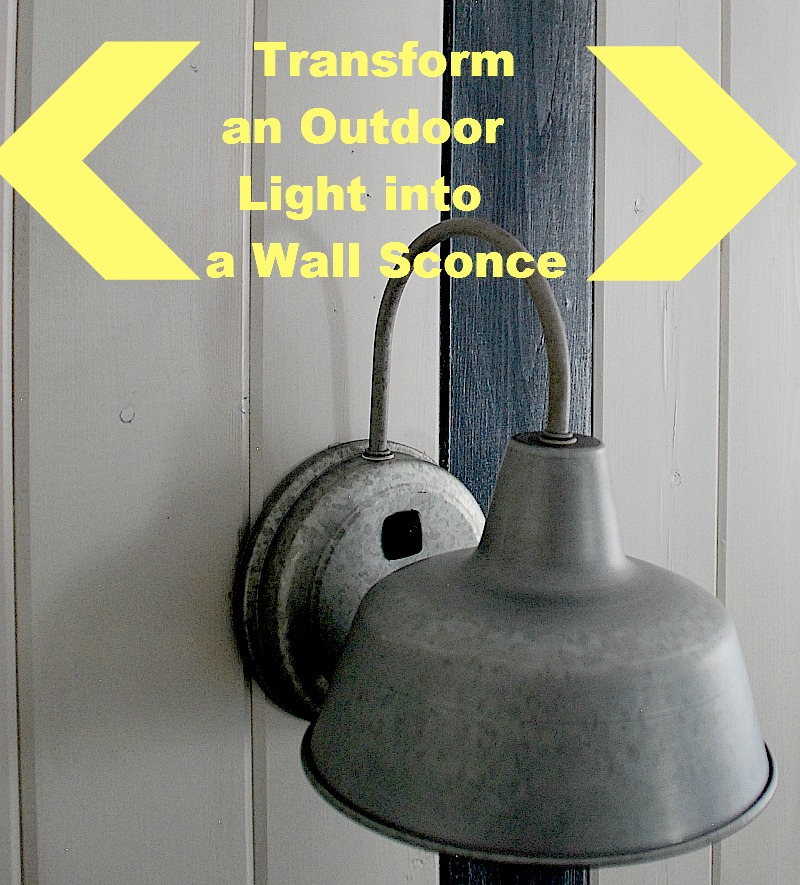
- And since I wanted to install wall sconces, I measured out those spaces, cut out the space in the drywall, and then my father-in-law cut out the space in the boards using a jigsaw. And how cool is this jigaw, it has a laser that shoes the saw line. Such a FUN DIY tool. I want one!!!
- Since the wall wasn’t exactly the same width as the boards, the last board we had to cut vertically before we nailed it into the wall.
- And if you don’t like the rustic look at the top of the boards, you can cover that up with some quater-inch molding. It will make the project look a little more sophisticated. I was going for a more rustic look, so I left it with the cut edges at the top.
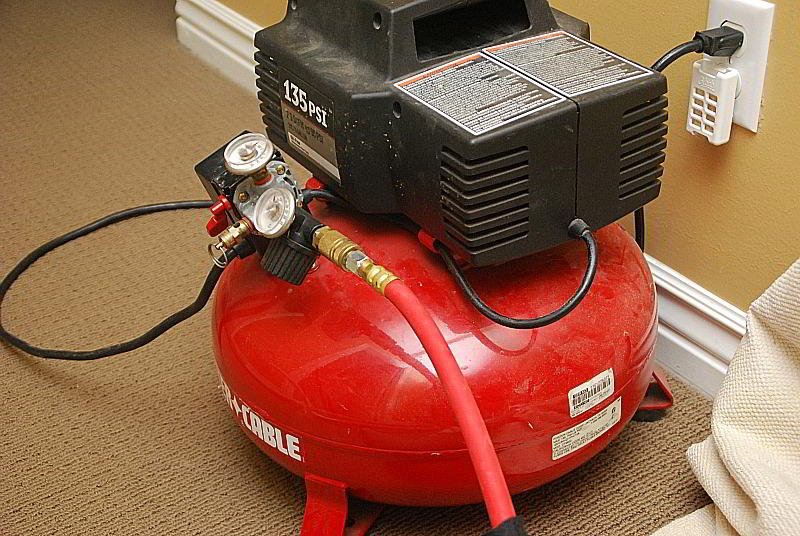 Then my husband and my father-in-law installed the boards. We used a nail gun and compressor — so much easier than a traditional hammer! The last thing I did was fill in the nail holes with caulk and then go over the caulk with a little of the matching paint.
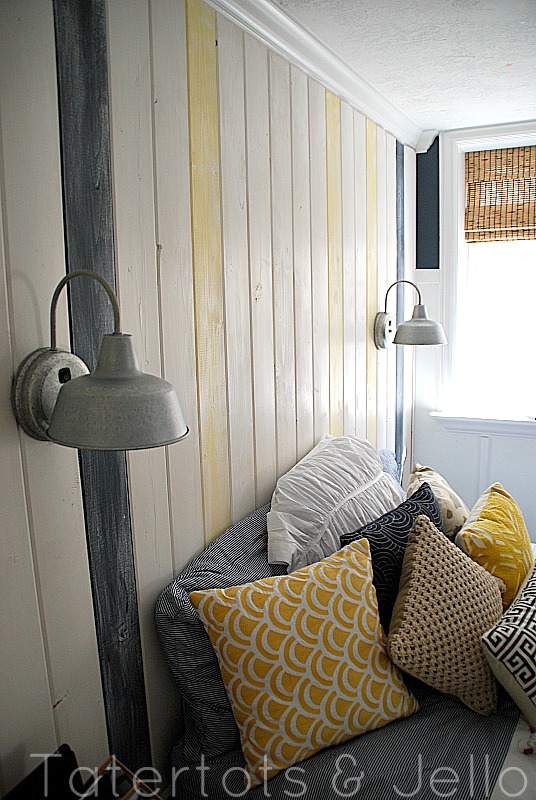
I love the character the boards add to the wall.
And guess what???? I was at Lowe’s the other night and found another type of board to use in the connecting guest room. I am starting on that project this weekend. I want the two rooms to be similar since they share a common bathroom, but this new paneling project will have it’s own spin. I can’t wait to get started!!
And for more information on the other projects in this space, check out:
How to Turn Wall Sconces into Bedside Lights
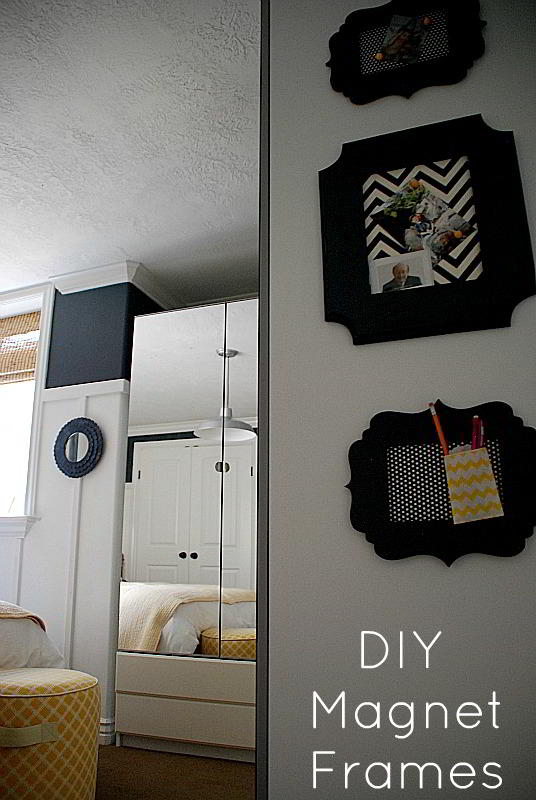
Turn a Frame into a Magnet Board in 15-minutes
Have a Happy Thursday!!
xoxo




Perfect update for summer!
LOVE it especially with the board and batten!! We are planning on redoing some windows in our bedroom and might be able to convince the hubby to do this after that is done!! 🙂
This will be a perfect breezy light feel for my cabin:) I really wanted to do something with the ugly pannelling, and these colors together would be perfect.
Thanks so much I’ll be pinning it:)
Very pretty!!
LOVE THIS! So beautifully done.
very cool room! I love the Lowes lights, was thinking of using them myself, they look great! and those magnetic frames are so fun. What a great kid’s room! pin, pin and pin!
Fantastic use of simple materials and turning it into something extraordinary but classic at the same time! Love it.
LOVE it! I will have to keep this idea in mind. We’re about to transform some rooms for our girls. Love the boards!
ooooh i’m swooning! soo awesome!
I loooooove this! So pretty. I really love your color choices too.
SO fun!! I am very into nautical and beachy right now as well. It all just seems to catch my eye for some reason. I also have those wall sconces – love them! Such a cute room!
you did such an amazing job Jen! I love this whole room! can I move in 😉 hehe
Jen your daughters bedroom turned out AMAZING! I’m glad to see that you guys are always doing projects like us although you make it look like it gets done in no time! Maybe it does but our projects take months if not years to complete! lol.
I love it! It’s beautiful!
Hello Jen,
Your daughter room makeover looks amazing. I love the nautical theme. Nice Job!
Smiles, Paula