Homemade Paper Bead Bracelet. Take scrapbook paper and roll it up to make paper beads. Paper beads are perfect for creating one-of-a-kind bracelets and necklaces!
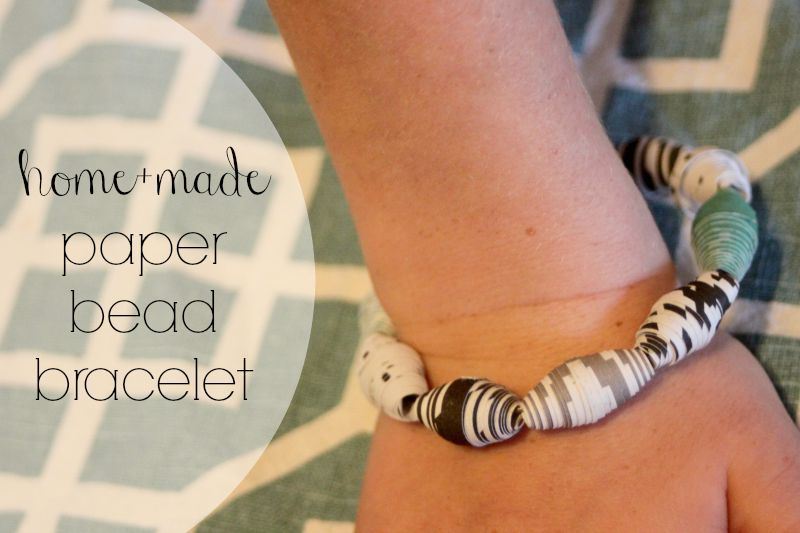
Hello everyone! My name is Michelle and I blog over at Delicate Construction where I like to make things that are adorable, affordable and attainable and that is exactly what I have to share with you today!
Home Made Paper Beads
I have loved every piece of Jen’s new line, especially the Pebbles Paper Pad, and I had the hardest time choosing what to make because every pattern and piece is so cute! I decided to go old school and make a new version of something I loved to make in middle school- paper beads. It came to my mind while talking with friends and once I saw the paper pack, I immediately had to give it a try!

These are easy, fun and rather addictive to make and are a great project for kids and moms alike. I also think they would be the perfect craft for sleep over, lazy afternoon, Tuesday, whatever. Plus it is also a great use of scraps! Here is what you need for these fun and easy paper bracelets:
- Pebbles 12×12 Paper Pad
- Paper Trimmer
- Glue Stick
- Add a Bead Bracelet with Magnetic Clasp
Cut Paper Strips
The first thing I did was cut long narrow triangle strips of paper that were 12 inches long at at the base around 1/4-1/2 inch wide. I didn’t feel like this was something that needed to be measured because I liked that every bead was slightly different.
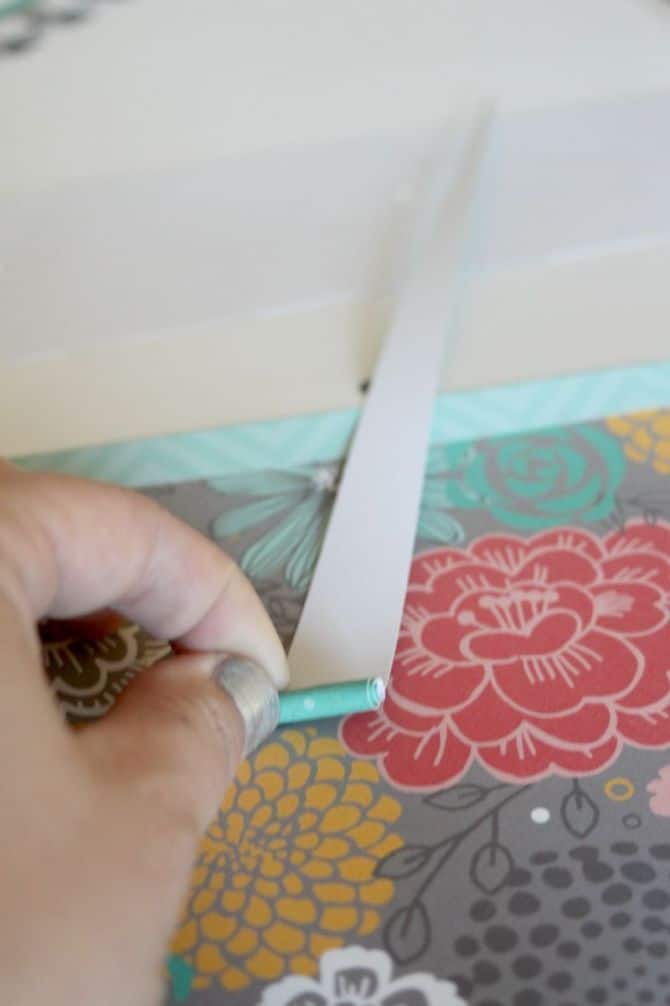
Then I started at the wide end and began tightly rolling up the triangle.
Roll Up Paper Strips
Once I had rolled it a few times, I got out the glue stick and applied glue the entire length of the remaining triangle.
Let it Finish Drying
After it was all rolled up, I held it in my hand for about 30 seconds and then set it aside to finish drying. It didn’t take long before they were ready to add to my bracelet base. I love these magnetic clasp bases where you simply unscrew one of the clasps, add you beads and reattach the clasp and done! No pliers or scissors needed!
String Into a Bracelet or Necklace
I loved the bracelet, but truth be told, my daughter stole it… but that is the natural order of things, isn’t it? I hope you liked this tutorial and give it a try and let me know in the comments!
Thank you so much to Jen for having me on today! If you liked this craft, I would love to see you over at my little corner of the internet some time!
**********
Thanks Michelle! What a fun idea and it would be so great for a kid craft, too!
Michelle has great ideas on her blog. Here are a few more ideas I know you’ll love:
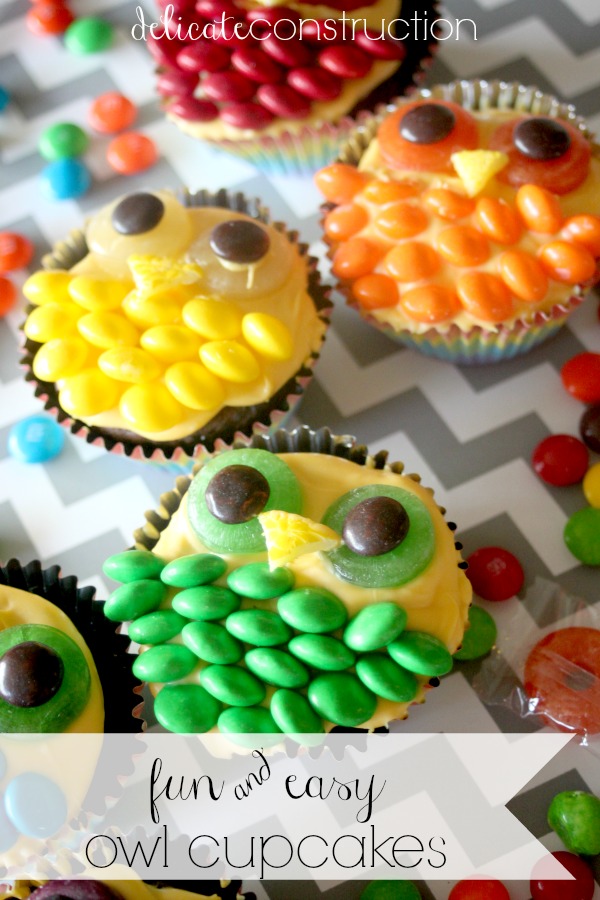
These Fun and Easy Owl Cupcakes are perfect for Fall!
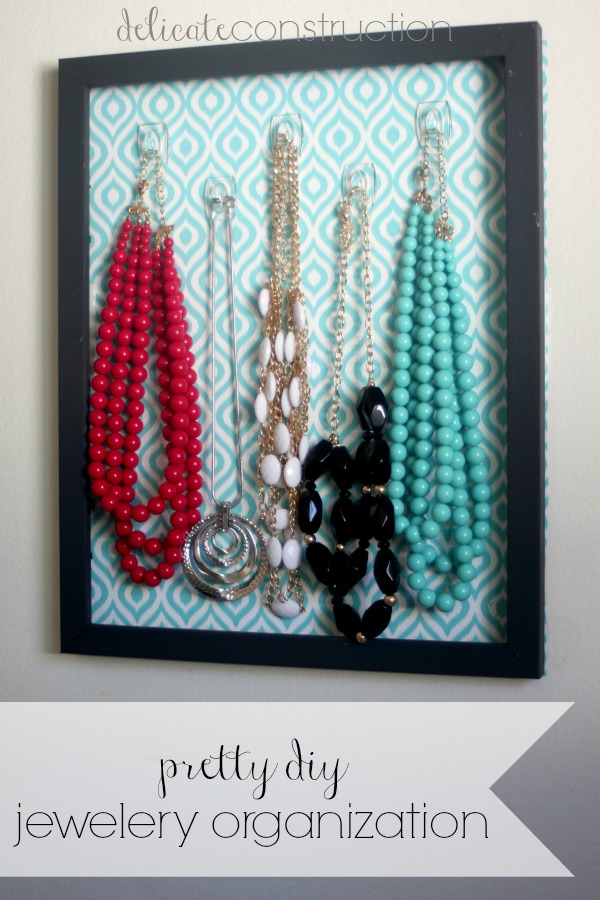
And, here’s a great idea for organizing your jewelry in a pretty way! Check out her post for this Jewelry Organization!
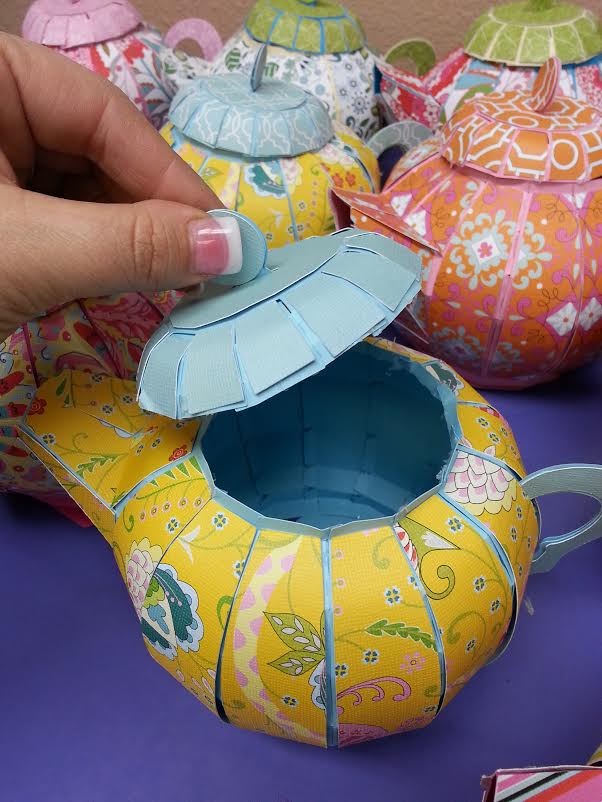
And her Paper Teapot Centerpieces are amazing!


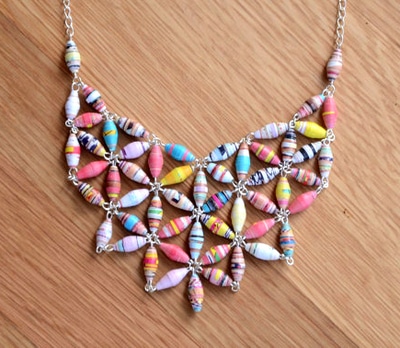




wow…never expected to be such a cool bracelet
The famous Amy Daczczyn, the Frugal Zealot, makes these in her book, and she adds clear nail polish to them after to add a little gloss and keep them a little cleaner.
I have to give these another try. I have such good paper to use! Thanks for the reminder!