Welcome to the Summer of Paper series – where we’ve invited fabulous guests to create projects using supplies from my Home + Made paper decor line.
Hello Tater Tots and Jello readers! I am so happy to be here with you today. I am Shonee and you can usually find me blogging away at Hawthorne & Main.

I love all things DIY. My husband and I recently bought an old 1950’s fixer upper. We are making our way though the house one room at a time making it our own. I love to decorate with rustic modern pieces and I’m afraid to try new projects.
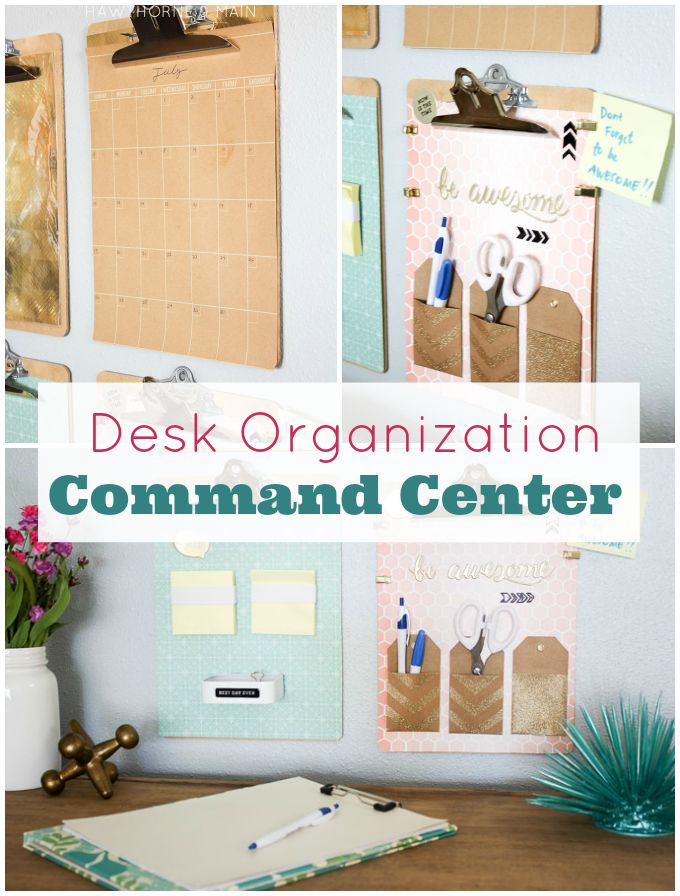
I am super excited to share with you how you can easily create a desk command center with just a few simple supplies.
SUPPLIES:
– 4 Clip Boards
-4 Mini Metal Clips
-4 Sheets of Cardstock
-1 Small Metal Tin
-Stickers and Embellisments
-3/4 inch elastic
-Stapler
-Pop up post it notes
-Craft Glue/Hot Glue
-Scissors
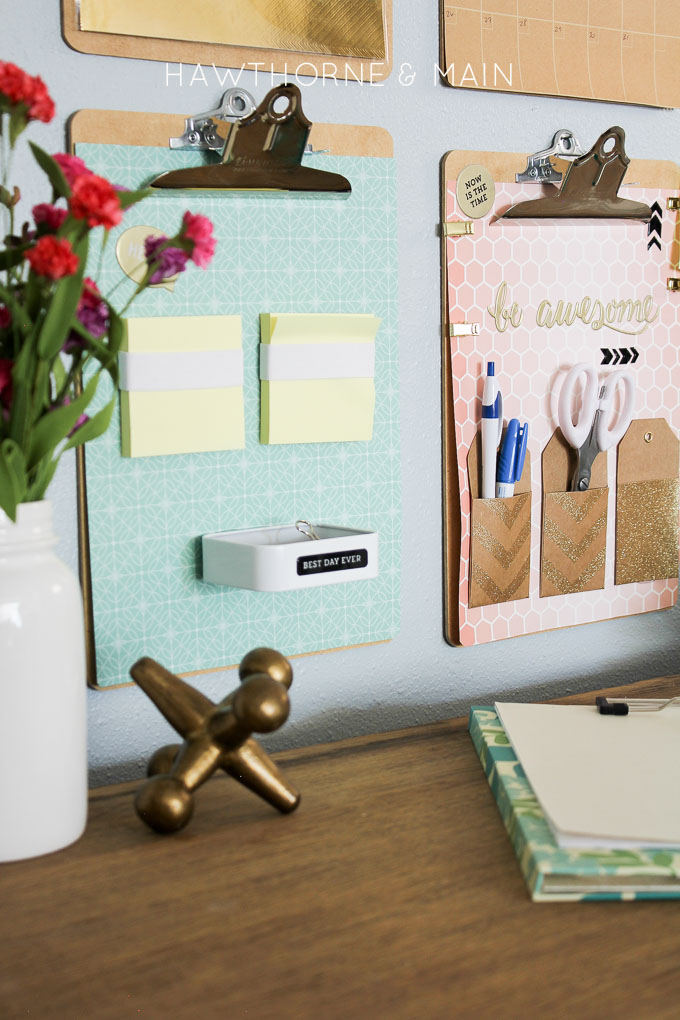
For me the biggest complaint I have about my desk is there is not enough space to work, with all my pencil holders, file boxes and other STUFF that is taking up space on my desk. I decided that I need a way to organize my space but still have access to work on my desk!
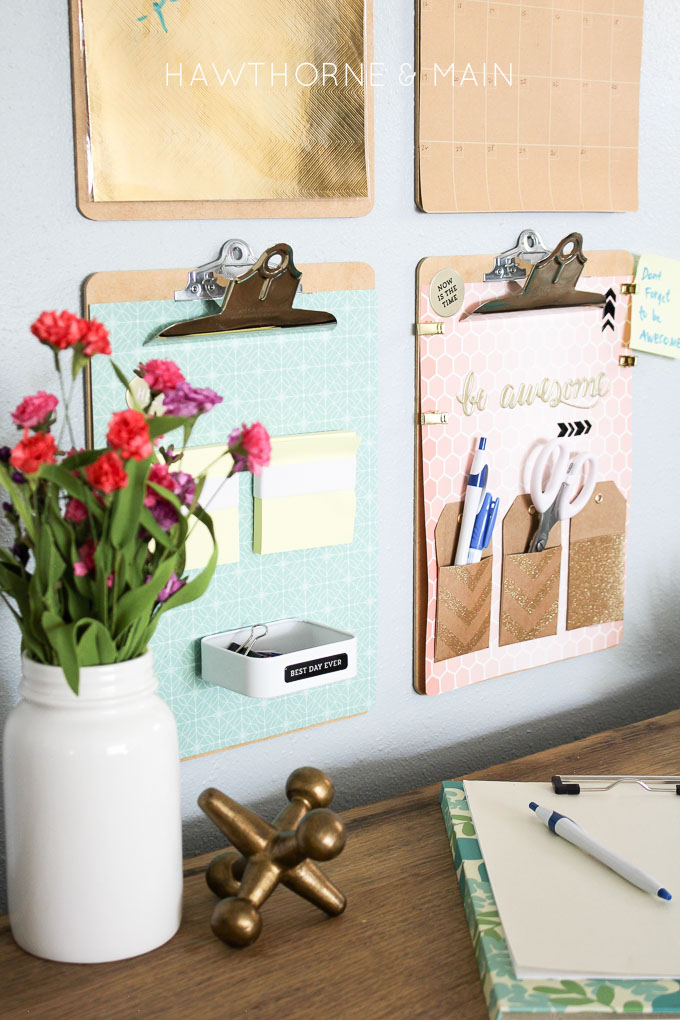
I came up with a simple way to keep a lot of my hand written notes and other essentials close by without cluttering up my desk…..meet my mini desk command center.
TUTORIAL:
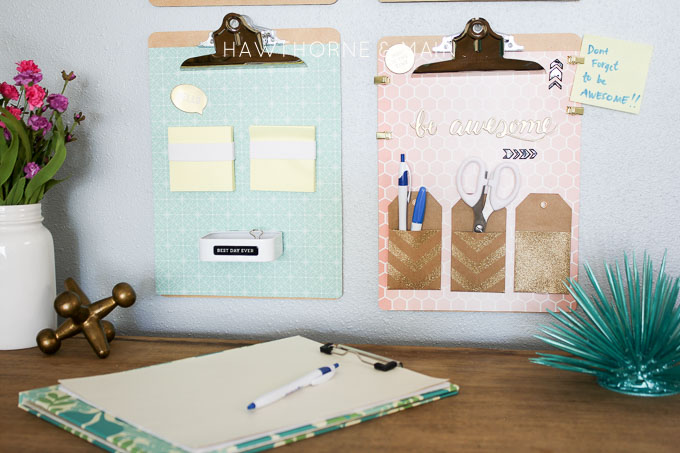
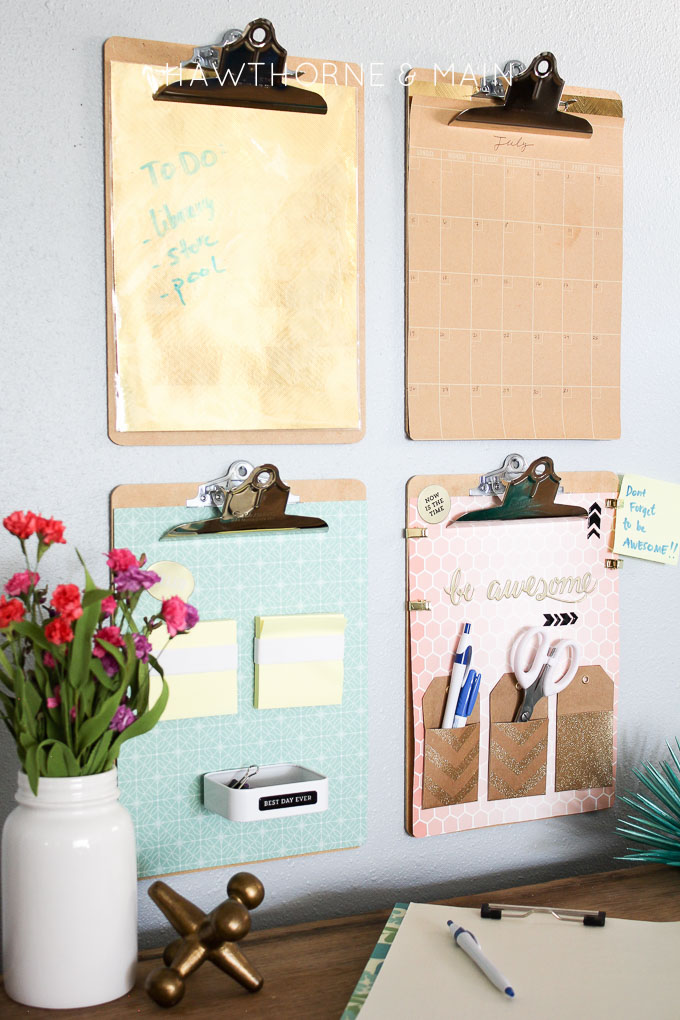
To begin I sat down and thought about what 4 areas I wanted to have in my desk command center. I came up with things that work for me but you will need to assess what works best for you personally. This is what I decided on:
1- Calendar
2- Dry Erase Board
3-Post it notes/odds and end storage
4- Pencil holder/clips for holding notes
CALENDAR:
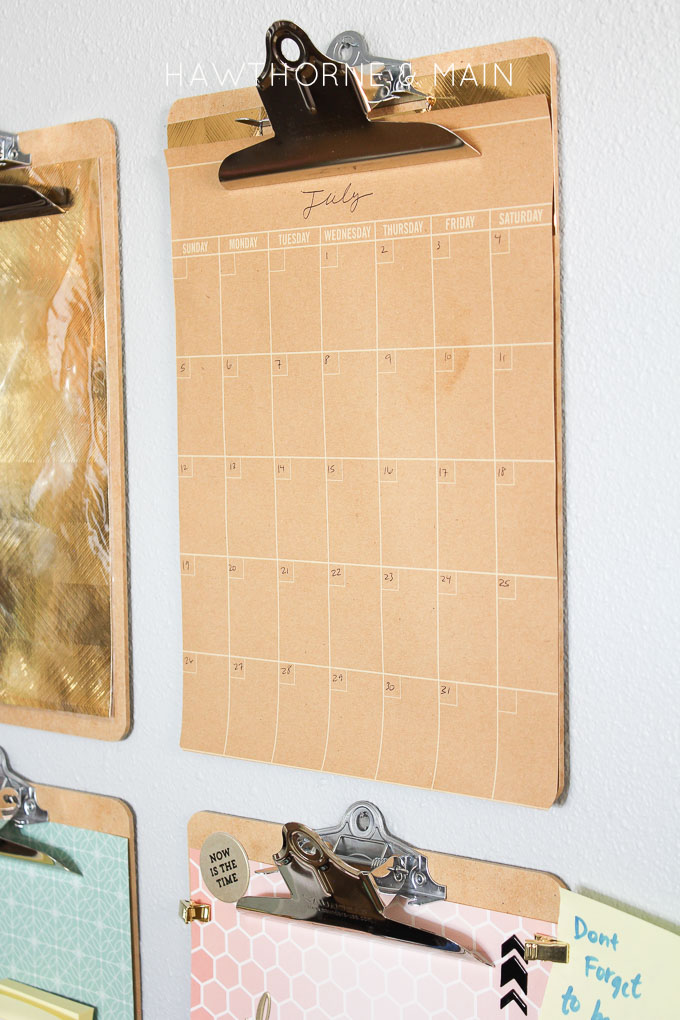
This one is probably the easiest. I used a piece of cardstock that came printed with a calendar already on it. You certainly could use a pre-made calendar or find a printable. I cut it down to size to fit on the clip board. I use this calendar specifically for remembering family stuff and it works great! After each month is over I replace it with a new preprinted month!!
DRY ERASE BOARD:
I am an avid note taker. I know that there are many of you out there that like to take notes on your phone or other electronic device. I am a total paper and pencil girl. I am constantly writing down notes. It is not unlike me to write a note down on a utility bill envelope….seriously a lot of notes happening over here.
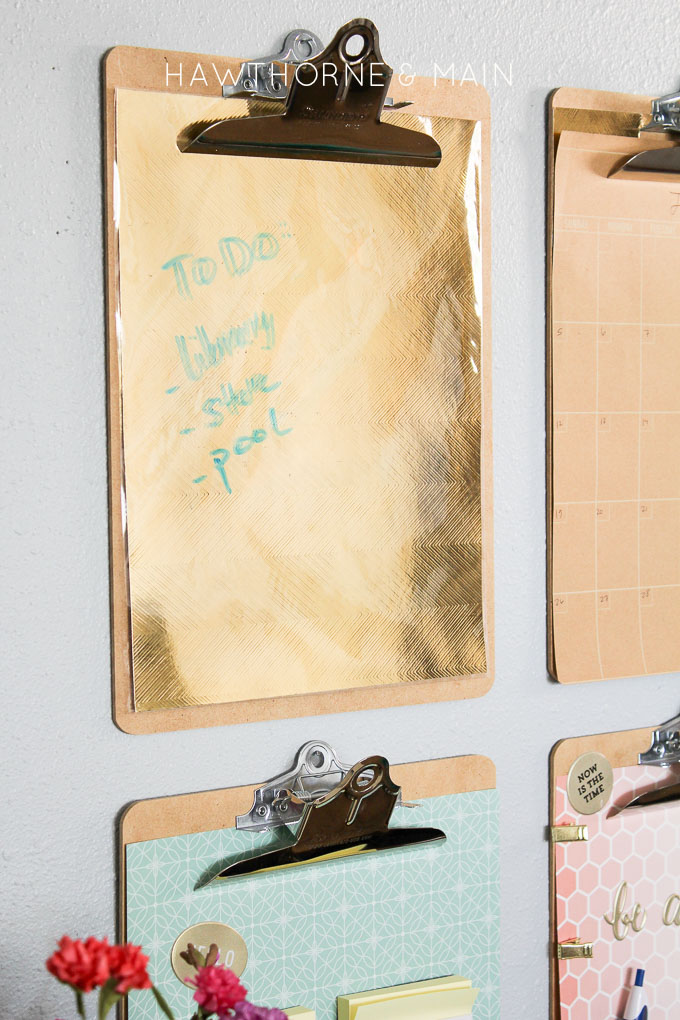
This mini dry erase board is so easy and I just love love love it!! Ok….this is how you make it…. listen close so you don’t miss it, cuz it’s that easy.
I had a piece of amazing gold foil cardstock, ironically it came prepackaged in a piece of plastic. All I did was cut the cardstock, while it was still in the plastic, to fit my clip board…so easy!! Using some craft glue I glued everything down to the clipboard!!
POST IT NOTES/ODDS AND ENDS STORAGE:
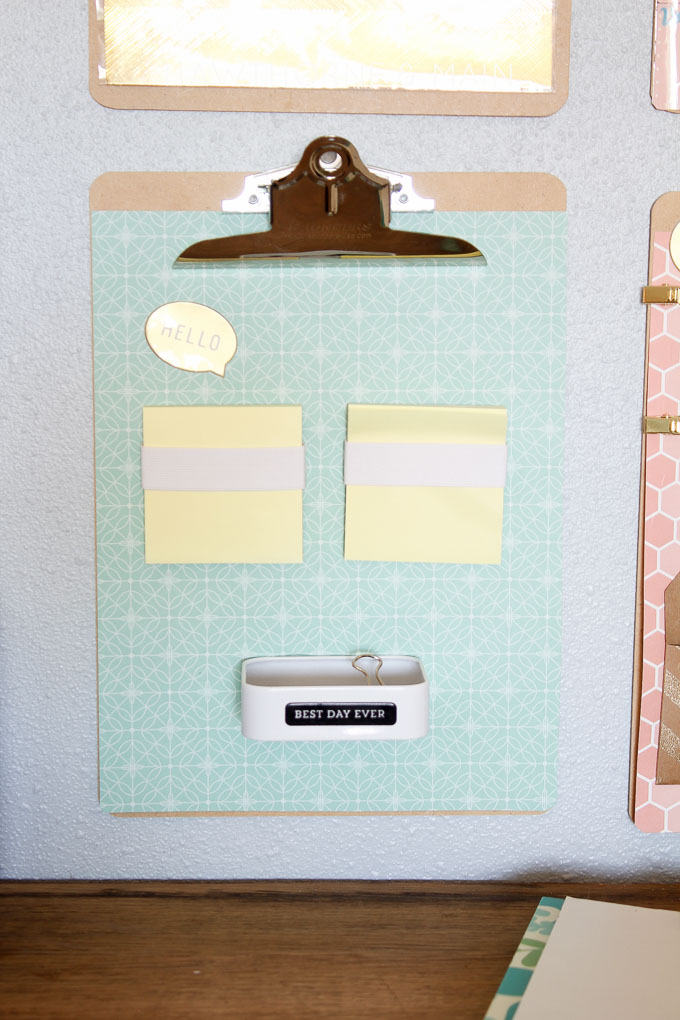
To make the Post-It note holder, use 3/4 inch elastic and wrap it around the Post-It note pad until it is snug but not too tight. Remove the note pad. While keeping the elastic in the same spot staple the ends together. Now you should have a bracelet type shape from the elastic. It should be just tight enough to hold the sticky pad. Using your hot glue gun secure the elastic to the clip board. If you use the pop up Post-It notes you won’t have to remove the entire pad every time you need a new sticky note…. pretty cool!!
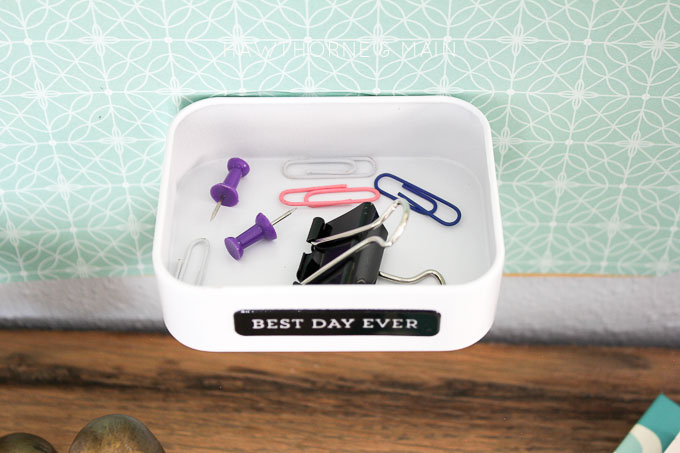
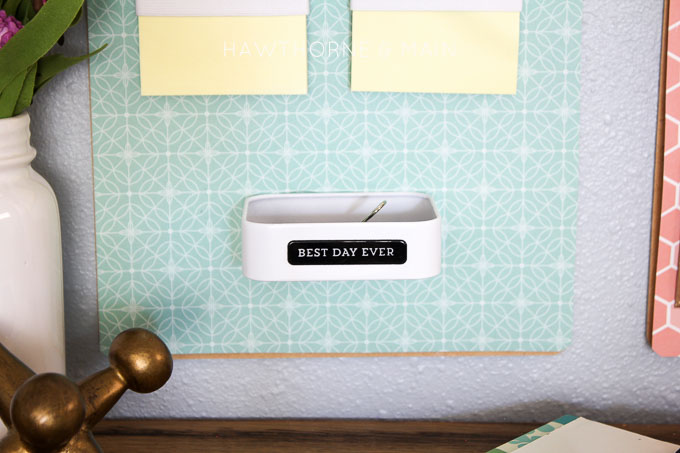
I already had a small metal tin on hand that I hot glued to the clip board. It is the perfect spot for small desk items.
PENCIL HOLDER/CLIPS FOR HOLDING NOTES:
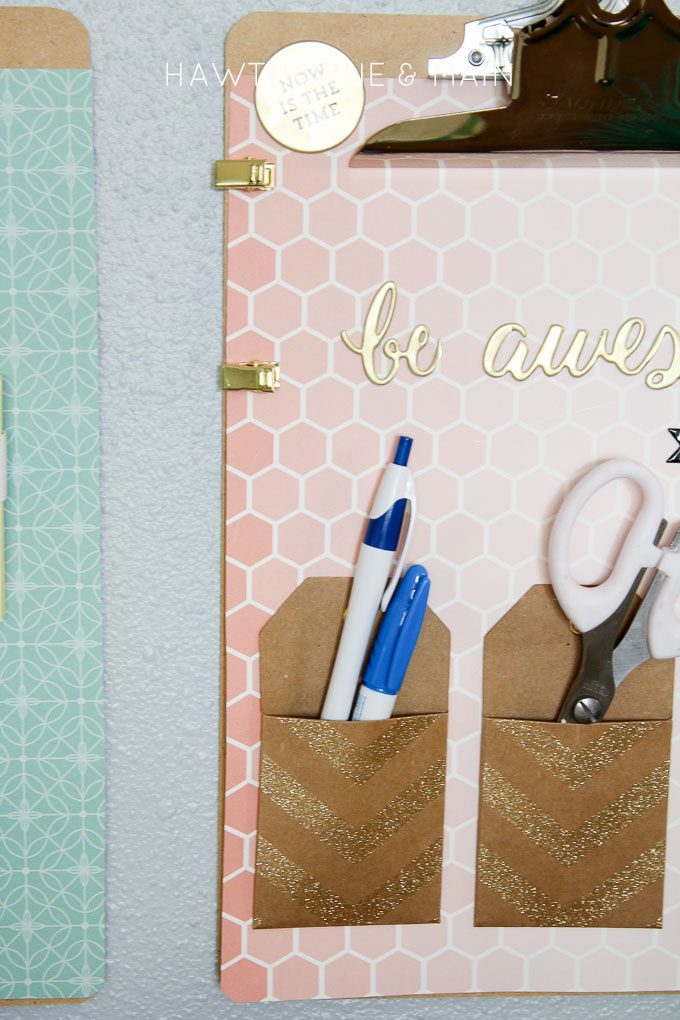
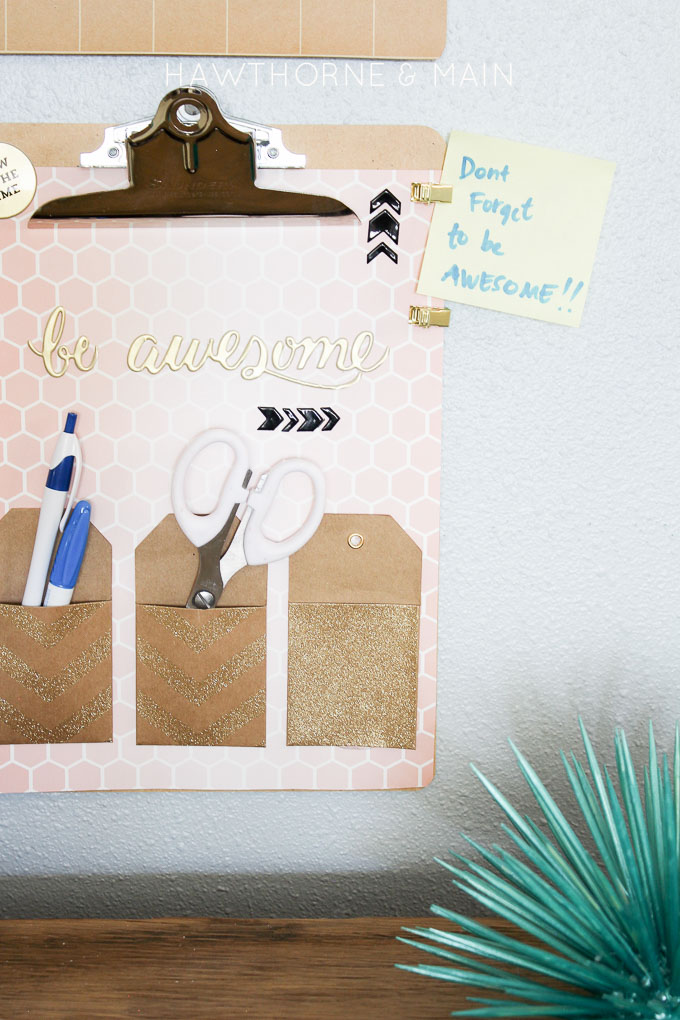
To make the pencil holders I just used some craft paper tags with pockets. The paper is thick enough to withstand holding a few items per tag. Perfect place to store my dry erase markers and scissors! These were all secured with the hot glue gun.
I used my hot glue gun to secure the metal clips in place. Also I wanted to add a little art to remind myself that I can be awesome!!
I would love for you to come stop by Hawthorne & Main to say hi!!
********
Thanks Shonee! That’s just gorgeous and will be so awesome for keeping organized, too! Shonee has great ideas on her blog. Here are a few I know you’ll love:
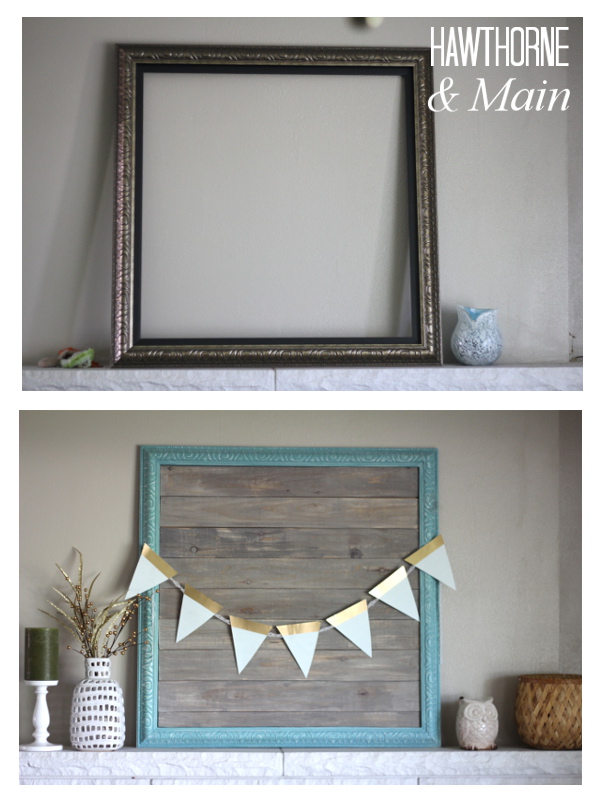
She has this awesome DIY Barn Wood tutorial to show you how to get the look of barn wood with stain.
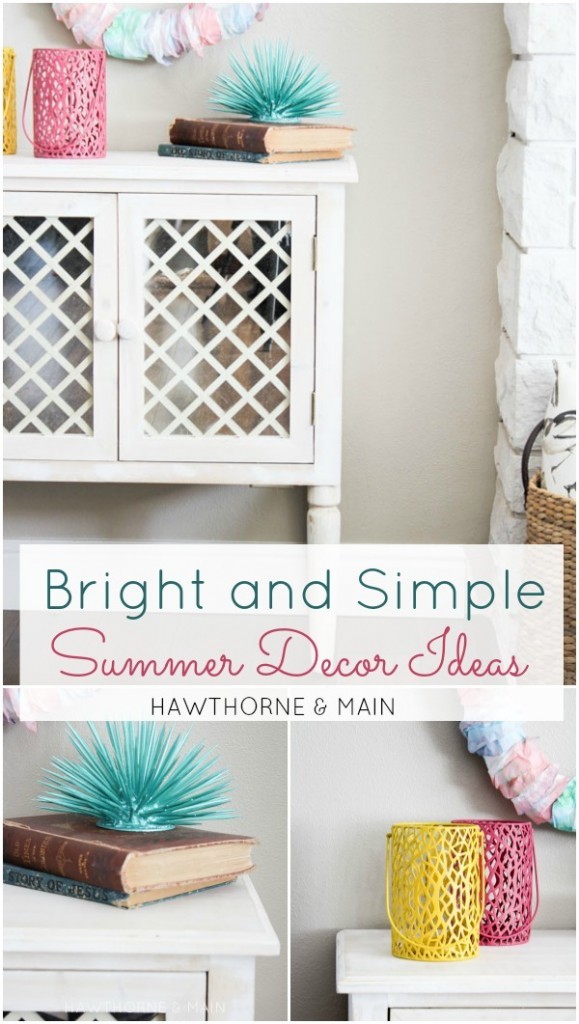
And, even though Summer is almost over, you’ll love her tips for Brightening up a space!
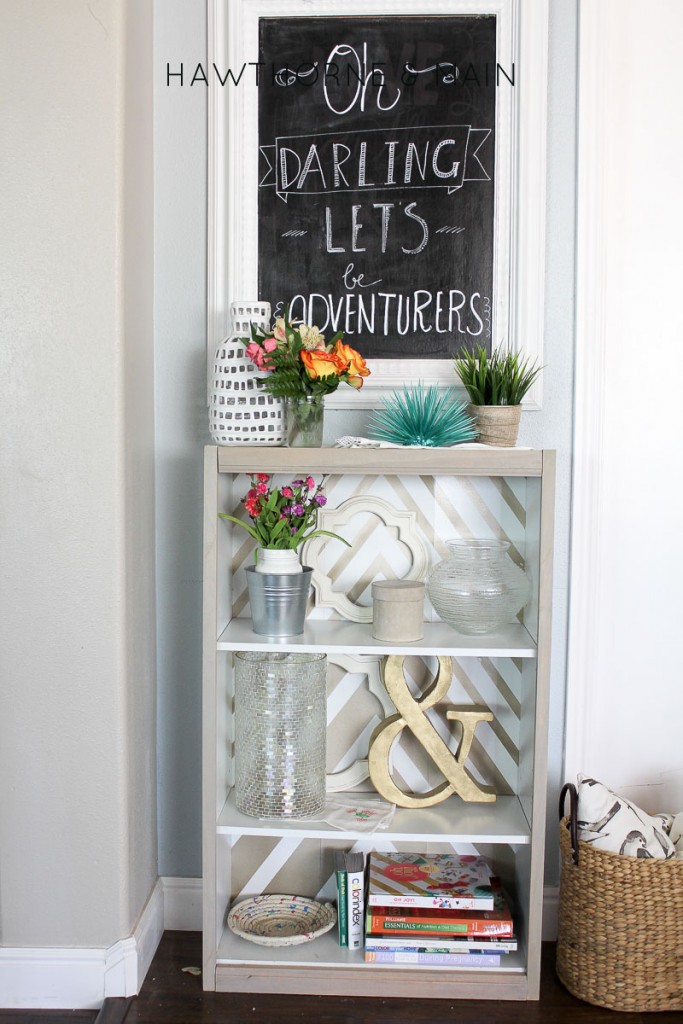
And, I love her Target Bookshelf Hack! Such a fun, pretty corner in her house!






I have scoured the internet and this is EXACTLY what I was looking for. LOVE
I love it!! The colors with the gold accents are so pretty!! Love the use of the clipboards!! Awesome!
Thanks for much for having me today Jen! It was a blast being here and being able to craft with your amazing Home + Made paper line! Hope you have a great week!
-Shonee
http://www.hawthorneandmain.com
Thanks for featuring my clipboards!
xoxo