Hi all! I’m Lisa Summerhays from Stubbornly Crafty here to share a fun way to make a trick-or-treat bag with some character. Let’s get started.
DIY Monster Trick or Treat Bag
Supplies:
- Black felt
- Green felt
- Red cotton fabric
- White felt
- 2 Black buttons
- Black embroidery floss
All seam allowances are 1/4″ unless otherwise noted.

Cut out the following
- From the green felt: (2) 9’x9.5″
- From the black felt: (2) 3″x9.5″ and (2) 2″x9.5″
- From the red fabric: (1) 5″x9.5″

Take your red fabric and fold it in half long way with right sides together. Sew down the long side (side with the raw edges) using 1/4″ seam allowance making a tube. Turn right sides out and press with the seam at the back.

Take one of your green felt pieces and cut it at 5.5″ (You will end up with a 4″x9.5″ and a 5.5″x9.5″). Take your larger strip of the two and turn it wrong side down (if your felt has a wrong side, ha!).

Line your pressed red fabric up on the edge with the seam facing in towards the felt. Top stitch (approximately 1/8″).

Finger press your seam open. Face the seam down towards your work space, lay your second cut felt piece on top of the other end of your red fabric and pin. Top stitch.

Line the two felt seams back up and pleat the red fabric in the back. Finger press (we don’t want to iron it or the mouth won’t gape open to reveal the red when we are finished). Tack the sides in place.

Take your two 2″x9.5″ strips of black felt and cut random size triangles along one side to resemble Frankenstein hair. Make sure to leave at least 1/4″ seam allowance all along the opposite side.

We will be sewing the green and black felt together for the back and front of our bags. Place your “hair” aligned with the top edge of your green felt pieces then lay your 3″x9.5″ on top sandwiching the three felt pieces together (green on bottom, hair with straight edge on aligned with the top and triangular cut hair facing down towards your mouth, and uncut black rectangle on top). Sew together using a 1/4″ seam.

Press open and top stitch the seam up towards the top of your bag. Repeat with the back of your back.

Let’s move on to the face. Grab two large black buttons. I didn’t have two of the same black buttons but it’s Frankenstein, he’s not pretty, just go with whatever you’ve got. Find something round that’s a tad bigger than your button(s) that you can trace. I just use an extra spool of thread. Trace two circles on white felt and cut them out.

Next grab the remainder of your green fabric and using the white felt circle as a template draw an eyelid. Make it a bit wider and taller than your circle. Draw a nose as well. As you can see from mine I’m no artist. Just keep drawing until you like how it looks. No one will see your doodling mess after it’s sewn on. Cut them out. Trace your eyelid and cut out a second. Put them in place and make any desired changes until you’re pleased with how he looks.

You can machine stitch the pieces in place or use embroidery thread to hand stitch them down. I think it adds a lot of character to do some messy hand stitching so I went with that. Stitch the eye and eyelid down and then slide the button in between and sew it in place. While sewing the nose down, stuff a little stuffing in between the fabrics for some depth before finishing. If you just used up all your stuffing like i did, a cotton ball will work too.
Once you have that done, slide your eyes in and sew them on. Then add a scar or two and some big stitches across the mouth.

Once you are done, place the front and the back of your bag right sides together and sew around the perimeter of the two sides and the bottom leaving the top open.

Turn right side out and finish as desired. I lined my bag and added a couple of handles. You could also completely hand-sew your bag and use ribbon and a few buttons for handles. I’m thinking i need to make another to stuff and turn into a pillow, too!

Thanks for letting me come play with y’all today.
**************
Thanks Lisa! Isn’t that bag so adorable!? I love it. Lisa has amazing crafting and sewing skills. Here are a few of her recent projects I think you’ll love:
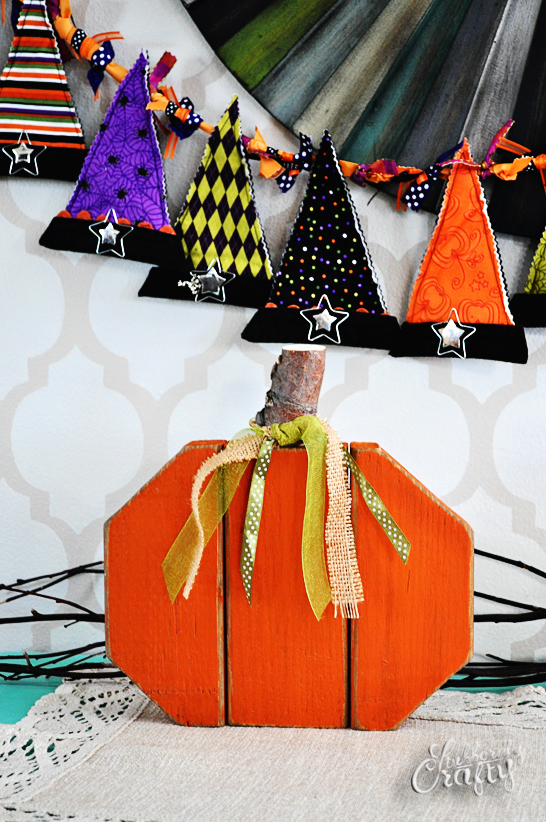
This 2×4 Rustic Pumpkin is just perfect for fall decorating!
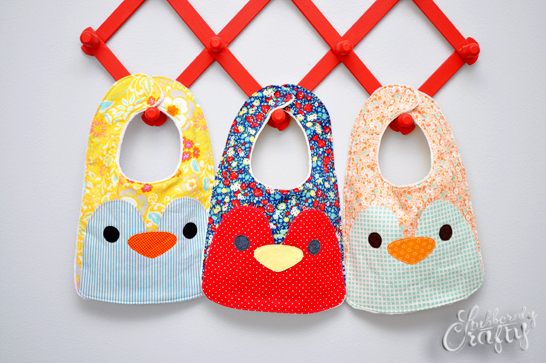
She also made these adorable Bird Bibs. She has the pattern for you too in her Etsy Shop!
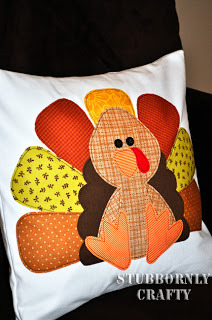
And with Thanksgiving coming up, you can also grab her Turkey Applique Pattern too!
I’m so happy to have Lisa stop by and share her amazing talents with us! Thanks Lisa!
Make sure to follow Stubbornly Crafty and
![]()


I meant Jen not Lisa. I apologize ????
Hi Lisa I’m in the process of making your Frankenstein bag but need some help. I stitched the red fabric to the larger piece of the green felt. It’s the second step I’m unclear on. I’m not sure how the fabric and 2nd piece of felt should be assembled and stitched. Could you provide more instructions and/or pictures? Thank you!
Please , is their any way I can get the pattern for
DIY Monster Trick or Treat Bag Face and head?
I love him . Thank you so much.
Bev in Ohio
So cute!! I love the mouth!! pinned to make for my boys next year!!
This is soooo cute!