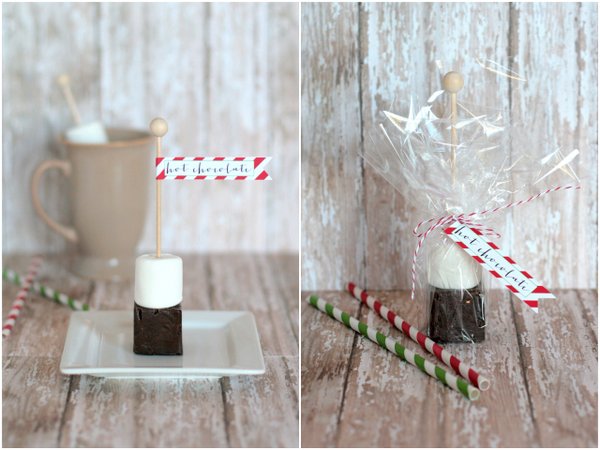
The holiday season is upon us!! Look at my hot chocolate on a stick!
And I am so EXCITED to announce a series that starts TODAY!!
It’s Happy Holidays at TT&J.
I will be featuring ALL kinds of wonderful ideas for ALL of the holidays from AMAZING blogs.
The first contributor is Kim from The TomKat Studio!!
I still can’t believe that she is here.
Kim is seriously AMAZING.
Here she is!!
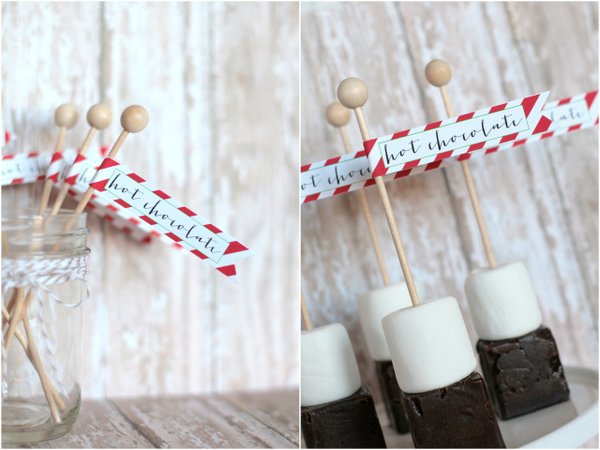
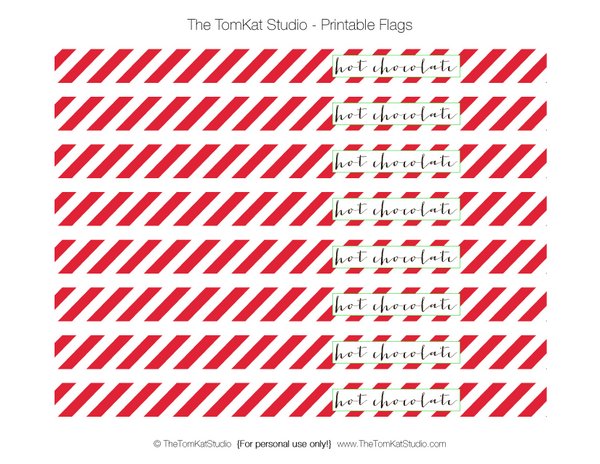
Hello Tatertots & Jello readers! It’s Kim from The TomKat Studio and I am so excited to be joining you today for Jenn’s holiday series. Today I am sharing an idea that I came across last year when my neighbor made Hot Chocolate on a Stick for a cookie exchange. I located the recipe on Make & Takes (originally from King Arthur Flour) and wanted to try them myself! I wasn’t sure if it would be hard to cut them into squares once they were set, so I decided to try using silicone 1oz. ice cube trays and they worked beautifully. I added marshmallows and used our wooden rock candy sticks for a cute touch. I also designed free printable hot chocolate flags that you can attach to the sticks if displaying at a party, or attach to twine if packaging the treats.
Click on the image below to download the Hot Chocolate Flags!
To make the hot chocolate, just add a Hot Chocolate Stick to a cup of hot milk. Continue stirring until melted. I don’t think I’ll want to have hot chocolate any other way now that I have tried this! It has a very rich chocolate flavor and is super creamy….so delicious!
Here is the recipe (via King Arthur Flour)
Hot Chocolate on a Stick
- 1/2 cup heavy cream
- 14 oz can sweetened condensed milk
- 3 cups semisweet chocolate chips
- 3/4 cup unsweetened baking chocolate (I used 6 – 1 oz blocks)
- wooden sticks or lollipop sticks
Line an 8″ x 8″ pan with parchment paper or foil (or you can use a silicone mold like I did). Heat the cream and condesed milk over low heat until steaming. Remove from heat and add chocolate. Allow to melt gently. After 10 minutes, return the chocolate mixture to low heat to completely melt the chocolate. Whisk vigorously until mixture is thick and shiny. Pour into pan or scoop in silicone molds. Shake or tap on counter to level. Set aside overnight to set. (I put in the refrigerator) If using a silicone mold, pop each block out of the mold. If using a pan, run a knife around the edge and turn out onto a cutting surface. Slice into 1 1/4″ cubes. For the smoothest cuts, heat a knife in hot water and wipe dry before each cut. Stick a wooden stick in each block.
This is such an easy, delicious recipe with adorable results! I hope you give it a try. For more free printabls, party and baking ideas, visit The TomKat Studio!
xoxo, Kim
The TomKat Studio
What a fabulous Holiday Party idea AND a great gift idea Kim!!
I love it!
If you aren’t familiar with TomKat Studio— hop over there right now.
Kim has AMAZING ideas.
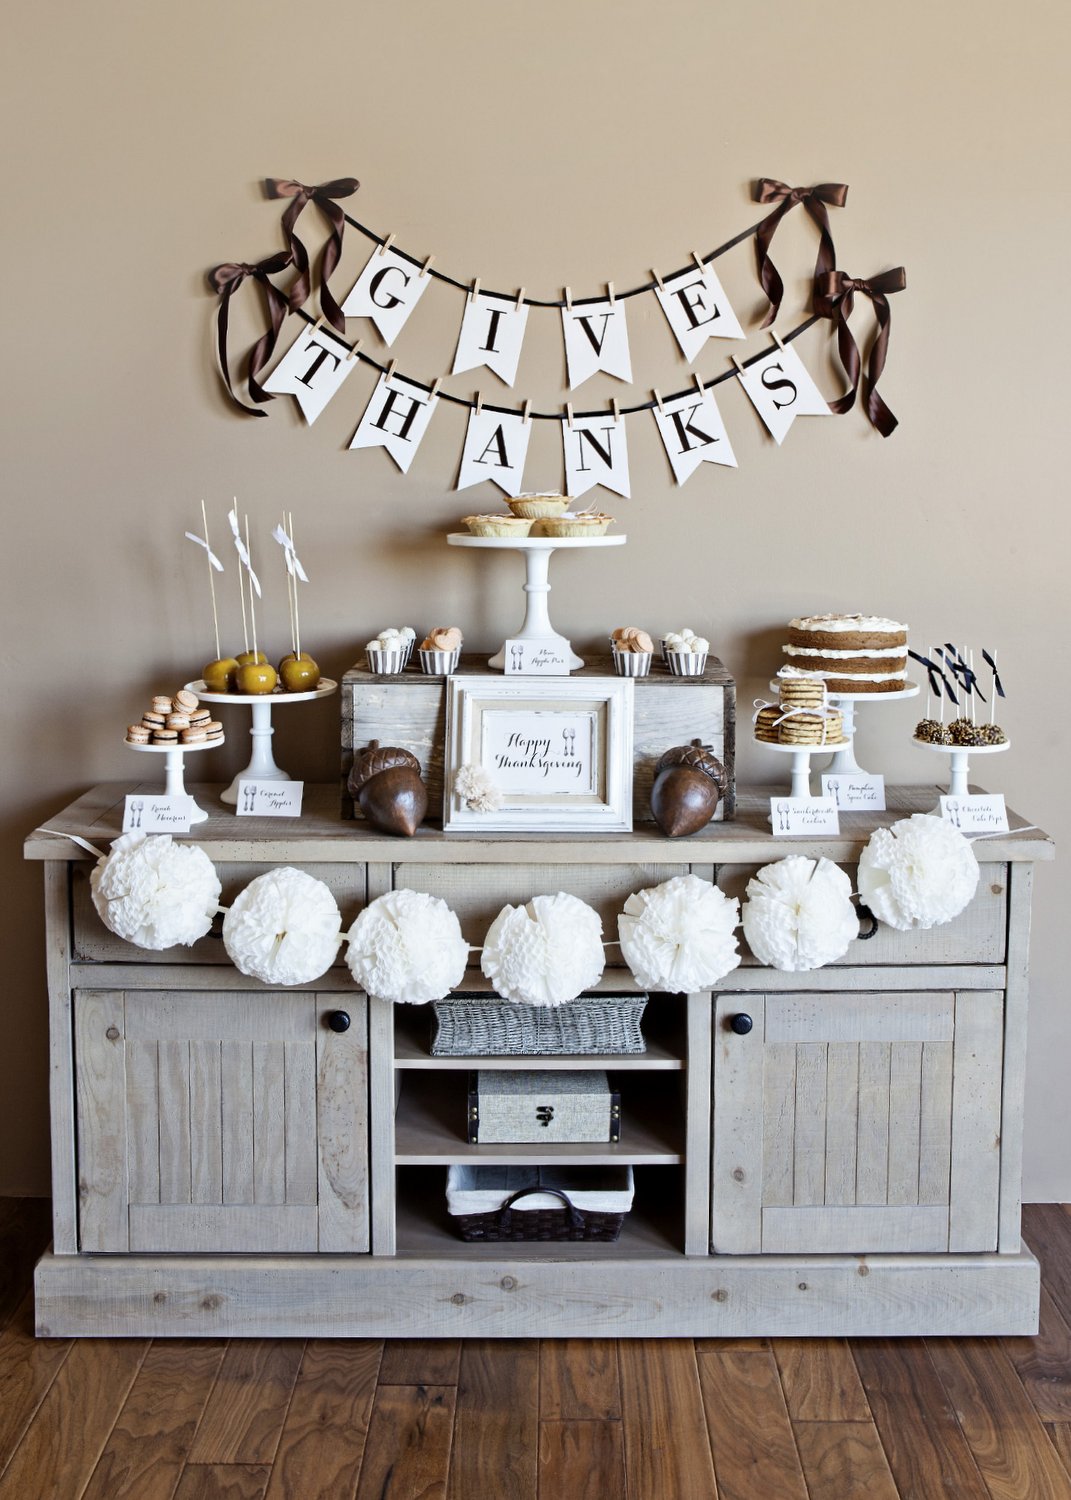
She is sharing a beautiful FREE Thanksgiving Printable Collection:
Plus,
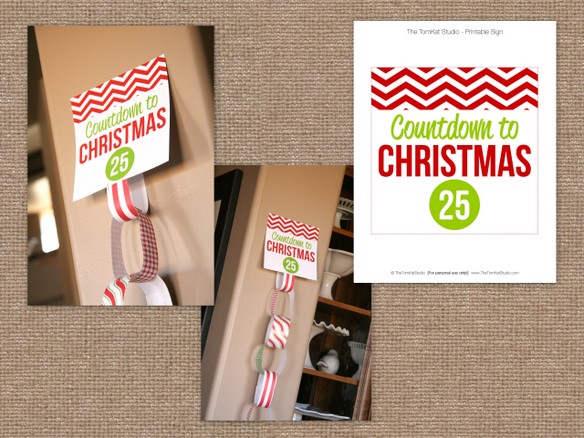
Print out this Christmas Chain Printable that Kim made for festive fun this holiday season:
And,
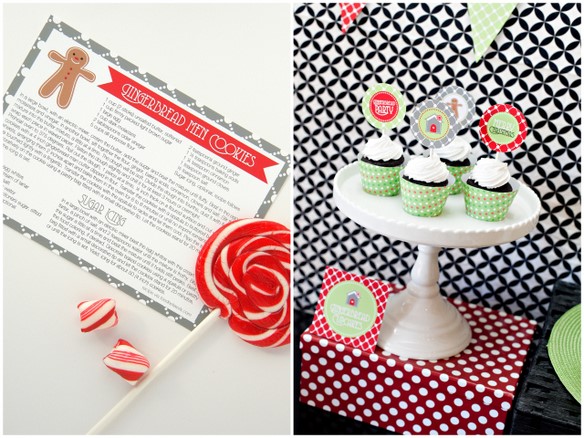
throw a Gingerbread House Party with these awesome printables!
And Kim also has an amazing shop, with everything you could want for party planning this holiday season:
Head over and check out The TomKat Studio today!!
And be sure to follow TomKat Studios on Pinterest too — for more great ideas!!
Have a Festive Day!!
xoxo




Jen, once you make the Hot Chocolate on a Stick, how long do they last? Do you need to refrigerate them? I am thinking about doing this for party favors at a large party and was wondering how long I can make them in advance and if I give them as favors, how do I need to tell people to store them until they use it? Thanks for the fabulous idea!
SO excited to try these! THANK YOU! Do you know how many one batch will make?
This is such a cute idea! I am gonna do this this year 🙂
This is definetely going on Must Do list! Thank you Kim for sharing and Thank you Jen for offering such a FABULOUS blog.
I’m looking forward to trying this! Thanks for sharing the cute printable flag!
That is just too cute! What a great idea! Thanks so much for sharing! My daughter, 10, is already making plans to make these. Love all of the beautiful ideas above. 🙂 Merry Christmas!
Thanks so much for the wonderful recipe and printable Kim!!
xoxoxox
Thank you for the fabulous feature, Jen!! xoxo
These look awesome! Saw a similar idea just the other day, but it was way more involved than this. I love easy breezy!
Try these with homemade marshmallows! Out of this world.
Oh my goodness! I adore these! These will be great for my daughter’s teachers!