Happy Monday!!
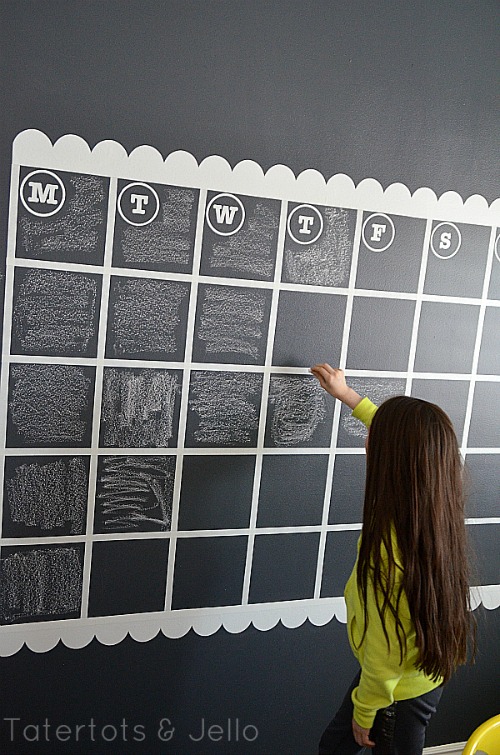
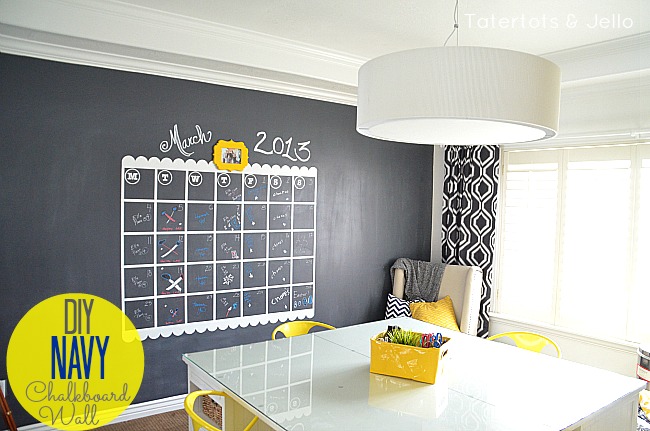
I am so excited to share my NAVY Giant Chalkboard Calendar Wall tutorial today.
But first a little background.
I changed my dining room into an office/craft room about 5 years ago.
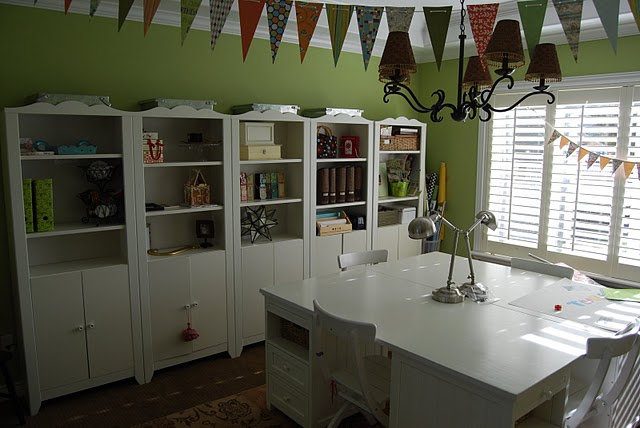
And it has been wonderful!! I have spent SO many hours in that room creating. I originally painted the room green and it worked for a long time. Then I redid my kitchen in a blue and yellow hue, as well as my whole house in grey. And suddenly my green office/craft room didn’t really work with the rest of the house.
What I love about the dining room is that since it is on the first floor of our home it has incredible light. AND, it’s right next to our kitchen. So it is perfect for projects — right in the middle of everything. I love that I can be making dinner, and also working on a project in the next room.
I HIGHLY recommend changing a FORMAL room like a formal dining or living room into a more casual space. You will get SO much more use out of that space, and it really makes so much more sense. Unless you really use your formal spaces.
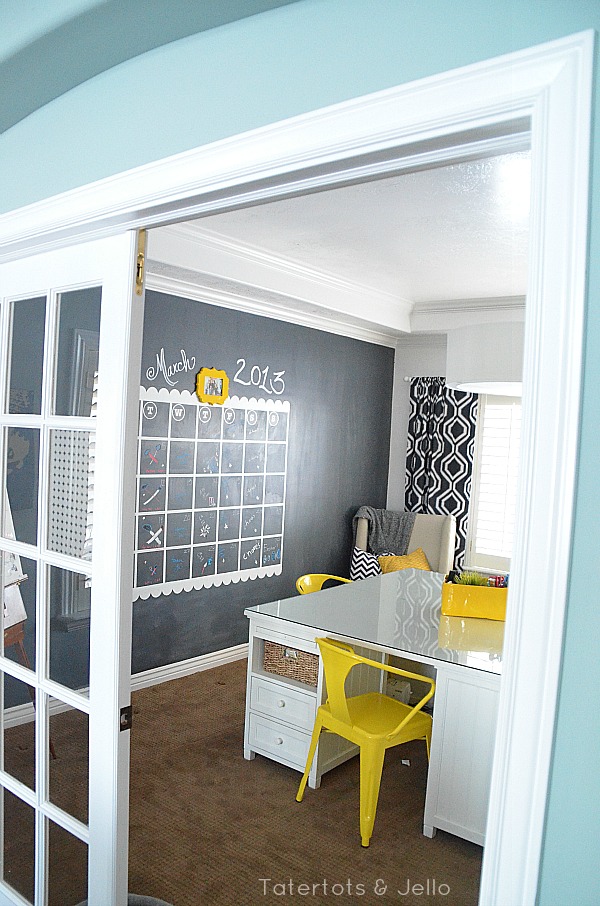
I decided to paint the space ALL white. And it brightened up the room SO much.
Then I decided to make a focal wall. And I have been LOVING Navy this year.
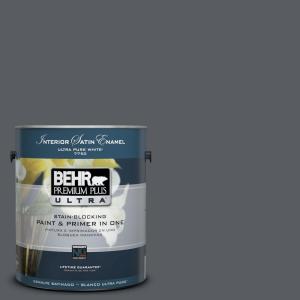
So I painted it Pencil Point from Behr at Home Depot.
And can I say I LOVE it???? It’s kind of a mix between a dark grey and a navy color. My husband and I are still debating over which color it is.
And then I thought — how cool would it BE to make it NAVY chalkboard wall???
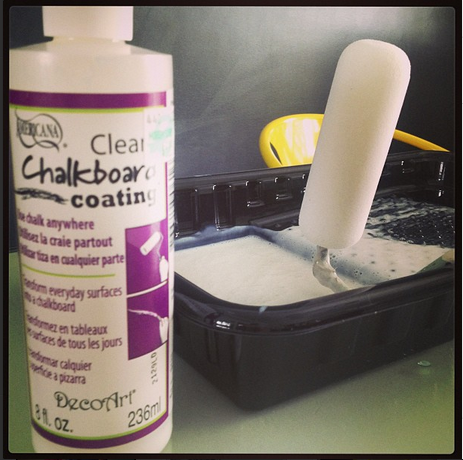
And I had heard about a CLEAR chalkboard medium from DecoArt. So I decided to try it. And it was a hard decision since that wall was so pretty the way it was.
I bought 4 bottles of the DecoArt Clear Chalkboard Medium and rolled it on, two coats. (I ended up only using 2 bottles for the wall) Then I seasoned the wall. And it was lucky that I took a ChalkArt Class this weekend of Rhonna Farrar at the Artsy Weekend Retreat. She gave me so many ideas and tips.
For one — to make your chalkboard wall really successful — you need to “season” the wall correctly. And here are some tips on that — Once you get your wall painted, let it cure and then season the wall by chalking the wall all over with blunt side of the chalk. Then take a wool or 100% cotton cloth and rub the chalk into the finished wall. This will make the wall take the chalk and instead of the chalk going into the paint, it will make the chalk sitting on top of the paint, so it can be washed off later. This is very important.
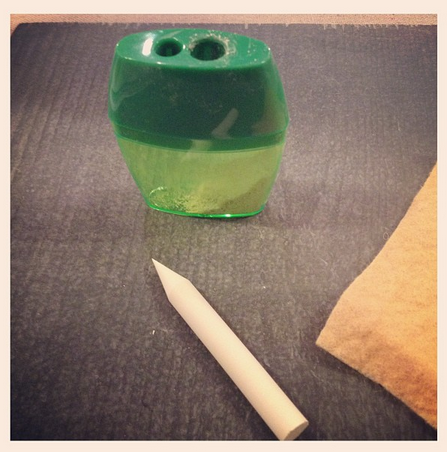
Another tip Rhonna taught me is that you can sharpen your chalk with a pencil sharpener — ding ding ding!! Why haven’t I thought of that???
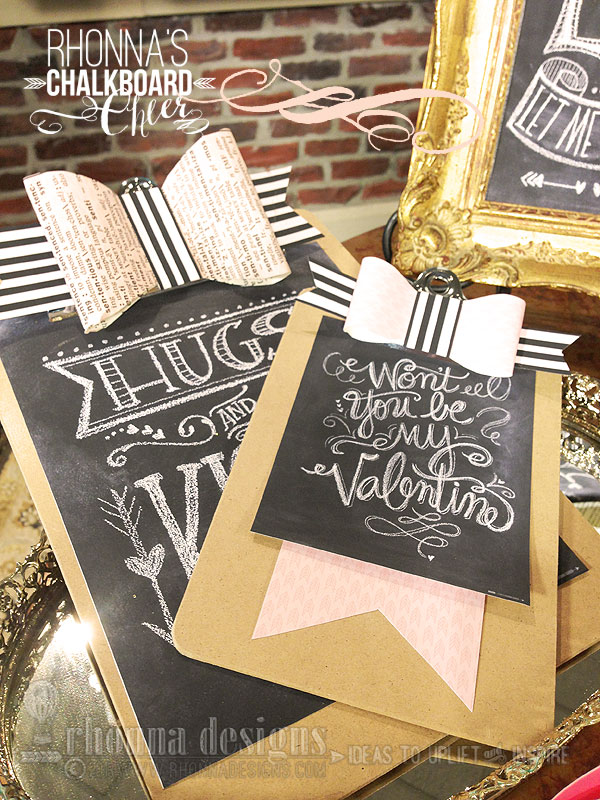
There are so many other tips that Rhonna shared — be sure to take one of her Chalkboard Classes OR download her images and fonts so you can use them on Instagram.
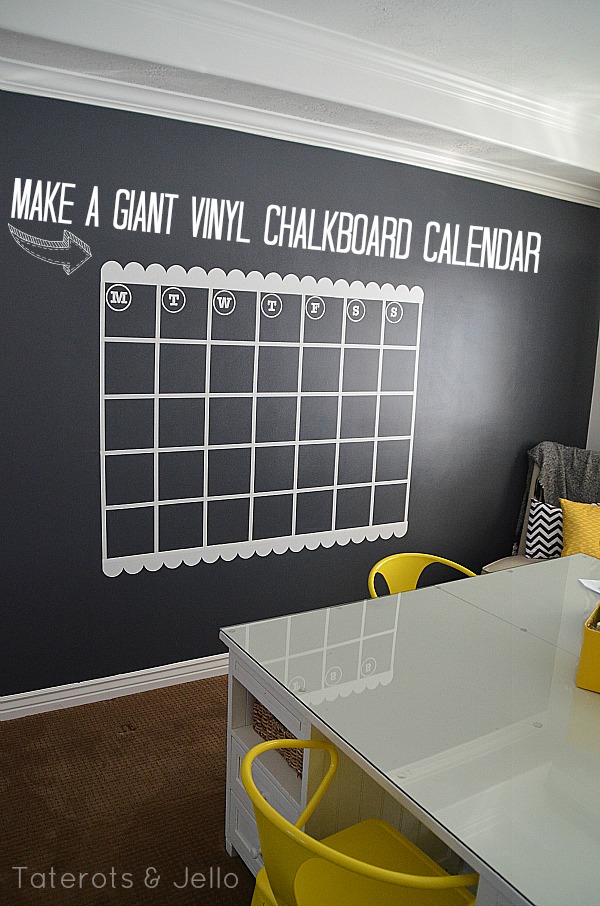
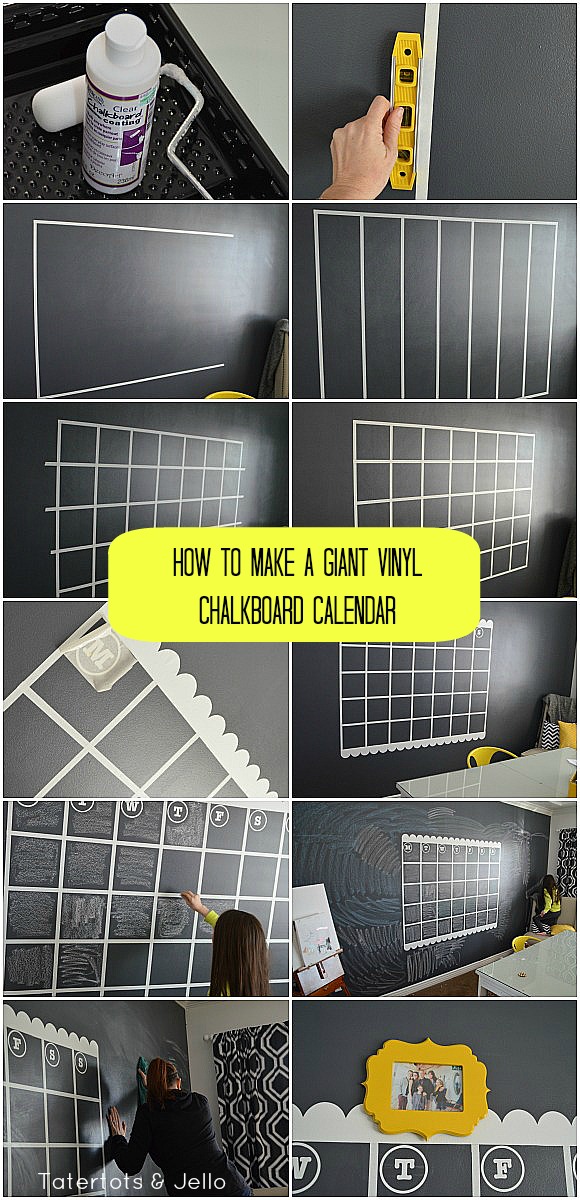
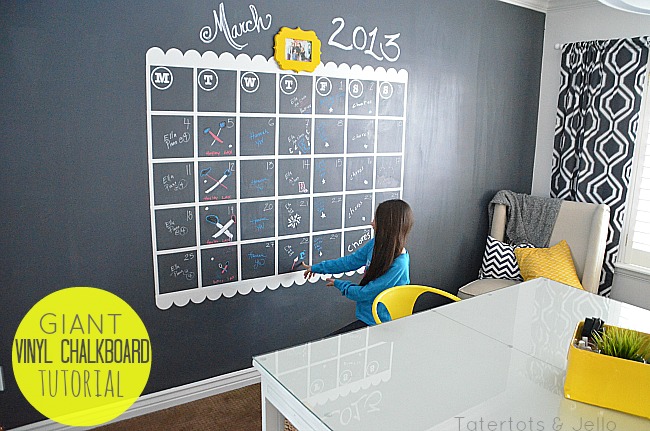
Here’s how I made the GIANT Chalkboard Calendar Wall:
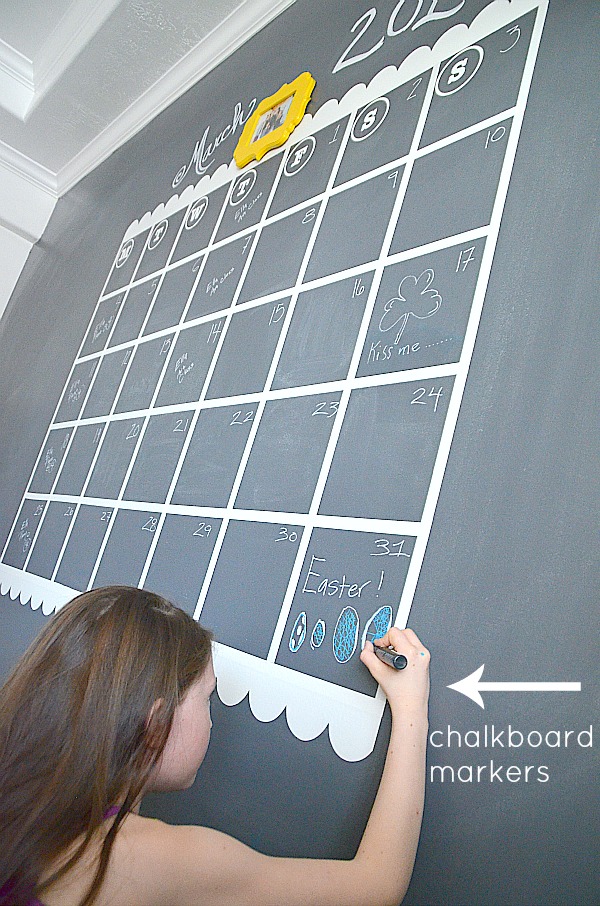
- I first decided how big I wanted to make the Chalkbaord Calendar. Mine is 64″ wide by 64″ long.
- You will want at least 5 rows on your calendar — so you can get all of the days in for the month. My first row also has the .SVG files for the days of the week on the row. If you don’t want to have those on the first row, and want those to be on a separate row, then you will need to have 6 rows instead of 5.
- For the top and bottom scalloped trim of the calendar, I created that with my Silhouette Portrait. The middle part of the calendar I created with white painter’s tape from the paint aisle at my craft store. The painter’s tape is .75 inches wide.
- I created a grid of 9 inches by 9 inches for each of the days of the calendar. And this part was a little tricky and required math — which I was so lucky to have my husband help me with. So, to make the measurements work out, I simply made a mark every 9 inches, making the open part of each square 8.25 inches square. In other words, 3/4 inch tape plus 8 1/4 inch space = 9 inches. Now — this math works great for the first nine lines, but to make the tenth on the right or the bottom, it adds an extra 3/4″. So my calendar is actually 64 3/4″ wide.
- So I created the grid and put it on the wall before I created the scallop border on my Silhouette. That way I could make the top and bottom borders exactly correct.
- When I hung the grids for the calendar, I used a level to make sure that the lines were measuring straight. So I measured the square all the way around the calendar, and then the inside lines.
- Once the grid was all laid out correctly, then I cut out the scalloped border for the top and bottom in my Silhouette Portrait and put those on the top and bottom of the calendar.
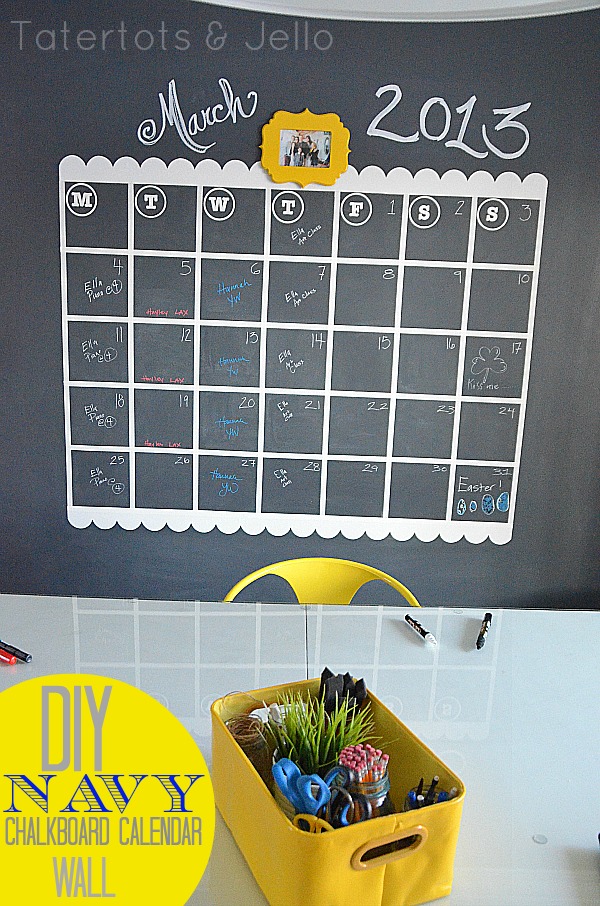
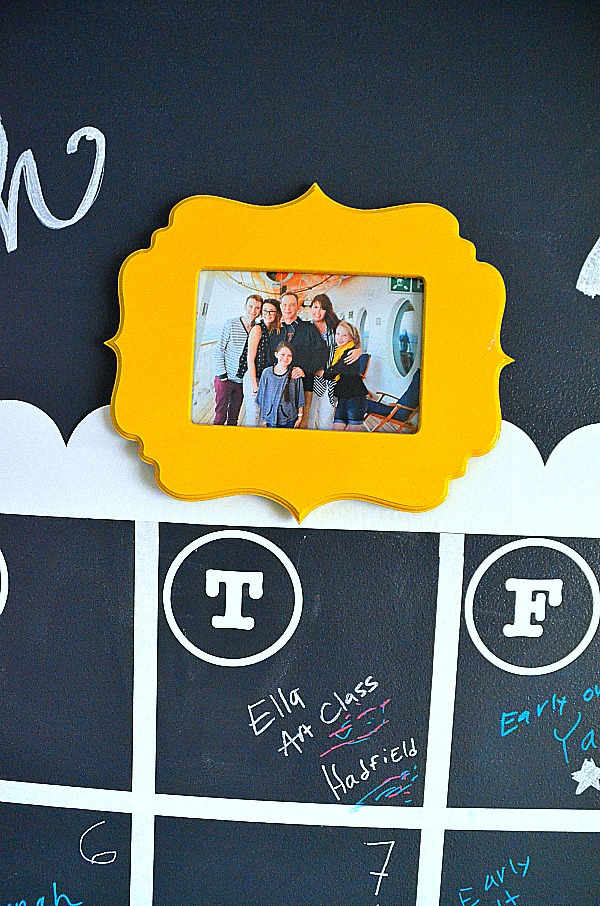
- And the last thing I did was I printed off our latest family picture (thanks my sister, Wendy VonSosen) and I put it in a bright yellow spray-painted frame and hung that at the top of the calendar with Command Strips. You can also put the month of the year in the frame if you want to do that. The frame is from a fabulous site Cut It Out Frames — they have scrolly frames that are unfinished and you can paint them any color that you want!
Here’s the downloadable SVG file if you’d like to use the same letters!
I put those Days of the Week vinyl letters on the calendar in the first row.
And a note about vinyl walls — be sure to condition your wall so well before you use any chalk on it.
Once again, to condition your wall you need to rub chalk on every inch of the wall and then rub it in with a 100% wool or cotton cloth. Conditioning the wall will make it so that when you put plain chalk or chalkboard pens on your chalkboard surface, that pen or chalk will stay on top and not penetrate through to permenantly mark the surface. You want to be able to wipe that surface clean.
So be sure to condition your surface and don’t skimp on that.
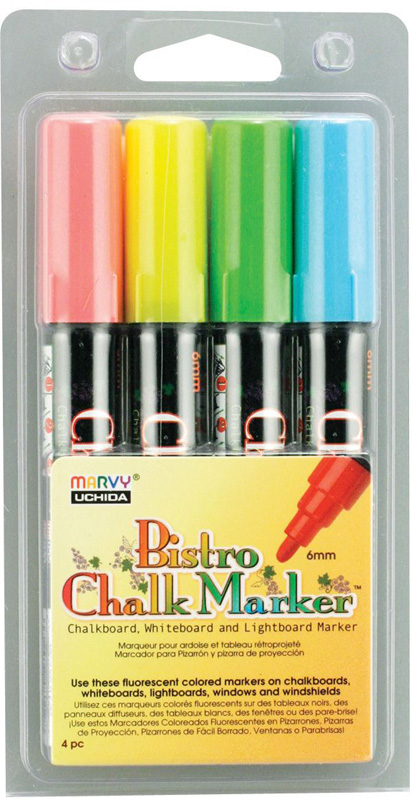
Once your surface is conditioned, you can start writing on your chalkboard wall. You can use chalk or chalkboard pens. I love chalkboard pens because they are so much cleaner and they don’t rub off as easily. You can buy chalkboard pens at any craft store. They are a little pricey — $11 for 4. But you can also use a coupon from Michaels or Hobby Lobby.
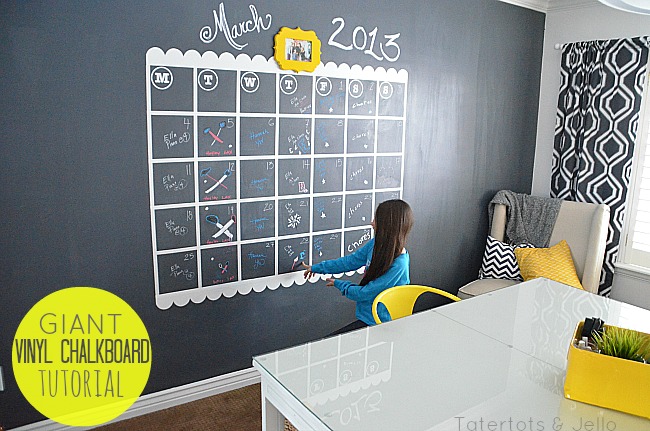
And, there are different width of chalkboard markers which is pretty fun. I made the “March” with a thicker chalkboard marker and it worked awesome for lettering.
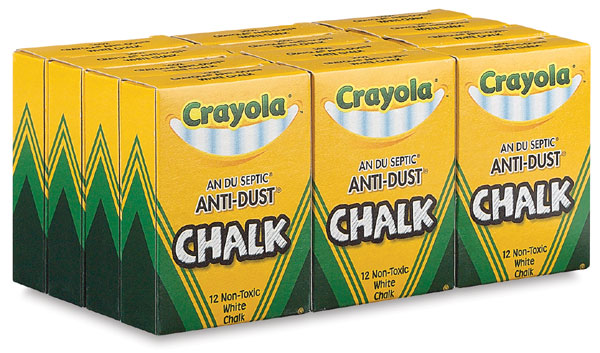
Also, there are some chalks that are “dustless” and are less messy.
Ella has loved embellished every single day of the month with a little picture.
It is so fun to see.
All in all – I LOVE our little NAVY chalkboard wall.
And if you want to get your own Silhouette Portrait —
Silhouette is running an awesome discount right now:
Have you ever made anything with chalkboard paint??
Share YOUR ideas in the comments — I would love to see them!
Thanks for stopping by!!
Have a Creative Day!!
xoxo






Hi Jen,
I would love to do this for a project we are working on. I’m concerned that an 8ounce bottle won’t go very far. I couldn’t find any information on the Art Deco site about coverage.
Love this! Are your walls textured? Did you have to add anything to smooth them out before you added the caulk medium?
This is wonderful. I have a question about your silhouette I can not find anyone in my area that even knows anything about them. I want to start making signs do you have a tutorial or any idea how to use a silhouette to do that? If not and you know how do you mind explaining it to me. My email is [email protected]. I just found you and plan on following your blog. Thanks so much!
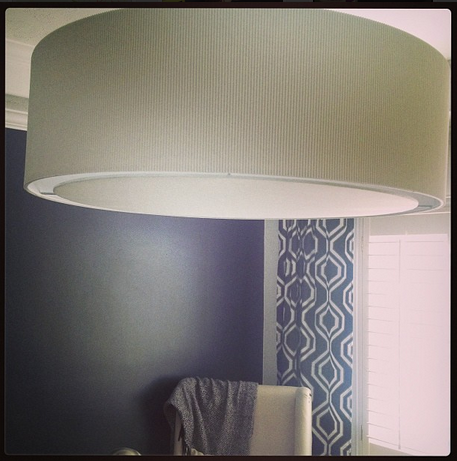
Hey Jen, Where did that lovely drum light fixture come from? I think that’d be perfect in my dining room/office room! Thx!
What a fun project, Jen! I love anything BIG, and your kids seem to enjoy it as well!
It looks awesome!!!!
Did you order the chalkboard medium online or did you buy it at a store? Really think this would come in handy!
Hi Jamie!
I bought the clear chalkboard medium at Hobby Lobby. Michaels might have it too 🙂
xoxo
Have you tried removing the chalkboard markers yet? I’ve not had good experience getting them off chalkboard, only off glass. I always get ghosting with them.
This looks great. I have a huge chalkboard calendar as well that was made completely differently. Mine is magnetic so I can “pin” invitations and things to it. You can see it here:
http://www.remarkablehome.net/2012/03/chalkboard-calendar.html We love it. It’s by our kitchen table so we can all look at it as a family and see what is happening the next day.
I have a silhouette sd. does the portrait allow you to cut longer designs? Are your scallops all one piece? They are very fun!
I love your craft space! I have a craft room now and i love it. It has windows on two walls that face east and south so I also get great light in there. It’s wonderful!
thanks for sharing!
Wow! I love your chalkboard calendar Emily and I love that it’s magnetic. I bet it’s so handy. Thanks for sharing it with us!!
oxoxo
PS — the Portrait can cut very long lengths as long as the width isn’t more than 9 inches. This project was over 64 inches long and I cut the scalloped border in single lengths 🙂
xoxo
This is really awesome! My downstairs family space had a larbe bar area when we moved in and I totally turned it into my work/art area and haven’t regretted it for a second! Love the wall color!
x
suzanne
http://www.smallchangesbigimprovments.com
Thanks Suzanne!! I love your new work and art area. What a great idea!!
xoxo
awesome!!!!
I would love to know where you bought the yellow metal tub chairs from. Thanks!
Hi Keri!! I bought the yellow chairs from Overstock — http://www.overstock.com/Home-Garden/Limeade-Tabouret-Stacking-Chairs-Set-of-4/6751361/product.html They are these but in Lemon. I think they might be sold out of the yellow right now. But I think they get more shipments in 🙂
xoo
Okay!!! This is OVER the Top, COOL!!! I mean come on most bloggers are looking for the BIGGEST frame (or making one) we can find!! So doing a whole wall the color you are feeling at the moment is just plain, GENIUS!! Thank goodness for little one’s who Love to doodle and draw on things.. Sure makes the conditioning a lot easier 🙂 Love the idea of taking a Chalk Art class 🙂
xo
Angelina
Thanks Angelina!!
We are really loving the chalkboard wall. The kids love drawing on it.
xoxo
I just turned to my husband and said “I am doing this in my office.” And his response was that it would make the house harder to sell. Any ideas for good arguments toward a craft office that has draw-on-able walls?
We really love the chalkboard wall. I think it would be super easy to peel off the tape and vinyl ane repaint the room if we ever wanted to put our home on the market. And I think many people would think the chalkboard wall would be cool and want to leave it. It only took me about an hour to paint, so I think that repainting it would be easy if I ever need to do that.
xoxo
AWESOME! I need to find a place to do this! Thanks for the great tutorial and tips! Here’s a link to some things I’ve done with chalkboard paint and chalkboard vinyl: http://antsi-pants.blogspot.com/2012/09/chalk-board-armoire.html, http://antsi-pants.blogspot.com/2012/05/chalk-board-globe.html, http://antsi-pants.blogspot.com/2012/03/chalk-board-labeled-bottles.html, http://antsi-pants.blogspot.com/2011/05/chalk-board-herb-pots.html
Wow Chessa!! Amazing, amazing project with chalkboard paint. I love that chalkboard globe. SO cool! Thanks for sharing them with us!!
xoxo
I love this, my house is so dark that I have to have bright colours on the wall but I would do this in a heartbeat if I had plenty of natural light! The whole room is gorgeous!
The cool thing about the clear chalkboard medium is that you can use it on any color wall. I am so excited to see it on a light wall I think that would be SO cool!! Thanks for stopping by and for the sweet comment Mel!
xxoxo
Love it! I actually just ordered the Silhouette Cameo after debating for months about getting it. Your promotion is great…thanks for the discount code! I love using chalk in design! I had my incredibly talented artist step-dad draw this for me…
http://sophiasdecor.blogspot.com/2012/08/flea-market-faux-fireplace-master.html
Poor guy, all he had was a dull piece of chalk…who knew I could have sharpened it for him!? Ironically, he’s in the process of doing some chalk art now on a large navy wall!
Wow – he is such an amazing artist!! I love that Kristen!! Let me know if you have any questions with your new Silhouette. I really think you are going to love it!
xoxo
That is so cool! Did you spray it with hairspray or whatever it is you’re supposed to spray it with to keep it from getting messed up?
Really cute idea! Your craft room is so neat – and I mean organized and clean!! Mine never looks like that!
Thanks Judy!! You should see what the other side looks like lol!! I’ll post about that soon. But I really do love how much cleaner and organized it is lately!!
xxoxo
WOW! I love navy and chalkboards. Would have never thought to put the two together!
BTW….love the blog! You provide SO many useful tutorials! Thank you!
Thanks Ida!! You really made my day!!
xoxo
Wow! As I was reading this an idea popped into my head so I am going to borrow this and try my idea! Thanks for the inspiration.! Love reading our posts because they are very informative!!! Happy crafting!
Ohhh Barbara — I can’t wait to see what your idea is!!
xoxo
Honestly one of the coolest things I have ever seen! I’d be sure not to miss a thing…I just need one big empty wall. LOVE the tip about sharpening your chalk!!!
Thanks Jessica!! Isn’t that tip AMAZING!! It really changed my life!!
xoxo
Love it! And those curtains!!!!
Thanks Mandy!! I am thinking of adding pom pom fringe to the curtains – what do you think?
xoxo
LOVE IT!!! The navy is awesome!
Thanks Kathryn!! I might have a little obsession with navy right now. haha!! I really love it 🙂
xxoxo
I think this is one of the coolest things ever, so creative! I loved all your tips mixed into this post especially the one about sharpening chalk…I would have never guessed that you could do that. I just finished this project (http://www.aninvitinghome.com/2013/02/the-writing-on-wall.html) and sharpening chalk would have made it SO much easier. Thanks for sharing! 🙂
What a fun project Sarah. I love it!! Thanks for sharing it with us!
xoxo