Hi, everyone! It’s Amy from Positively Splendid here again to share a sweet little sewing project.
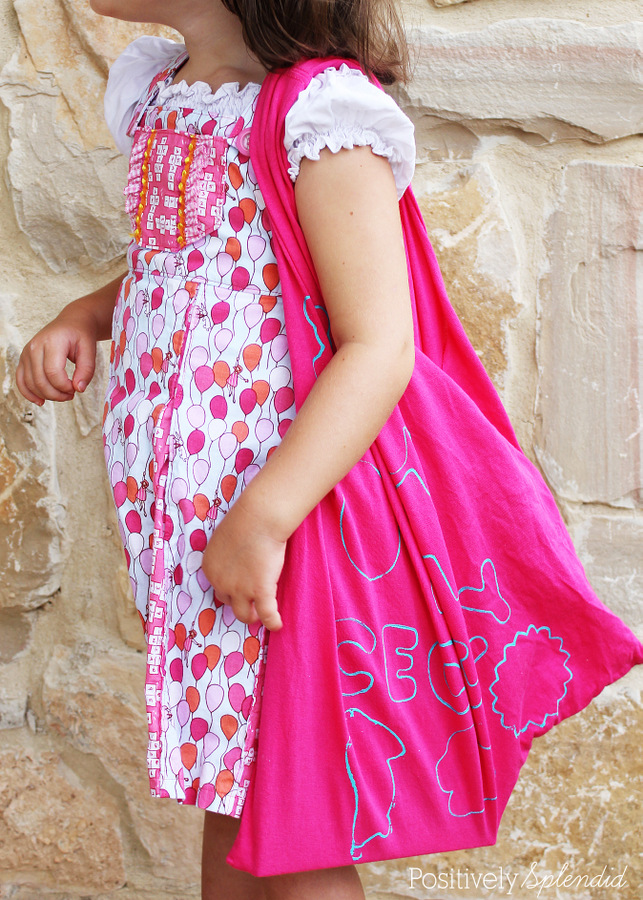
Sometimes it’s the little touches that can elevate a sewing project to the next level, and one of my favorite ways to punch up dresses or tops is to add a kangaroo pocket. These pockets are not only adorable, but they also make for a wonderful place for little ones to store their little treasures. And the best part is, they are a cinch to sew! Let me fill you in on all the details.
For this project, you will need…
- A sheet of paper
- Paper trimmer
- Fabric for the outside and lining of the pocket
- Extra-wide double-fold bias tape
- Coordinating thread
- Basic sewing supplies: Machine, shears, pins, etc. (Check out my list of must-have sewing tools.)
To begin, you will need to draft a pattern for your pocket. To do so, simply determine the length and width you want your finished pocket to be, and then add .5″ to each measurement. Cut a piece of paper with the paper trimmer to those dimensions. (For this particular project, I wanted my finished pocket to be 7×10,” so my piece of paper was 7.5×10.5″.) Now, fold the piece of paper in half width-wise, and use a bowl or another rounded object to trace a rounded pocket opening on the top outer corner of the folded piece. Trim that piece away, and–voila!–you have your very own custom kangaroo pocket pattern!
Now that the pattern is finished, making a kangaroo pocket will take mere minutes!
Use your pattern piece to cut out an outer and lining pocket piece for the pocket.
Place the outer and lining pieces together, right sides facing, and stitch with a 1/4″ seam allowance along the top straight edge. Next, stitch along the straight side and bottom edges of the piece, leaving the curved pocket openings unstitched. (Refer to the photo below.)
Clip the corners of the piece and then turn it right side out through the curved openings. Press.
Apply a piece of bias tape to each of the curved openings, making sure the bias tape piece extends past the top and side edges of the piece by 1/2″ or so. (Be sure to check out my fool-proof bias tape method to help you with this step.)
Fold the overlapping ends of bias tape back toward the lining of the piece; press.
Pin the pocket onto the front of the garment, and secure the pocket to the garment by top-stitching along the top edge and the straight side and bottom edges. (Make sure to leave the curved edges unstitched, as these are the opening for the pocket.)
Your kangaroo pocket is complete!
These little pockets are such a great way to add pizzazz to projects, and they couldn’t be easier to make! Once you try your hand at making one, you are sure to want to add them to just about anything you can get your hands on: t-shirts, skirts, dresses and more. They look absolutely darling on the pillowcase dresses and tops I shared at Positively Splendid earlier this week!
Thanks so much to Jen for having me over again! I hope you’ll pop over to Positively Splendid sometime soon!
**************
Thanks Amy! Aren’t her sewing projects so darling?? I just love everything she does. You should check out these other amazing projects that she has over on her blog right now:
She has awesome recipes on her blog like these Loaded Blue Corn Nachos. Don’t they look amazing!?
And her sewing ideas are always so fun. Like these fun T-Shirt Tote Bags with Michaels T-shirts!!
And this DIY Hanging Fabric Phone Charging Station is so clever! The fun fabrics make it something you wouldn’t mind hanging where everyone can see it.
I’m so lucky to have her as a contributor!!
Visit Positively Splendid and


I can see it now. Me doing laundry. Checking hundreds of pockets for rocks, candy, leaves, and probably eventually bugs and worms. My kids would love to have pockets on everything they own. This would be a cute way to make it happen. I’m not sure if I’m for this though. Maybe just a few of their clothes. 🙂