
Hello TT&J Readers! I am super thrilled to be here today to share this DIY Winter Shadowbox!!
My name is Bev and I blog at Flamingo Toes.
At Flamingo Toes I love doing jewelry, sewing, and home projects.
I especially love crafting for the holidays. It’s so much fun to create fun, cute decor projects – I think they make your decorations so much more personal!

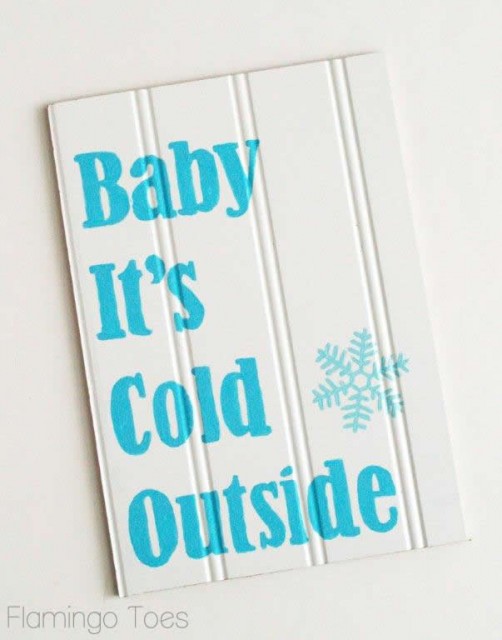
Today I’m sharing this sweet – and easy – little Winter Shadowbox Sign!
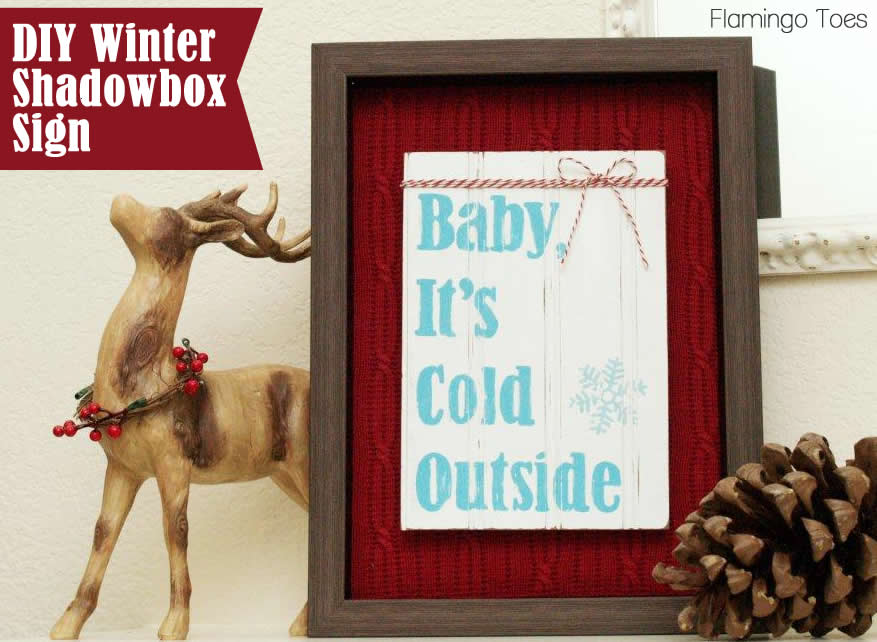
The sign is painted on white beadboard, then distressed and framed over a red sweater backing!

It’s super simple too!
Here’s what you’ll need to make your own:
• 10″ x 7″ piece of beadboard
• Craft Paint (I used two shades of turquoise)
• Sweater for backing
• 15″ x 11″ Shadowbox Frame
• Piece of cardboard the size of frame
• sandpaper
• 4 wooden beads
• Sign Pattern
• Hot Glue
Print out your sign pattern. You can definitely do this with a cutting machine and make a stencil, but I didn’t use one for this sign.
This method is how I learned to paint signs ages ago and it still works pretty great!
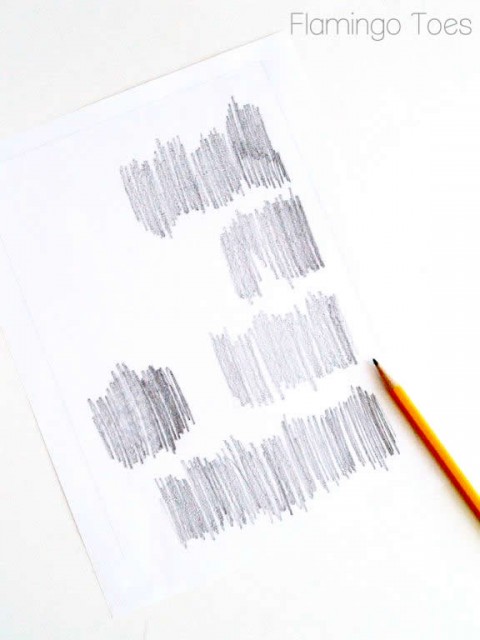
Scribble the back of the sign pattern with a pencil where the letters and snowflake are. Cover the area pretty well.
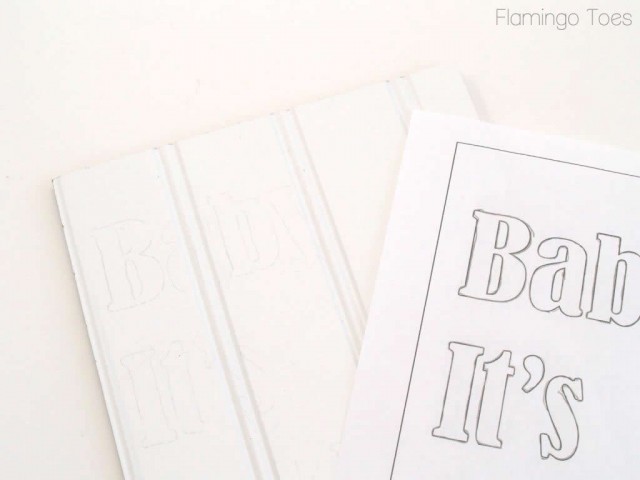
Flip the pattern over and line up the square on the pattern with the piece of beadboard. Trace over the letter outlines and the snowflake with a pencil.
This will transfer a light outline onto your beadboard.
(It looks pretty light in the photo but it’s really easier to see than this.)
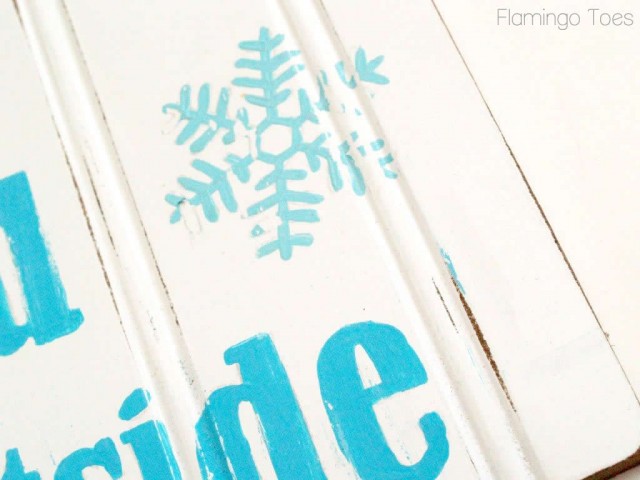
Start painting in your letters. I used a medium turquoise for the letters and a light turquoise for the snowflake.
Go ahead and paint a comma on there after “Baby” if, like me, your husband looks up the song title and says that it really needs to have a comma to be accurate.
(Anyone else have a hubby that likes to add their two cents to projects? No? Just lucky me then. 😉
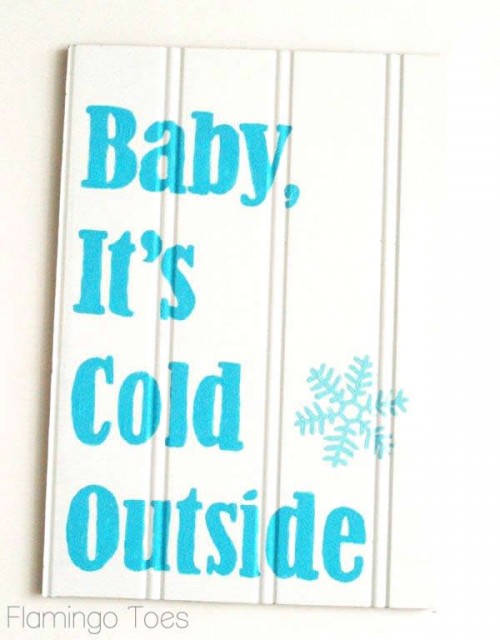
Oh that’s much better. (ahem.)
Distress your sign just a bit by sanding the edges, then over the letters just a little. This will help it look older, plus it will hide any not-so-perfect painting.
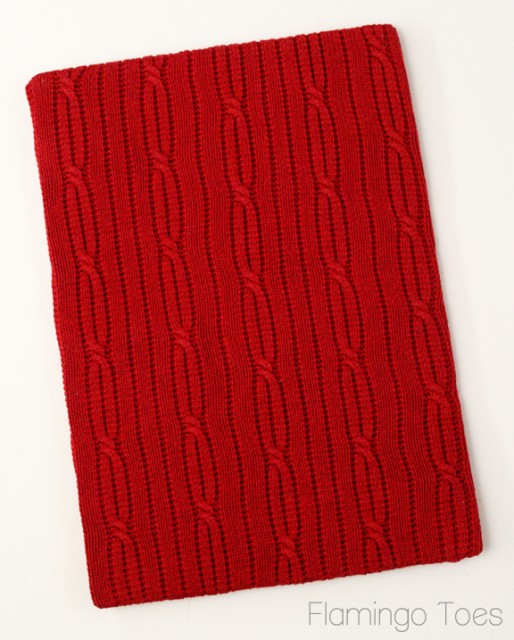
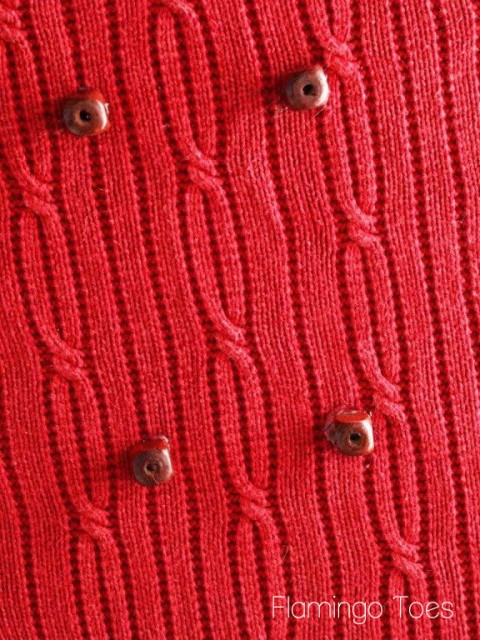
Cut out a piece of cardboard to just under the size of the frame. Cover the cardboard with a piece of an old or thrifted sweater.
I used hot glue on the back side to hold the sweater on.
Glue four small beads onto the center of the sweater, making sure the hot glue goes down through the sweater a little, into the cardboard below.
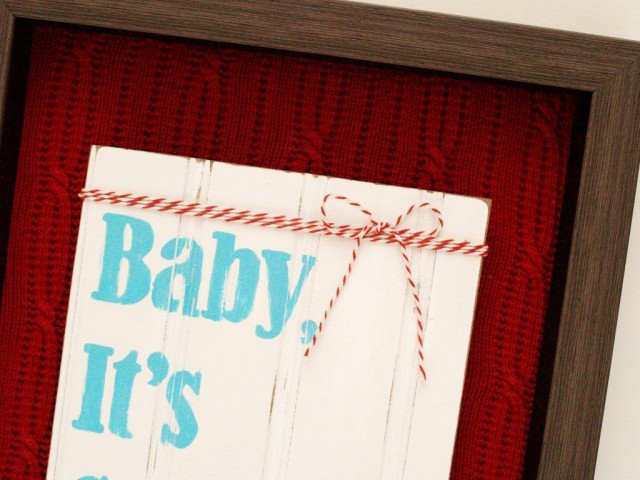
Glue your sign onto the wooden beads. This will give it a little of a 3-d look in the shadowbox. Pop the design into your shadowbox and you’re almost finished!
Tie a little bit of baker’s twine or other trim around the top of the sign for a fun little extra bit of color.
And that’s it! Super easy but really fun to do!
This would make such a sweet gift too – and it would be super easy to personalize it with another color scheme or phrase.
Thanks so much for having me Jen – it was so fun to come and visit! 🙂
Bev!!
That is gorgeous.
I love the different textures with the beadboard and sweater material together. SO fun!!
Bev is amazing at everything she does. She also makes amazing jewelry projects — perfect for holiday gifts!!

How amazing is this Anthro Knock Off Sparkled Silk Bracelet?? Love it!
And she can sew too!

And she has awesome Home Decor projects too:
![]()
AND, she’s one of the nicest people ever.
You will love getting to know Bev and all of her great ideas at Flamingo Toes!!
xoxo
Have a HAPPY Day!!


What a great Christmas decoration! Thanks so much for sharing such a cute idea!
Leslie
It was fun to see Bev here with a great project. Thanks to both of you!
Wheeeeee! So excited to see one of the sweetest and most talented gals in all of blogland here at TT&J today! Whipeee for Bev! And, not surprisingly, she’s brought her A-game with a creative, original, and beautiful project. Off to share on Pinterest and Facebook.
Go Bev! Yay Jen!
Jenn/Rook No. 17
Oh Bev, You have out down yourself. This is just the cutest Christmas craft!!!! Thank you for the wonderful tutorial. I don’t have a fancy cutting machine, and I love that I don’t need one to make this.
This is so fun! I love the sweater background with the beadboard sign! Thanks for sharing your idea!
OOH! That’s so great!
So pretty! I love the look of the sweater backing, too — that is awesome! Thanks so much for sharing with us!
Love it, Bev!!! I need to make one for myself!
Great project, but hilarious comment about the hubby. Yep, mine does that.
So festive! And I love the extra touch of the sweater backing. Super cute, Bev!!
So gorgeous Bev! What a great decoration for the holidays!
-Jen
i was just thinking of this lyric for a sign in my bathroom 🙂 what a cute project! thanks for sharing 😉
This is so clever, Bev! Would be so cute hanging by the front door 🙂 I’ve been enjoying your blog, as well!!