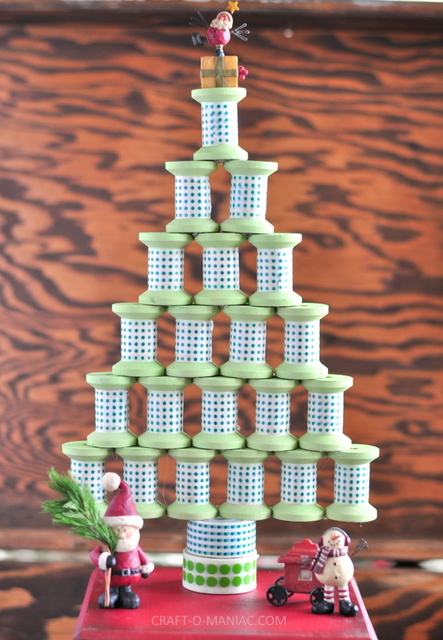
Hello TT&J fans, I am Jen and I blog over at Craft-O-Maniac. I’m thrilled to be visiting you all today and sharing this whimsical DIY Washi Tape Spool Tree.
Supplies:
– 20 wood spools (or 21 for the wood tree trunk)
– green acrylic paint
– sponge brush
– washi tape
– extra washi tape for the tree trunk


How To:
I started by painting the top, bottom, and sides of all the spools. I started by painting one end, letting them dry, and then painting the other end. Once both ends were painted, I then just painted the very top of one end.

I let them dry and wrapped them in green polka dot and white washi tape.

I then hot glued them all together while stacking them up, and finally hot glued down to rolls of washi tape for the trunk.
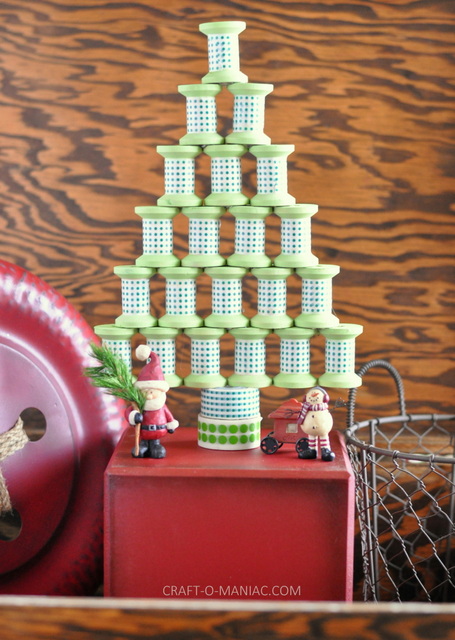
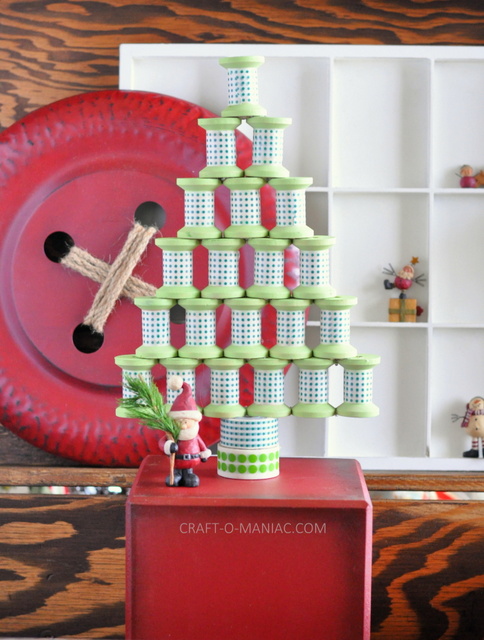
I think this tree is darling to give as a gift to a crafter, or to even make for Christmas decor, or even to place it in your craft room. So fun.

So fun, and a great project to do with family, or for a craft night.
Thanks Jen it was a pleasure visiting here today.
Jen-COM
**********
Thanks Jen! I just love that cute tree, and it would be a project that kids could help with too! Jen has great ideas on her blog. Here are a few I think you’ll love:

This DIY Winter Woodland Christmas Wreath is so fun, and festive for the holidays!

And her Rustic Christmas Porch is just darling!

And, I always love a cute Christmas sign. Her DIY Rudolph Word Sign is just perfect for your holiday decor!
Visit Craft-O-Maniac and
Follow the HAPPY Holidays Event at Tatertots & Jello
all through the holidays with awesome tutorials, recipes, decorating ideas and more from some amazing blogs!
xoxo


What a gorgeous tree! We kind of got a new christmas tradition of making alternative christmas trees to fit into our small apartment for the holidays. This years is made out of tp rolls 😛
http://bastelbazooka.blogspot.de/2014/12/tp-christmas-tree.html
Cheers, Anni