Halloween Foam Marquee Letters
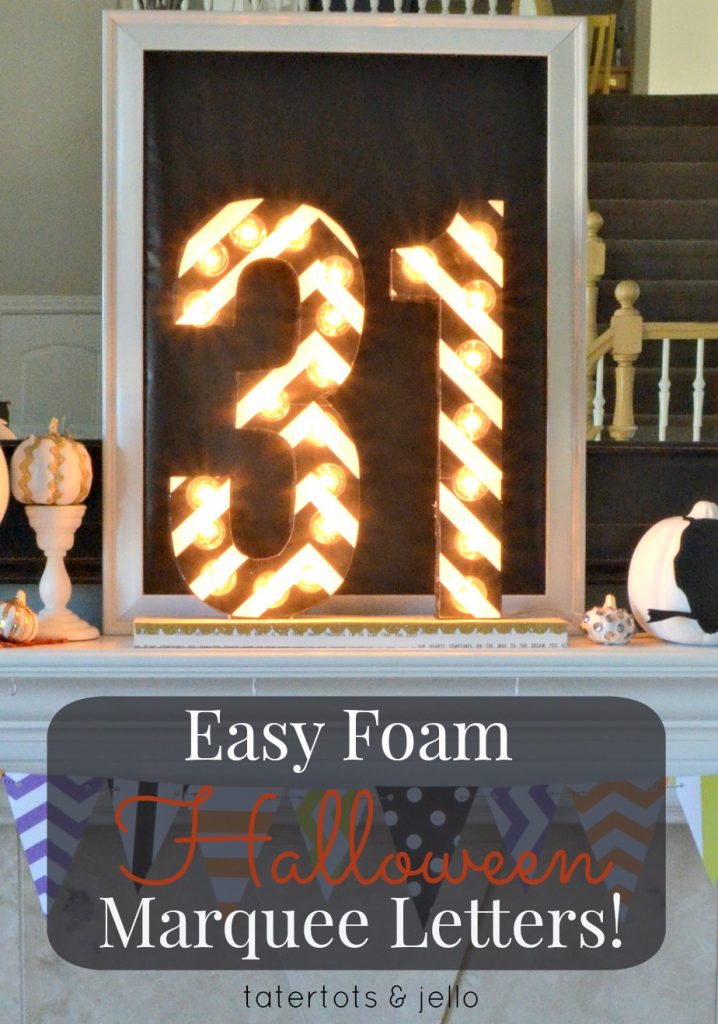
Each month, FloraCraft has sent me a lovely box of foam and craft goodies (and thanks to them for sponsoring the post!). Inspired by last year’s NOEL letters, I decided to make a Halloween marquee — but do it in an even easier way! You can do this, too — in less than two hours!

You won’t need very many supplies: here’s what you need to do! (I’ve even included a free downloadable template to help!)
I used:
- Two 12×18 sheets for Floracraft foam
- Black spray paint
- Paper from the Home + Made line (woo!)
- Hot glue
- Zip ties
- Globe string lights (from Target)
- Easy template I made on the computer (download below)
- Stuff you should have lying around like a Sharpie and craft knife
- A refreshing beverage
Here’s what to do!
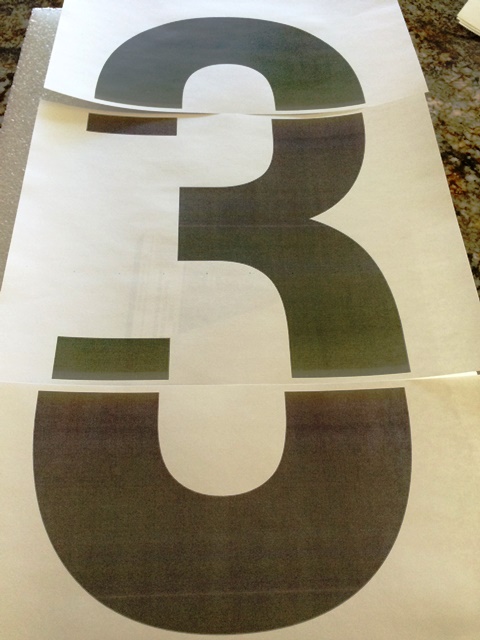
First, make some easy “3 and 1” templates … or just download mine (right click here and choose “save as” to download the PDF) … and print them out. They’ll print on six sheets of paper that you’ll need to cut out and tape together, like this:
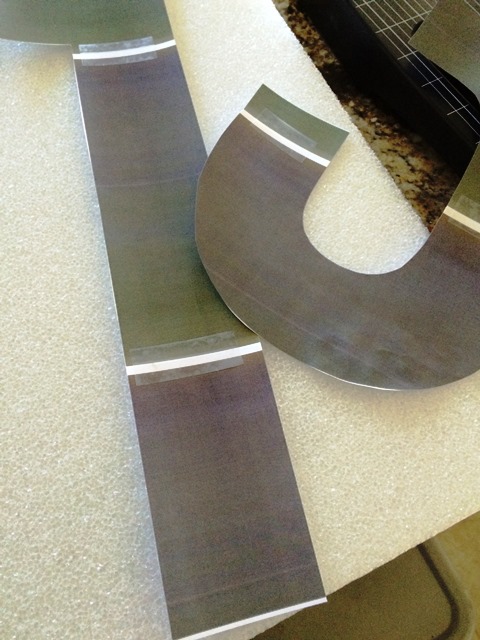
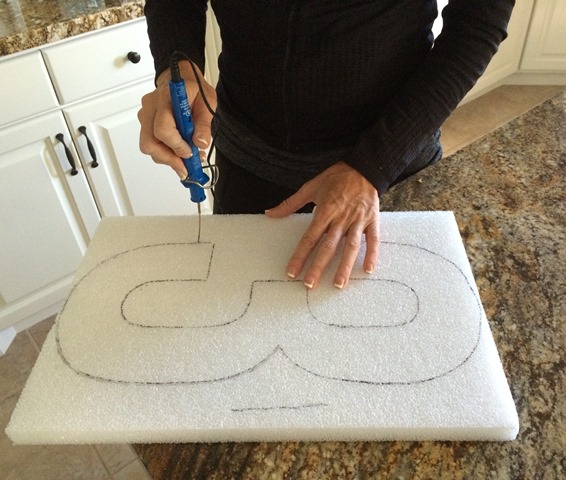
Then lay the paper templates on the foam and mark them with a Sharpie. Make your life easy and line the long edge of the 1 against the right side of one of the foam pieces … and save the templates and extra foam; you’ll need them.
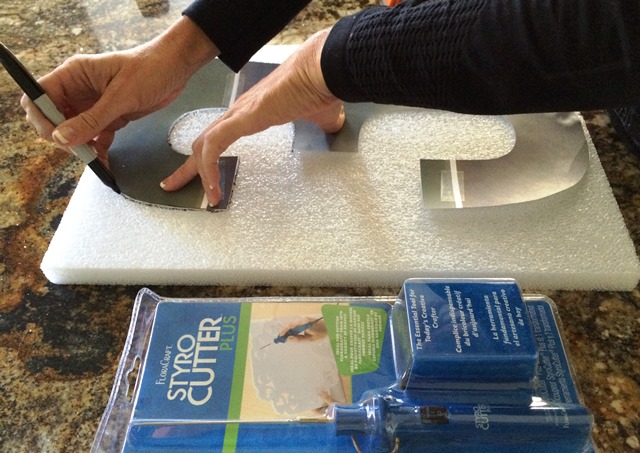
Then, use a knife or FloraCraft StyroCutter Plus (they’re the bomb, really) to cut out the foam:
Now, take the foam outside and carefully spray paint it, keeping the can far away from the foam. While it dries, use the paper templates to cut out some nice scrapbook/decor paper to place on the front of the letters.
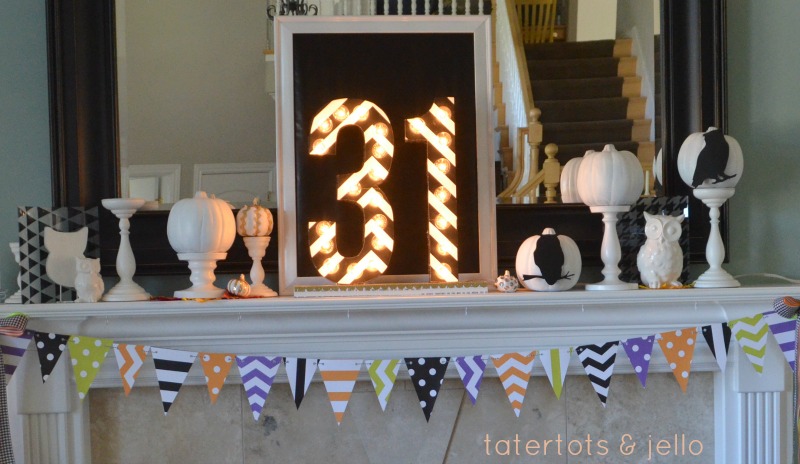
Also, trim a rectangular piece from the leftover foam to use as a base. Cover this in whatever paper you like. You can see what I did in the finished pictures, like this:
Now, once everything’s dry, use a ruler and space where you want to put the lights. Mark them with a pencil on the decorative paper. Then, using a sharp craft knife, cut a small X (large enough to accommodate the base of the bulbs) in the paper. Lay the paper on top of the foam pieces and stick a pencil through the foam to show where you’ll want to make holes for the light bases.
Use your styrofoam cutter around each of these foam holes to make enough room for the bases to sit inside the foam. Next, glue the paper to the foam using hot glue or whatever’s convenient.
Then, starting from one end and going to the other, string your lights. Push the base through the back and screw the bulbs in from the front. When you’re done it will look kind of like this:
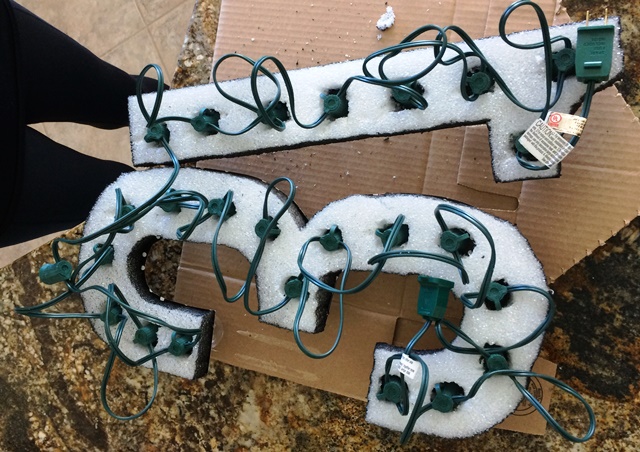
To clean up the wires, I used zip ties to pull them all tightly together in the back. I also used an extension cord run along the back of the “1” to reach the top plug. It’s a good idea, if you think of it first, to lay out the lights on top of the numbers before you cut in case yours are different than mine. Note that there’s one socket without a bulb that runs behind the base; I covered it with electrical tape.
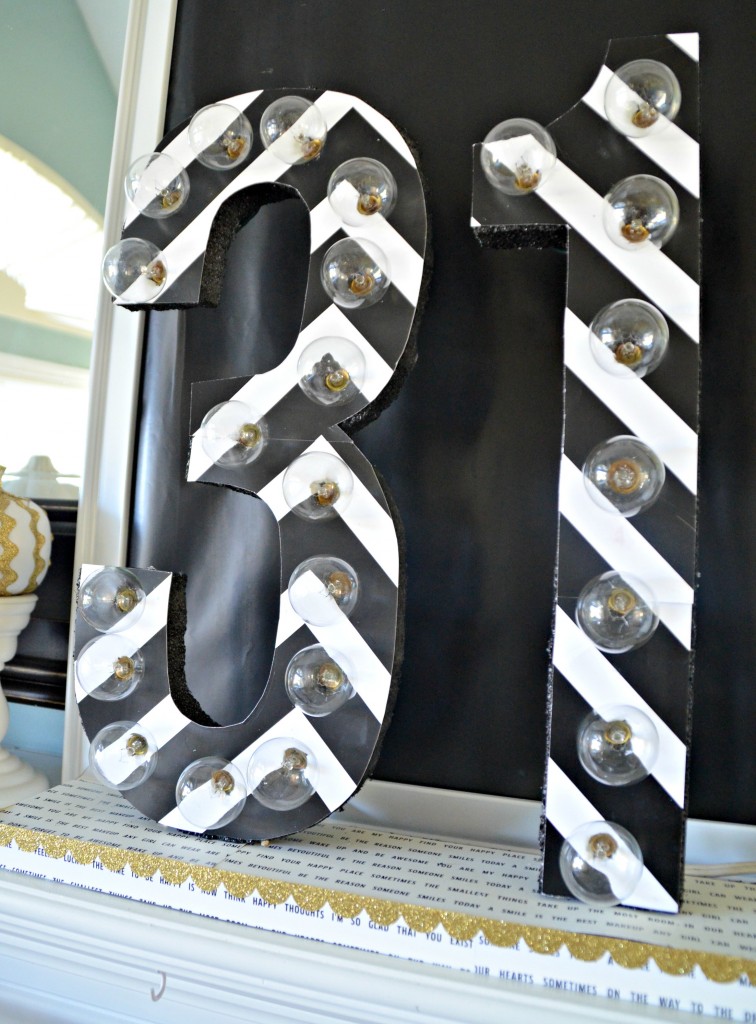
Then I used four shishkebab skewers to affix the letters to the base … and I was done! This was the easiest of the marquee projects I’ve done. And I love the way it glows, even if it’s hard to photograph!
I’m excited to see what we’ll be making next month!
You can get all kinds of great foam craft ideas by visiting the Make It: Fun site and by following along with FloraCraft on their Pinterest boards and Facebook page, and be sure to check out the other projects the team made this month. Amazing!
Have a Creative Day!
xoxo

This post sponsored by FloraCraft. See my disclosures.


Hi Jen,
Love this idea!
But you neglected to mention how to use the refreshing beverage? I’m sure none of us need instructions – plus, I’m thinking this would also be an awesome idea to use for making a big foam martini glass and put it out for a cocktail party, a girl’s night, a bachelorette or a bridal shower, a housewarming or moving party… let the foam-cutting begin! 🙂
Diana
Looks fab, Jen!! Love it!
I adore this, Jen. What a fabulous tutorial, too — very helpful. Your papers are perfect for this project. Thank you! (I’ll be sharing.)
So cute and creative! Great job 🙂
Great project.. Love it!