Tatertots and Jello

COLORFUL HAPPY HOME -- Daily DIY, Decor, Craft and Recipe Tutorial

  • My Home
    • 1905 Cottage
    • Daybreak House
  • DIY
    • DIY Projects and Ideas
    • Organizing
    • Tutorials
    • Printables
  • Decor
    • Spring Projects
    • Summer Projects
    • Fall Projects
  • Crafts
    • Kids Crafts
    • Painting Projects
    • Paper Projects
    • Sewing
    • Wreaths
  • Holidays
    • Valentines Day
    • Easter
    • Halloween
    • Thanksgiving
    • Christmas
    • HAPPY Holidays Series!
  • Recipes

Explore

  • my home
  • diy
  • decor
  • crafts
  • holiday
  • printables
  • recipes

Connect

Home » decorating » Guest Tutorial — make a DIY Magnetic Chalkboard Message Station!

decorating, diy, guest tutorials, organizing · October 5, 2010

Guest Tutorial — make a DIY Magnetic Chalkboard Message Station!

Tatertots & Jello is a participant in the Amazon Services LLC Associates Program, an affiliate advertising program designed to provide a means for sites to earn advertising fees by advertising and linking to amazon.com.
DSCN5921 copyHeeeeeeeeeeey!!!


HoHbigmouth

I’m Allison from House of Hepworths!

I’m so excited that Jen asked me to Guest Post today here at Tatertots and Jello!

DSCN5951

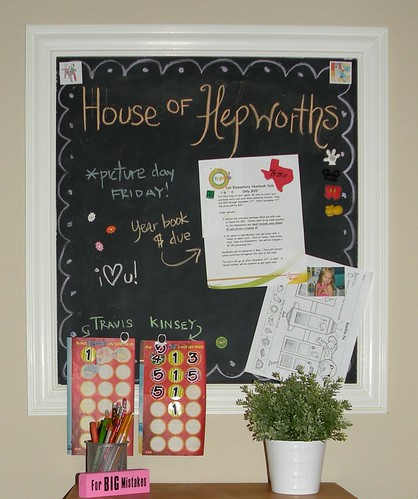
Today I’m going to show you how to make this adorable

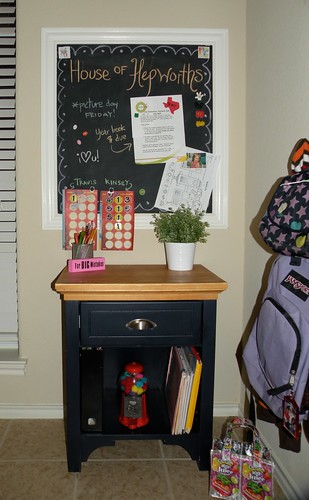
Magnetic Chalk Board Message Station.

DSCN5921 copy

My kids needed somewhere to keep their backpacks, school work, homework, library books, pens & pencils, notepaper, and all the little things they need to get themselves out the door each morning in an orderly manner.

DSCN5923

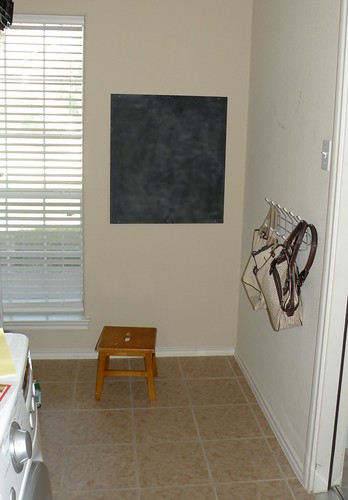
I hung a coat hanger from IKEA on the wall for their backpacks, jackets, & lunch boxes, but I still needed somewhere to keep all their extra “stuff” organized. Up until this point they would just throw papers all over the floor.

DSCN5917

Now when they walk in the door they have somewhere to put their “save” papers, notes to me, homework, etc.

Here’s how this message center came together…

I found this piece of metal on Craigslist for FREE!

DSCN5646

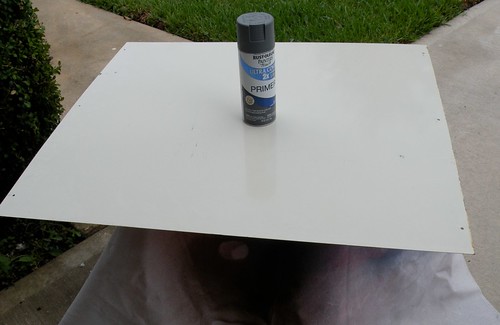
I decided it would make the perfect message center because it was magnetic. From there I took it one step further and added chalkboard paint.

First I primed it with Rust-oleum gray primer:

DSCN5647

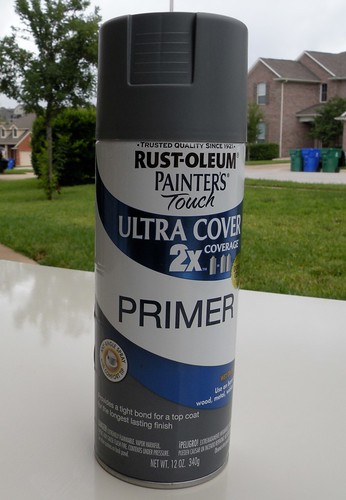
I did two coats and let it dry a full 24 hours before I added the chalkboard paint.

DSCN5677

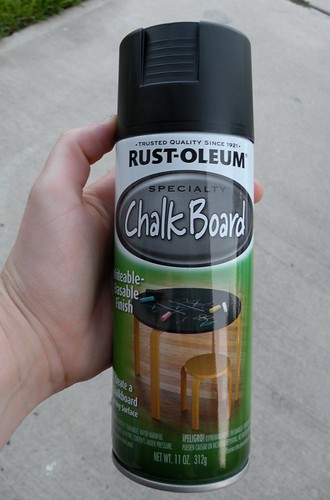
Then I coated it with chalkboard spray paint. I wanted to make sure it wasn’t splotchy so I did several coats – I used the entire can of chalk paint.

DSCN5680

DSCN5744

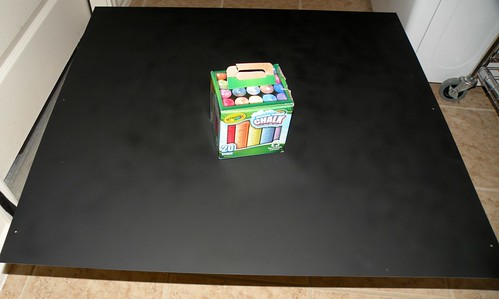
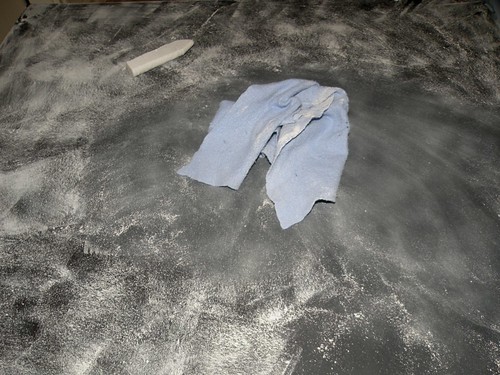
Once it was dry I seasoned it. Basically just color the entire board, and then erase it.

DSCN5747

The metal had three holes on either end already drilled in it, so I just used those holes to nail the metal to the wall.

DSCN5748

Time to frame it out with moulding!

I measured the length and width of the metal board and then cut 4 pieces of moulding to fit around like a picture frame.

DSCN5749

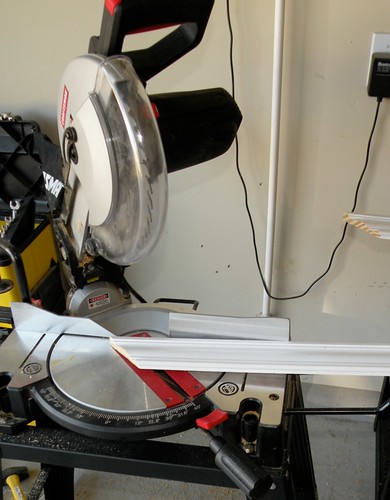
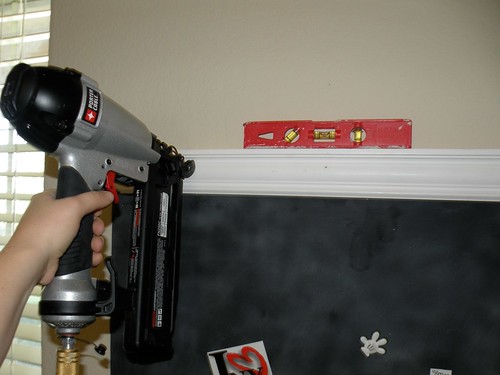
I used a nail gun to hang the moulding, but you can easily hang it with a few nails and a hammer.

Be sure to level your moulding before you nail it down! You don’t want to end up with wonky moulding!

DSCN5752

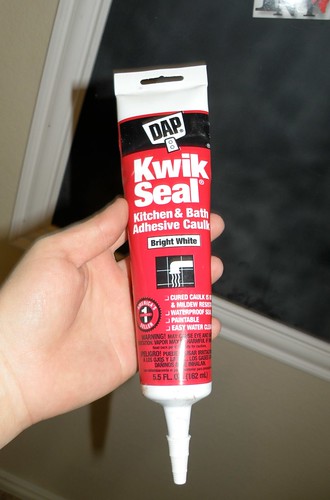
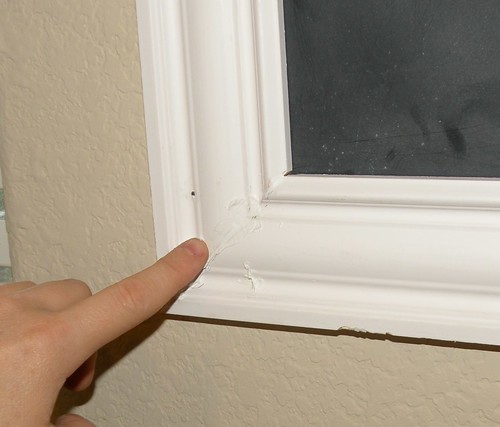
When you hang moulding it doesn’t look so pretty at first.

DSCN5755

You can use all sorts of things to fill these holes, but I prefer caulk.

DSCN5757

Just squeeze it on…

DSCN5759

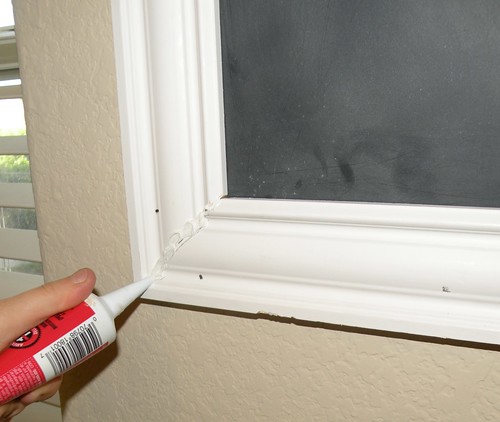
And then smooth it out with your finger (wipe the excess on a paper towel).

DSCN5761

Now it’s time for paint!

First you need to tape it all off.

DSCN5767

Here’s an easy way to tape the corners of a project:

DSCN5771

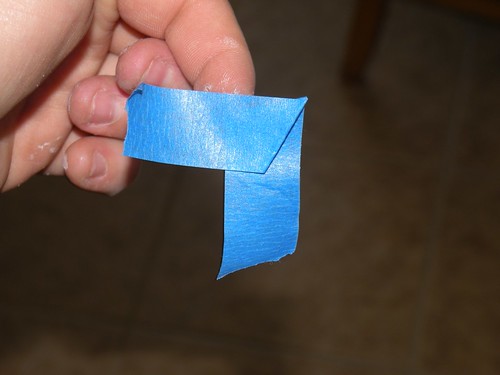
Take a piece of painters tape and fold it into a 90 degree angle. Then just stick it into the corners.

DSCN5772

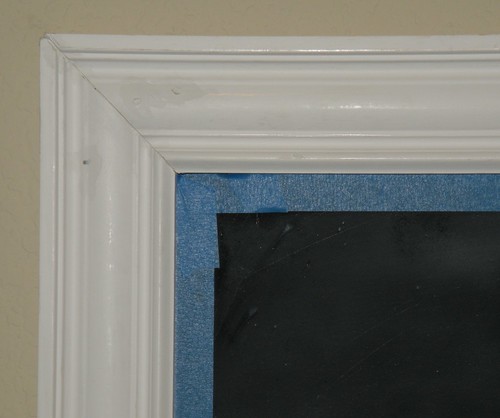
Once it’s taped off it’s easy to paint.

DSCN5778

I used high gloss white paint.

Once it’s dry, take the tape off and add your accessories!

DSCN5921

DSCN5930

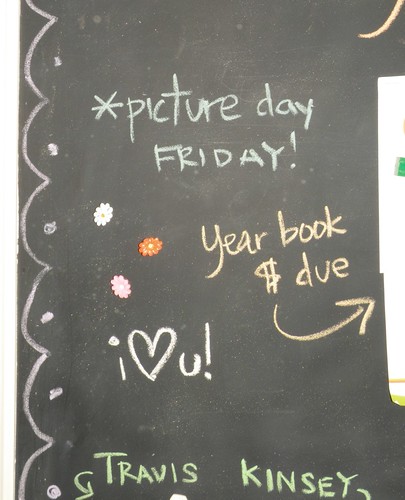
I love that the message center is magnetic as well as a chalk board.

DSCN5936

I can write reminder notes to the kids as well as use magnets to hang all their papers and work that needs to go back to school.

DSCN5941

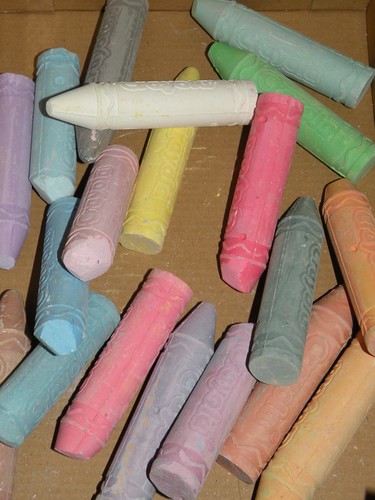
I keep the chalk in the drawer of the little table.

DSCN5949

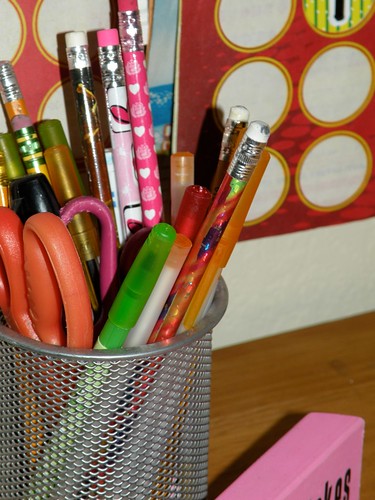
And a few extra pens and pencils just in case…

DSCN5944

I LOVE this Magnetic Chalk Board Message Center!

DSCN5926

In addition to being totally functional and organized, it’s also just so cute.

DSCN5921 copy

*~*~*~*~*

Thanks so much Jen for letting me guest blog today!

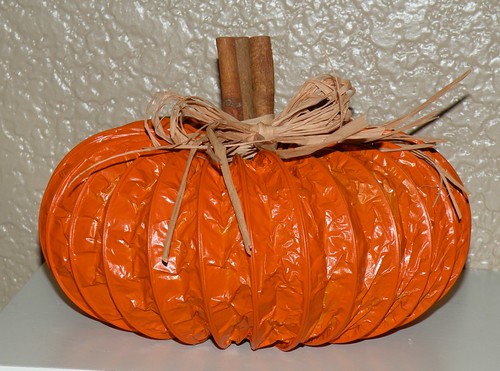
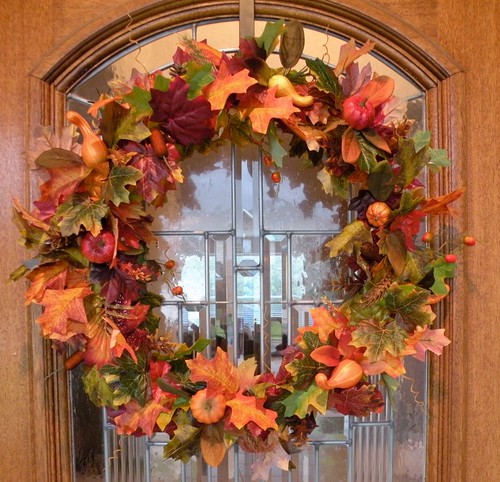
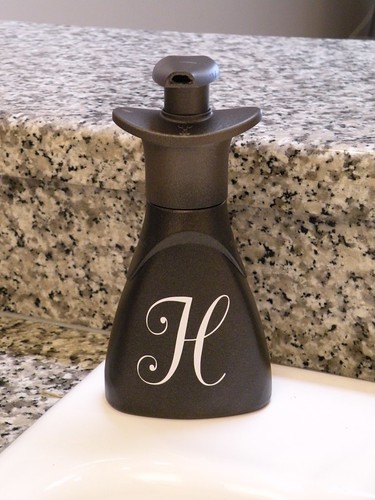
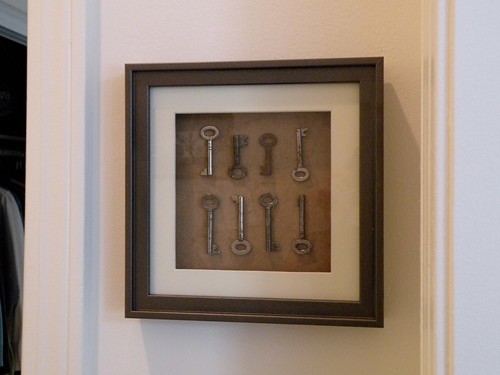
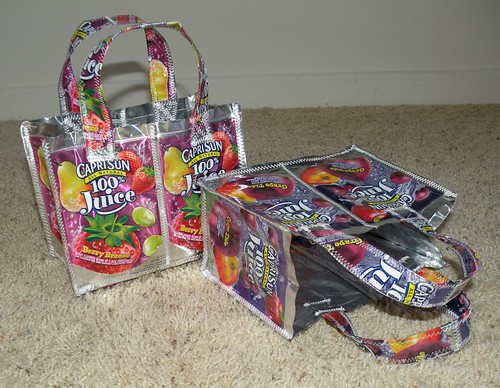
In addition to my magnet chalk board project, here are a few other things I’ve created lately.

For full tutorials click on the image.


I’d love for you to come visit me at House of Hepworths!

HoHbigmouth

Thanks so much Allison — I love your Message Station!!! 


Thanks for sharing your tutorial with us!
I just love Allison’s blog — House of Hepworths! If you don’t know it, go over and say hi!
HouseofHepworths
You will love all of Allison’s projects
and go over each Thursday her Hooking up with HOH linky party!
Have a Terrific Tuesday!!!
xoxO
PS — It’s the second day of the Celebrating Autumn Week!
 Go over to Deborah’s Taste and Tell blog for a delicious Fall Recipe!!
And, it’s my post tomorrow – I can’t wait to show you what I’ve been working on. Hint — it involves Autumn and the Dollar Store!! Plus, I will be having my First Ever Fall Linky Party!  
Come over and link up your Fall Projects tomorrow!!!

Posted By: Jen · In: decorating, diy, guest tutorials, organizing

A Blogger’s Day Out!
20 {Spooky} Free Halloween Printables!

You’ll Also Love

DIY Halloween Bat Mantel Ideas
make a dog playhouse out of a box. all the instructionsMake an Adorable DIY Dog Playhouse Out of a Box!
Make a DIY Marble Kitchen Pedestal
Hi! I'm Jen Hadfield. I'm a mom of 5 restoring an 1891 home in the heart of Salt Lake City. I love being creative and sharing simple ideas to make your life easier and more beautiful!

Receive the Latest Crafts, DIY, Recipes and More in your INBOX!

Follow us on Pinterest! It's awesome!

Top Posts & Pages

Copycat Panera Spinach and Artichoke Egg Soufflés - SO good!
Spruce up Your Outdoor Space with a DIY Recirculating Fountain! (tutorial)
A New Deck in Under 30 Minutes!
DIY Secret: How to Print on Post-It Notes (and Free Printable Template)
5-Minute T-Shirt Neckline Refashion
12 Must-Have Items to Pack on an Alaskan Cruise!


Popular Posts

  • Copycat Panera Spinach and Artichoke Egg Soufflés - SO good!
    Copycat Panera Spinach and Artichoke Egg Soufflés - SO good!
  • Spruce up Your Outdoor Space with a DIY Recirculating Fountain! (tutorial)
    Spruce up Your Outdoor Space with a DIY Recirculating Fountain! (tutorial)
  • A New Deck in Under 30 Minutes!
    A New Deck in Under 30 Minutes!
  • DIY Secret: How to Print on Post-It Notes (and Free Printable Template)
    DIY Secret: How to Print on Post-It Notes (and Free Printable Template)
  • 5-Minute T-Shirt Neckline Refashion
    5-Minute T-Shirt Neckline Refashion
  • 12 Must-Have Items to Pack on an Alaskan Cruise!
    12 Must-Have Items to Pack on an Alaskan Cruise!
  • How to Change a Recessed Can Light into a Pendant Light with No Remodeling!
    How to Change a Recessed Can Light into a Pendant Light with No Remodeling!

As seen in


Amazon Affiliate

Tatertots & Jello is a participant in the Amazon Services LLC Associates Program, an affiliate advertising program designed to provide a means for sites to earn advertising fees by advertising and linking to amazon.com.
  • About Me
  • Advertising
  • Get Featured

Copyright © 2025 Tatertots and Jello · Privacy
This site is a place for positive discussion and ideas. Negative talk, comments that disparage others, and similar are not welcome and may be removed.