We’re Kirstin and Jordan, sisters who blog over at kojodesigns.

Our crafty interests range from remodeling to party planning, but (currently) you can most often find Jordan behind the lens of a camera and Kirstin sitting at her sewing machine. We’re also always ready to take on a good home decor project (big or small!) and love projects using repurposed materials!
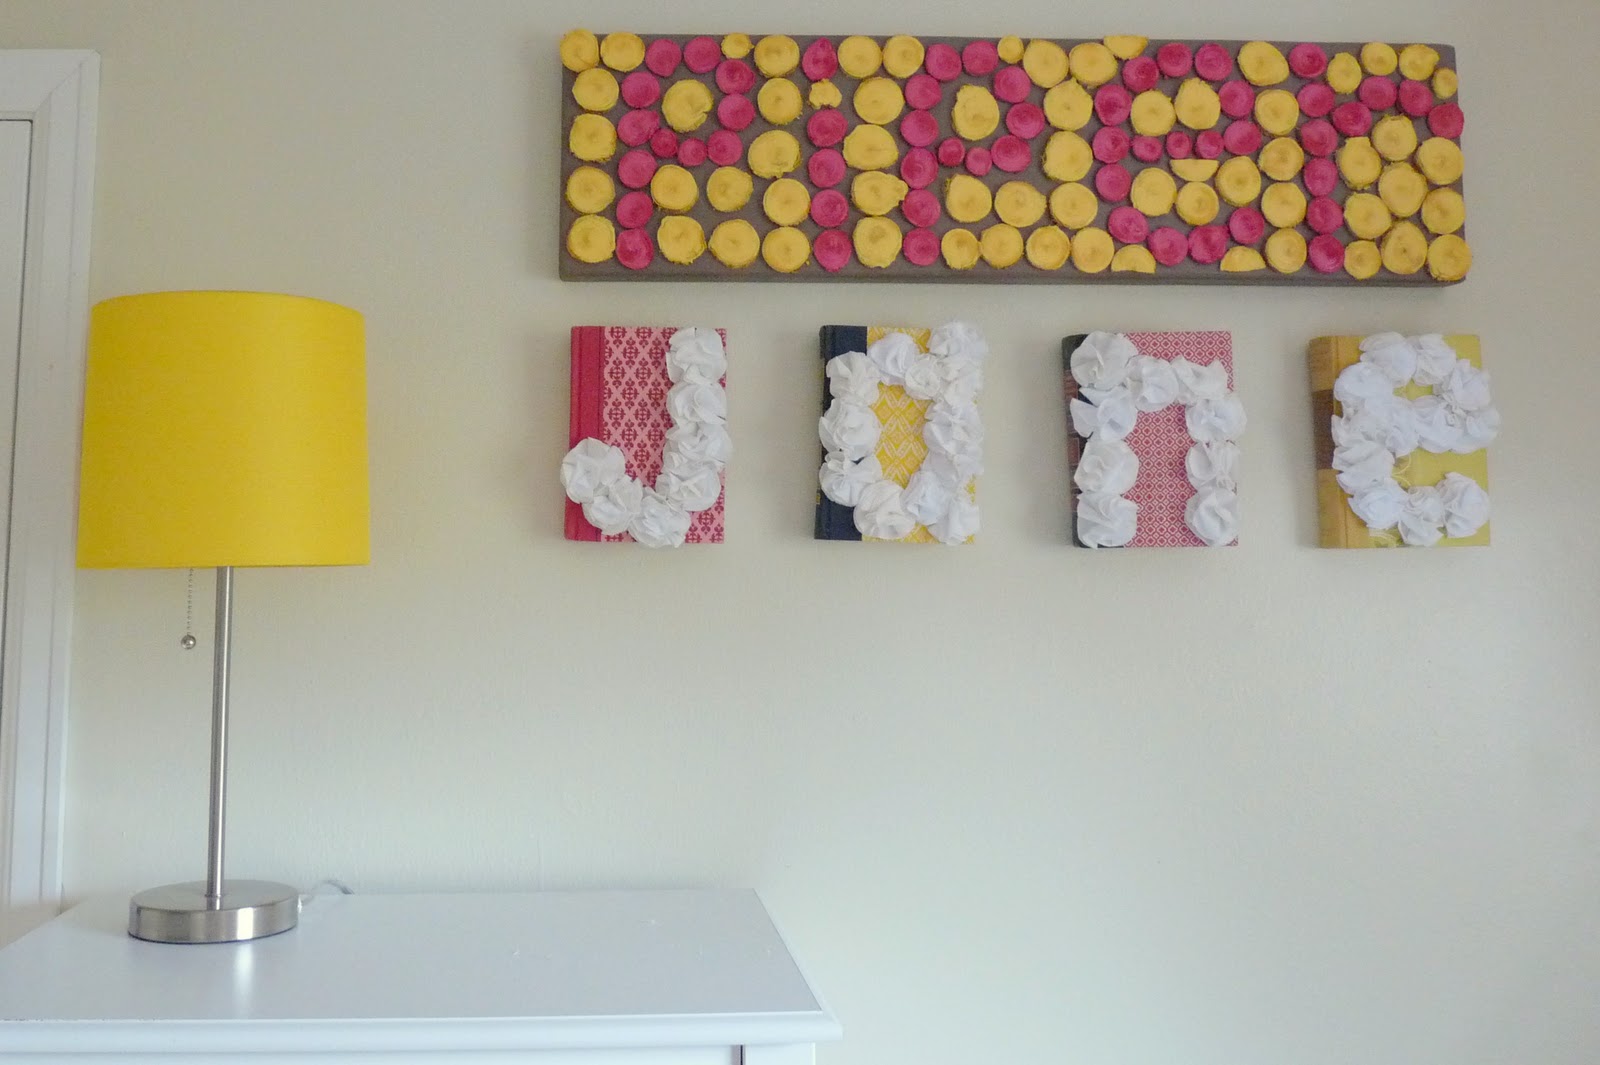
Which brings us to this pink and yellow, rustic-meets-modern, nearly-free Wooden Name Sign, perfect for a nursery (or living room!) near you.
To make one of these lovelies, you’ll need:
-a piece of scrap wood (mine was a leftover piece of a 2’x12′)
-a few thick branches
-a saw (we used a miter saw, but many different kinds of saw would get the job done)
-spray paint
-wood glue

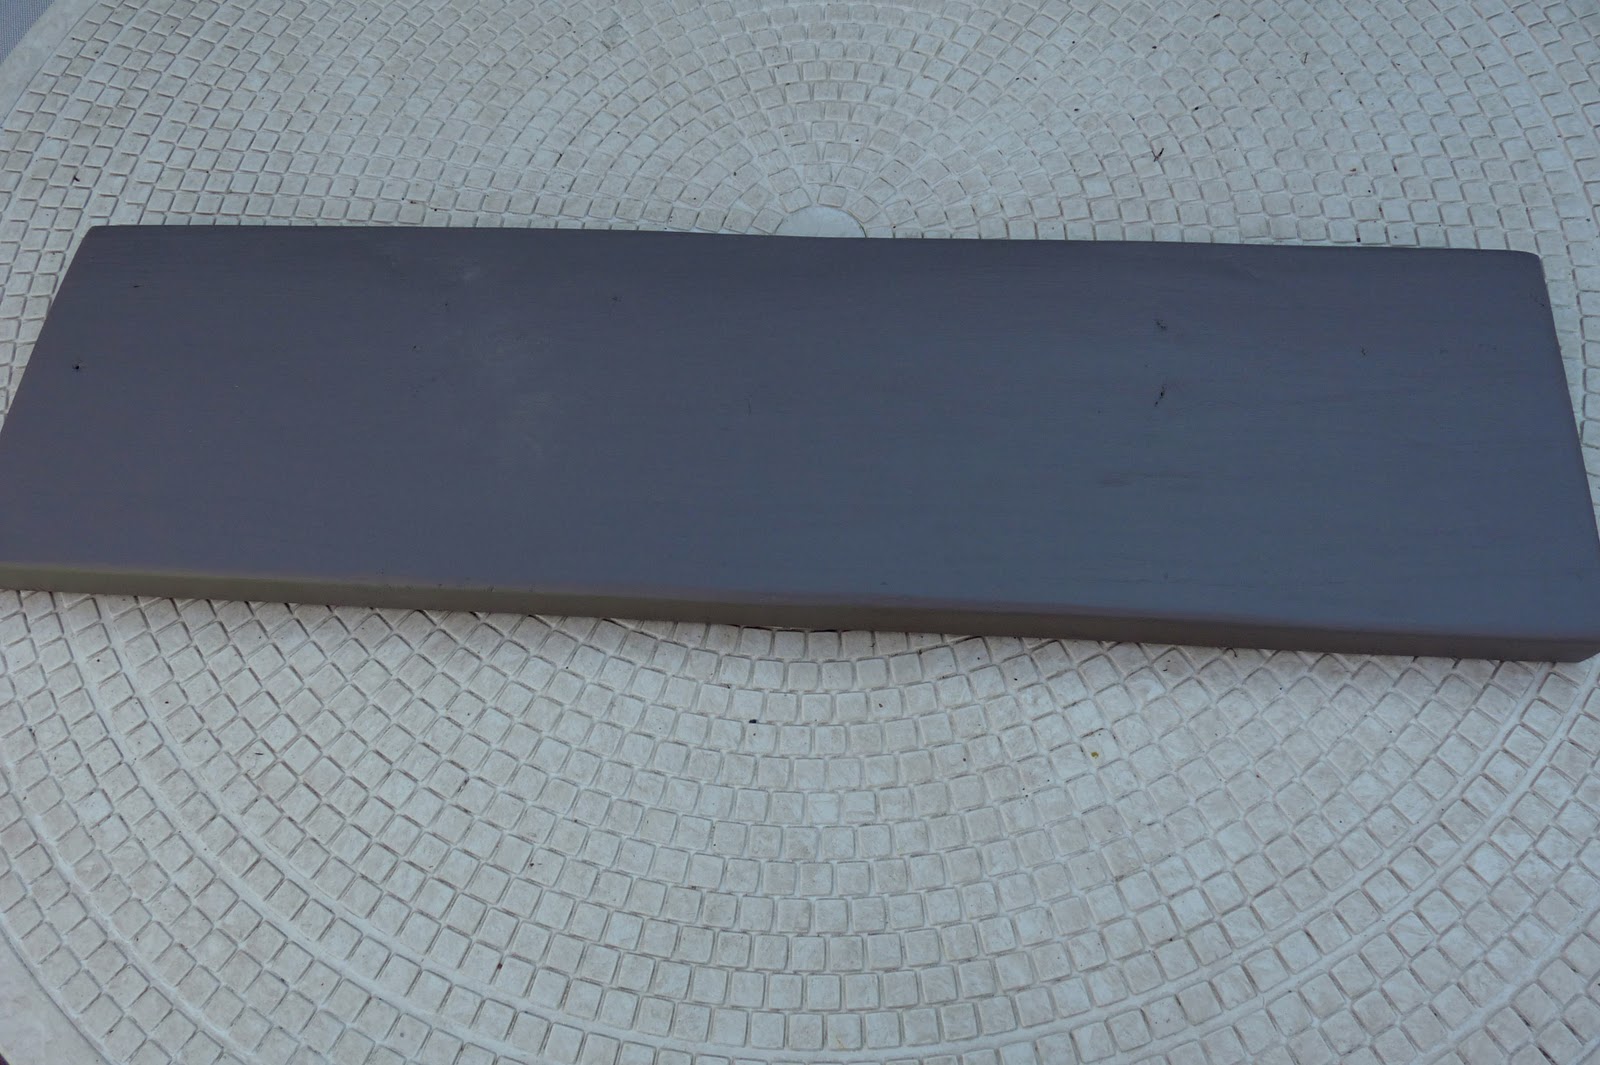
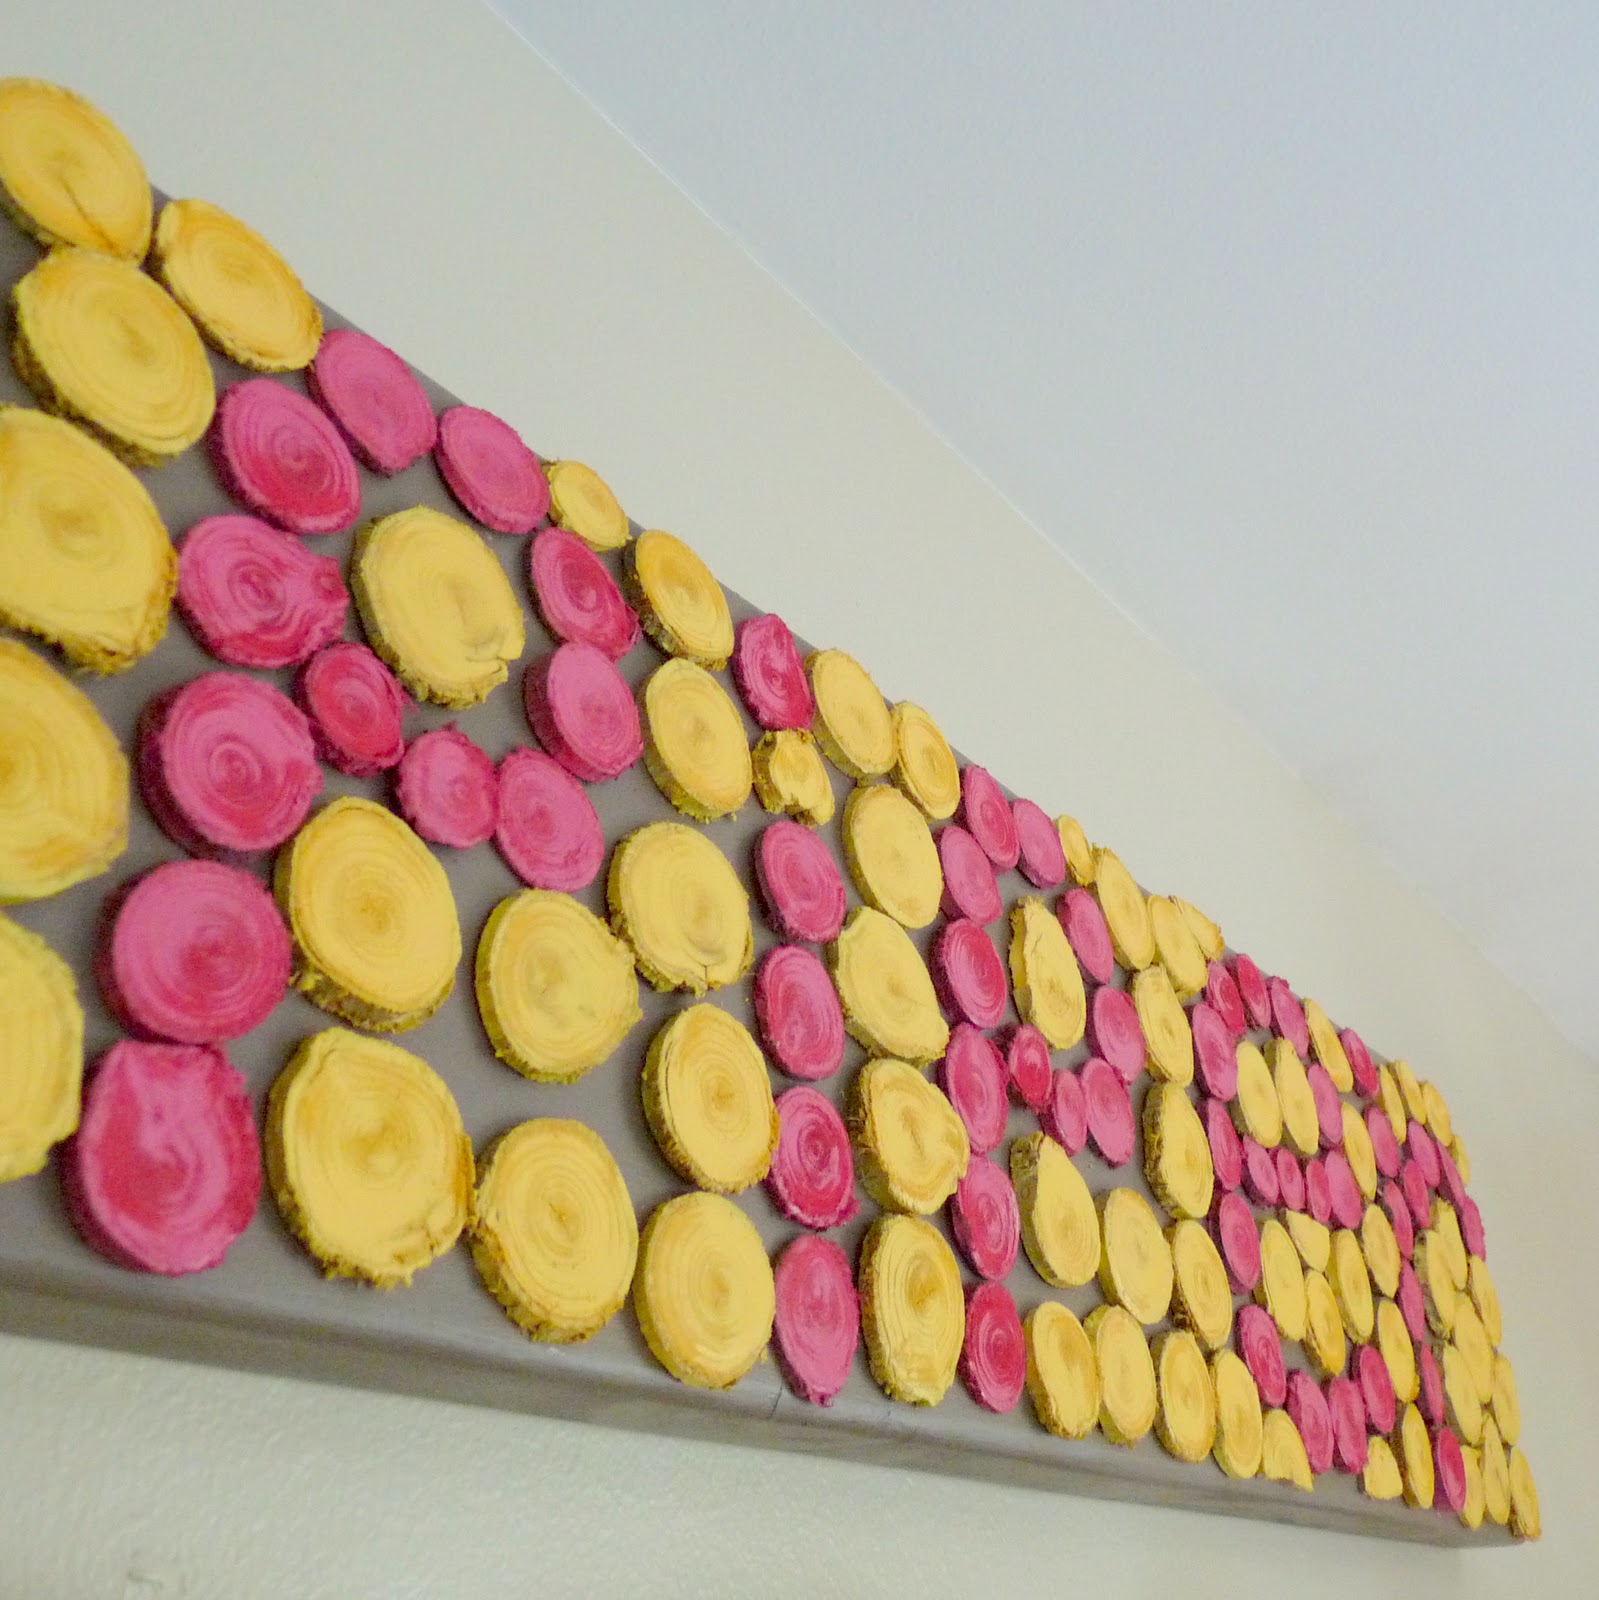
1. Sand and paint your wood backdrop with a color in your palette. Pay careful attention to the edges (sand them well, almost to the point of rounding the front edges). Let dry.
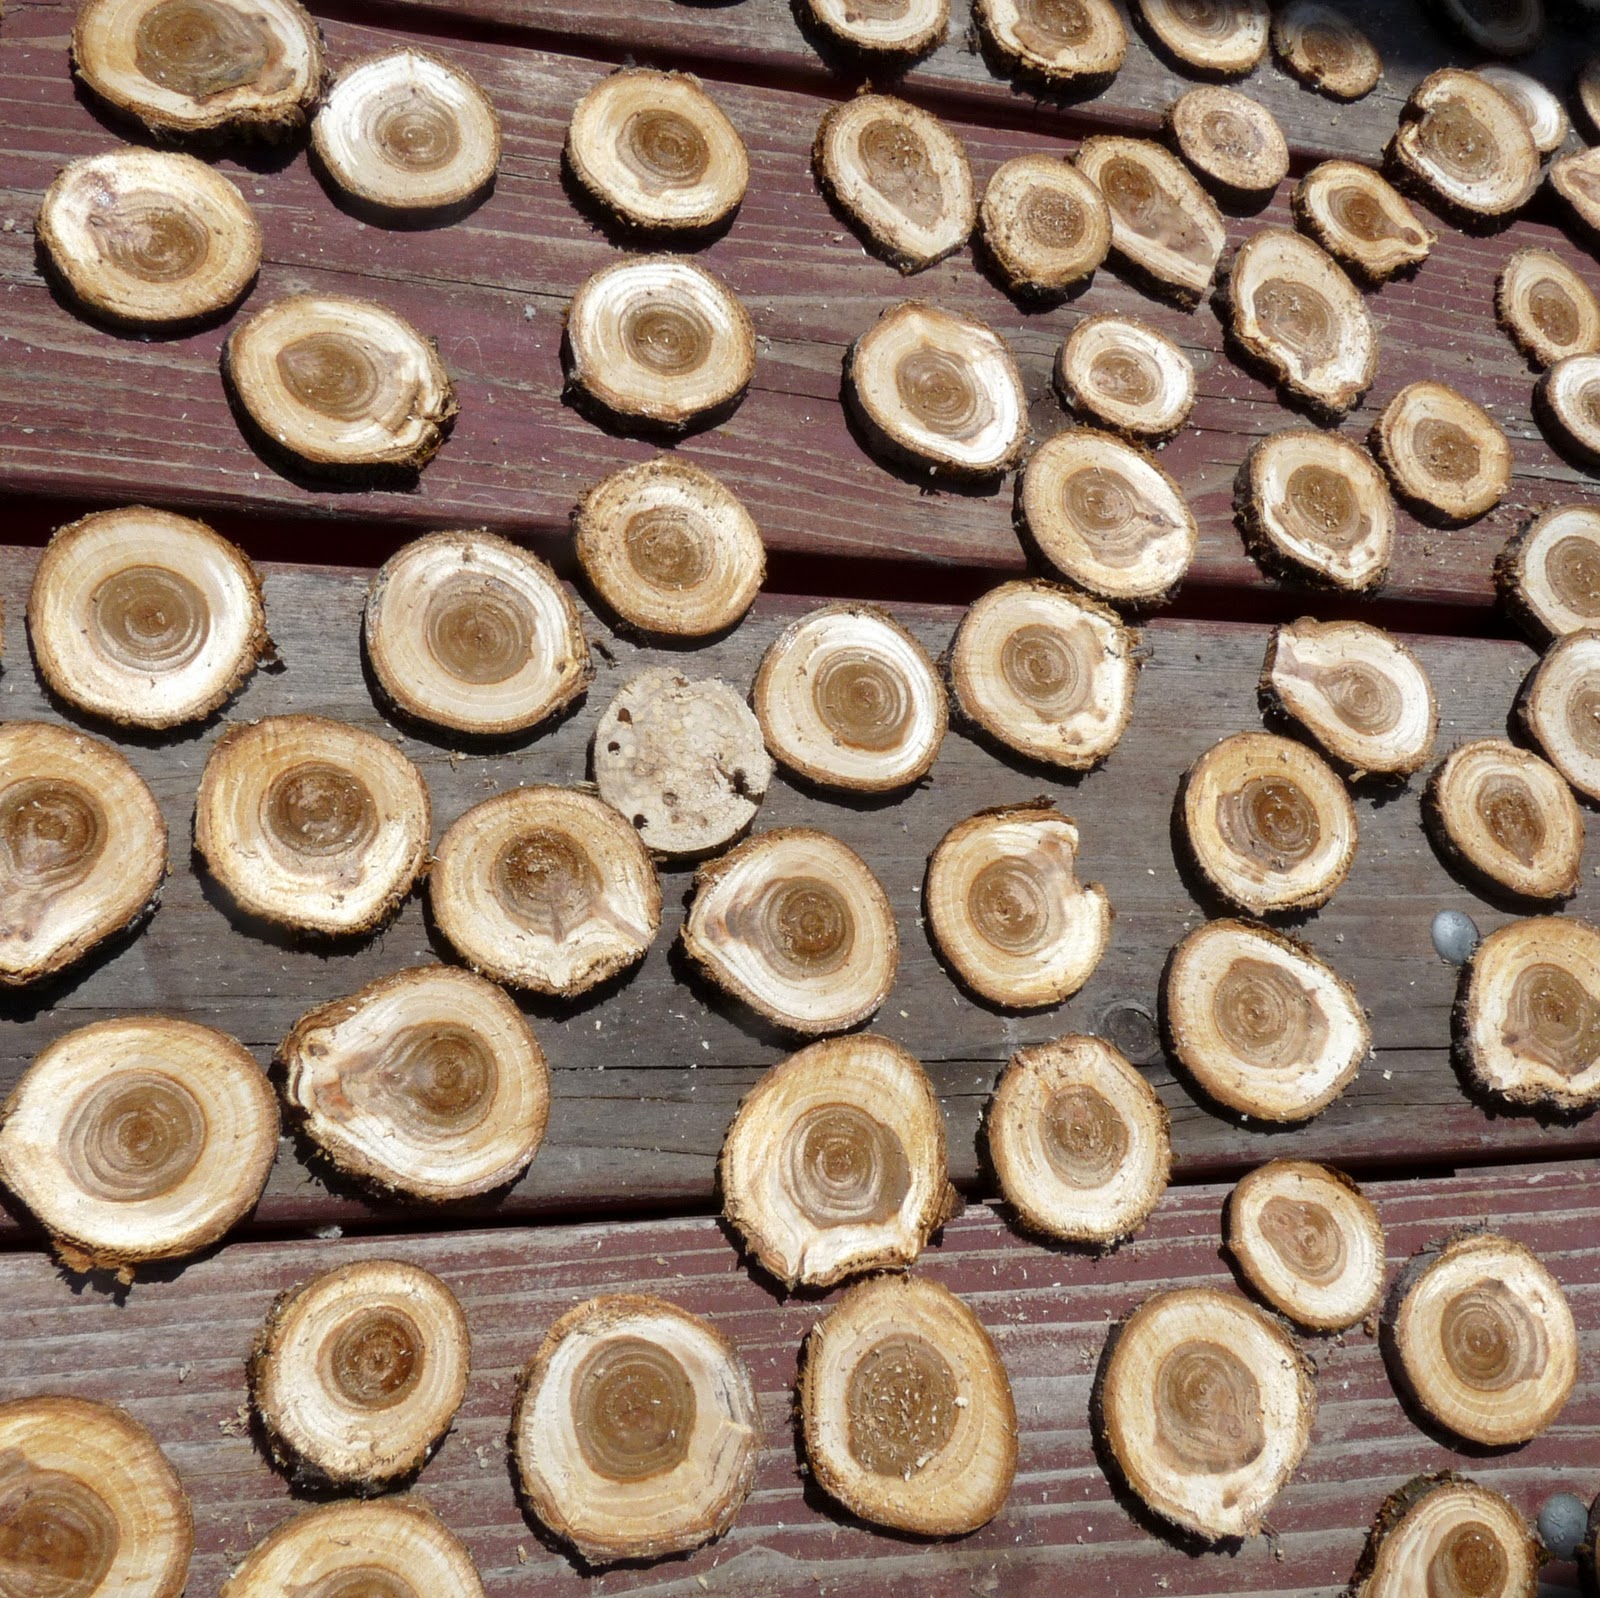
2. Cut your branch every 1/2″ or so until you have a whole pile of round, flat wood pieces.
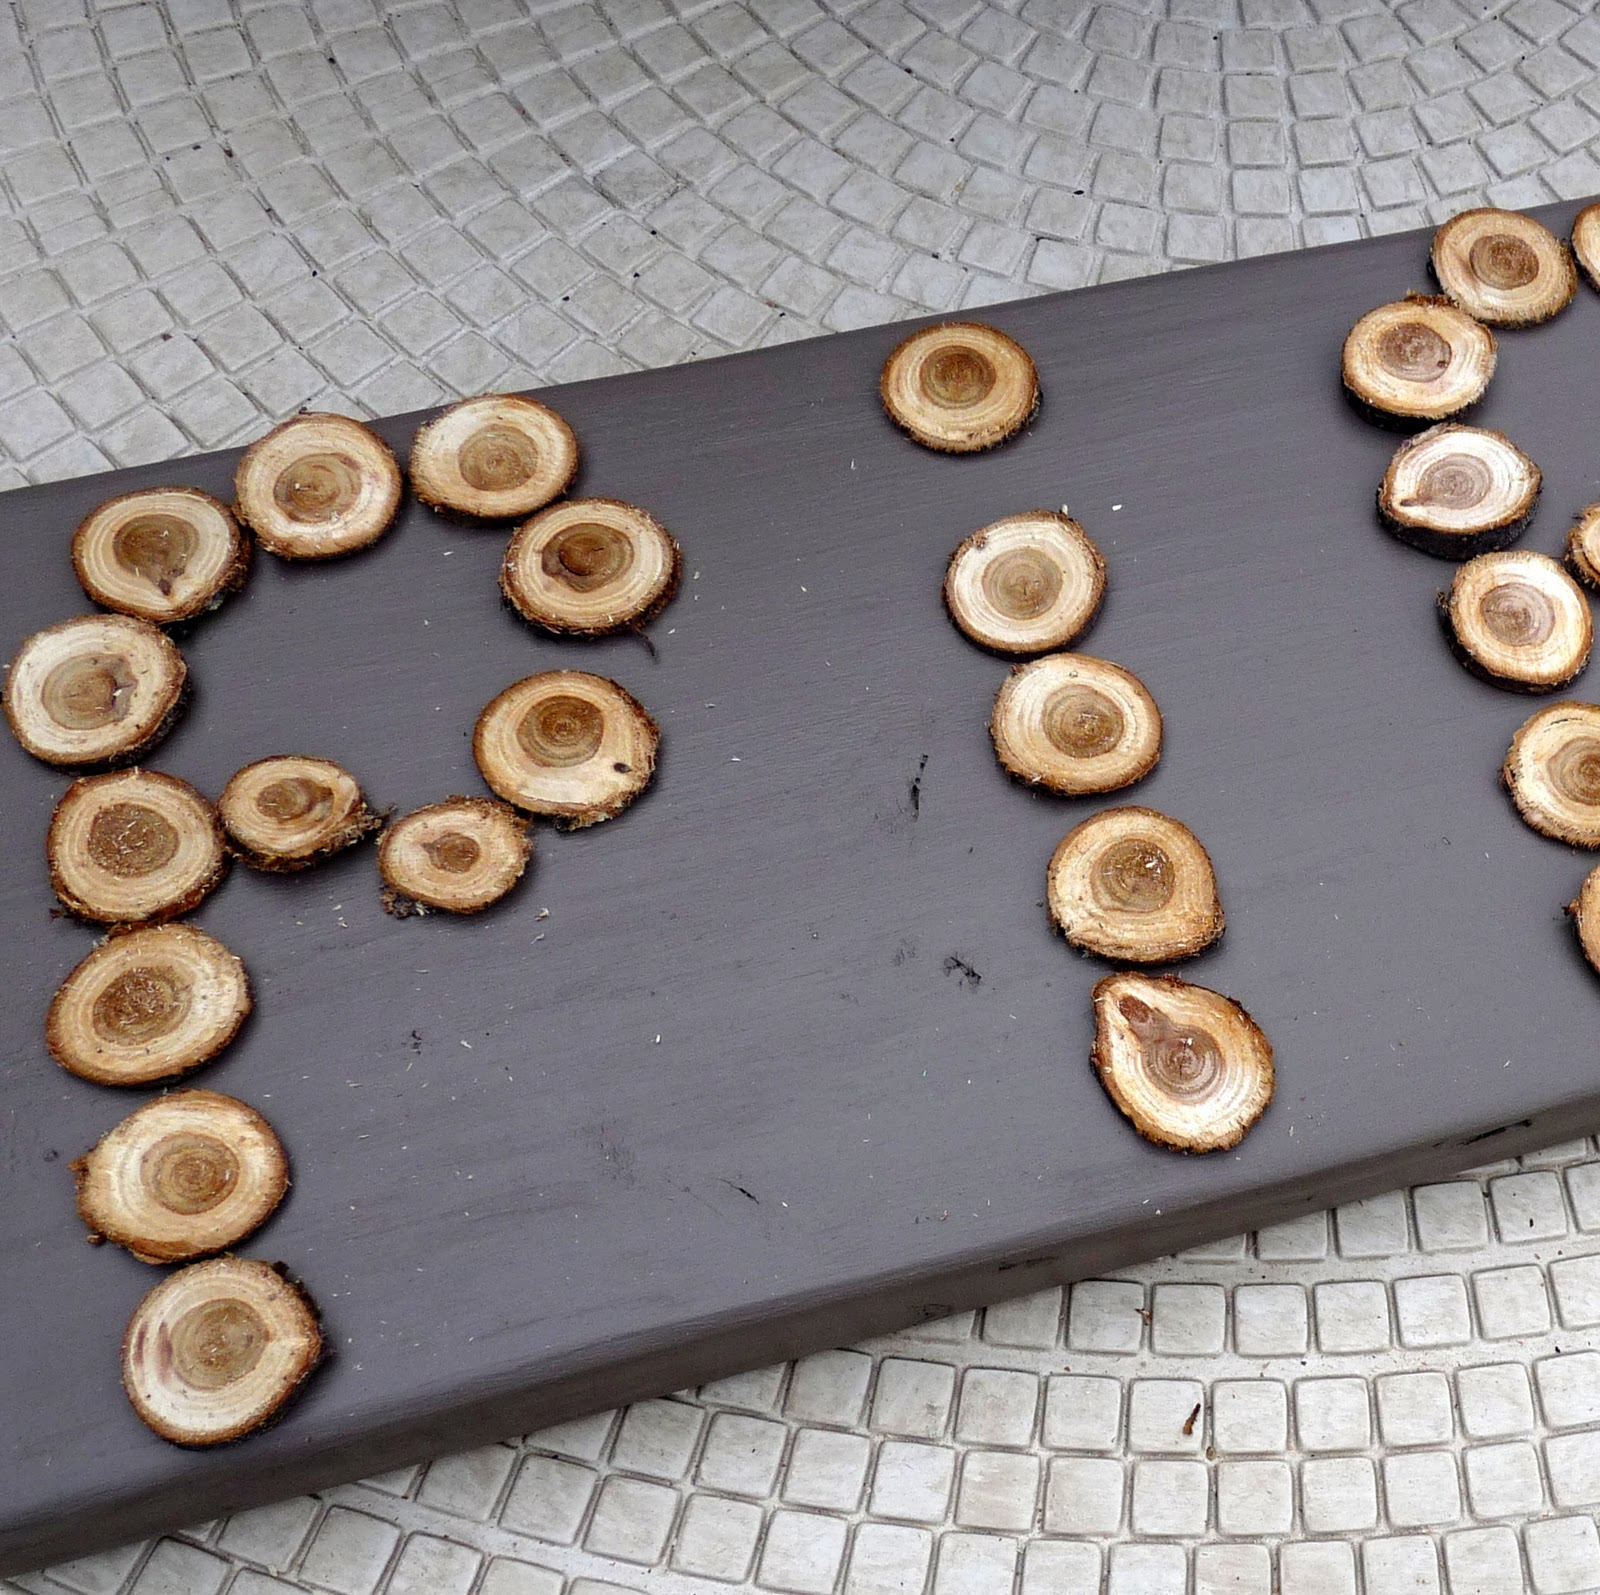
3. Arrange your circular wood pieces into letters spelling your name (or word). Mess with the various sizes until your letters look right. Set these aside.
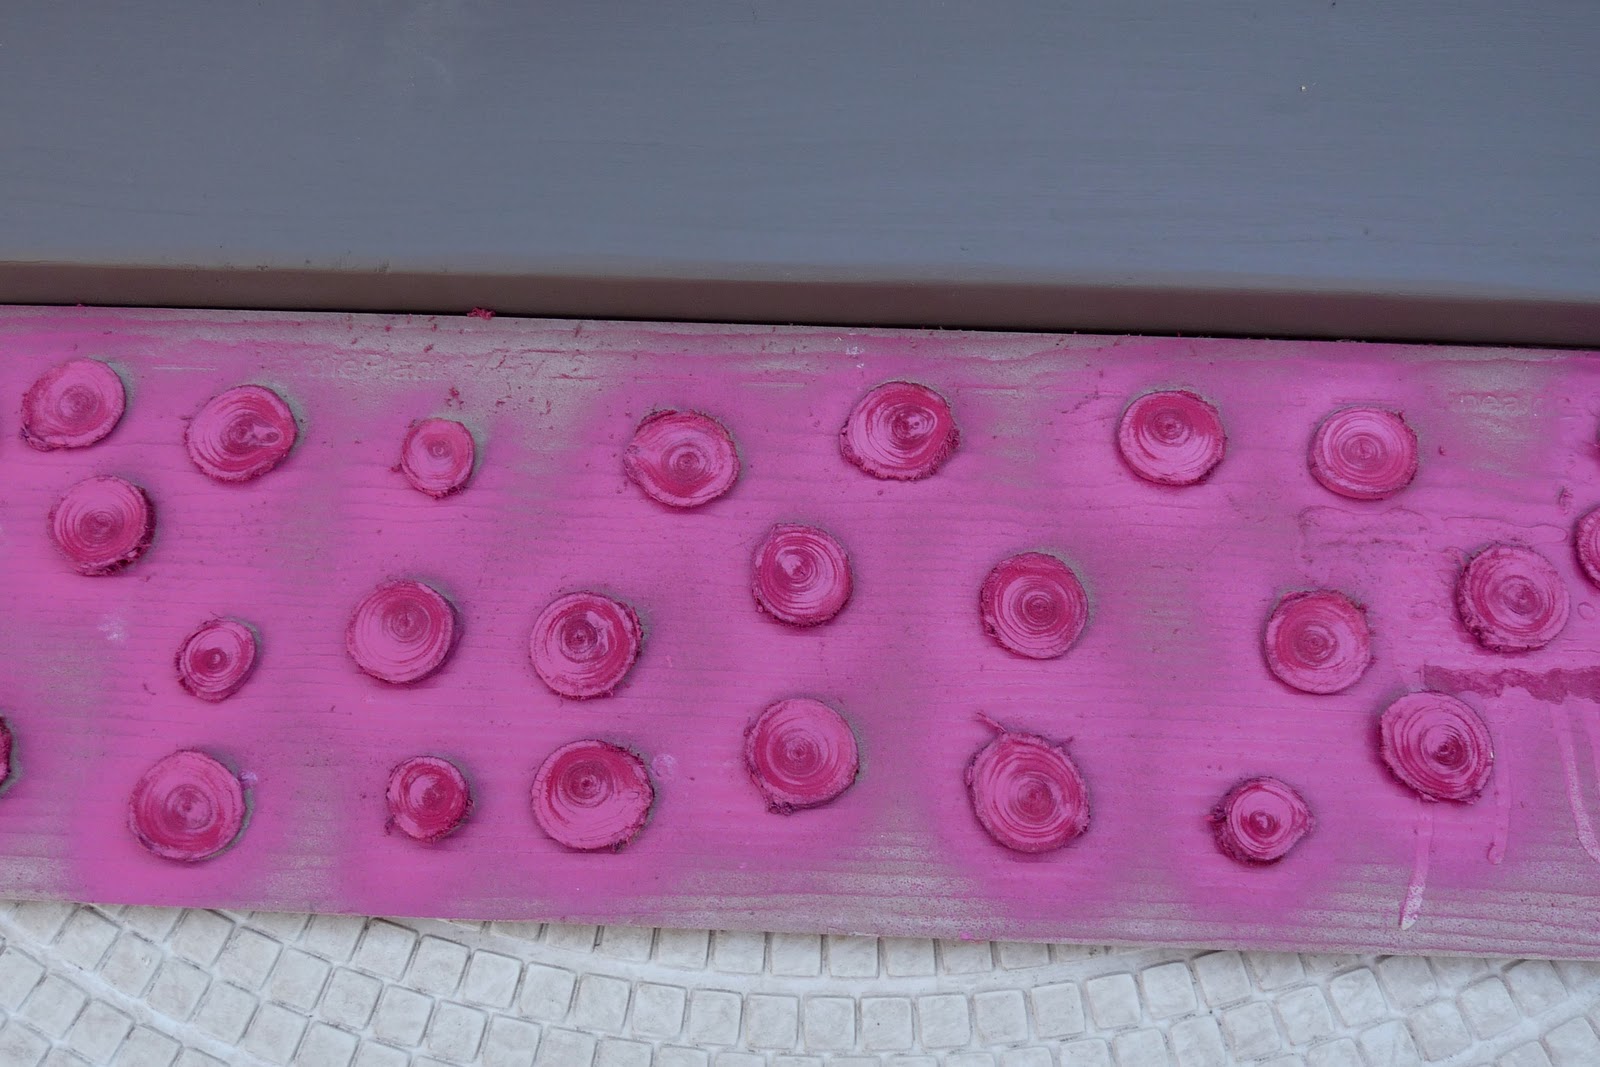
4. Using spray paint, paint the wood circles you’ve set aside. Let dry.

5. Lay out the word again. Fill in the gaps with more (unpainted) wood circles, covering the entire wood backdrop (this helps you determine how many wood circles you’ll need to paint). Spray paint these wood circles in a contrasting color and let dry.

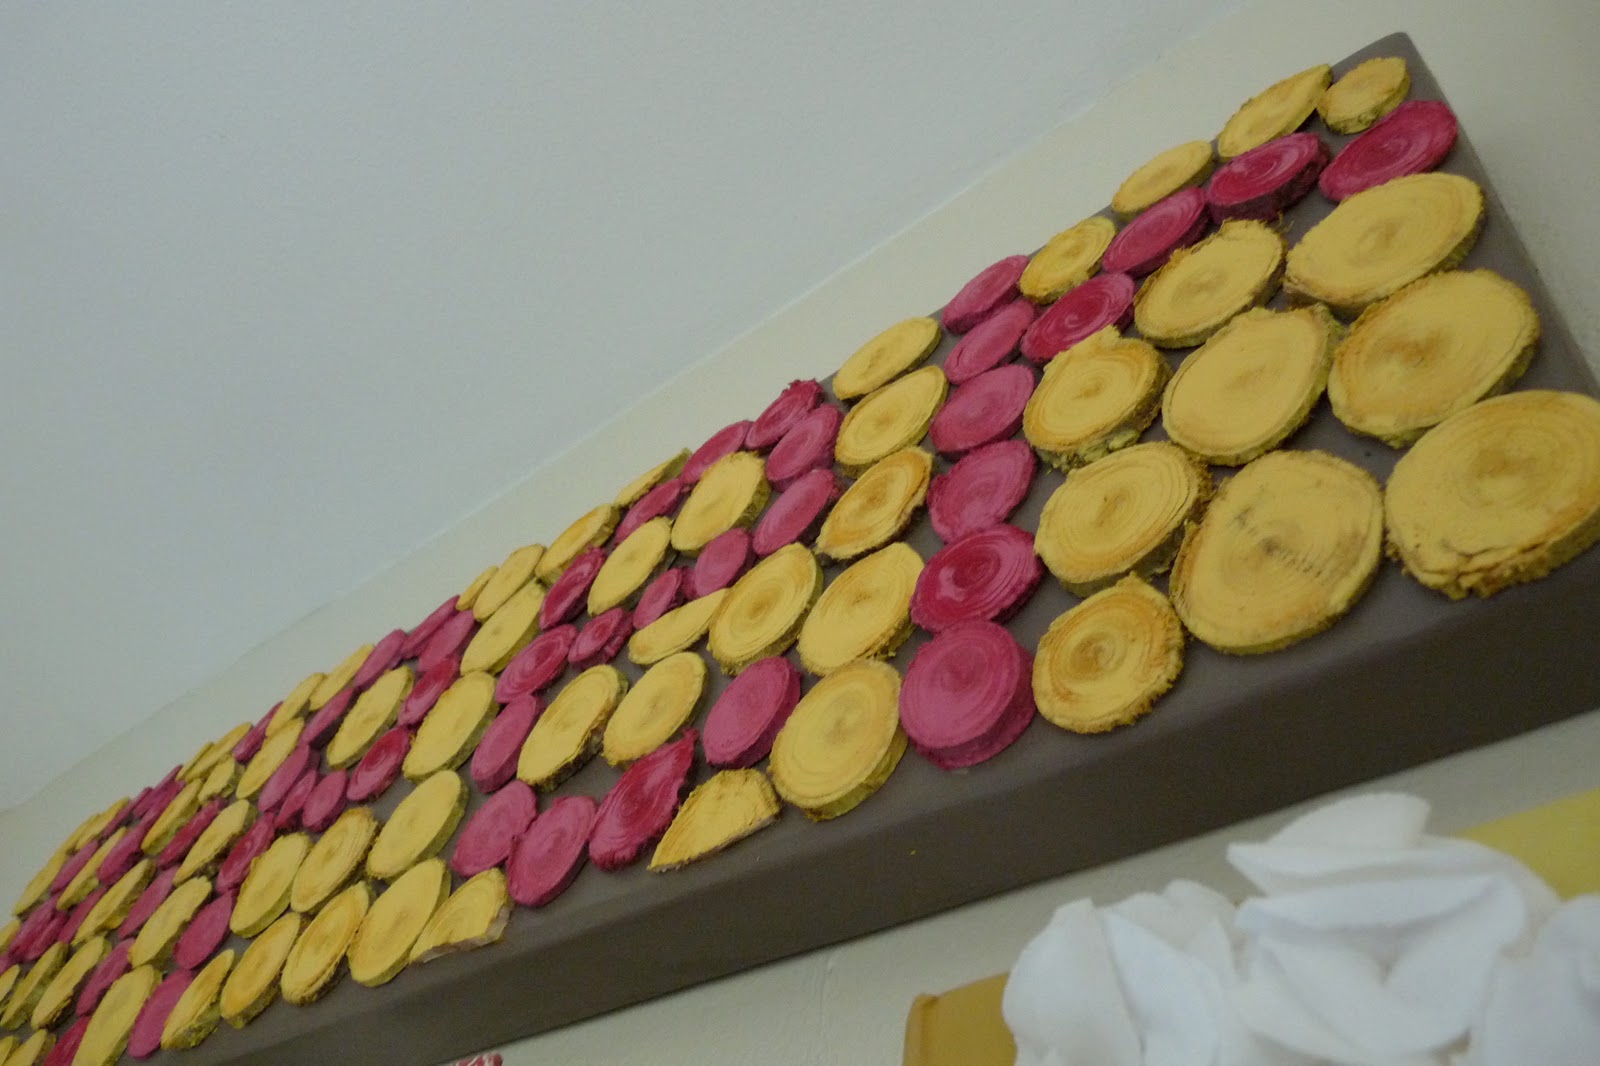
6. Leaving your word in place, begin to adhere the word to the sign. Pick up one wood circle at a time, apply wood glue and put back in place.
7. Follow the same process with your contrasting ‘back ground’ colored wood circles- lay them out (rearrange until you’re pleased with their placement), pick up one at a time, apply wood glue and adhere to the backdrop.
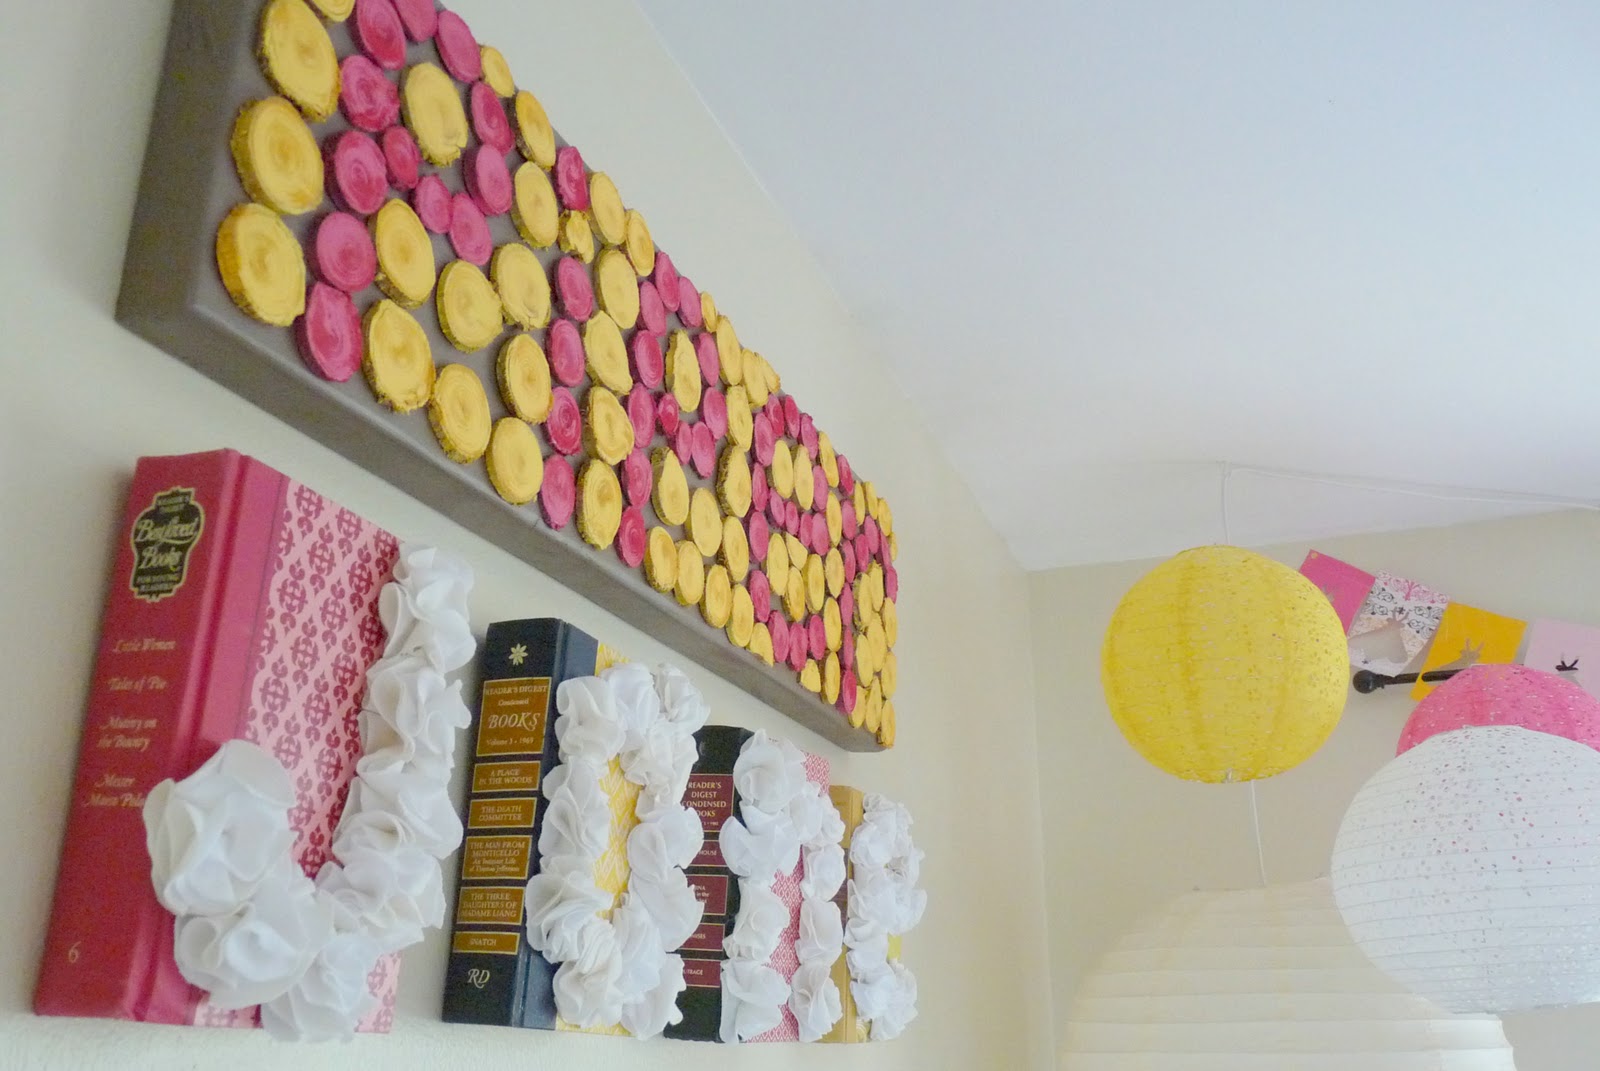
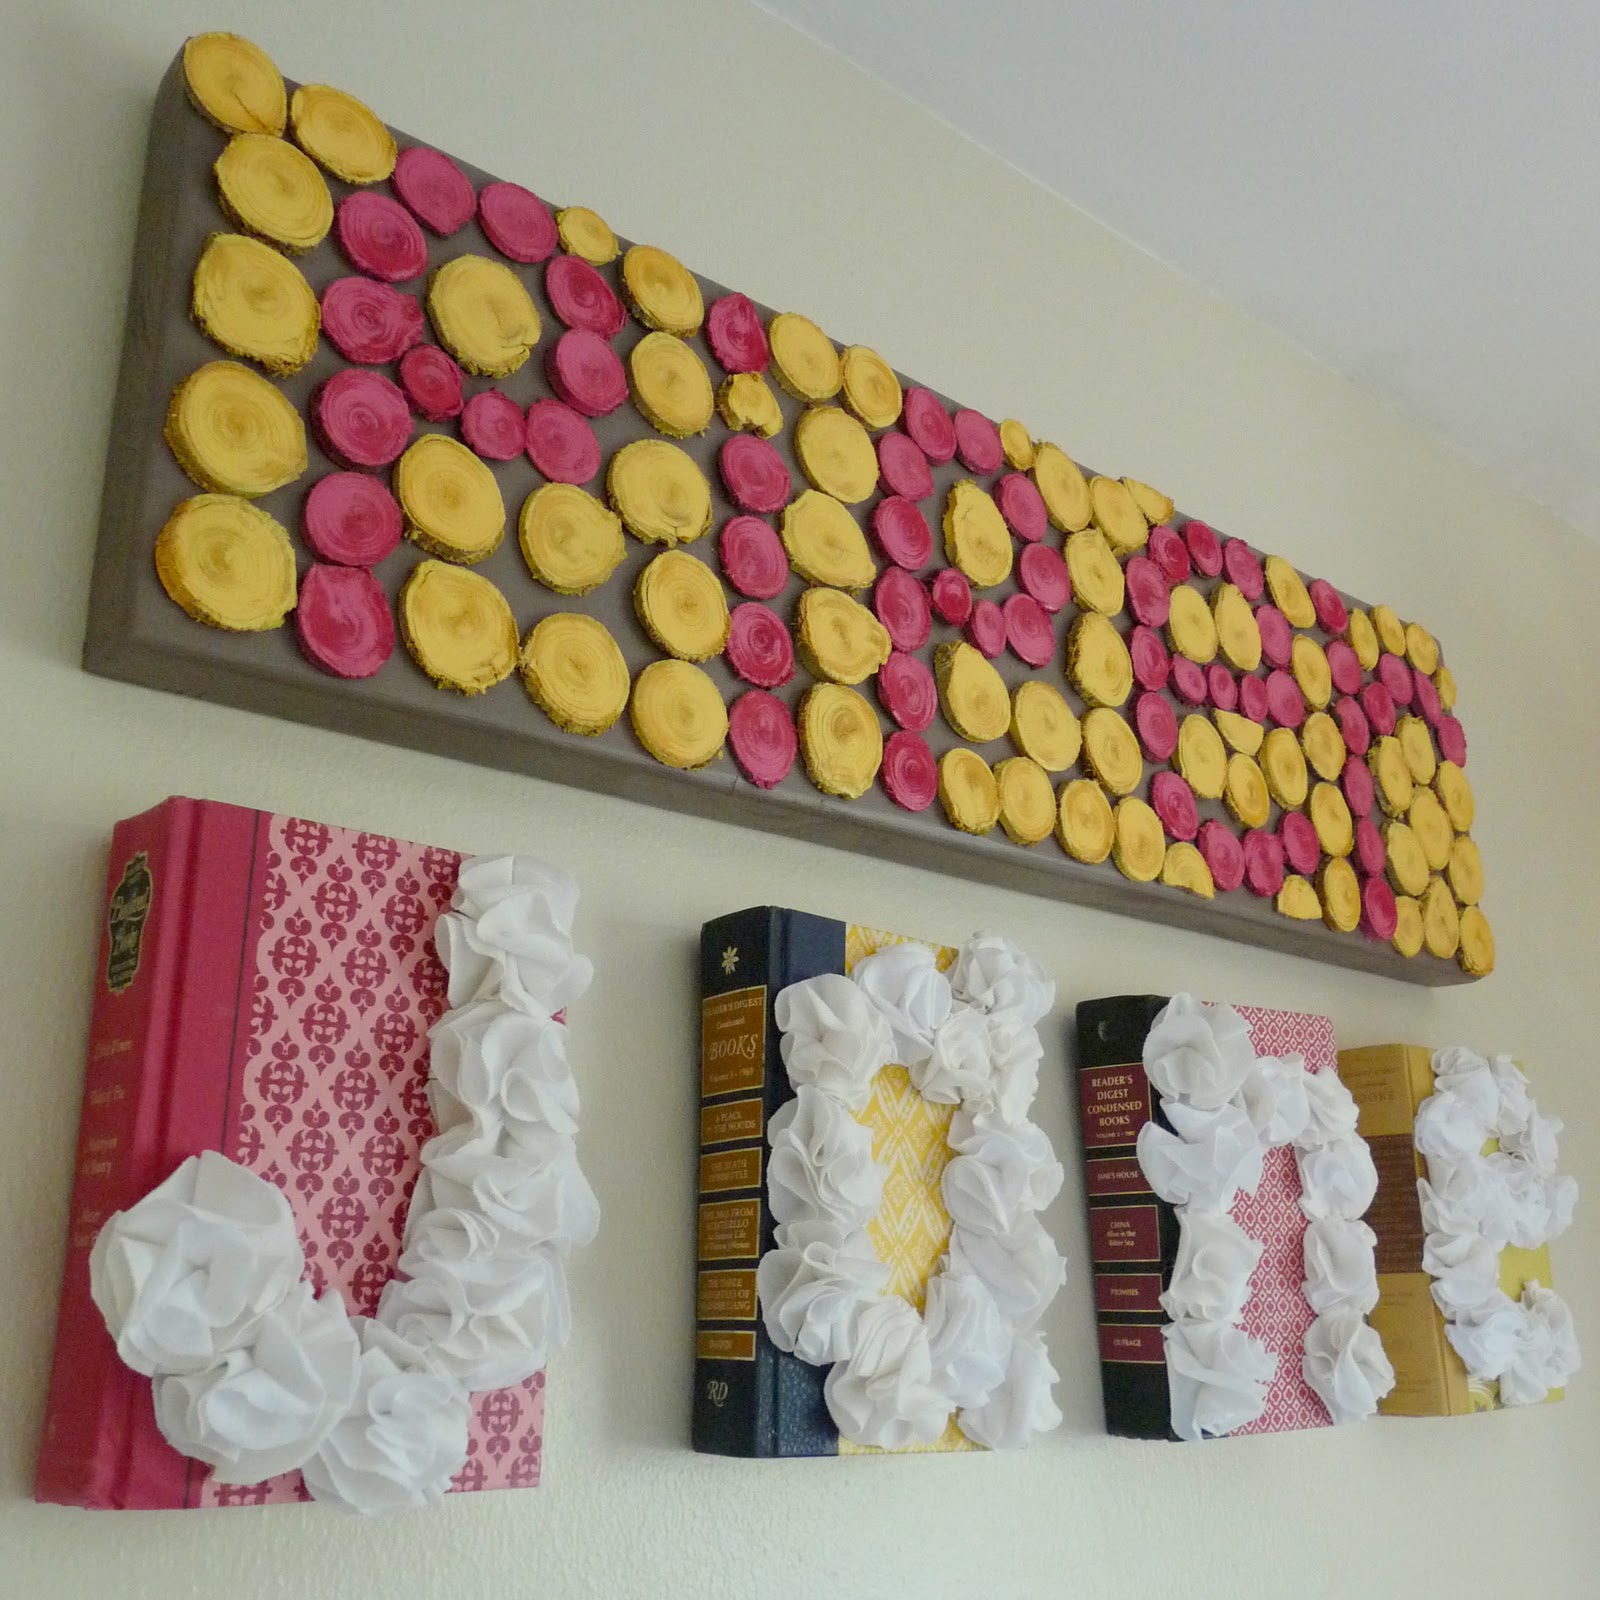
8. Hang and admire! A perfectly tailored sign for nearly free? Yes please!
ps- The tutorial for ruffled “Jane” sign is here!
Again, we’ve loved guest posting here today!
When you have a chance, come on over to kojodesigns and say hi!
When you have a chance, come on over to kojodesigns and say hi!

Thank you for the fun tutorial Kirsten and Jordan!
What a happy and colorful project!!
kojodesigns is one of my new favorite blogs!!
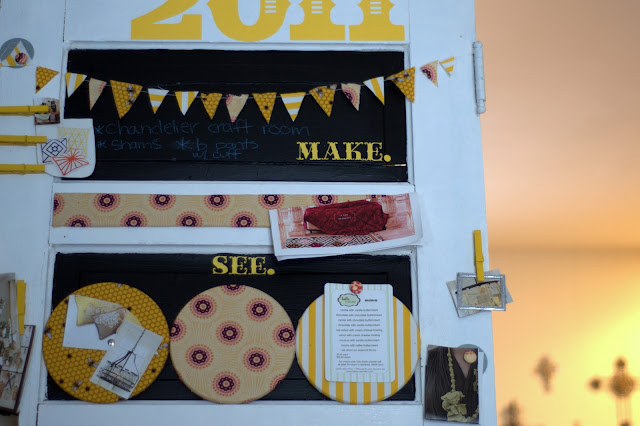
I have a big-time crush on this 100 year old door that they use as an inspiration board — yummy!!
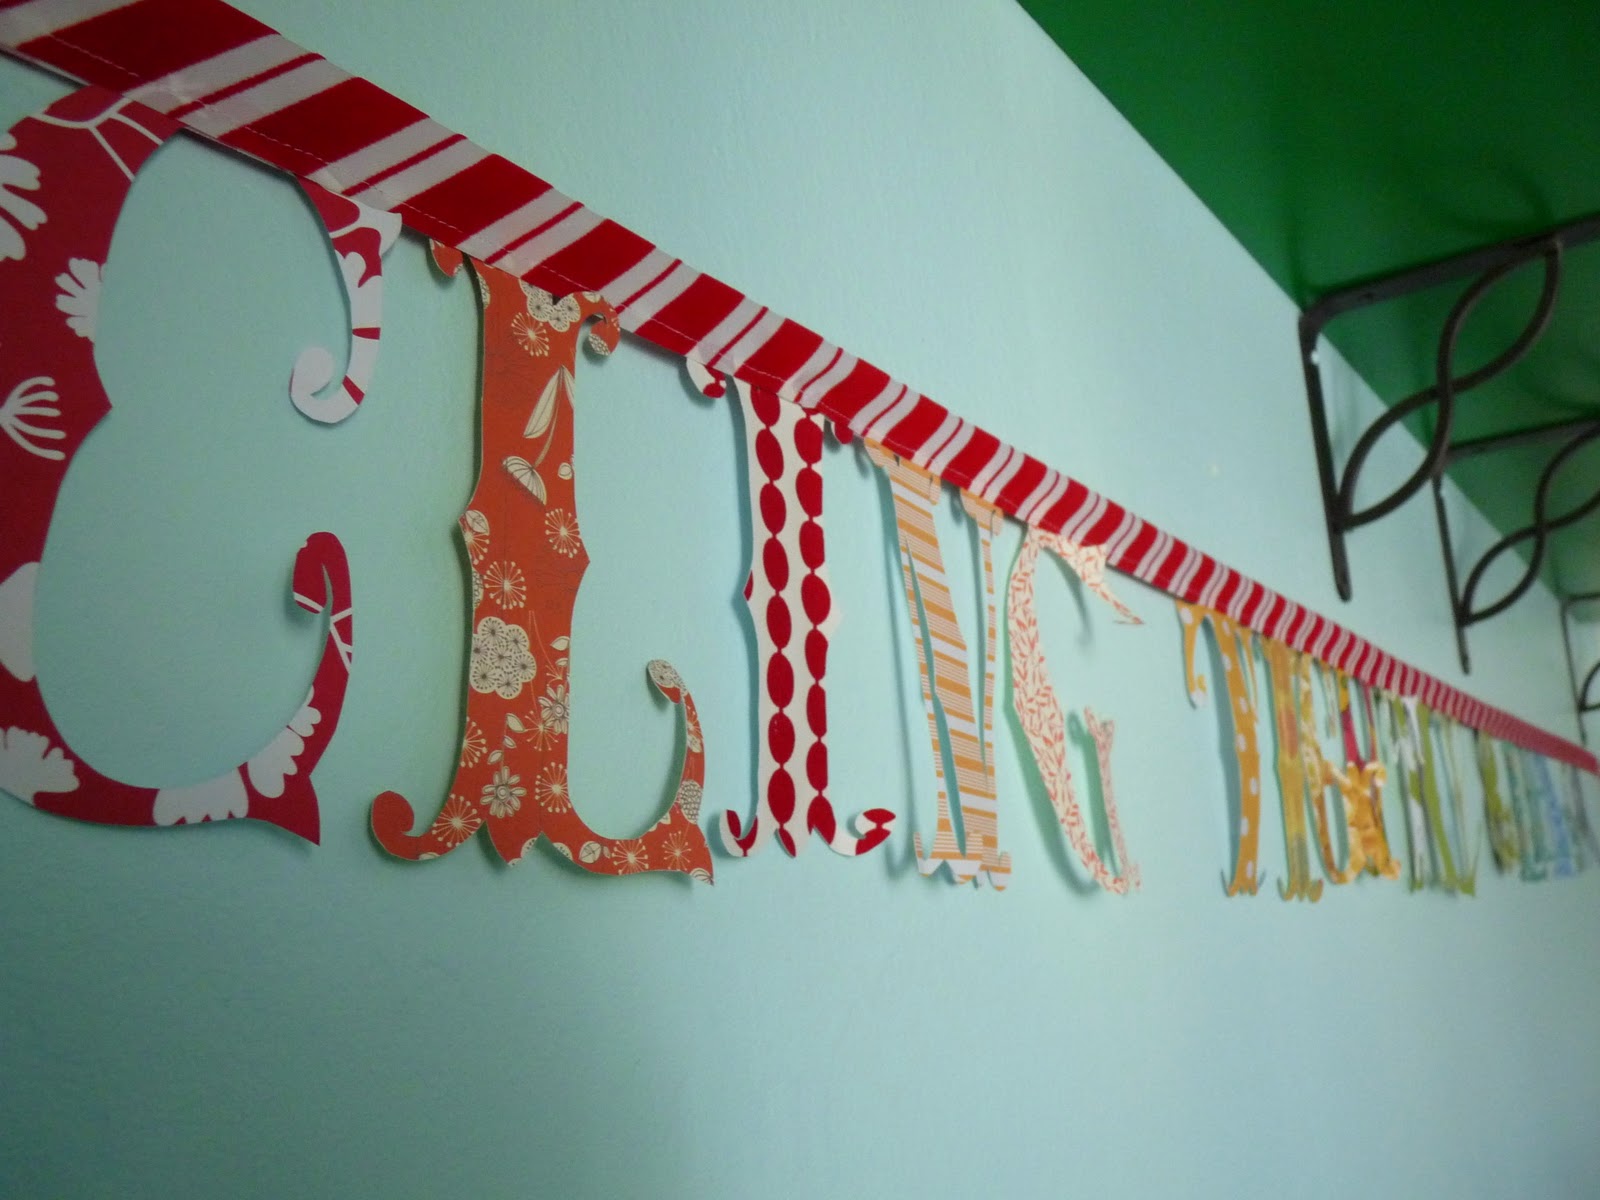
And this banner with their 2011 theme for the year “Cling Tightly and Let Go” hangs in their craft room.
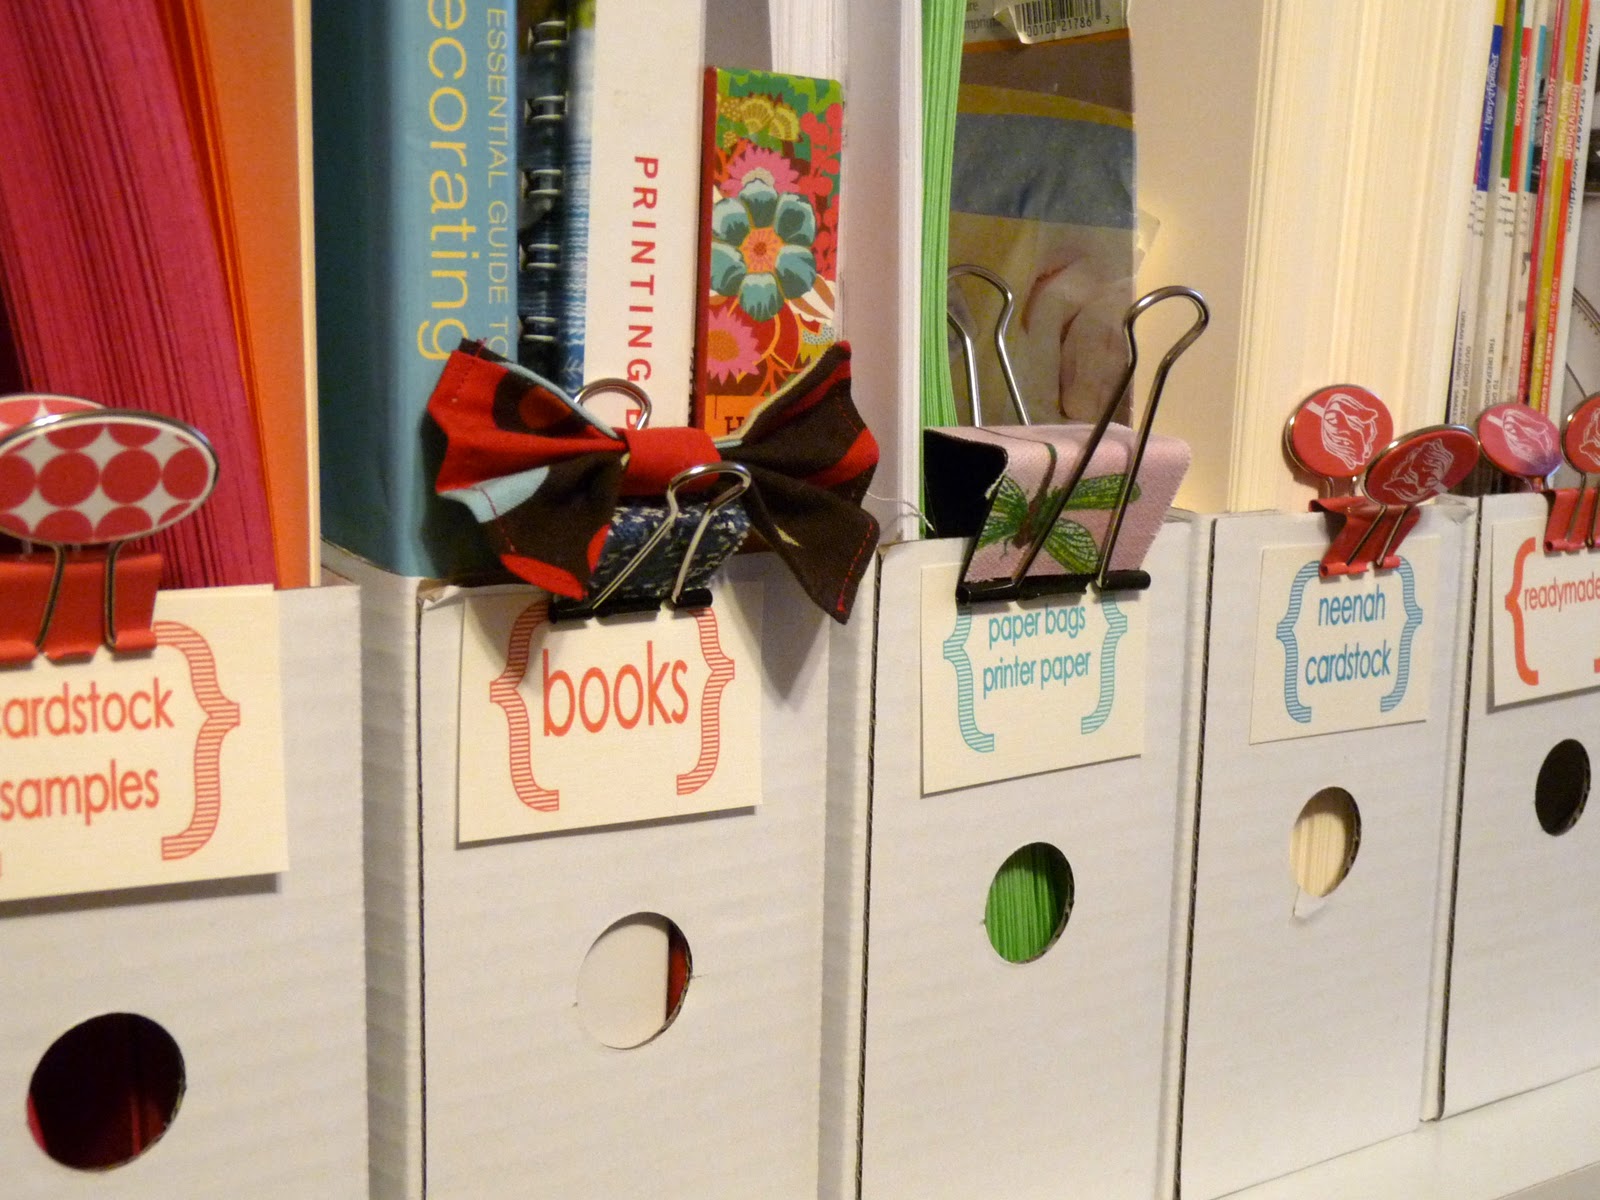
And their craft room is so organized!! I love their organizing labels— and they are also a free printable! Awesome!!


And I might be a little obsessed with these Pinwheel Pillows — just sayin’!!!
And there’s so much more. Check out kojodesigns — you are in for a treat!!
xoxoPS — It’s Friday — my favorite day of the week!! I can’t wait to see what you’ve been up to this week – come link up YOUR ideas tonight at 6 pm {mst} so I can feature YOU!


My daughters name is Piper Jane! I love that!
I really enjoy all your post! I love all your ideas and checking out all the other blogs you link to. Thanks! Also, I don't know if you accept awards, but if you do, I just awarded you the Versatile Blogger award for your many talents. Visit my blog for more details, http://postcardkellyanne.blogspot.com/
That is adorable! Made me happy just looking at the pics. Thank you for sharing.
That is adorable! Made me happy just looking at the pics. Thank you for sharing.
This is gorgeous! I love the colors and how unique it looks! Beautiful work!
My oh my that is beautiful–and the name Piper is so stinkin cute {at the top of my girl name list}!
And those pinwheel pillows–holy cow!
I went and visited and what a great tute on making ruffled jersey flowers!
I love that wood sign. I think I will make one…one day! 🙂
Oh, how I just love these ladies! They are so creative.
you features so many cool projects. I'm so glad I found you. off to see kojodesigns. Thanks for sharing.
OH GEE
thank you SO much for sharing
This is FANTASTIC
xoxo
bB
wow this looks so cool,..
I just saw them over at Be Different…Act Normal. What fun projects they have come up with and this is just mind blowing. Love this!
Thanks for sharing with us : )
Paula
Gotto love KOJO! 🙂 Y'all are the best…love this sign!! 🙂
This is the first time I have seen the pin wheen pillows, LOVE it!!!I want to make them!!
I love this idea… even for my living room with our last name spelled out. Thanks for the tutorial!
Can picture this modified just a teeny bit (the colors maybe) for a fun bridal shower or even woodland wedding signage! Great work, Kirstin and Jo!
What a fresh look at making a sign! Love that its modern made from materials in many of our backyards. And love the idea of using books for a sign as well…happy sighs! :>
What a unique take on the name sign. I LOVE it!!!! Such fun. I think I might just be in love with those pin wheel pillows too. I have a friend who is pin wheel obsessed. She may just need one for her daughter.