Tatertots and Jello

COLORFUL HAPPY HOME -- Daily DIY, Decor, Craft and Recipe Tutorial

  • My Home
    • 1905 Cottage
    • Daybreak House
  • DIY
    • DIY Projects and Ideas
    • Organizing
    • Tutorials
    • Printables
  • Decor
    • Spring Projects
    • Summer Projects
    • Fall Projects
  • Crafts
    • Kids Crafts
    • Painting Projects
    • Paper Projects
    • Sewing
    • Wreaths
  • Holidays
    • Valentines Day
    • Easter
    • Halloween
    • Thanksgiving
    • Christmas
    • HAPPY Holidays Series!
  • Recipes

Explore

  • my home
  • diy
  • decor
  • crafts
  • holiday
  • printables
  • recipes

Connect

Home » guest tutorials » Guest Project: make a delicious French Silk Pie

guest tutorials, recipes · October 15, 2010

Guest Project: make a delicious French Silk Pie

Tatertots & Jello is a participant in the Amazon Services LLC Associates Program, an affiliate advertising program designed to provide a means for sites to earn advertising fees by advertising and linking to amazon.com.

Hi, I’m Tru. I live on a dairy farm in the Midwest and I’m always looking for ways to save money or reuse things. My kids used to call me cheap, but I like to think of myself as frugal.
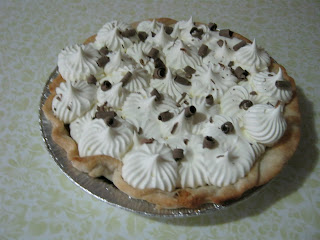
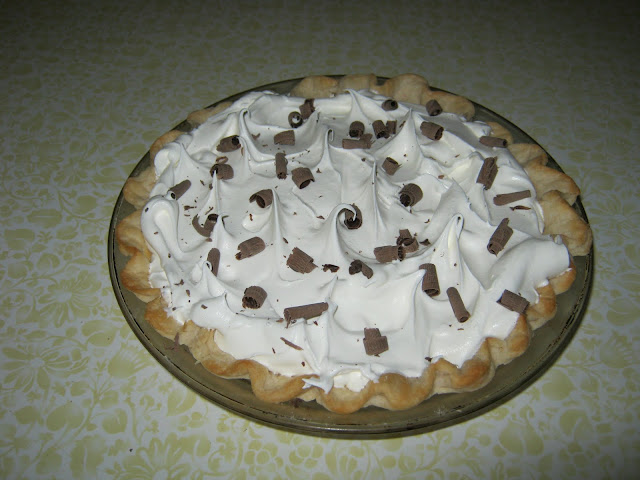

Photobucket

Funny thing; now that they’re older, I see them making frugal choices also. I started my original blog back in 2004, just to keep in touch with my children. Being that I had dialup at the time, it was just not worth it to keep it up, so it fell by the wayside. Awhile ago I got high speed through my cell phone provider (got sick of waiting for DSL to come to our area), so I started up my blog again and made 2 more, for my dream projects and my finished projects.
TRU TALES DESIGNS AND DRAFTS and FEATS AND ACCOMPLISHMENTS
Anyway, I like to make things; whether it be out of wood, metal or soft things like fabric, yarn or food. Come along with me on an adventure of sorts in do it yourself.

FRENCH SILK PIE

First of all, let me tell you, I don’t always follow the rules. When I first got married, I tried to follow recipes, but when they didn’t turn out the way they were supposed to, I started making my own rules. 

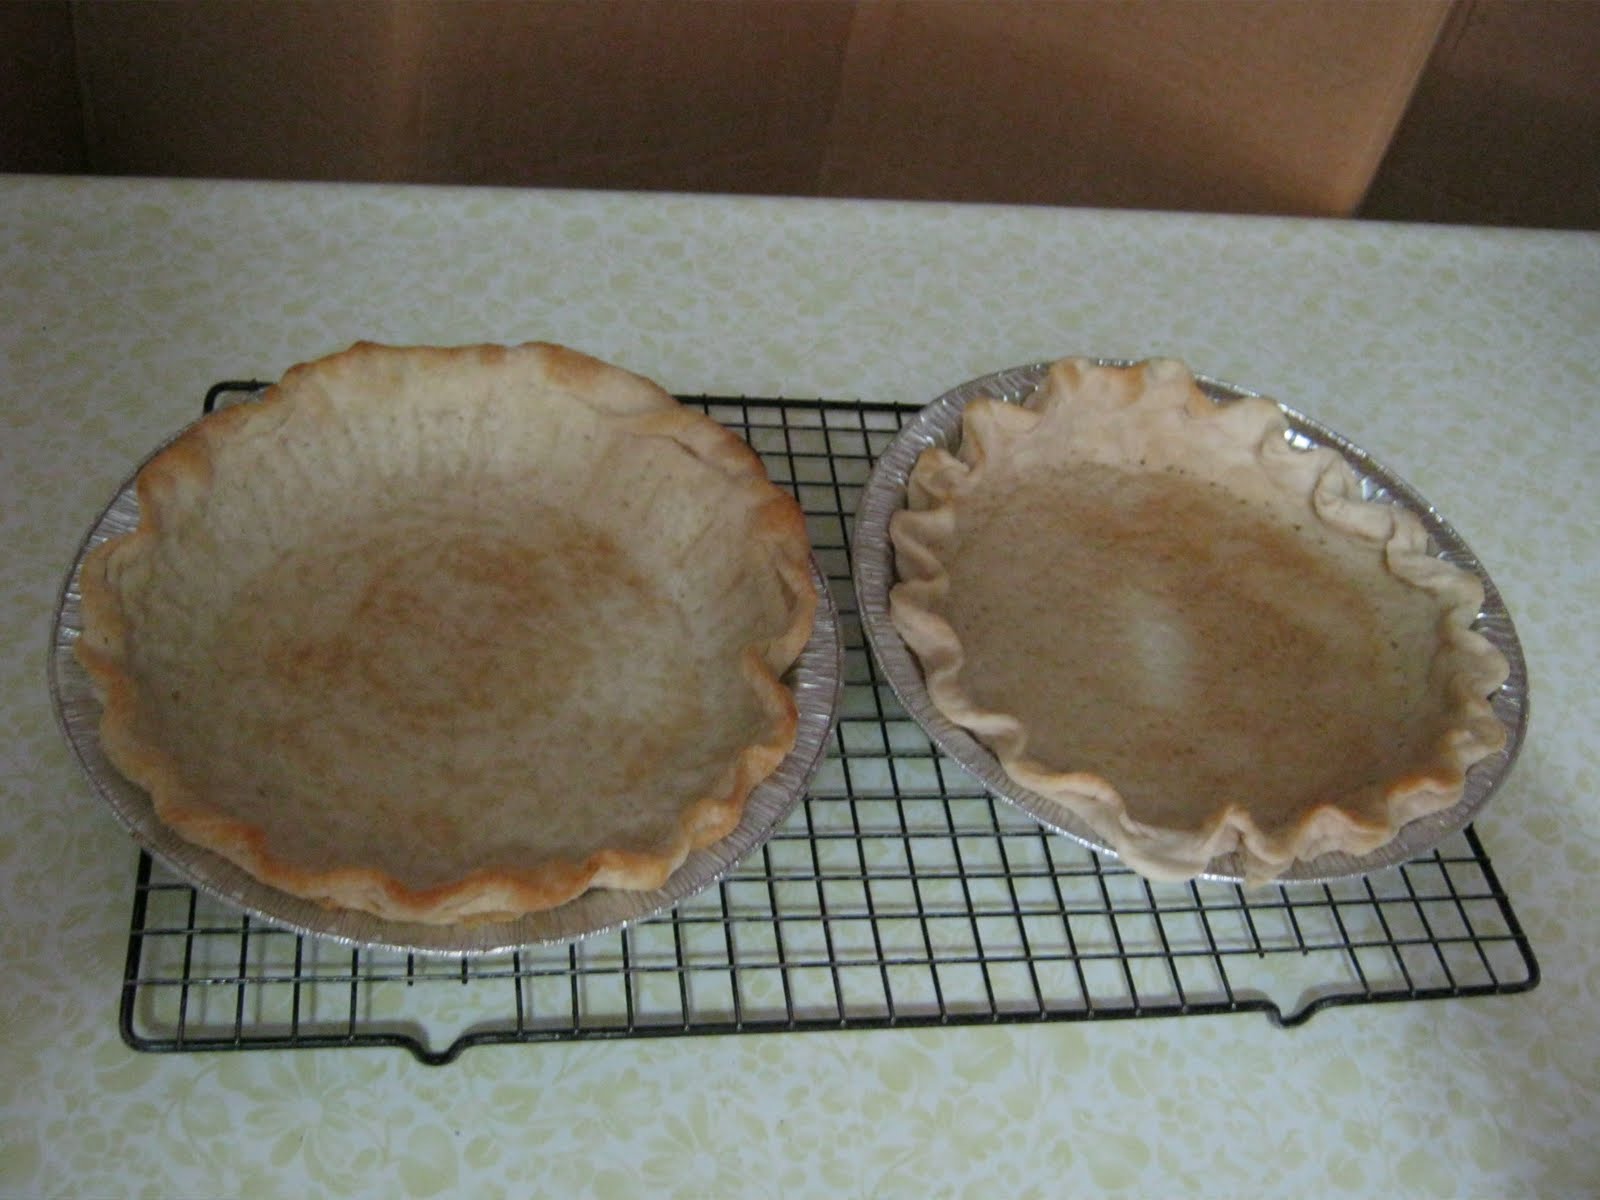
I couldn’t make a decent pie crust to save my soul, making it the way the cookbooks told me to. I believe Martha Stewart is the one who said about piemaking, “Make it cold and bake it hot”, and you should chill the dough before rolling it out. Well, I’m not Martha and that didn’t work for me, sort of.

What I mean is the only chilling I do is after I have the crust in the pan I put in the fridge to chill for a bit…. sometimes.
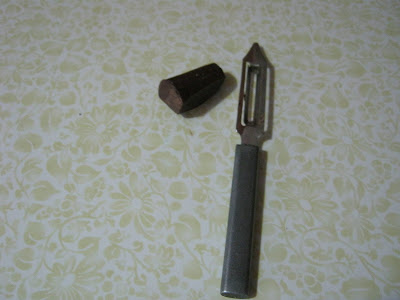
I’ve found for me the best way to make a decent thin crust is to make it only as cool as the water from the tap and keep the dough on the soft side to roll out. I then use a lot of flour to roll it out, to keep it from sticking, to the rolling pin and surface, which happens to be my kitchen counter. When I’m done, I clean it up with a pastry scraper. Handy little gadget by the way. I use it for many things besides scraping/lifting pastry off the counter, such as cutting brownies, rice krispie bars, etc., and to scoop up things off the counter or cutting board. 

So, on to the recipe.
These are the supplies I used.

Pastry for Double Crust Pie

Ingredients
2 c. all-purpose flour
1/2 t. salt
2/3 c. shortening
6-8 Tbl. cold water
Measure out the flour.I scoop it into a measuring cup on a coffee filter, then level it off with a knife. the excess can then be poured back into the measuring cup for the next measurement, or put back into the flour container.
In a mixing bowl, stir together the flour and salt.


Cut the shortening ‘till pieces are the size of small peas.
Measure out 1/2 c. water in a measuring cup. Pour in about 1/2 of this and start mixing with the pastry cutter. Add more water until you get a fairly soft dough, but not sticky. I usually use about 6 Tbl. Discard the rest of the water.
Divide dough into 2 balls. (I like a thinner crust, so I get 4 balls out of this)
Lightly flour the surface you will roll out your dough. I just use the counter top. Place one ball of dough on the surface and flip it so it has flour on both sides.
Start by pressing the ball flat with your hand. Then, roll the dough, flipping it several times so it stays floured and does not stick to the rolling pin, until it gets to be about 6″x10″. Then keep rolling from center out to edges changing directions until you have a circle of about 12″ diameter.
Roll the dough onto the rolling pin. You may need to loosen it a bit from the counter with a pastry scraper.
Unroll the dough onto the pie plate and adjust it so it is down into the bottom and sides. Cut off any excess dough that hangs past the edge of the pan straight down to the counter. (Set these scraps aside, we’ll use them for a surprise).
Roll under the edges on the dough, just to the edge of the plate and flute the rim by placing your index fingers on the inside of the edge and pressing with one of your thumbs between your fingers. Wherever you have the flute going outward, press down onto the edge of the pan. This will help to keep the crust from tipping into the pan as it bakes. Perforate the crust all over the bottom and around the sides. this will keep the crust from shrinking too much and bubbling.
Repeat with the other balls of dough and refrigerate while you prepare the dough scrap cookies. Surprise!
Place all the dough scraps on a cookie sheet and sprinkle with cinnamon sugar. Bake these in a 450° oven, on the top rack, for 5-10 minutes. Watch these closely, they bake fast. Cool on a rack and enjoy.
After the cookies are done, you can bake the pie crusts, likewise @ 450° for 5-10 minutes. Again watch closely. I did the one on the left with beans placed on a coffee filter to weight the crust down and keep its shape. I don’t see enough of a difference to warrant this extra step. Besides, I had to remove the beans when the other crusts were done and bake it further, because the crust wasn’t done on the bottom. Let these cool before filling.
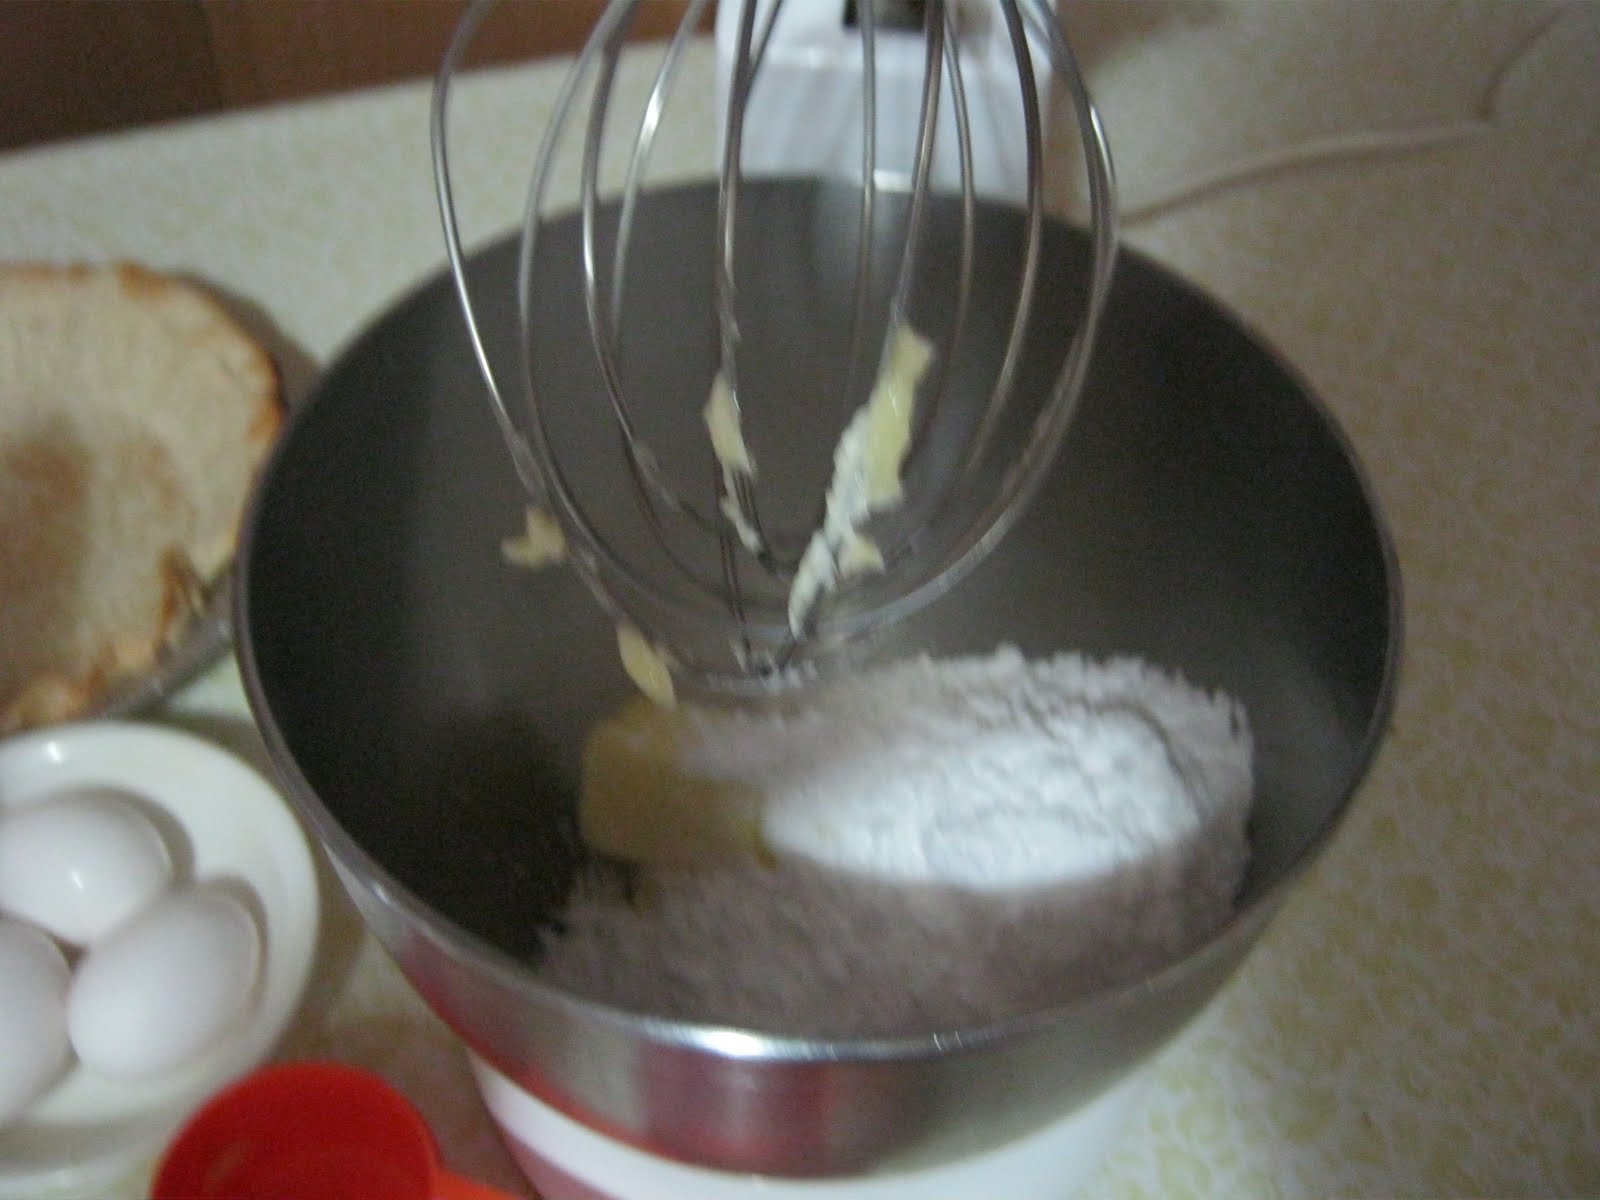
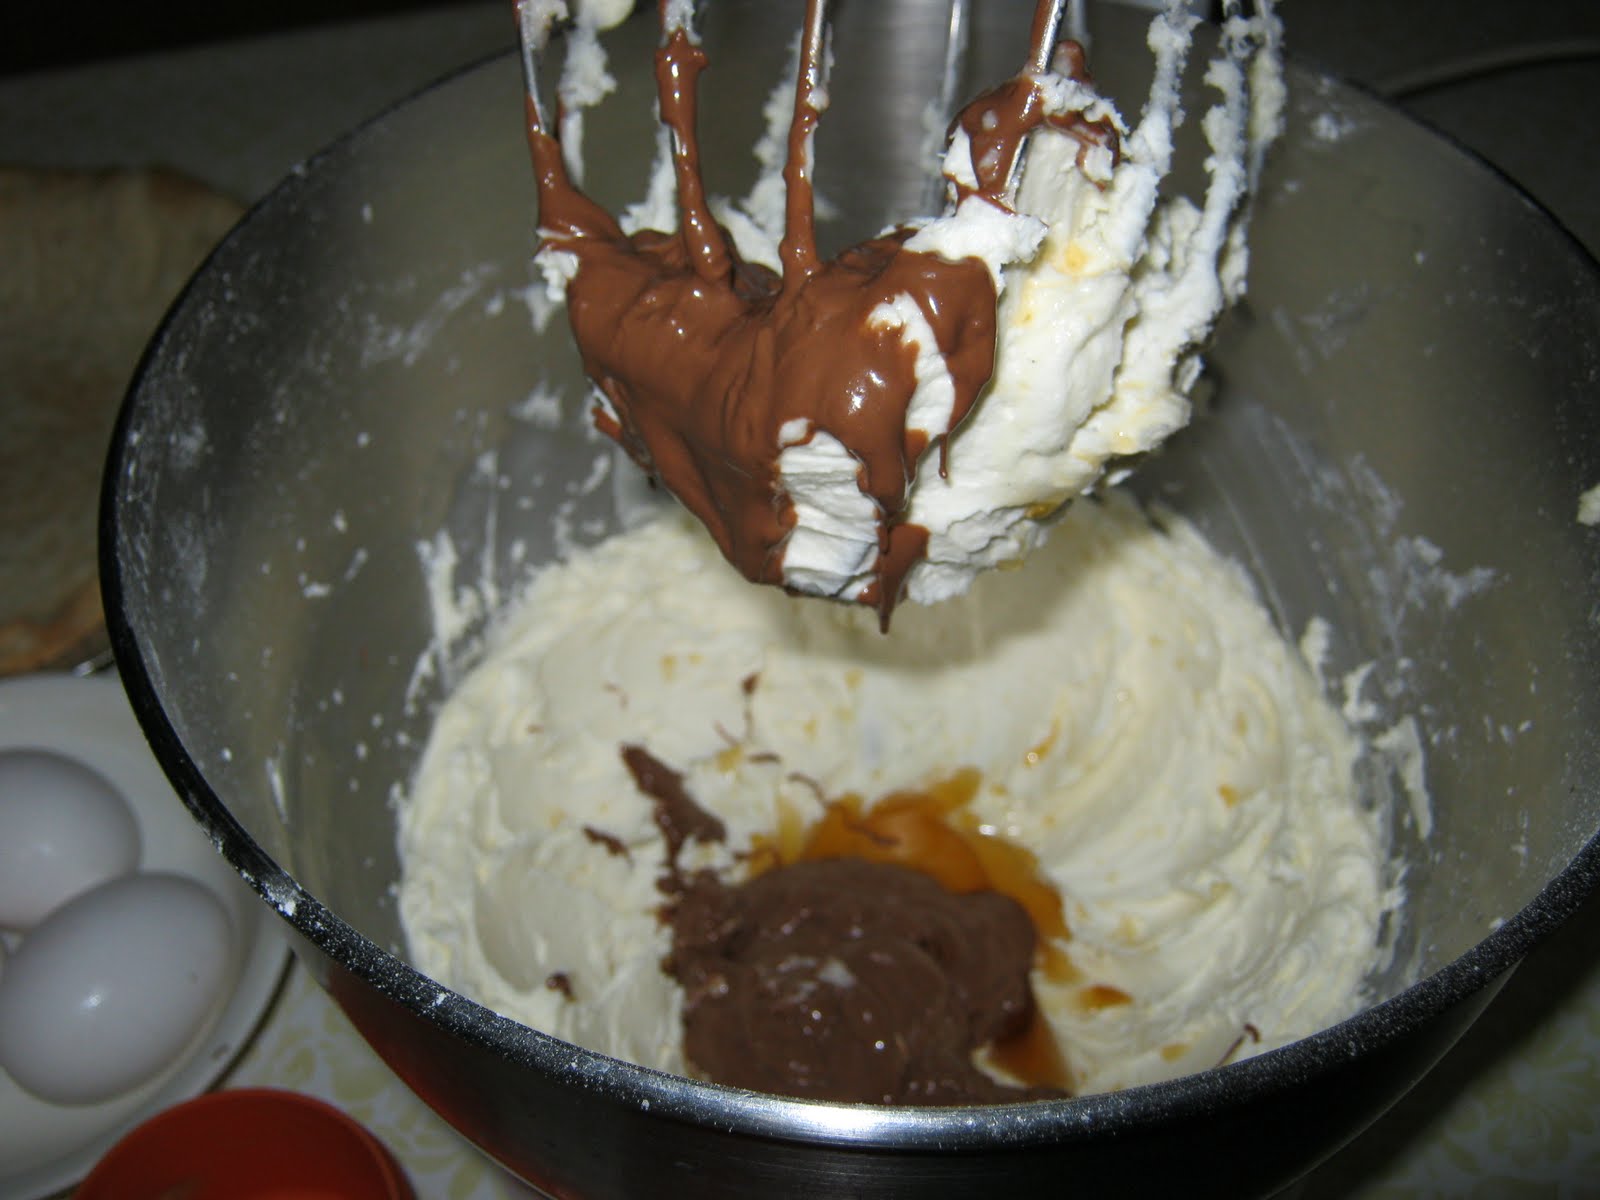
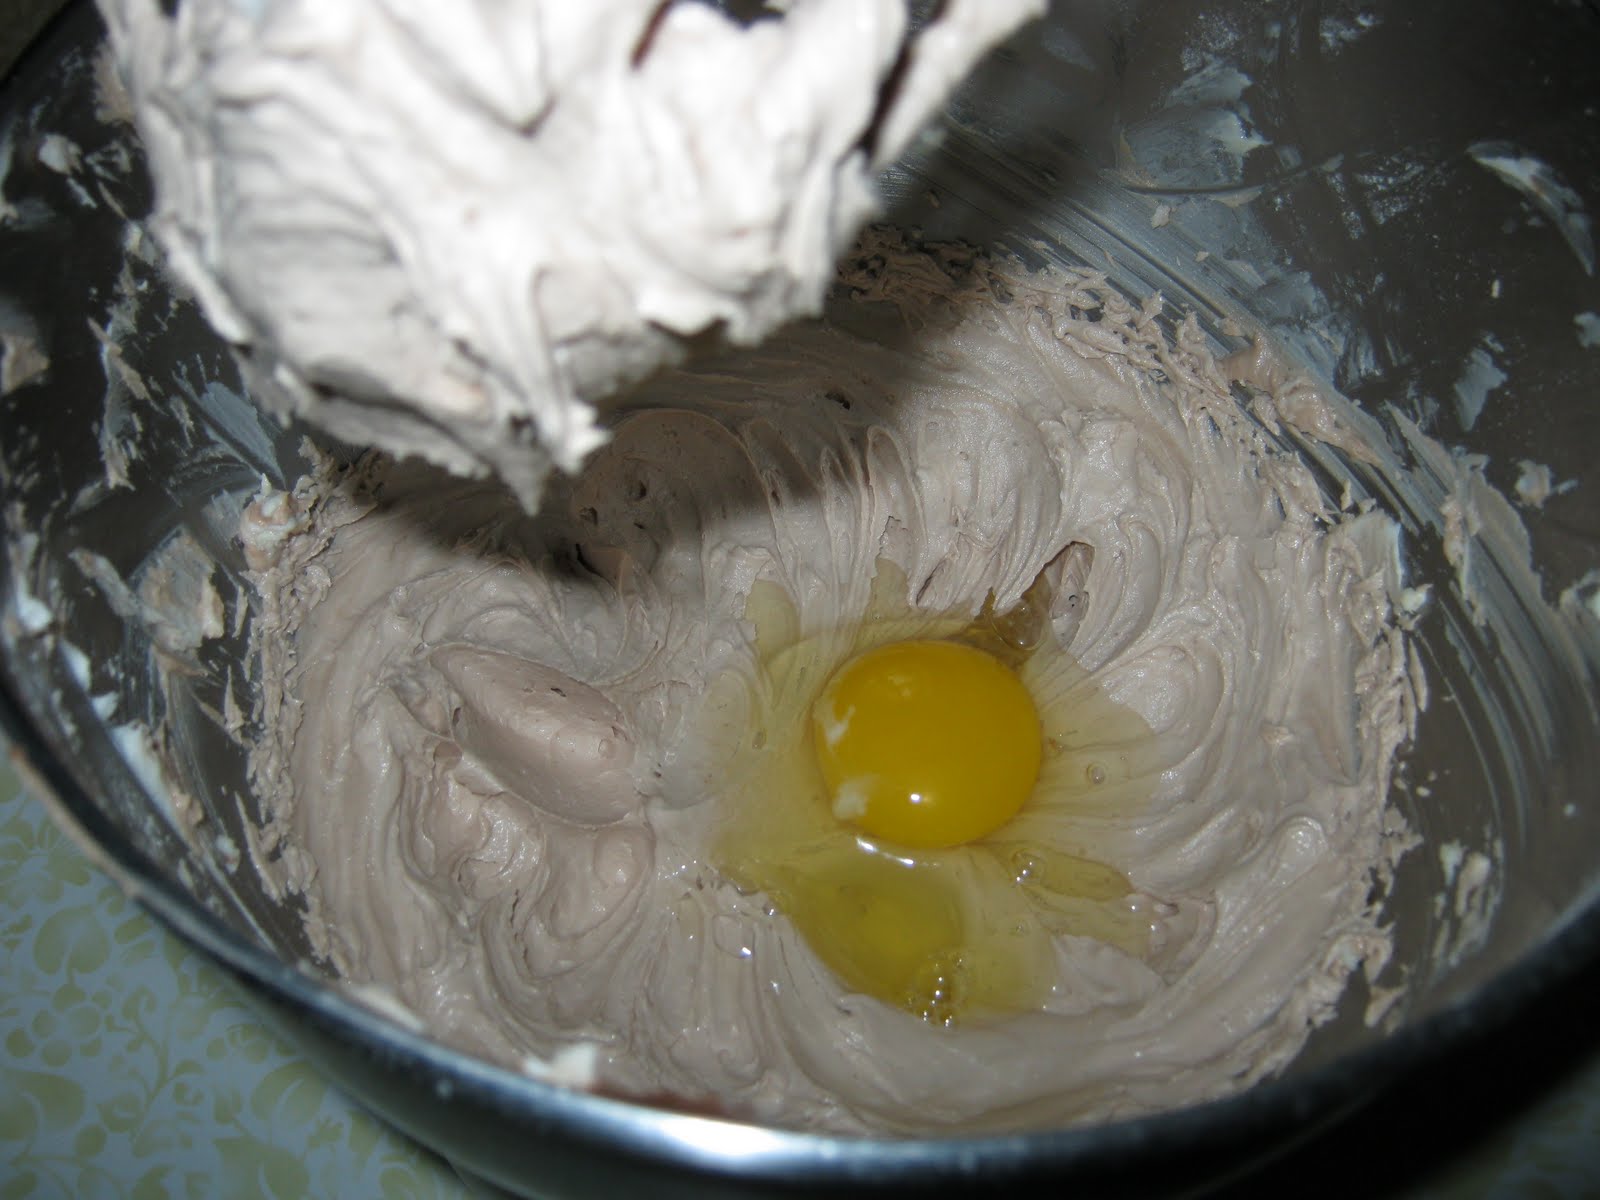
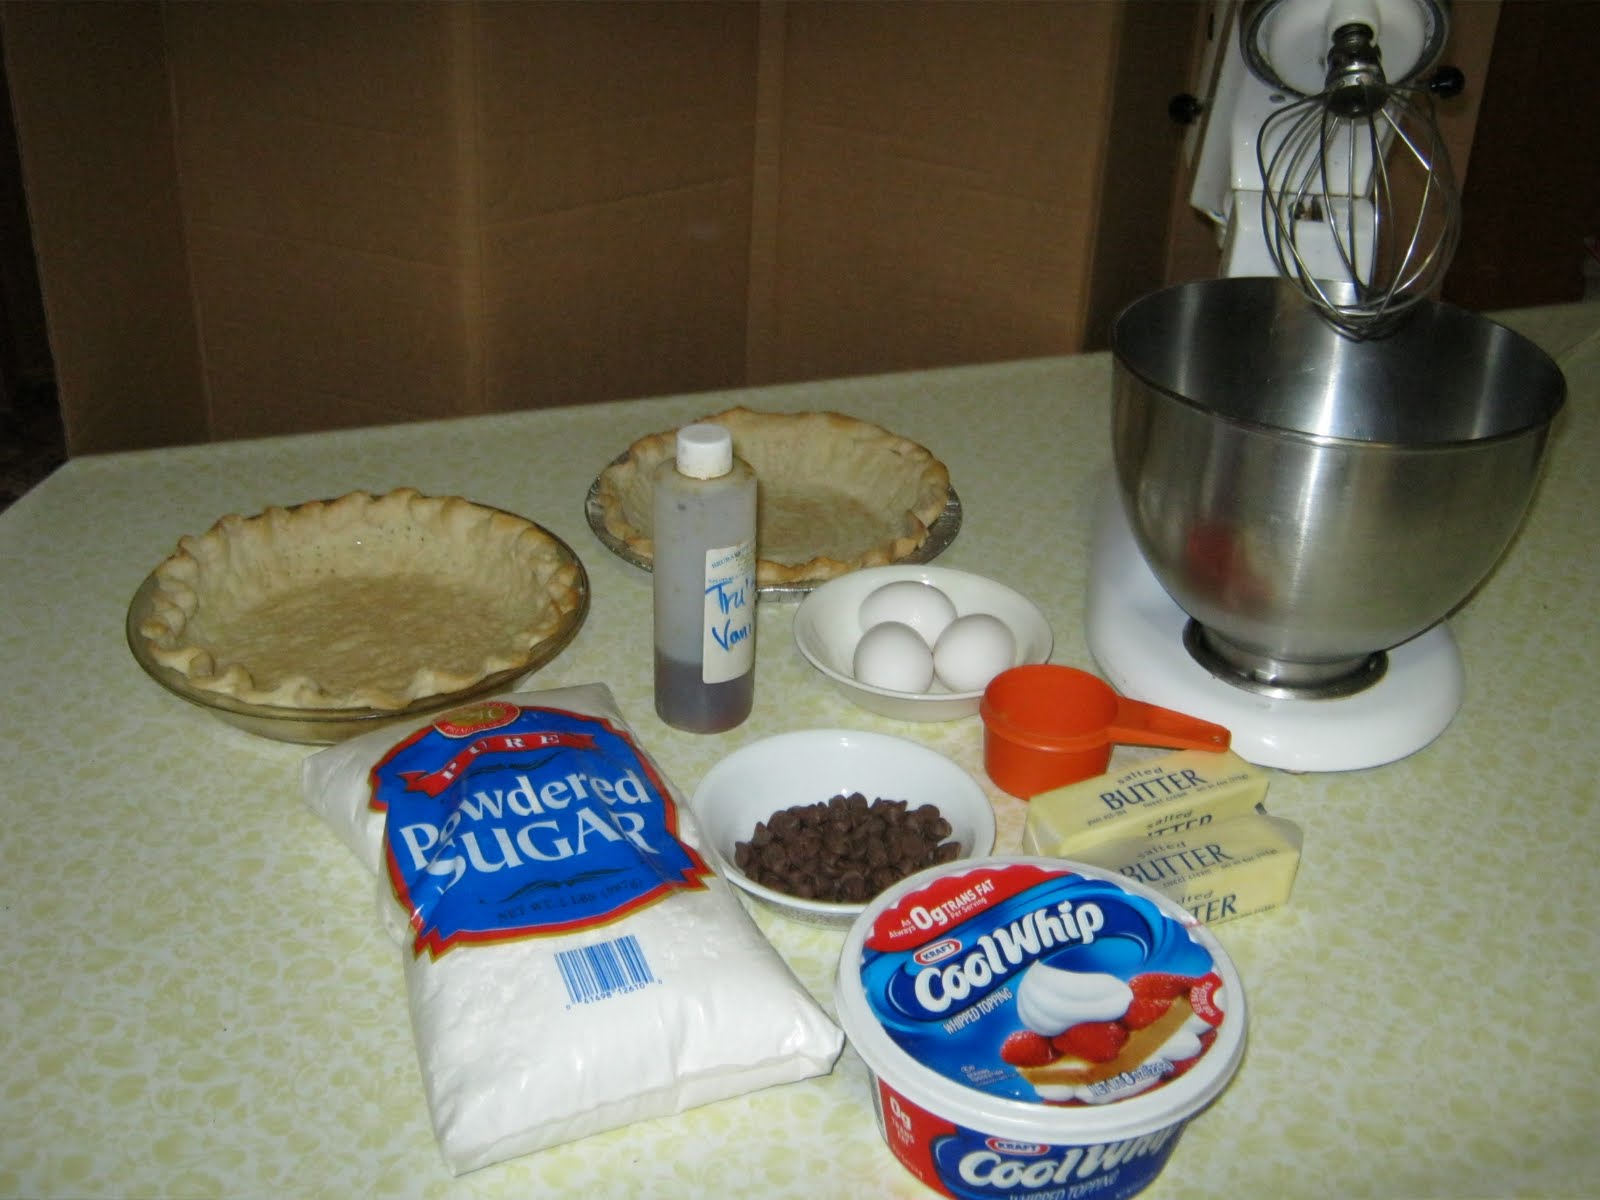
These are the ingredients I used: French Silk Filling
Ingredients
2 c. powdered sugar
1 1/2 sticksBUTTER(softened slightly)
1/2 c. semi-sweet chocolate chips
1 t. vanilla
3 eggs
(2) 8 ounce containers whipped topping, one foreachpie


Melt the chocolate chips in the microwave for about 1 minute, stir until smooth, and set aside to cool.Do not use milk chocolate chips, as I’ve found they do not melt well.If you want a milder chocolate taste, use dipping chocolate,(which is what I had to do, ’cause I was out of semi-sweet chocolate chips!) If you need to do this, it is 3 ounces.

With your mixer, beat together the sugar and butter until fluffy. With a Kitchenaid, this only takes a couple of minutes; a hand mixer will definitely take longer.
Stir in the chocolate and vanilla (yes, I make my own vanilla extract) and thoroughly mix together.
Add eggs, one at a time, beating on high speed after each addition and scraping down sides of the bowl.
Here’s what it looks like when you’re finished. Mine looks quite light, again, because I used dipping chocolate.
Fill your baked pie crust with the filling. It doesn’t look like much there, but remember, whipped topping has to go on top yet, besides this is a rich pie and you don’t want the filling too thick. If you like rich pies, by all means, make only one pie out of this as the inspiration recipe called for.
Cover with plastic wrap and refrigerate for an hour or so, until the filling is firm before putting on the topping. You can keep this for a few days in the fridge without topping and apply that just before you serve it.
You can either spread whipped topping over the whole pie and garnish with chocolate shavings (I shave mine off a block of dipping chocolate)…..

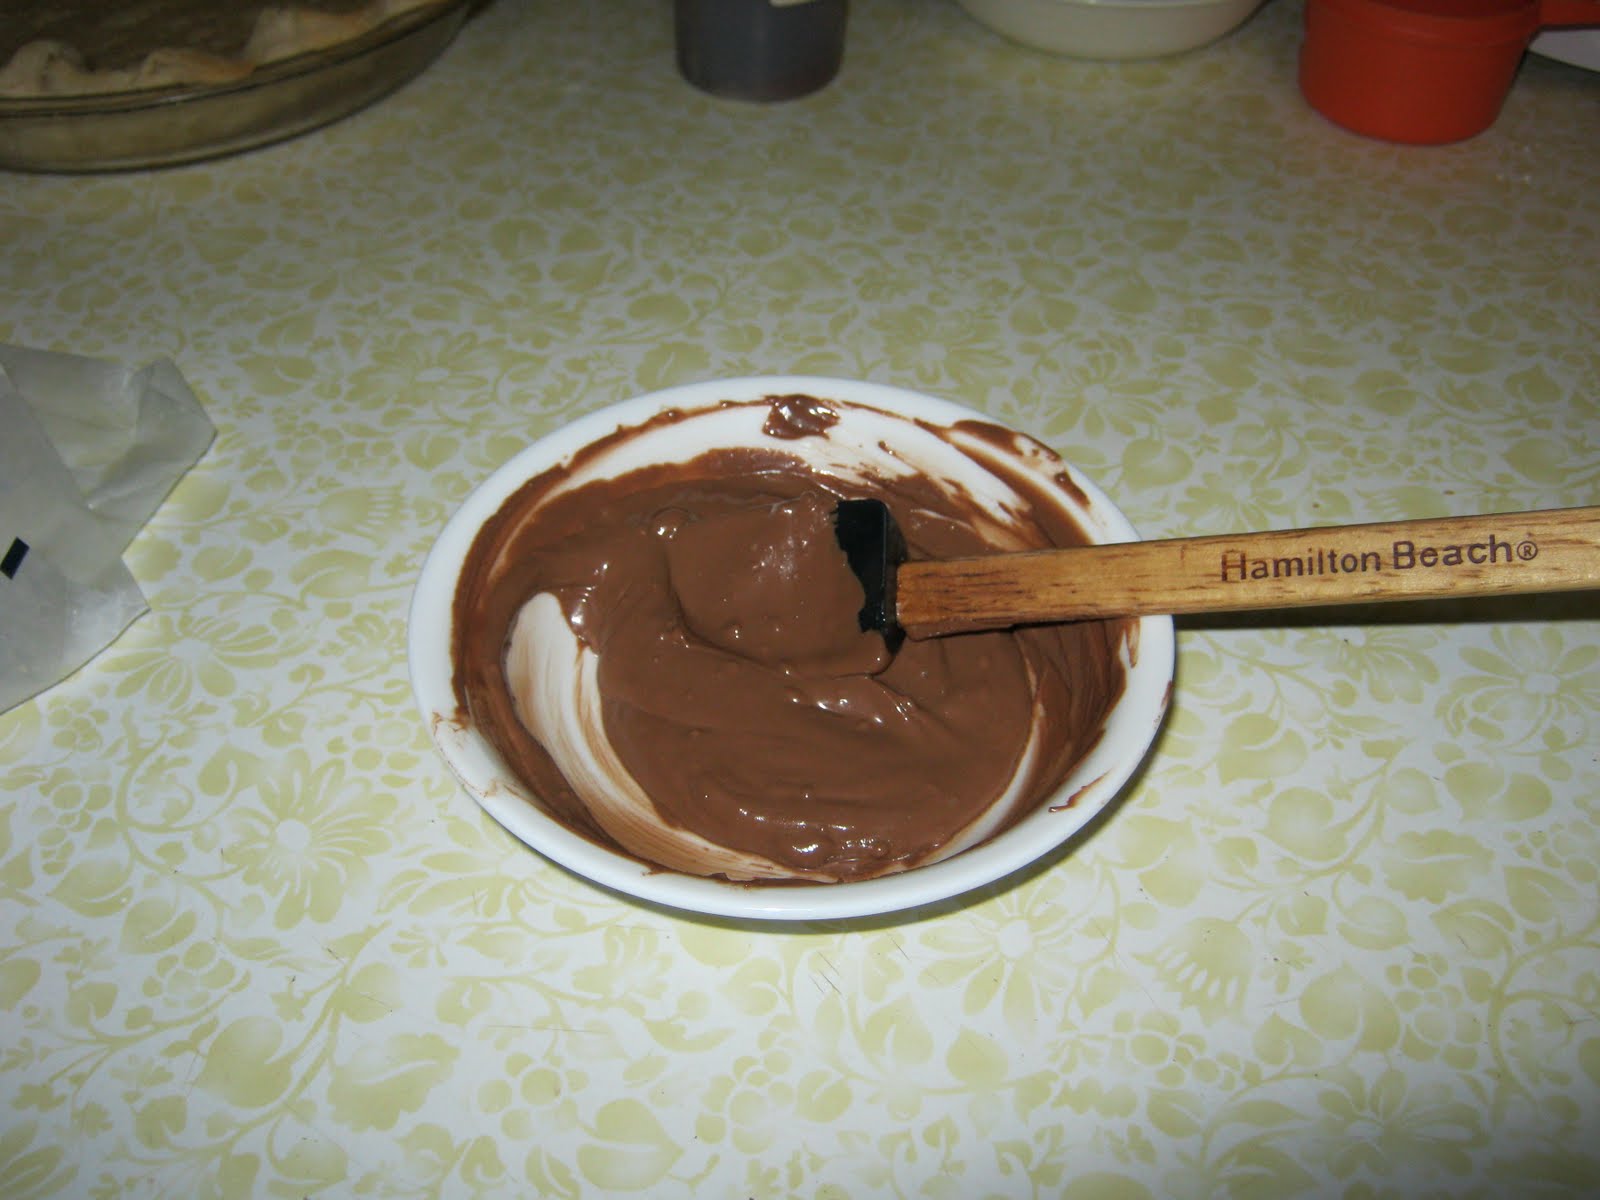
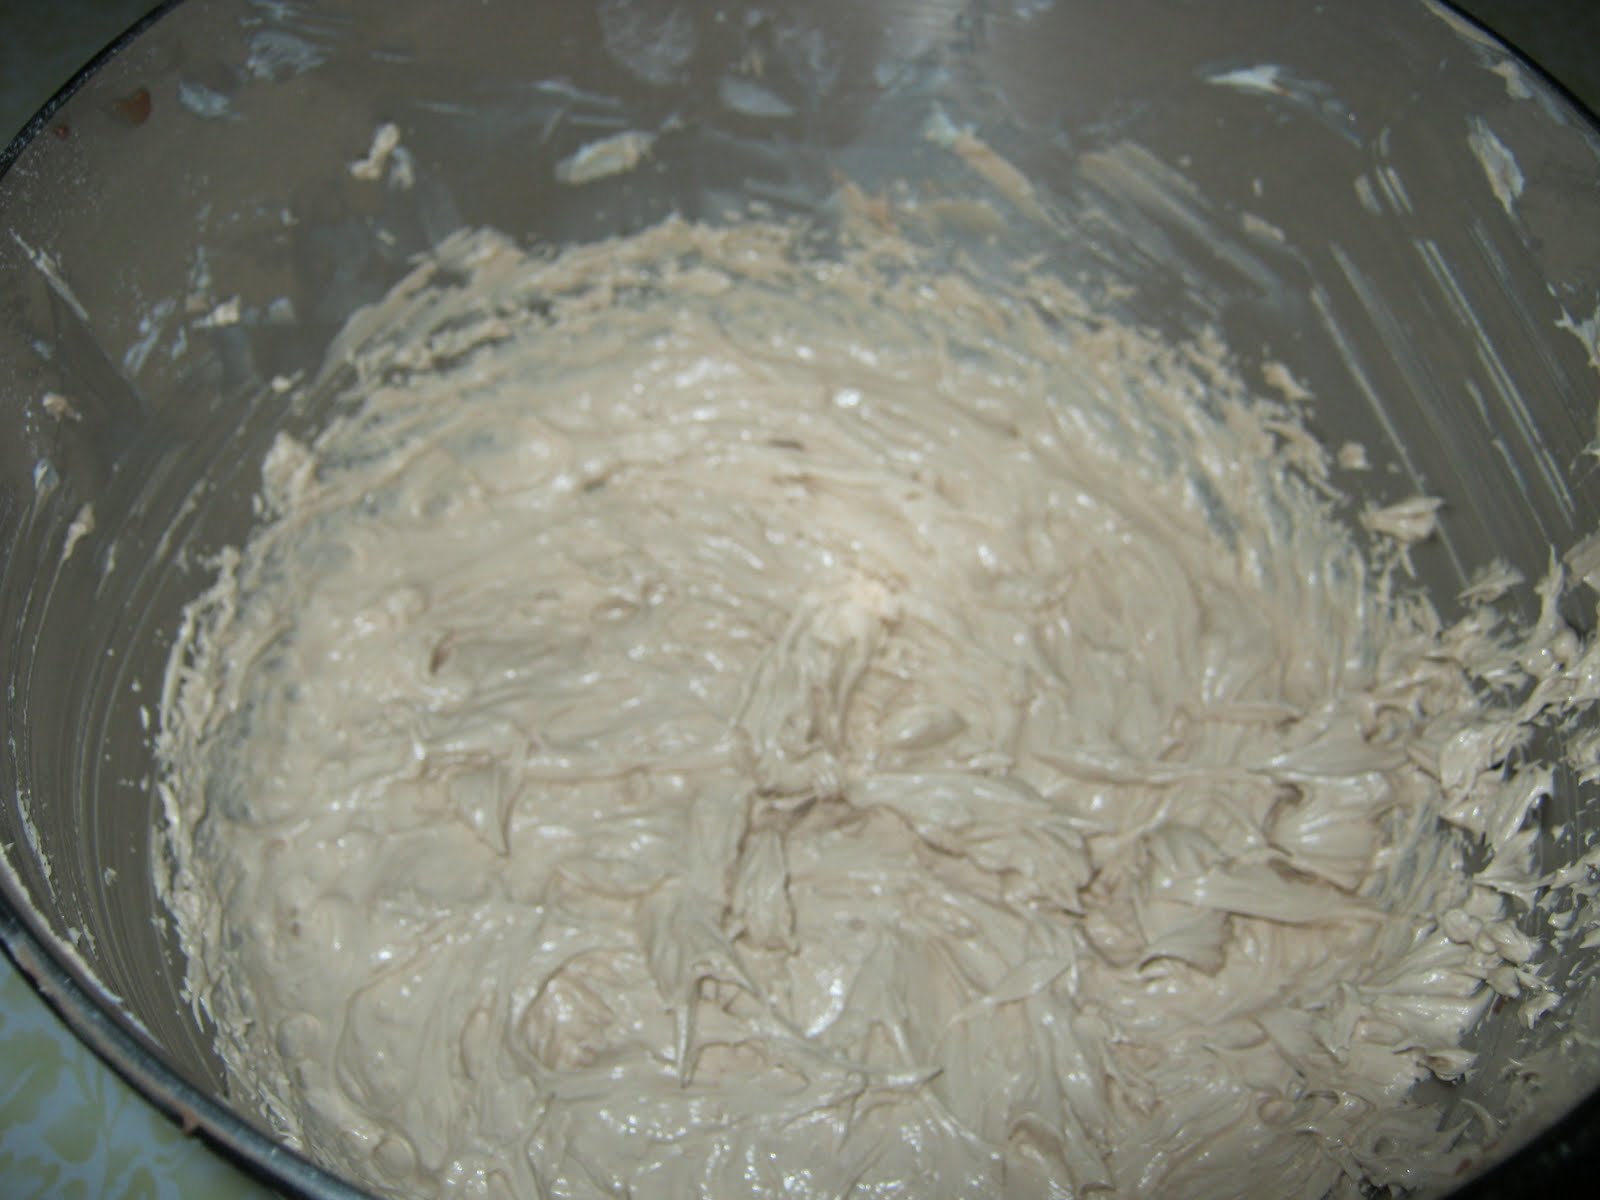
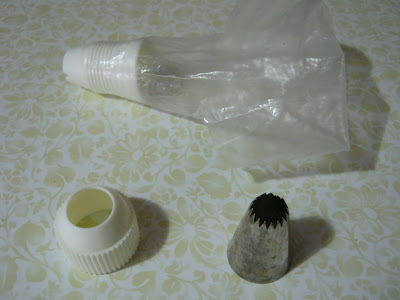
Or you can get fancy and do stars with a large star decorating tip. If you’re not handy with bag decorating, you can use aerosol whipped topping instead.

Can you tell which one I’m giving to a friend?
Photobucket
What a delicious looking pie Trudy! Thanks for sharing it with us. Trudy is so talented, not only can she whip up a fabulous pie in no time, she can also do all sorts of other projects like these DIY benches and table: http://1.bp.blogspot.com/_6dEqx5hV7r8/TDN3qA0rc4I/AAAAAAAACJc/CmPaz-VF8uQ/s1600/100_1024.JPG 
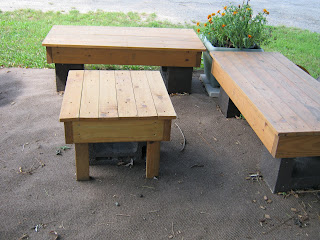
She made this “Leaf” themed patio! http://tru-featsandaccomplishments.blogspot.com
And these DIY stools!!
Thanks Trudy!!
Come back tonight at 6 PM for The Weekend Wrap Up Party!!

http://www.groopdealz.com/images/deals/deal_39.jpg


And, have you seen the GroopDealz deal today??? It’s Shelley’s Owl Vinyl – half off!! 


And, don’t miss out on getting a FREE 8 x 10 canvas!

Posted By: Jen · In: guest tutorials, recipes

Hostess Gift Idea — give a set of Hand Painted Glasses
Guest Project – Make a Beaded Spider!

You’ll Also Love

17 St. Patrick’s Day Dessert Recipes!
11 warm and delicious fall weight watchers recipes11 Warm and Delicious Fall Weight Watchers Soup Recipes!
10-minute strawberry shortcake slidersStrawberry Shortcake Sliders
Hi! I'm Jen Hadfield. I'm a mom of 5 restoring an 1891 home in the heart of Salt Lake City. I love being creative and sharing simple ideas to make your life easier and more beautiful!

Receive the Latest Crafts, DIY, Recipes and More in your INBOX!

Follow us on Pinterest! It's awesome!

Top Posts & Pages

Spruce up Your Outdoor Space with a DIY Recirculating Fountain! (tutorial)
A New Deck in Under 30 Minutes!
Copycat Panera Spinach and Artichoke Egg Soufflés - SO good!
DIY Secret: How to Print on Post-It Notes (and Free Printable Template)
12 Must-Have Items to Pack on an Alaskan Cruise!
Mother's Day Cup Holder Gift Basket


Popular Posts

  • Spruce up Your Outdoor Space with a DIY Recirculating Fountain! (tutorial)
    Spruce up Your Outdoor Space with a DIY Recirculating Fountain! (tutorial)
  • A New Deck in Under 30 Minutes!
    A New Deck in Under 30 Minutes!
  • Copycat Panera Spinach and Artichoke Egg Soufflés - SO good!
    Copycat Panera Spinach and Artichoke Egg Soufflés - SO good!
  • DIY Secret: How to Print on Post-It Notes (and Free Printable Template)
    DIY Secret: How to Print on Post-It Notes (and Free Printable Template)
  • 12 Must-Have Items to Pack on an Alaskan Cruise!
    12 Must-Have Items to Pack on an Alaskan Cruise!
  • Mother's Day Cup Holder Gift Basket
    Mother's Day Cup Holder Gift Basket
  • The BEST Fresh Strawberry Cream Cheese Cake Recipe!
    The BEST Fresh Strawberry Cream Cheese Cake Recipe!

As seen in


Amazon Affiliate

Tatertots & Jello is a participant in the Amazon Services LLC Associates Program, an affiliate advertising program designed to provide a means for sites to earn advertising fees by advertising and linking to amazon.com.
  • About Me
  • Advertising
  • Get Featured

Copyright © 2025 Tatertots and Jello · Privacy
This site is a place for positive discussion and ideas. Negative talk, comments that disparage others, and similar are not welcome and may be removed.