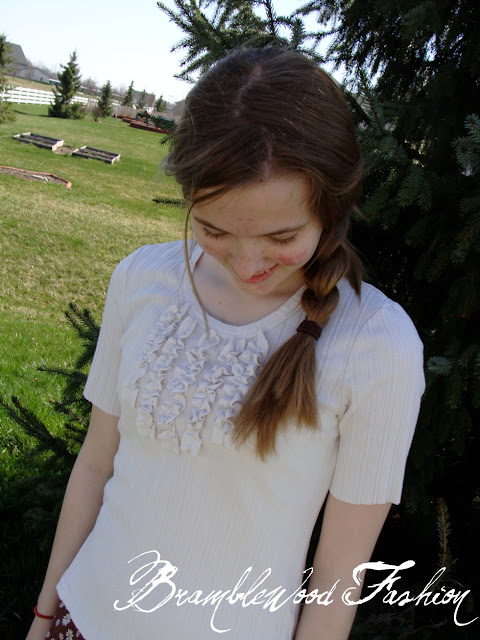
Hello everyone! You all, probably don’t know who I am. Right? I thought so. My name is Ashley, and I have a humble blog called, Bramblewood Fashion, which I share with one of my younger sisters, Gabrielle. Our blog is full of sewing projects, daily (or rather weekly) outfit posts, and some tutorials thrown in. I must also mention, that I am so excited to do a post on Jen’s blog!
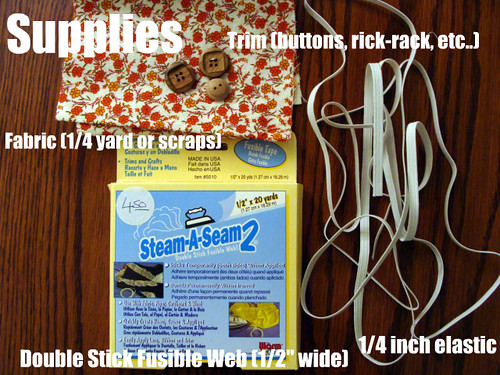
- 1/4 yard of Fabric (You can also just use scraps that you have laying around.)
- 1/4 inch wide elastic
- Thread
- Sewing Machine
- Iron
- Trimmings (Rick-Rack, Buttons, Lace, Fabric Flowers, etc…)
- Fusible Webbing (Optional) [Mine is 1/2 inch wide, sticky on both sides, and comes in a box. You don’t have to have this, but I like how it makes the headband a little more sturdier, and I have less pinning to do when I sew the headband.]
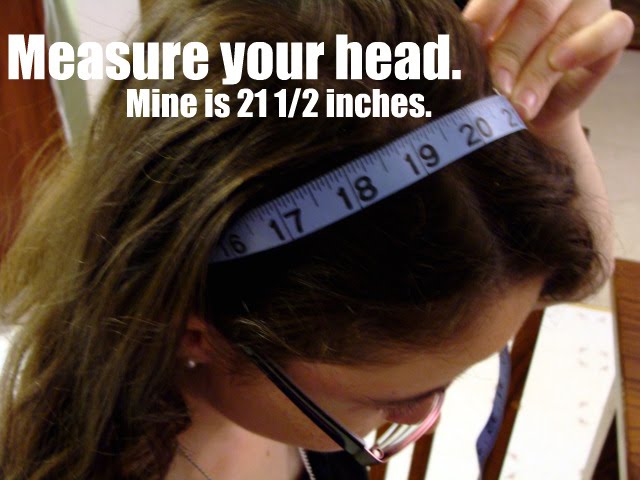
1. The first step is to measure your head. Like how I did in the picture below. Take note on your measurement, mine is 22 1/2 inches.
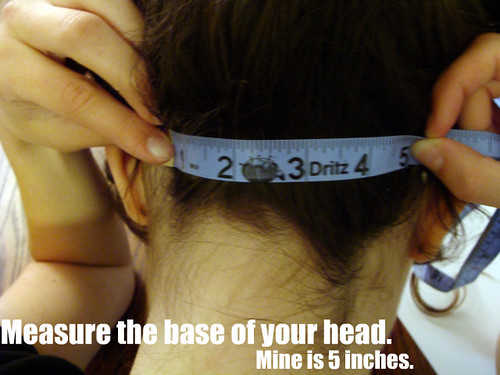
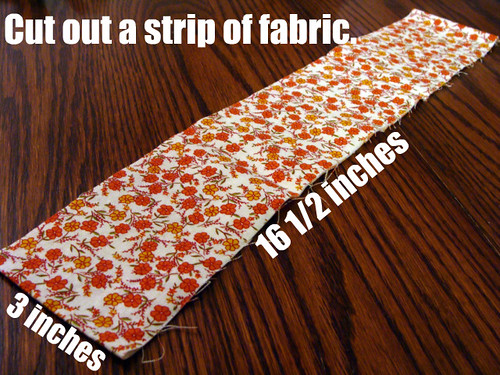
3. Now it is time for a little math. Follow the instructions below for the next step.
5. Fold over an 1/2 inch on each side (the long side). Iron.
6. Fold strip in half lengthwise. Iron.
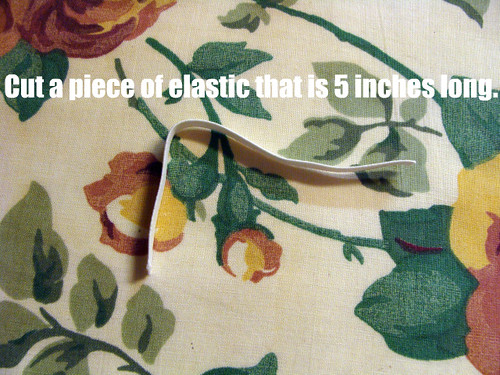
7. Cut a piece of elastic that is the measurement of the base of your head.
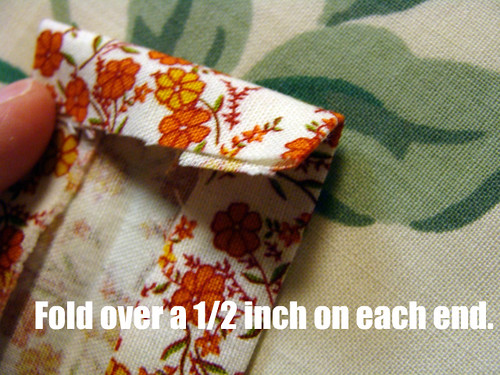
8. Fold over 1/2 inch on each end. Iron.
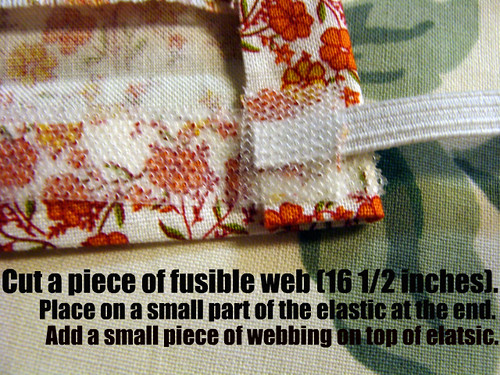
9. If you are using fusible webbing you will follow the photo instructions. If not, you will just skip to number 11.
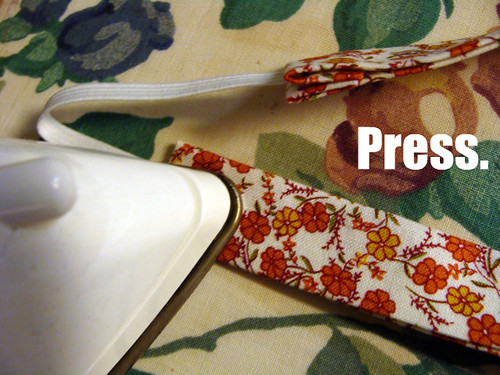
10. Press half way. Then repeat the second half of step nine, place a small part of the elastic on the other end, and remember to add a small piece of webbing on top of the elastic. Finish ironing.
11. Stitch around the open edges of your headband. Make sure to do a few more stitches over the elastic, making sure it won’t come out anytime soon.
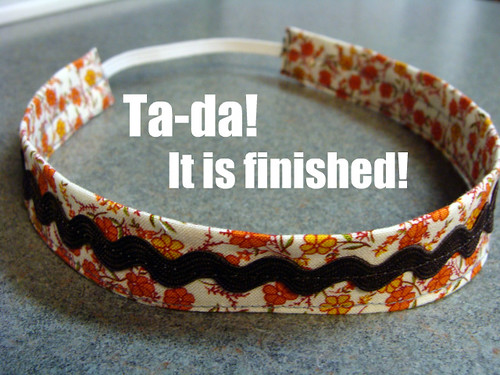
12. Now it is time for the fun part! Embellishing your headband in any way you want. I will show how to add rick-rack down the center of your headband.
If you want to add a fabric flower like how I did below. Follow these wonderful instructions!
Thanks so much Ashley!! What a great project. With three daughters in the house, we LOVE headbands around here. I will be trying my hand at those SOON! Here’s a button for sharing your tutorial with us!















very lovely! I'm off to see her blog now! 😀
Oh so veddy veddy cute!!
xoxo
bB
Love these, Ashley! Definitely great that you can make so many unique ones. 🙂 Thanks for sharing!
What a cute headband! I love the flowers too…I'm going to check out that tutorial for sure!
Oh my word!! Major cuteness!! 🙂 Jen, you have some great projects featured. I love that you are willing to occasionally share the spotlight with smaller blogs that many of us wouldn't know about!
Fabulous tutorial. I know how much effort goes into a tutorial like that — so thank you! Such a cute headband!
Great tutorial! I am going to check out Ashley's blog too!
Great tutorial! I'm off to check out Ashley's blog.