
Hey there tatertots!
My name is Karly Barker and I come to you from The Married Life.
I like to call myself a make do crafter and party planner.
I am no perfectionist but love to create a fun space, party, and even a little organization.
Like many of you my husband and I are newlyweds and just set up our first apartment.
And this very task required us to learn how to compromise for the first time.
(Boy are we getting used to that now)
One of our first challenges was our second bedroom.
At the time we were both wrapping up our college degrees at BYU
and my husband was planning to spend the next year studying for the CPA test.
So our second bedroom was turned into our office.
Only one problem…
I like color and a messy creative set up – while my husband prefers the structured life.
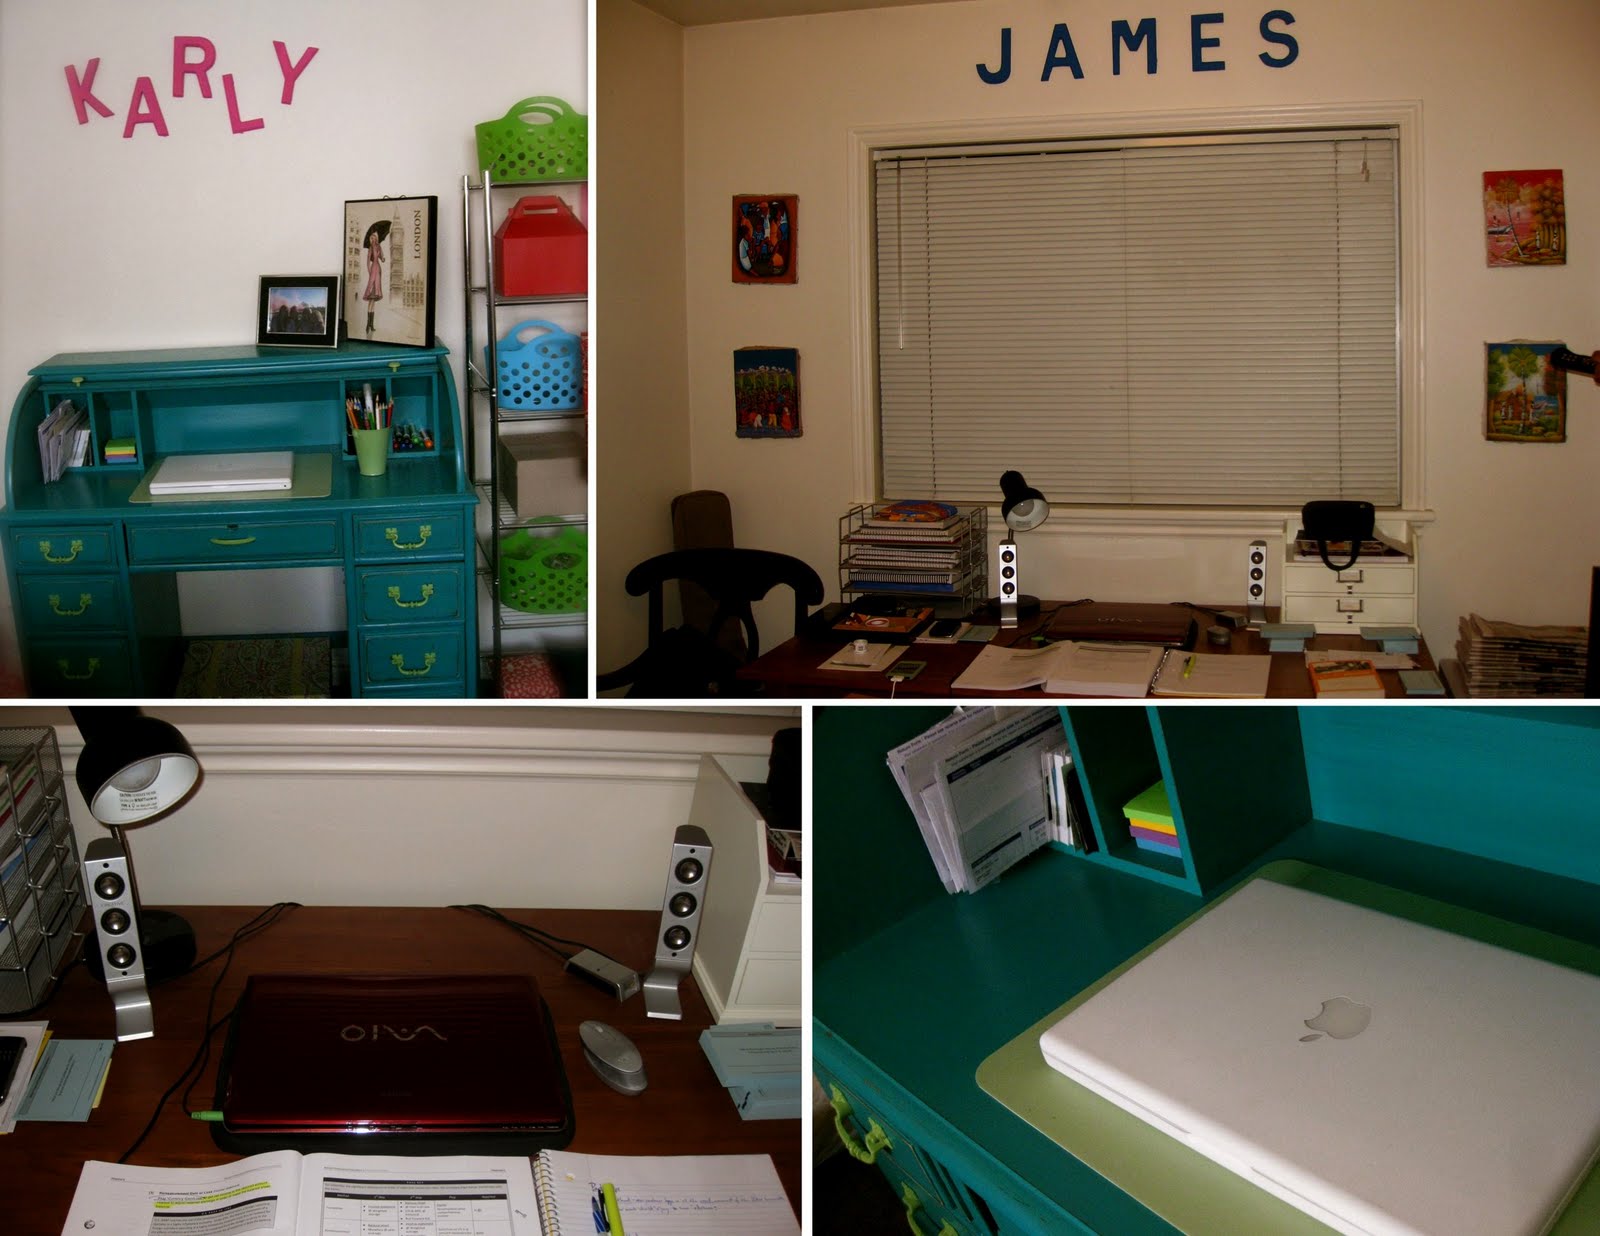
I set out to create a space where we could both work – a His and Hers office!
A room nearly split in half.
His personality on one end – mine on the other.

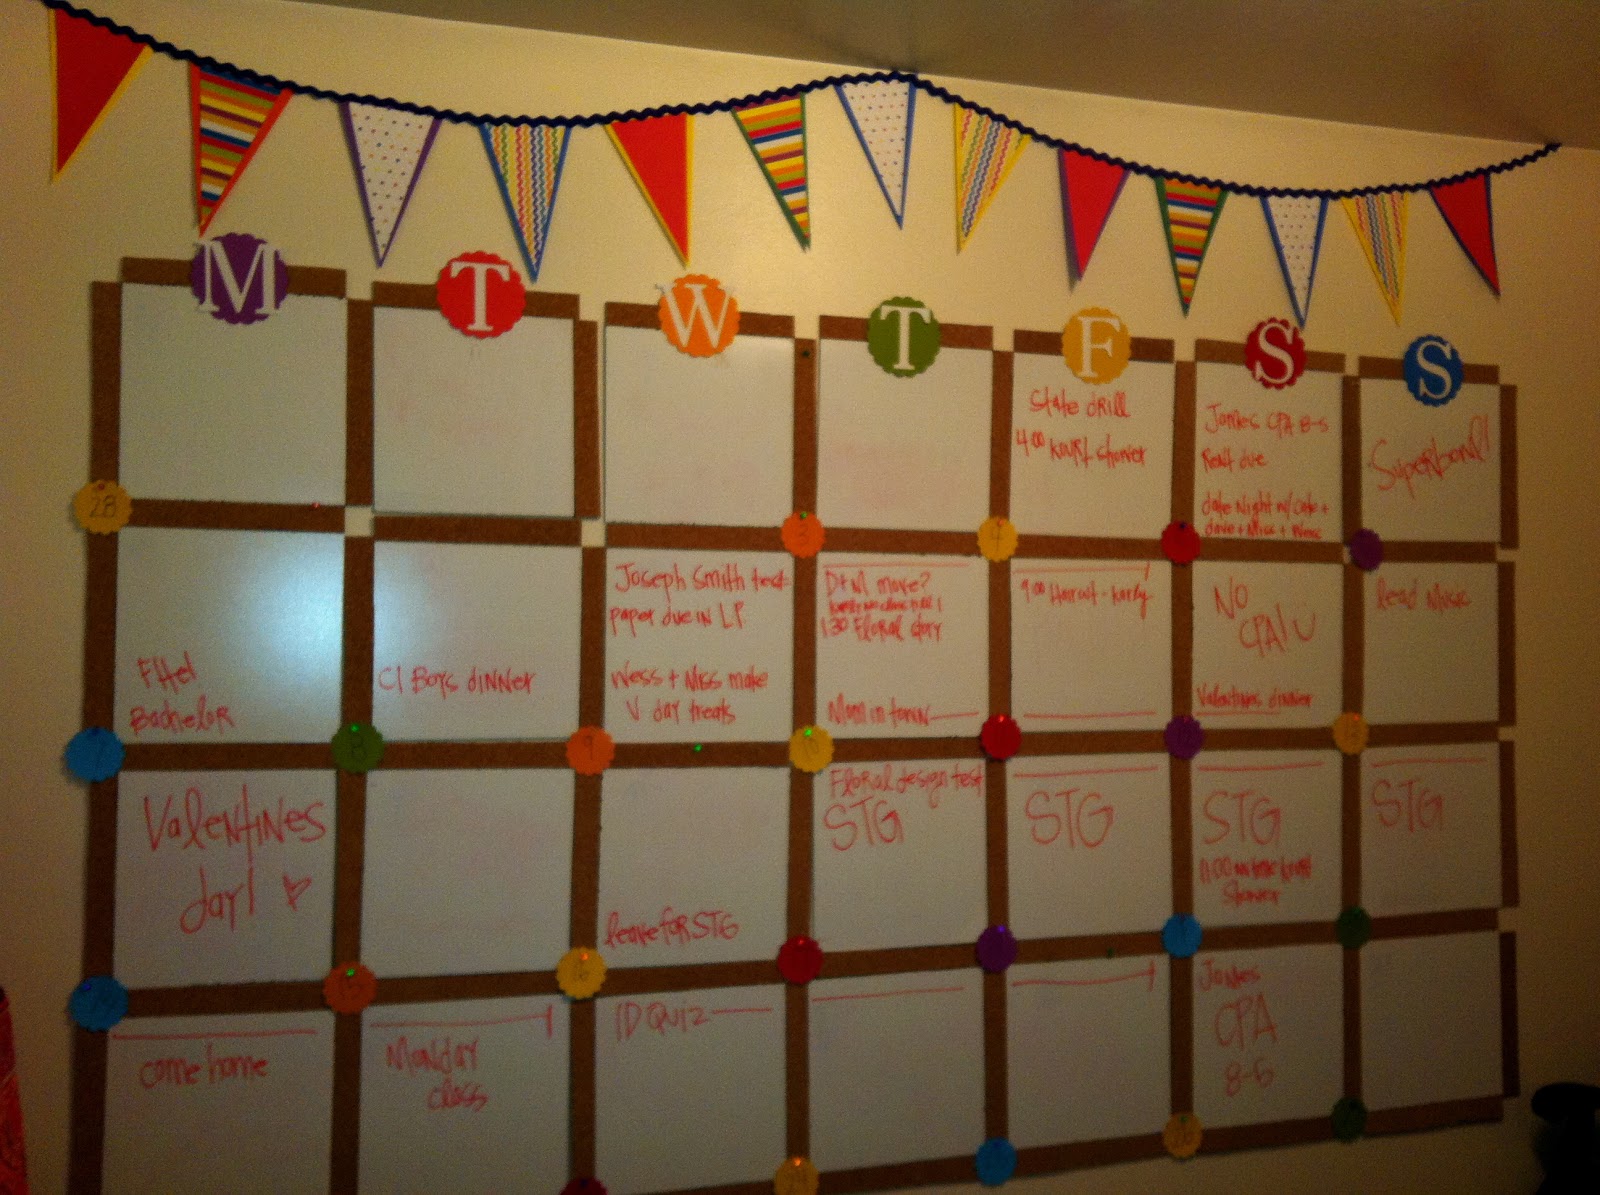
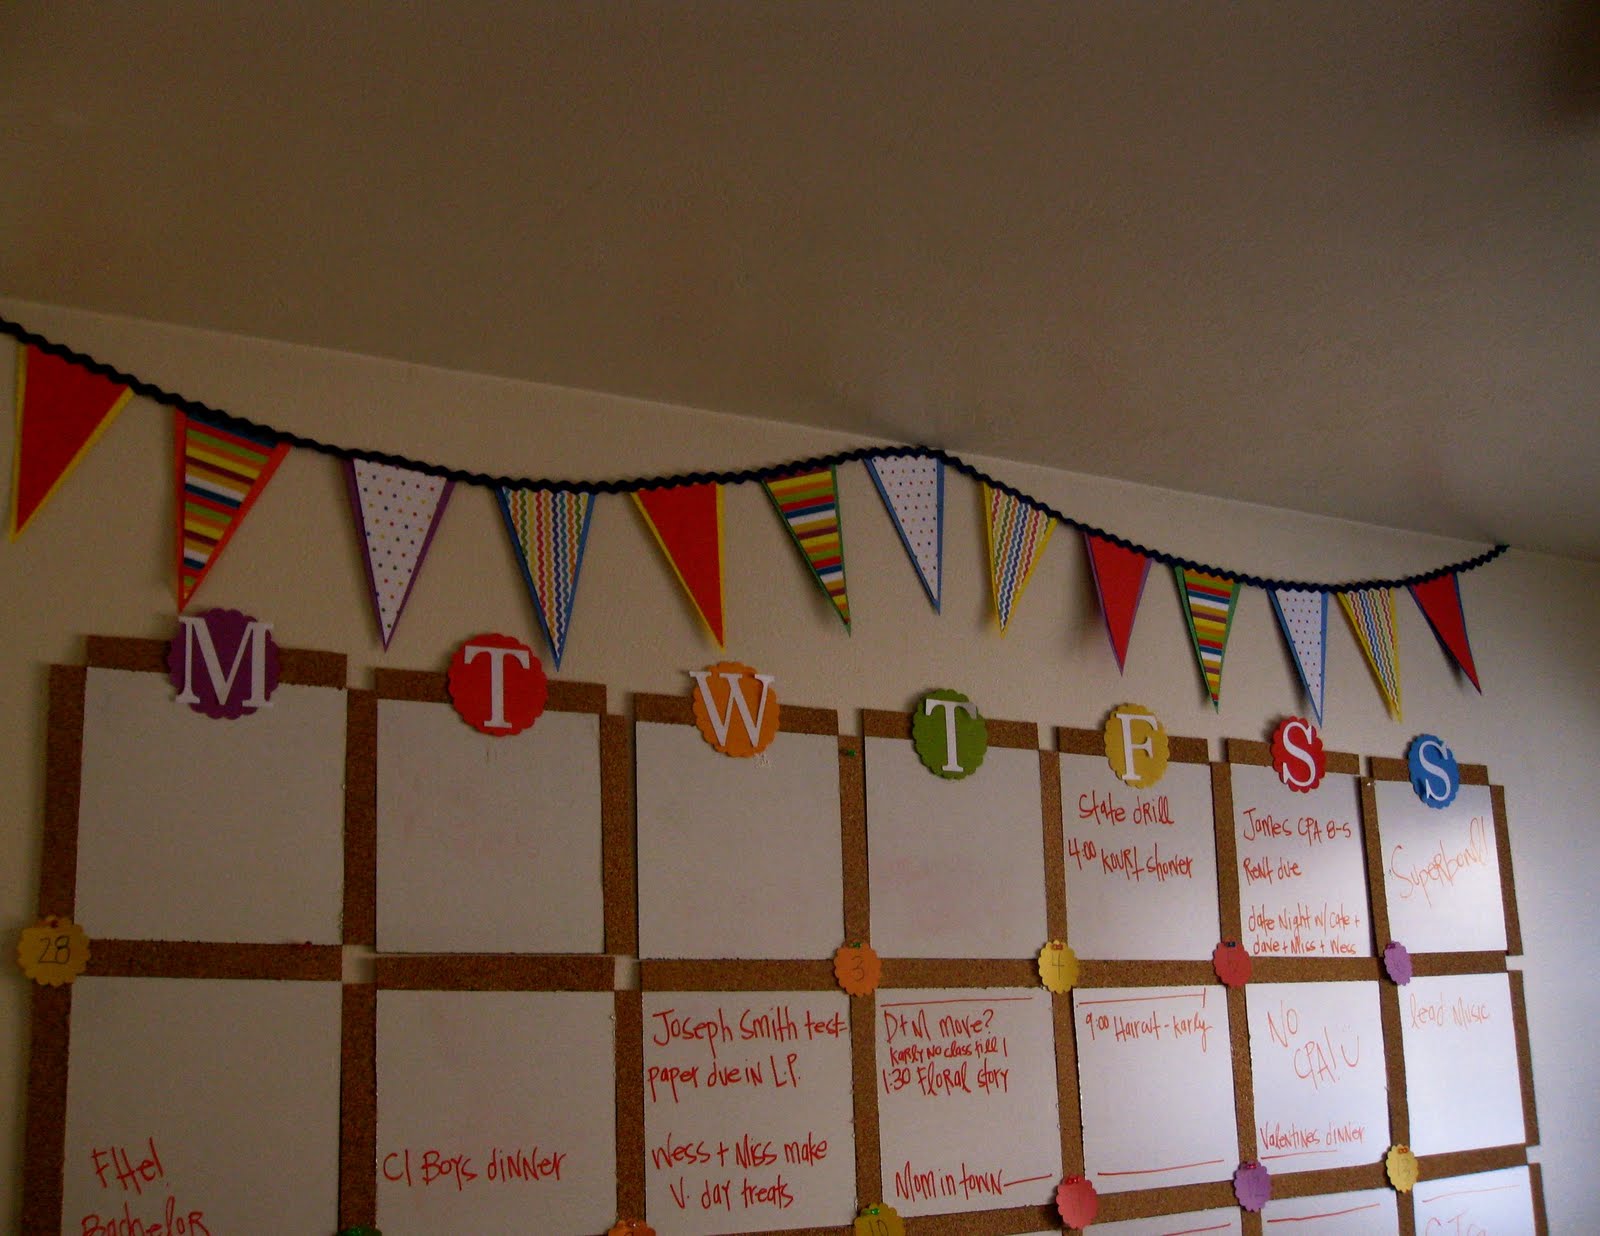
I decided to create a knock off pottery barn calendar and pinboard to help us stay on the same page.
The cork board allows us to pin up wedding invitations on the correct dates
or even bills when they are due.
So without further to do –
here is a simple and affordable way to make a giant calendar.

Step #1: Tools
Most of the tools you will have right at home.
1. Giant slab of white board. You can pick this up at home depot. Ask them to cut it into 12 x 12 squares. They will do this for free and its far cheaper than buying pre-cut squares. One slab will do the trick for a month calendar.
2. Next pick up three packages of 12 x 12 cork board squares. These can also be found at home depot wal mart etc. You will need about 12 of these squares. So proximately 3 or 4 packages depending.
3. Sharpie marker
4. Hot glue gun
5. Scissors
6. 30 velcro squares.
7. 31 circles/squares/scallops for numbering
8. 7 large circles/squares/scallops for labeling the days
9. Ruler
10. Push pins

Step #2
Using the ruler draw straight lines 1 1/2 inches apart on the cork board squares.
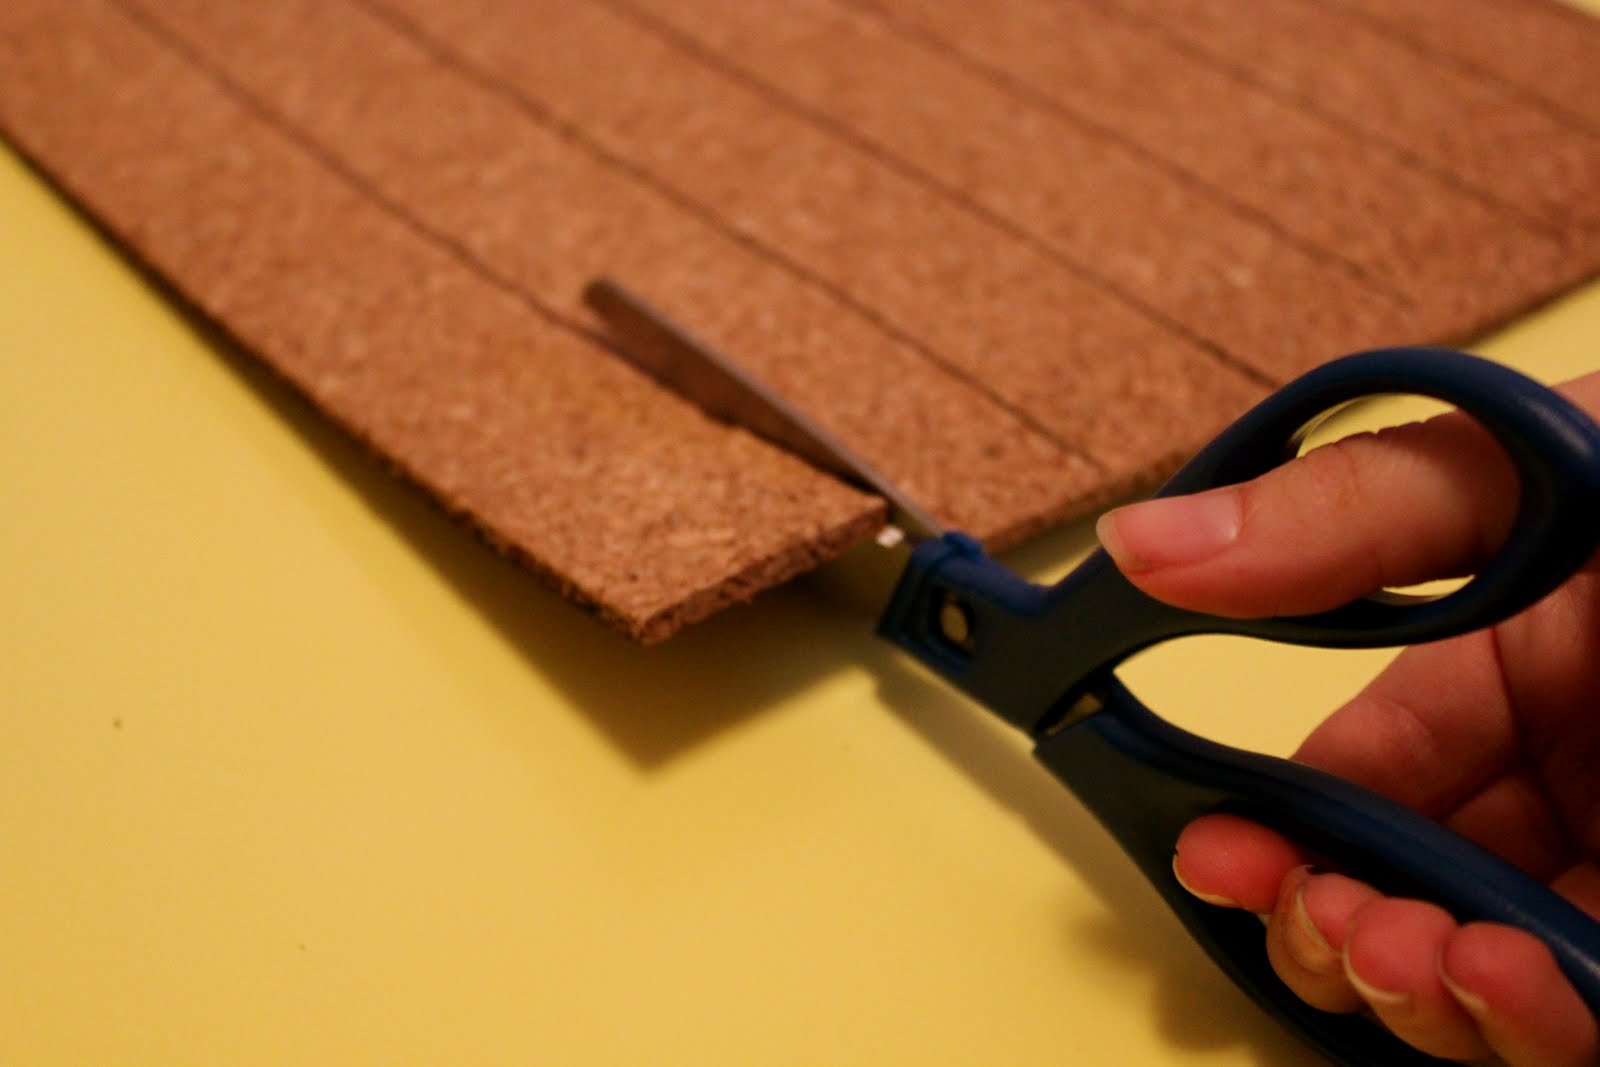
Step #3
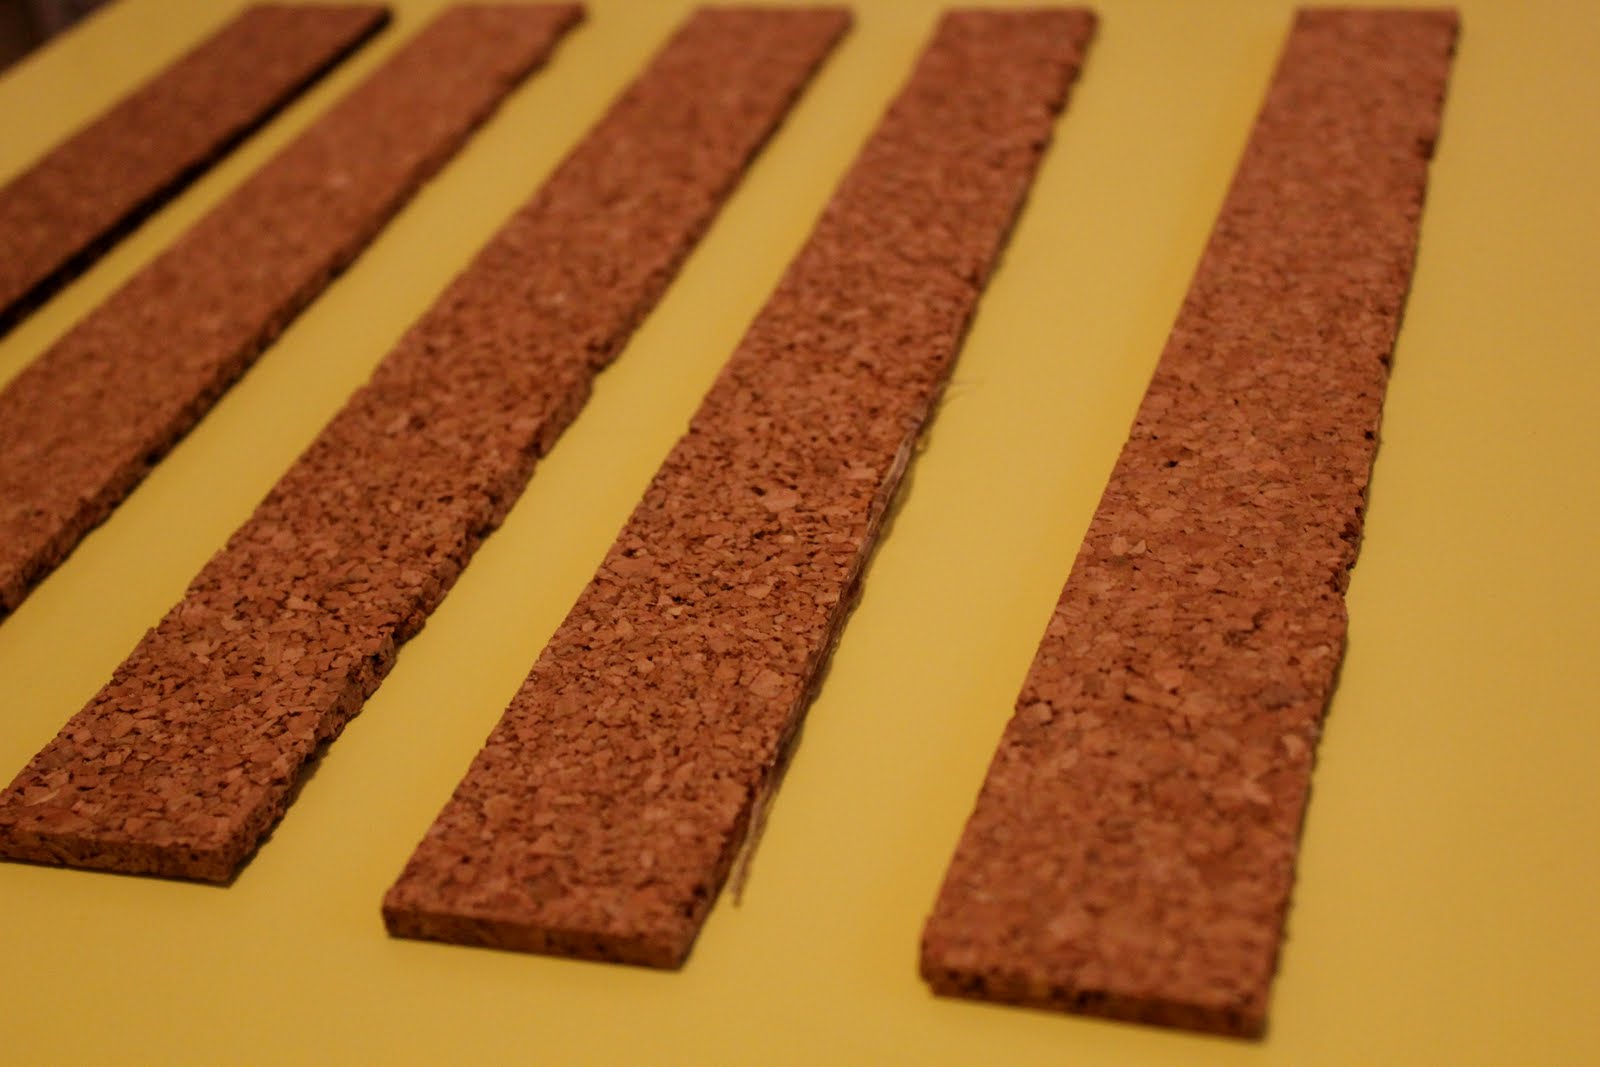
Cut the cork board.
From each square you should get 7 cork board strips.
You will need 73 total.
This is by far the most time consuming part of the project.
So grab a good movie a start cutting!

Step #4
Gluing!
Line the edge of the cork board with a strip of hot glue.
Hold directly to the side of the white board.
Here is when math gets involved.
You are going to need:
18 white board squares that are lined with 2 cork board strips.
3 white board squares that are lined with 3 cork board strips
and 7 white board squares that are lined with 4 cork board strips.
Totaling 28 squares and 73 strips.
Following?
Just trust me.
It works!

Step # 5
Place the velcro on the back of each square.
I found that if you place them at the top of the white board it holds well.
 Step #6
Start velcroing to the wall.
Start with the top left square.
Place a square with two of the cork board strips there.
If you work from left to right through each week you will find that you will use the
two sided squares until the 7th day.
On the 7th day you will use the 3 sided square.
Once you get to the 4th week you will use the 4th sided squares for the entire week.
As you go along this will make sense.
Step #7
The numbers and days.
You will notice the holes in between each of the squares.
This is where your number circles/squares come in.
Use your pins to pin the numbers right over the holes.
This not only hides the holes
but also allows you to easily switch the numbers to the proper days each month.
Attach the labels for the days of the week using your velcro.
Voila!
It is a great way for this newlywed couple to stay on the same schedule.

And for more party ideas, crafts,
and mostly newlywed laughs head on over to The Married Life.

Thanks Karly!!!Isn’t she the cutest???
I just love her PB-inspired board and her blog!!
Thanks Karly!!!Isn’t she the cutest???
I just love her PB-inspired board and her blog!!
Be sure to check out her blog and say hi at The Married Life.
xxoxo


Awww, so cute! Good job!
xoxo,
Amy
I would love to have a huge calendar somewhere in the house! What a great idea!
Love it!!! Great idea.
LOVE Love this!! Love this blog even more, such a fun place. We are proud to say we are your newest followers!
much love
That's such a great idea! So prefect for multi family schedules. and I love the coark board.
What a wonderful idea! I love that it's so large and graphic!
I just started a new blog. I'd love for you both to come check it out!
repurposedlifedesigns.blogspot.com
Great way to stay organized and on schedule! I would love to make one in our home, but we dont have a full wall empty..bummer…Looks great though!
haha he's a CPA of course he'd want structured organization! (me and my husband are too hehe)
What an adorable idea. I have to think of a big wall to make a calendar-especially since my husband refuses to look at the 4 I have placed throughout the house! Men! Hmph. Cute feature, thanks, Jen.
Great idea and well done!
Viola? As in the stringed instrument? It's actually voila 🙂
AWESOME! Thanks! This is perfect for our office/playroom/homeschool room! And reusable, too!