I love to stencil pretty much anything — from fabric, to walls, furniture and even paper.
I think one of my first stenciling projects was my oldest daughter’s nursery 17 years ago (I can’t believe it’s been so long)! The thing I love about stenciling is it allows you to create something unique and it really opens up your creativity — the possibilities are infinite. I’ve learned a lot about stenciling over the years and I thought I would share some of my tips with you!
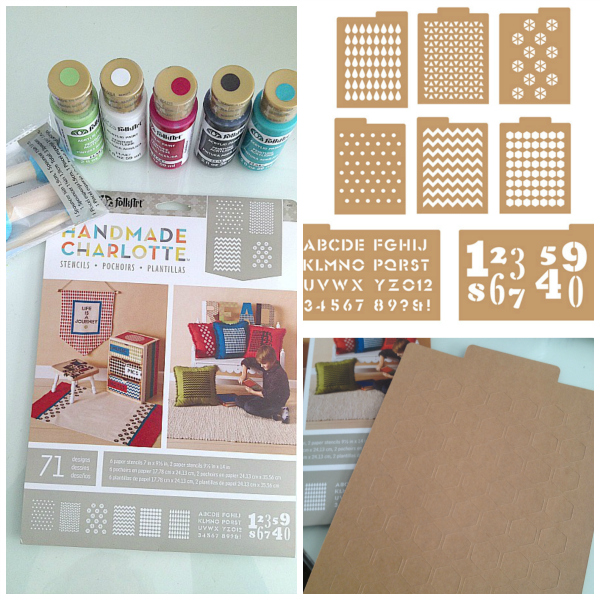
But first — I wanted to show you these Handmade Charlotte stencils from Plaid. Aren’t they fabulous?? Stencils have come such a long way over the years. And these are so cute and trendy!! I couldn’t decide what to make with them – there were so many possibilities!! There is a chevron stencil, polka dots (one of my favorites), raindrops, this pretty modern floral design, funky numbers and even a tribal stencil.
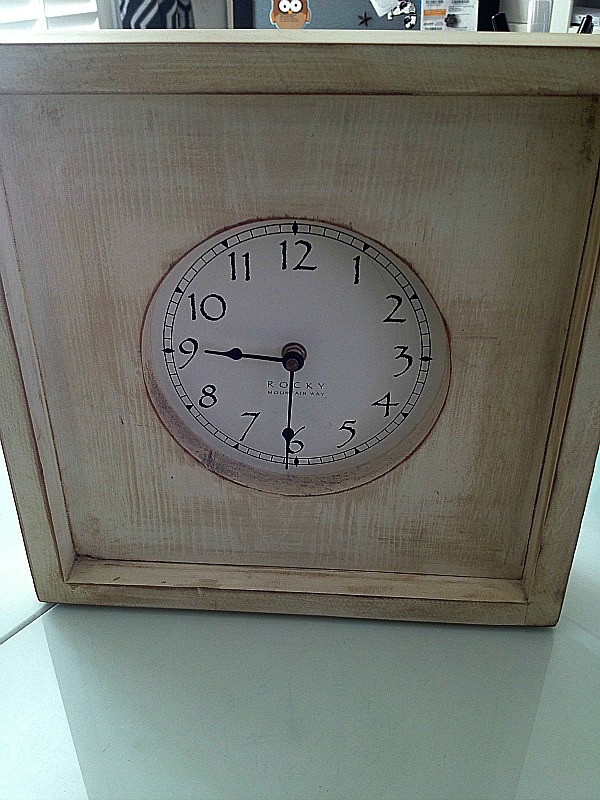
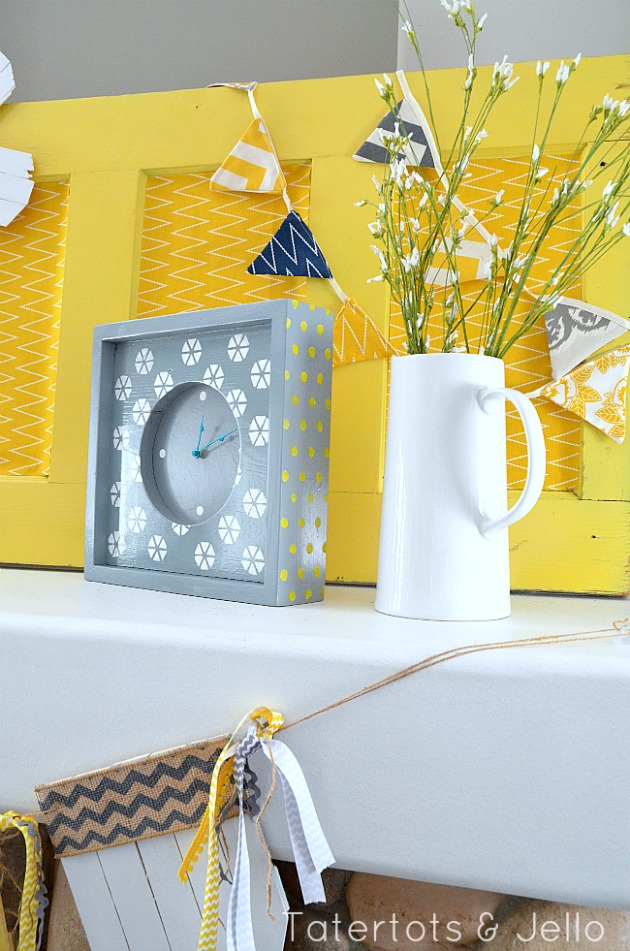
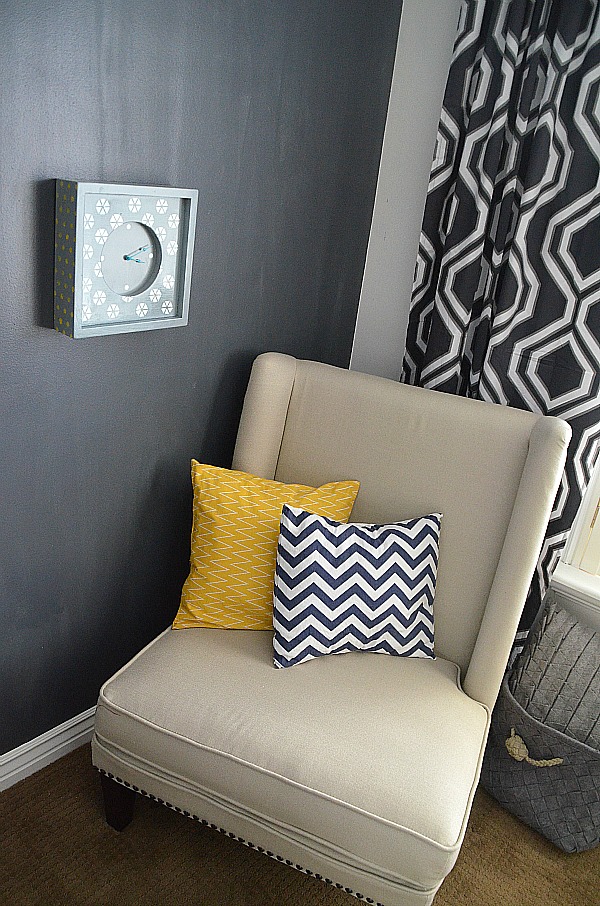
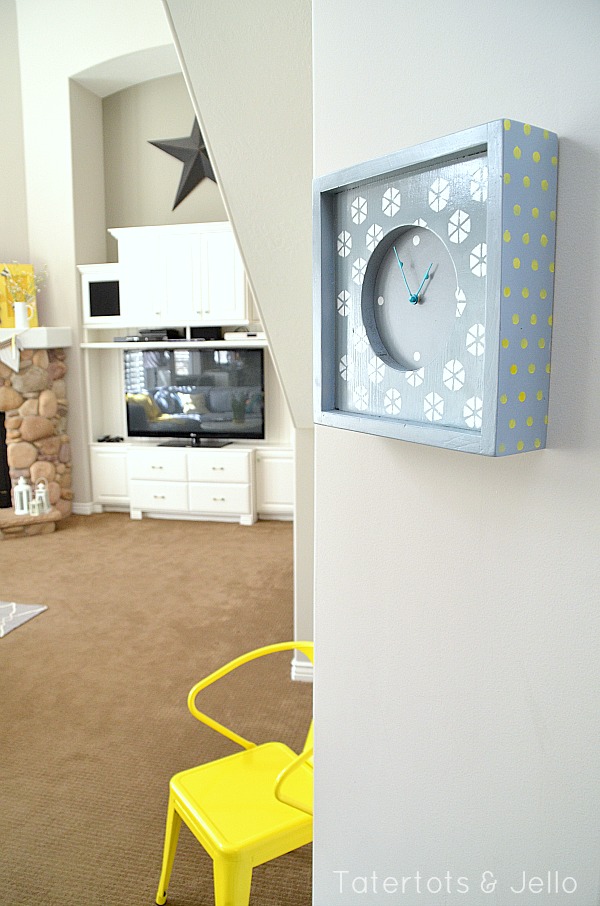
I decided to hit up my local thrift store to see what I could find to transform with these Handmade Charlotte stencils. I spotted an old wood clock for just $2. And I thought it could use a little modern update and a place in our home!
Here are 5 Stenciling Tips and Tricks:
Here are FIVE stenciling tips that I have learned over the years:
- Start off with a clean surface. If you are painting the base coat of your project, make sure that paint is dry before you start stenciling. Also know that the finish of the base coat will determine how the stencil coat looks. If you are using a flat finish, your stencil will go on smoother, since the paint can soak into the base coat. If you are using a gloss paint on your base coat, the stencil paint will sit on top of that paint and you will need to do two coats or more of your stencil and also the texture of the stencil tool will show on top of the glossy paint.
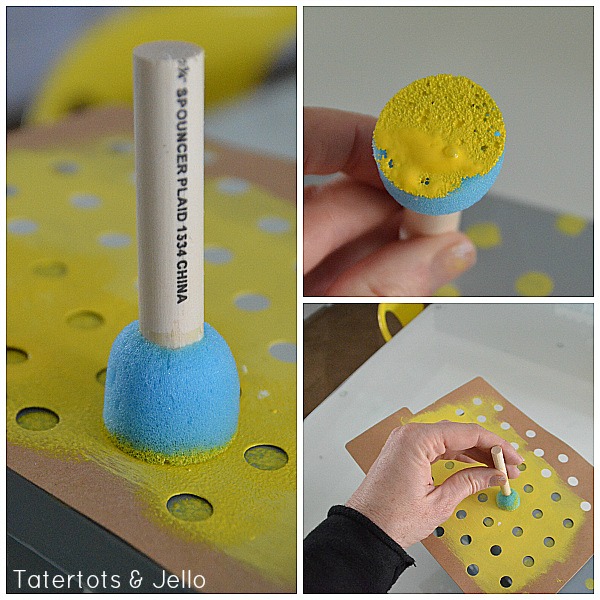
- Get the right tools. My favorites are a sponge pouncer tool or a mini sponge roller.
- Practice first. Practice your technique before you begin. If you are using a sponge pouncer, make sure you dip the pouncer in paint and then dap the excess off before applying it to the stencil. If you have too much paint on your pouncer, the paint will get underneath the stencil and ruin the clean lines. (the picure above shows a pouncer with too much paint, dab the excess off before using) Apply the paint to your piece with the pouncer, bringing the pouncer down straight. If you bring it down at an angle, you might push some of the paint underneath the stencil and that will also ruin the clean lines. If you are using a sponge roller, make sure you roll excess paint off the roller onto a paper towel. You want the least amount of paint on the roller. It is better to do a few coats of paint, than one thick layer. Also be sure to hold the stencil in place with one hand, while you stencil with the other. You don’t want the stencil to move while you are stenciling.
- You can Fix Mistakes. If you peel back the stencil and see some paint that has seeped underneath, take a piece of damp paper towel wipe the excess. If you need to fix a very small area, wrap a piece of damp paper towel around the end of a butter knife and wipe off the excess with the tip. It’s so much easier to wipe paint off while it’s still wet, than try to cover it up when it’s dry. But if the paint has dried before you an fix it, don’t despair. You can take some of the base paint and fix the lines with a fine paintbrush. If your base paint is spray paint, you can spray some of the paint into a small paper cup, and then fix the lines with a fine paint brush.
- Don’t worry if your stenciling doesn’t look perfect – that’s the beauty of stenciling. You want it to look handmade. As The Nester says — It Doesn’t Have to Be Perfect to Be Beautiful!!
For more information about Plaid and Handmade Charlotte Stencils, check out
Plaid on Facebook
Plaid on Twitter
Follow Plaid on Pinterest
You can buy Handmade Charlotte Stencils at Jo-Ann Fabric and Craft Stores, and they will be available at other craft stores soon!
Have you ever stenciled anything??
Share your stenciling ideas in the comments – I would love to hear YOUR ideas!!
xoxo
I wrote this post as part of a sponsored campaign with Plaid and The Blueprint Social. All opinions in this post are 100% mine.








Hey there! I’m at work surfing around your bloog from my new iphone 4!
Just wanted to say I love reading your blog and loolk forward to all you posts!
Carry on the excellent work!
Hello! I could have sworn I’ve been to this wweb site before but after browsing through many of the posts
I realized it’s new to me. Regardless, I’m definitely happy I stumbled upon it and I’ll be bookmarking it and checking back often!
Just wanted to let you know I also featured this project in my roundup of clock re-dos and makeovers here. Feel free to check it out if you want and hope you like it! : )
-Mel the Crafty Scientist
Any hints on stenciling concrete block (basement) walls? I want to stencil very large clothespins to the walls to brighten up a drab space, and will stencil the same onto tarps that I will treat with linseed oil to make oilcloth “rug”. Thanks!
If you can, I’d suggest using a primer meant for concrete underneath the color you want to use — or check at your local hardware store’s paint counter and see if they can tint the concrete paint the right color. Concrete is so porous that I don’t know how regular wall paint would behave. (You could always buy a small sample and test somewhere inconspicuous.)
Good luck!
Such a cute clock, I like it on the shelf best.
I stenciled a wall, does that count? http://polishandsugar.com/wall-stencil-pictures-and-tutorial/
Um, that clock is amazing! I’m in love with it!
Jen that is the cutest clock and I think it would look just great anywhere. This past Christmas I used the sticky backed stencils to personalize a Christmas ornament for each of my grandchildren. After a few letters were used more than once, stencils didn’t hold up so great, but I perseveered and finished them. I then took the caps of ornaments off, rolled up a $100 bill and stashed it inside their personalized ornament then hung on the tree. You can imagine their surprise when after awhile I mentioned they should carefully take the top cap off their ornament. (I had also purchased the non-shattered clear bulbs and used glitter to coat the inside.) The ornaments turned out beautiful and were a huge success…the parents thought they were amazing and couldn’t believe that I made them -this might be a new tradition for us at Christmas! and the GRANDKIDS loved them even before finding a treasure enclosed.
thanks for the great tips…maybe I’ll do better next next.
Hi I love stencil haven’t much luck lately,I know problem now first get to big hurry.Now read hint’s & tips can do better Thank’s Jen…Great Job.
Jen…you are the queen of stencil projects! I love ALL of your projects with stencils, and you always choose the most amazing stencils and colours for your projects! Angie xo
I forgot to tell you that I got a Cutting Edge Wall Stencil. I stenciled one wall of my office. Love how easy it was and how it looks!!
Love the clock and shelves!! Thanks for the great tips!!
i love this, jen. it looks amazing.:)
Thanks Kiki!!
xoxx
Cute clock, Jen! Great job
I stenciled pansies (my favorite) on a wall in my kitchen when we first moved in 13 years ago. It has since been painted over and I’m beginning to phase out the pansy decor in favor of a wine theme. 🙂 I’m going to try removing a pansy stencil from the glass of an antique window and replace with grapes. Let me know if you have any tips. Thnx!
Hi Julie! What have you tried to get the paint off of the window? Goof Off or something like that might work and not damage the glass. Or maybe even Magic Eraser.
xox
Acetone nail polish remover and a magic eraser will take paint off of any hard surface – it’s worked for me on tile, ceramic, glass, granite countertops and plastic shower surround.
Hey Jen, love the stencil tips and tricks!! Off the subject of stenciling…did you build the built in that your tv is on? We have been looking everywhere for a good tutorial on building something similar and have found nothing:( maybe you have details in a post I missed somewhere??!!
Hi Alyssa!! Yes! We altered the built in. Here’s the post about it — https://tatertotsandjello.com/2011/03/diy-entertainment-unit-remodel-reveal.html
xoxoxo
Jen,
I think that we are kindred spirits. My daughter is 17 years old also. I love to stencil. The yellow you picked out is my favorite shade. I have those storage jars from Ikea. And I have the same Jello molds. I display them on the walls in my kitchen. Separated at birth?
I stenciled my daughter’s room when she was an infant. It was a rabbit family stencil that I made using a calendar that my MIL gave me. It makes me wish that she was still little enough to still have this on the walls. Now her room is being done similar to Penny’s apartment on the Big Bang Theory.
Maureen
Hi Maureen!!
Wow – that is so funny!! Doesn’t time go by so fast?? I can’t believe my daughter is as old as she is. Do you have a blog? I would love to keep up with what’s going on with you!
xoxo
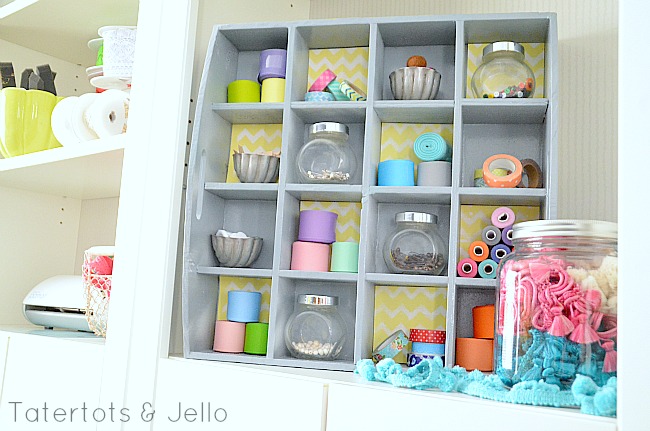
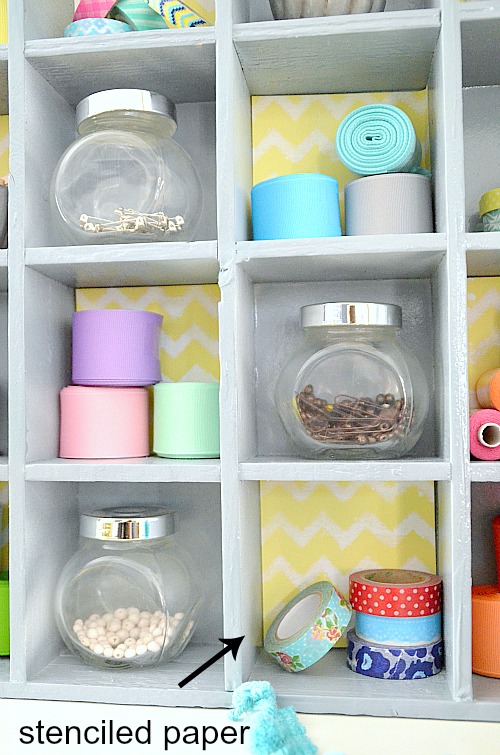
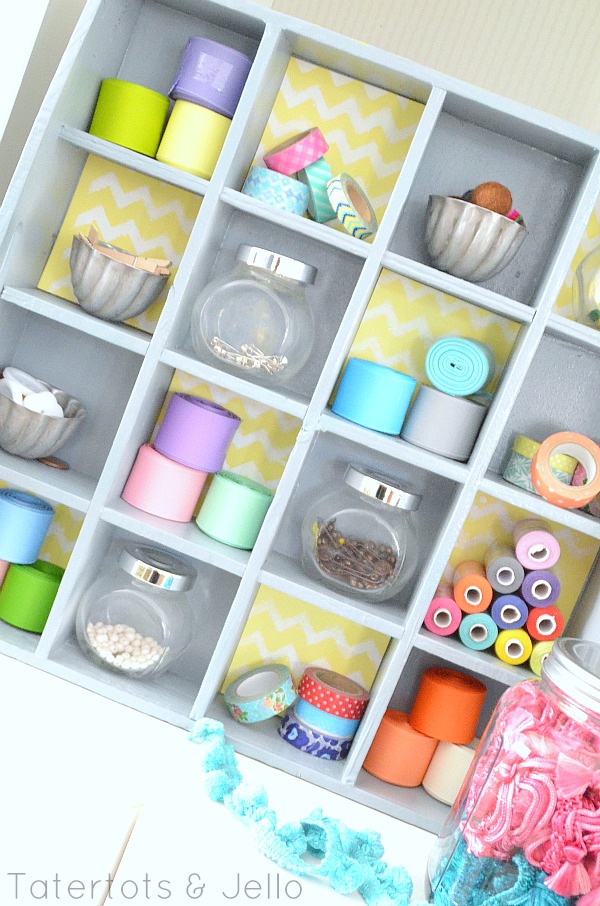
I love the yellow with the grey on the cubby!
Thanks Justine!! I just love that color combination 🙂 Thanks for coming by and leaving a comment – I appreciate it!
xoxo
Wow! Yet another awesome inspiration from you Jen! Not only a great idea for the stencils but a great idea for a crate too!
Good tips Jen! I love the projects you did! xo
Hi there! The clock is adorable (actually I like it before too!). I would love to stencil a little wooden table I found at a garage sale last summer. Thank you for the idea, and for the tips! Jules
Oh yay!! I hope you make something awesome with your little wooden table. I would love to have you email me a picture so I can feature it!! [email protected]
xoxox
I’ve always wanted to try stenciling…do you clean the stencil in-between when you move it to the next spot?
Hi Michelle!! No – when you lift the stencil off you can see if it’s seeped under anywhere, then just wipe any paint off the back of the stencil and let it dry for a few minutes, then move it to the next spot on your project. These stencils are made out of paper so you can’t clean them. There are other stencils that are made out of heavy plastic and I will clean them off when I am done with a project. But once the paint dries, you can use a stencil again even if it hasn’t been cleaned off.
xxo
Hi, Jen!
I stenciled a micro-suede ottoman after I painted it (yes, I painted it). You can see the pictures at proof-of-love.blogspot.com.
Thanks!
~alicia
That sounds awesome Alicia!! I will check it out 🙂
xoxo
I have a thrift store find that I haven’t decided what to do with yet! I think I need to pick up some of these stencils and get to work on it!!!
I am so excited to see what you make Heather!!
xoxo
My Joann’s store doesn’t carry the stencils! I’m so bummed!!