Tatertots and Jello

COLORFUL HAPPY HOME -- Daily DIY, Decor, Craft and Recipe Tutorial

  • My Home
    • 1905 Cottage
    • Daybreak House
  • DIY
    • DIY Projects and Ideas
    • Organizing
    • Tutorials
    • Printables
  • Decor
    • Spring Projects
    • Summer Projects
    • Fall Projects
  • Crafts
    • Kids Crafts
    • Painting Projects
    • Paper Projects
    • Sewing
    • Wreaths
  • Holidays
    • Valentines Day
    • Easter
    • Halloween
    • Thanksgiving
    • Christmas
    • HAPPY Holidays Series!
  • Recipes

Explore

  • my home
  • diy
  • decor
  • crafts
  • holiday
  • printables
  • recipes

Connect

Home » diy » DIY Paper Blossom Branches

diy, guest tutorials, paper craft · September 14, 2015

DIY Paper Blossom Branches

Tatertots & Jello is a participant in the Amazon Services LLC Associates Program, an affiliate advertising program designed to provide a means for sites to earn advertising fees by advertising and linking to amazon.com.

Welcome to the Summer of Paper series – where we’ve invited fabulous guests to create projects using supplies from my Home + Made paper decor line.

unnamed

Hi! I’m Ashley and I blog at My Craftily Ever After! I’m so excited to be here today!

guest post image

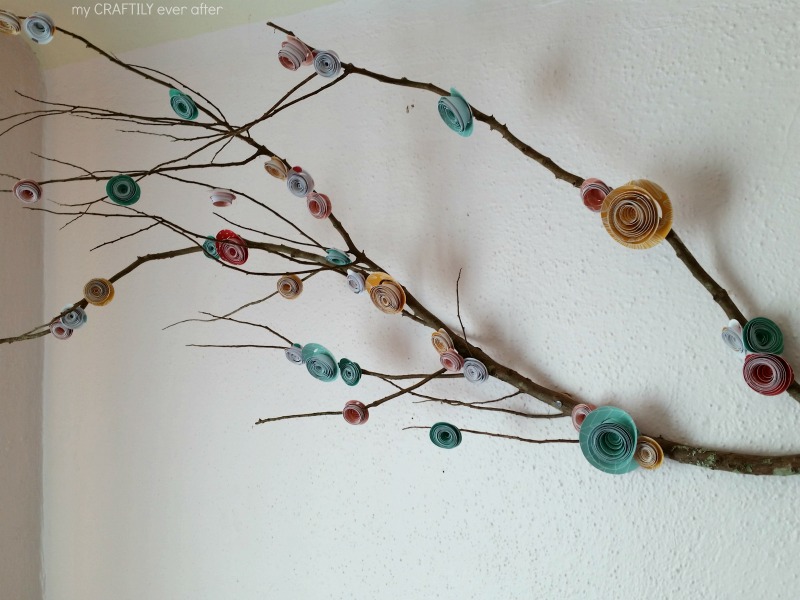
I have been working on updating my littlest daughters room and I really wanted to add some whimsical elements to her space. Her room isn’t that big so I knew I needed to utilize the wall space to my advantage. We live on the coast so we tend to get a lot of windy days, which means it isn’t hard to find tree branches in every size, shape and variety. I love adding the natural elements to our spaces and so the kids and I went on a walk through the neighborhood in search of the perfect branch!

paper blossom branches

Then came the fun part. I flipped through the Home + Made paper decor line paper pack from and picked out a bunch of coordinating papers in pinks, yellows, teals and whites. Then I grabbed the template from this post and opened it up in my silhouette software. I sized the spirals to fit my 12×24 mat and then traced the shape. I am still learning how to do this, so I am not going to pretend to give you a tutorial for this part. Just google it. I sent it to cut and sat back and waited while that tiny blade saved my hands (and scissors) hours of spiral cutting. Over and over and over again I fed my papers in.

cutting paper

I upsized the last few pages so that instead of cutting 18 spirals, I was cutting 8 larger ones. Afterall, variety is the spice of life! Once they were all cut, weeded and ready to go, I started rolling. Now this is by no means a quick process, so gather all your supplies and set yourself up with a good Netflix series (I chose Scandal). Then starting from the teeny, tiny end roll. Roll your paper all the way to the middle and then rub some glue all over that big circle at the bottom.

roll and glue paper roses

Now here’s where things get scary. You are going to slowly loosen your grip on that roll of paper. I know…all that hard work just to let it go, but trust me it’s worth it. Slowly loosen your grip and let the paper unwind a little bit. Once your flower is about the size of your large circle, stick it in the glue and hold. I used Alene’s tacky glue so I only had to hold it for about 15 seconds before it was stuck. You may want to use an unsharpened pencil to push the very middle down into the glue if you have fat fingers like me. Once you have all your roses glued it’s time to start attaching them. You want them to be random all over your branch, just like real flowers would so there is no hard and fast way to do this. Just pick a spot and start gluing. Hot glue is your friend here; super fast drying and I only burned myself once! I varied large and small flowers and colors, however you could easily ombre your flowers and branch, you could create a pattern, YOU can do whatever makes your heart happy! That’s the best part about making!

easy rolled paper flowers

Once the flowers were dry I attached it to the wall. I wasn’t sure how to do this at first, but eventually realized that long, skinny nails were the answer. In retrospect I probably should have nailed the branch to the wall first, but hindsight and all. You could also use a few of the flowers and attach them directly to the wall with some removeable glue dots. If that’s your thing. In my opinion it kind of looks like magic. Or a pretty spring scene, either way, it’s awesome.

diy rolled paper flowers on a branch easy diy paper rolled flowers rolled paper flowers on a branch

I can’t wait to show you what else I created with my Home + Made paper products! Come check out my site for another amazing project!

*********

Thanks Ashley! What a gorgeous project for your daughter’s room. I just love how it all came together! Ashley has great ideas on her blog. Here are a few I know you’ll love:

fresh-and-fruity-jungle-juice


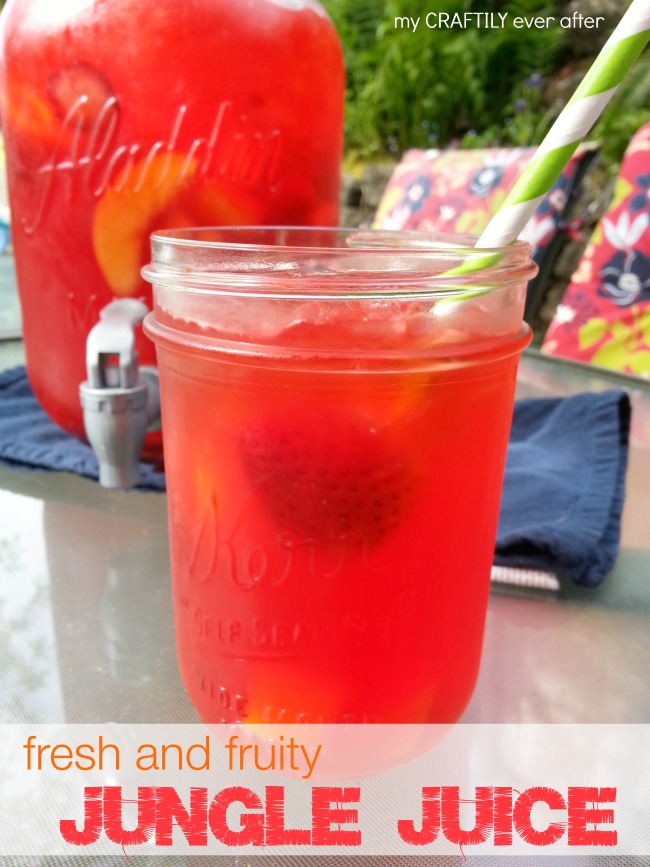
She has fun recipes like this Fresh and Fruity Jungle Juice!

how-to-create-a-road-trip-survival-kit

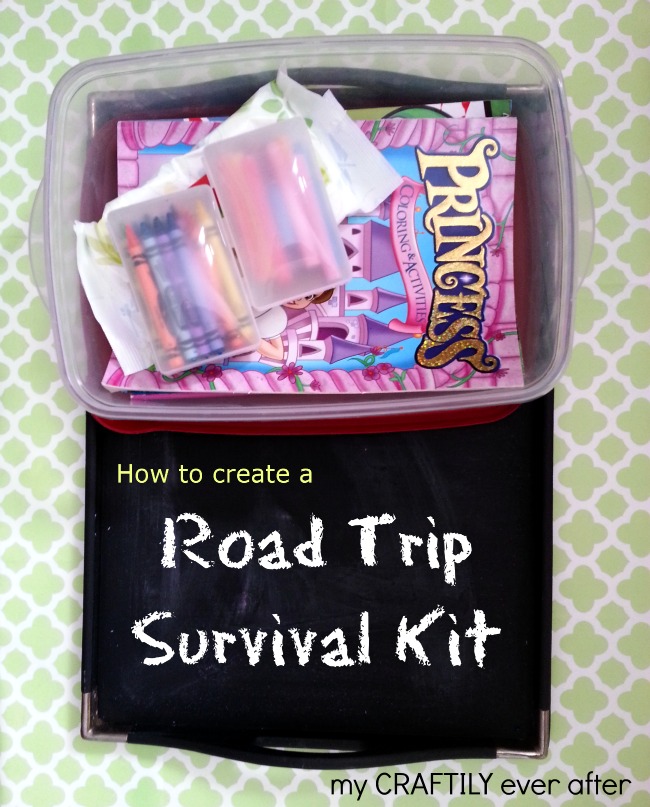
And awesome kid ideas like this DIY Road Trip Survival Kit!

easy-wooden-geometric-pumpkins

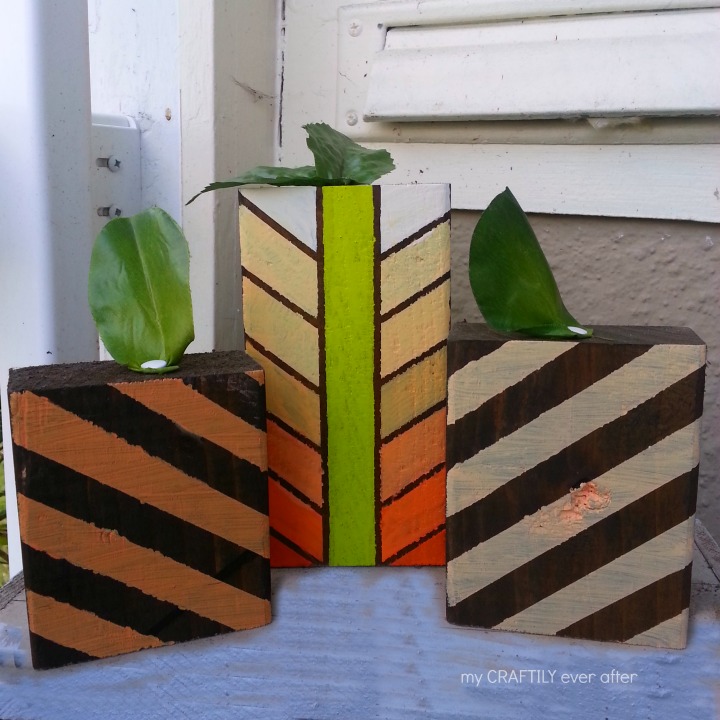
And for fall, make her Easy Geometric Wood Pumpkins!

Make sure to follow My Craftily Ever After and
pinterest.32x32.icon.circle
Follow My Craftily Ever After on Pinterest
instagram.32x32.icon.square
Follow My Craftily Ever After on Instagram
facebook.32x32.icon.circle
Follow My Craftily Ever After on Facebook
twitter.32x32.icon.circle
Follow My Craftily Ever After on Twitter
And if you’d like to try this project she shared today, you can find my Home + Made line at craft and hobby stores near you!
unnamed
xoxo
jen signature

Posted By: Jen · In: diy, guest tutorials, paper craft

Great Ideas — 18 DIY Pumpkins!
Giveaway: Essential Oil Diffuser & Oil Pack [Over $250 value!]

You’ll Also Love

Pretty Summer and Father’s Day Ideas
Jen Hadfield Peaceful Heart Paper LineNew Jen Hadfield Peaceful Heart Line!
15 Outdoor Summer DIYs!
Hi! I'm Jen Hadfield. I'm a mom of 5 restoring an 1891 home in the heart of Salt Lake City. I love being creative and sharing simple ideas to make your life easier and more beautiful!

Receive the Latest Crafts, DIY, Recipes and More in your INBOX!

Follow us on Pinterest! It's awesome!

Top Posts & Pages

Copycat Panera Spinach and Artichoke Egg Soufflés - SO good!
Kids Outdoor Easter Scavenger Hunt - with printable clues!
Spruce up Your Outdoor Space with a DIY Recirculating Fountain! (tutorial)
DIY Black Painted Window Frames
DIY Secret: How to Print on Post-It Notes (and Free Printable Template)
How to Make a Simple Garden Planter Box


Popular Posts

  • Copycat Panera Spinach and Artichoke Egg Soufflés - SO good!
    Copycat Panera Spinach and Artichoke Egg Soufflés - SO good!
  • Kids Outdoor Easter Scavenger Hunt - with printable clues!
    Kids Outdoor Easter Scavenger Hunt - with printable clues!
  • Spruce up Your Outdoor Space with a DIY Recirculating Fountain! (tutorial)
    Spruce up Your Outdoor Space with a DIY Recirculating Fountain! (tutorial)
  • DIY Black Painted Window Frames
    DIY Black Painted Window Frames
  • DIY Secret: How to Print on Post-It Notes (and Free Printable Template)
    DIY Secret: How to Print on Post-It Notes (and Free Printable Template)
  • How to Make a Simple Garden Planter Box
    How to Make a Simple Garden Planter Box
  • How to Change a Recessed Can Light into a Pendant Light with No Remodeling!
    How to Change a Recessed Can Light into a Pendant Light with No Remodeling!

As seen in


Amazon Affiliate

Tatertots & Jello is a participant in the Amazon Services LLC Associates Program, an affiliate advertising program designed to provide a means for sites to earn advertising fees by advertising and linking to amazon.com.
  • About Me
  • Advertising
  • Get Featured

Copyright © 2023 Tatertots and Jello · Privacy
This site is a place for positive discussion and ideas. Negative talk, comments that disparage others, and similar are not welcome and may be removed.