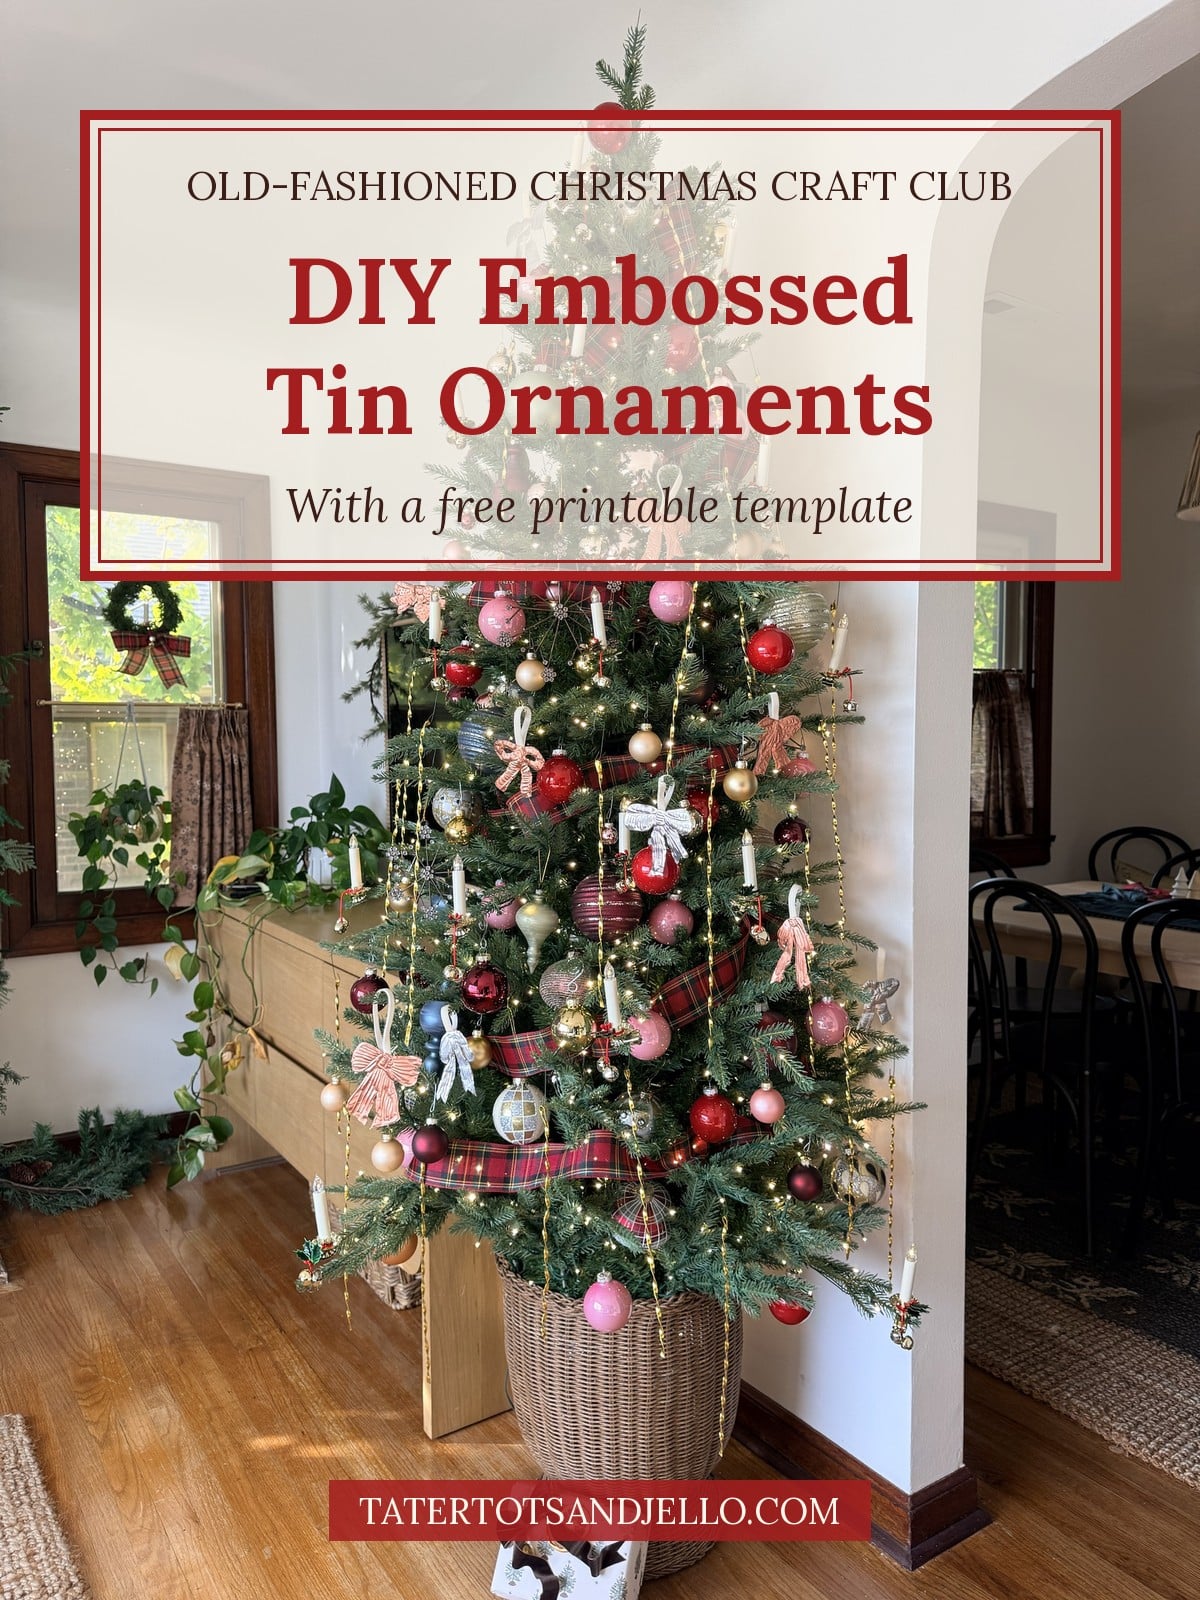
DIY Embossed Tin Ornaments with Free BOW Printable Template
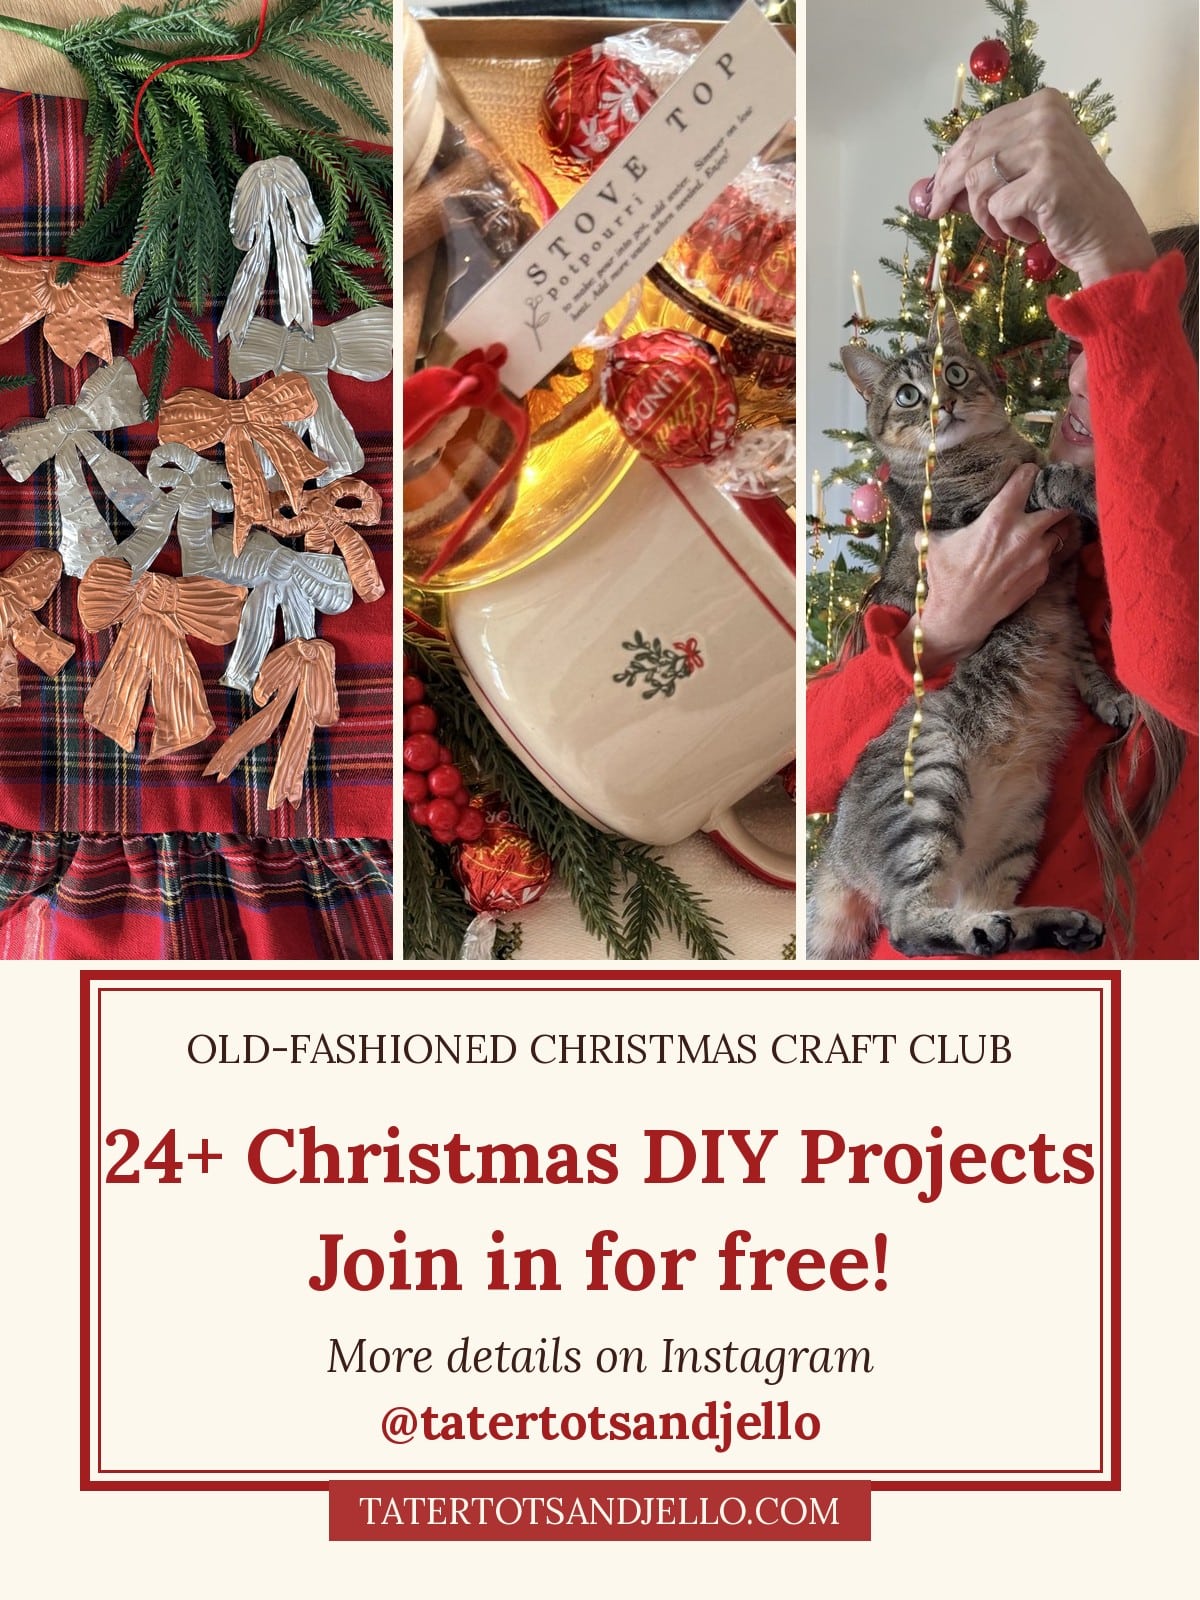
I made a whole tree’s worth of these tin bows from $1.50 dollar store pans, and you can trace them with my free bow template!
An Anthropologie-Inspired Ornament for a Fraction of the Price
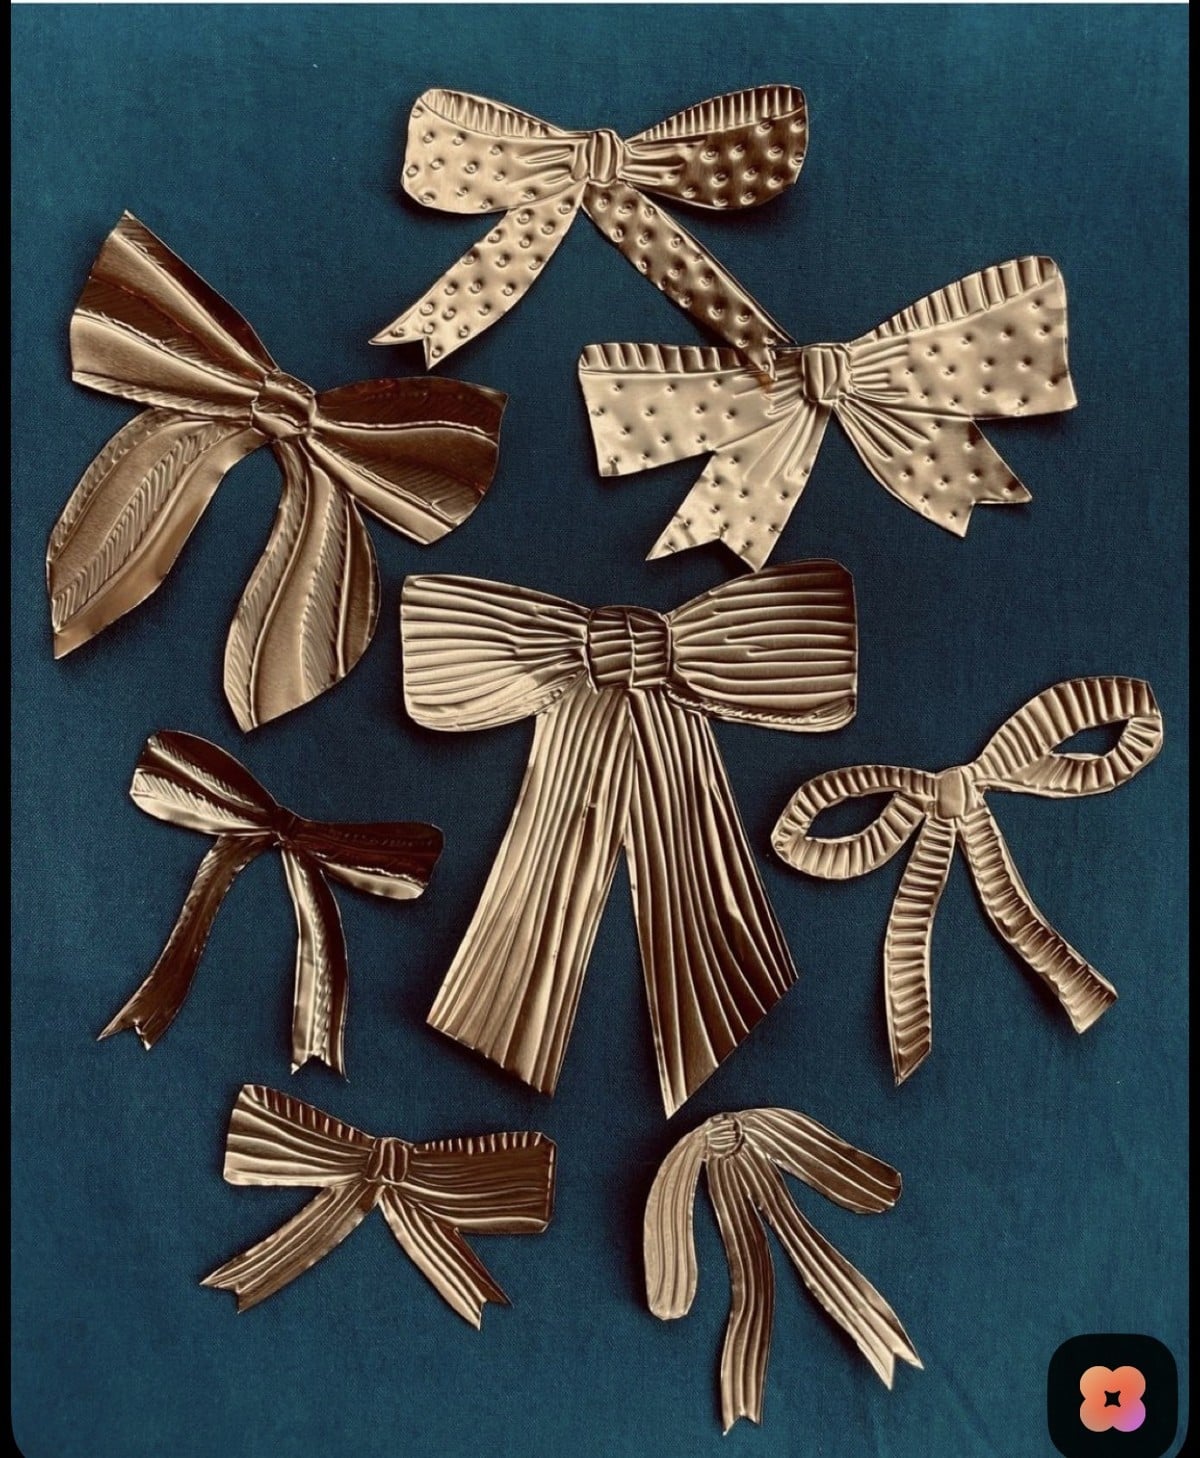
I saw embossed tin bow ornaments at Anthropologie and couldn’t stop thinking about them. They look like something you’d find on a tree from the 1930s, which is exactly the feeling I want for our first Christmas in our 1932 Tudor. But I wanted a lot of them, and that gets expensive. Then I was walking through the dollar store and spotted the disposable aluminum pans. They come in silver and copper, they’re $1.50 each, and I got 6 to 10 bows out of every pan.
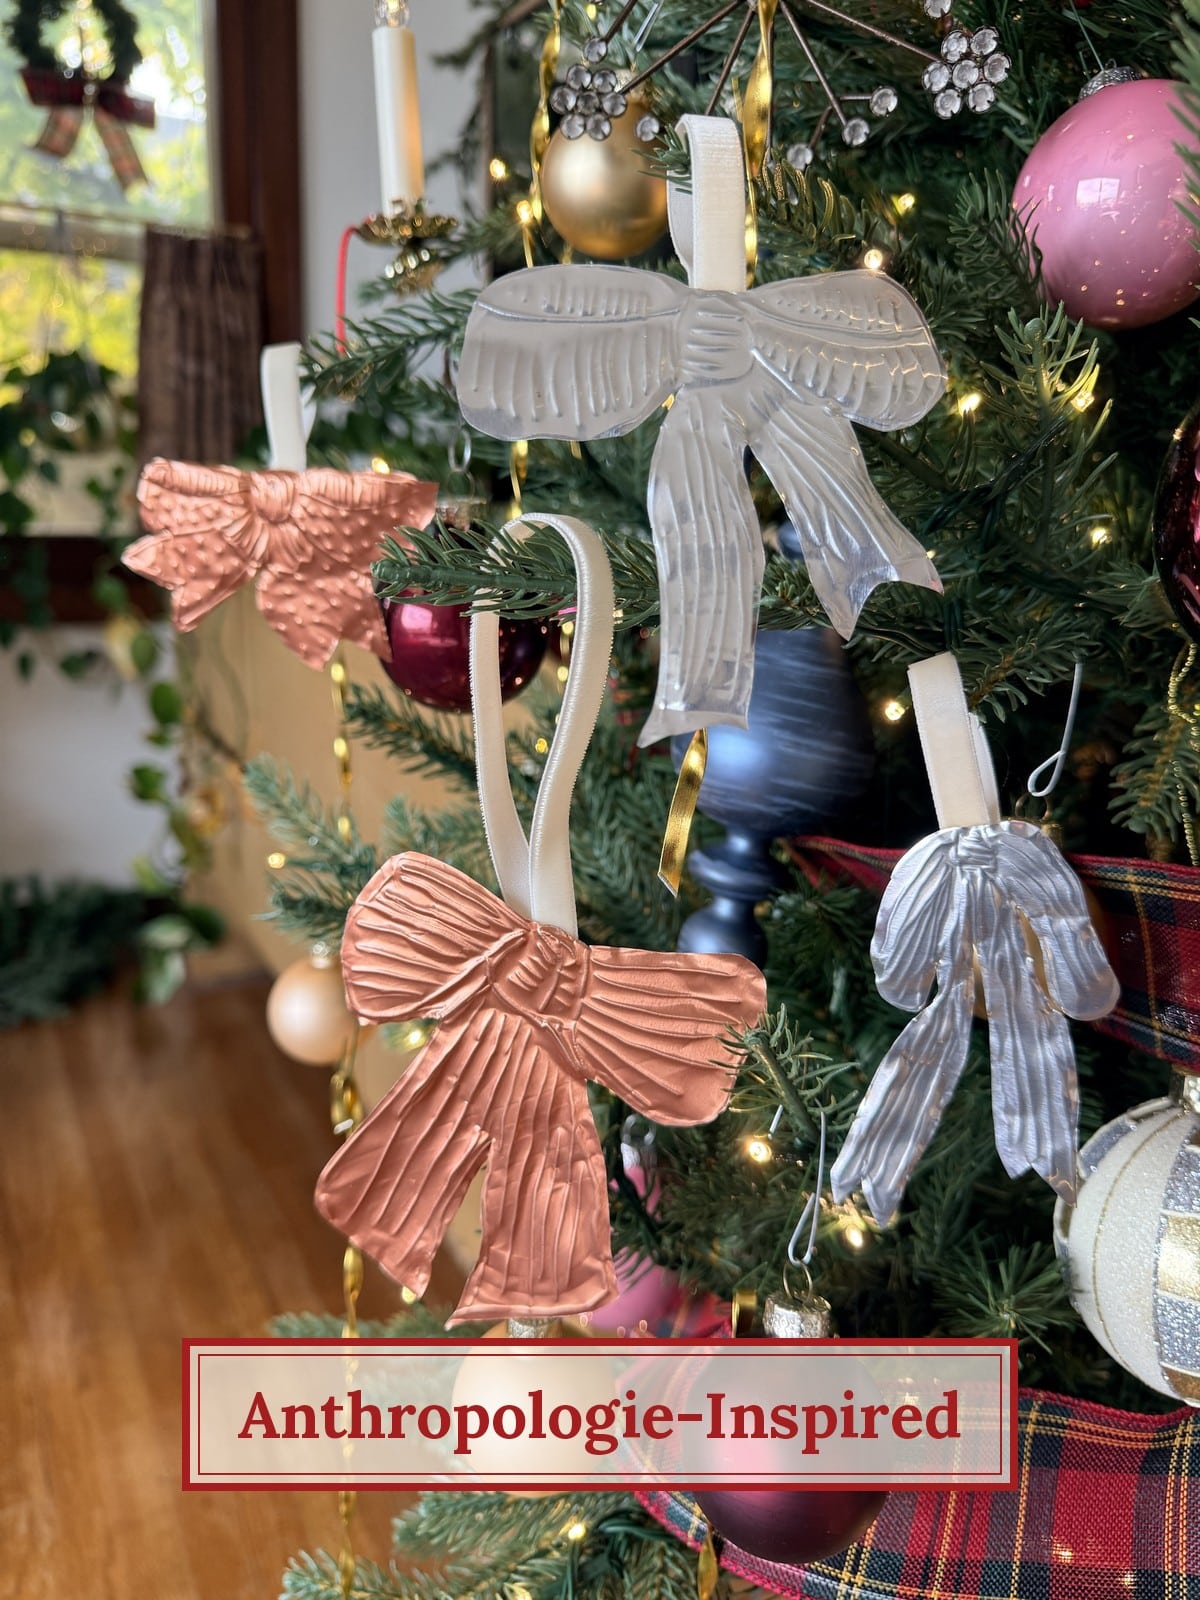
If December is already too full and you’d rather just buy them, here are the originals: [SHOP THE ANTHROPOLOGIE EMBOSSED TIN BOW ORNAMENTS]. They’re gorgeous. But if you have an afternoon and a couple of pans, here’s how I made mine.
Supplies for This Dollar Store Craft Idea
DIY Embossed Tin Ornaments with Free BOW Printable Template.
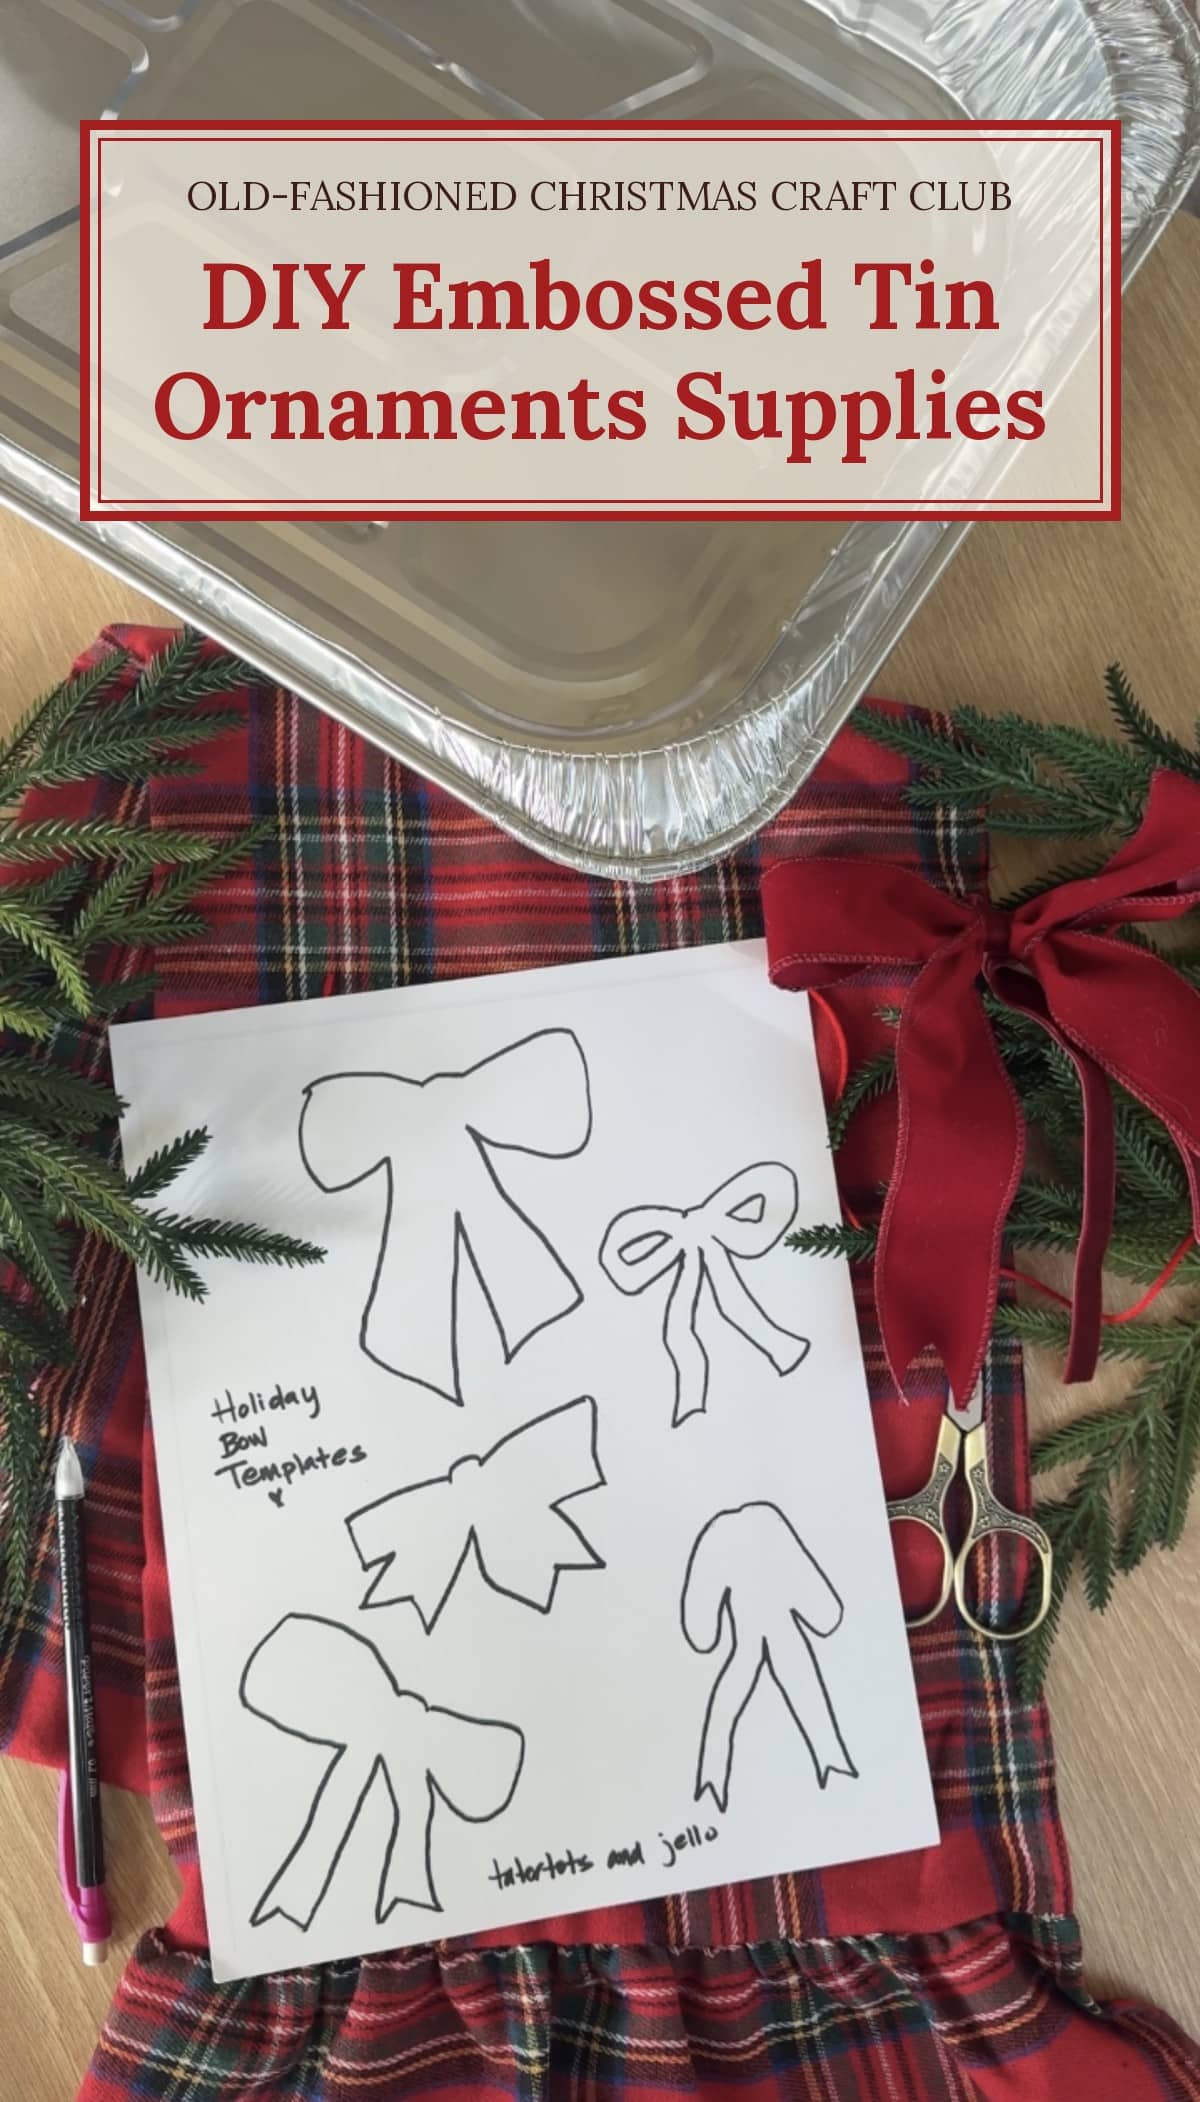
Here’s what I used: a disposable aluminum pan (I bought one silver and one copper), my bow template printed on white cardstock, regular scissors for the paper, and an old pair of utility scissors for the metal. Please don’t use your good sewing scissors on this! For tracing and embossing I used a pen that had run out of ink. A pencil with no lead or an embossing tool works too. You want something with a dull point so it dents the metal without poking through. You’ll also need velvet ribbon and a hot glue gun.
Download and Print the Free Bow Template
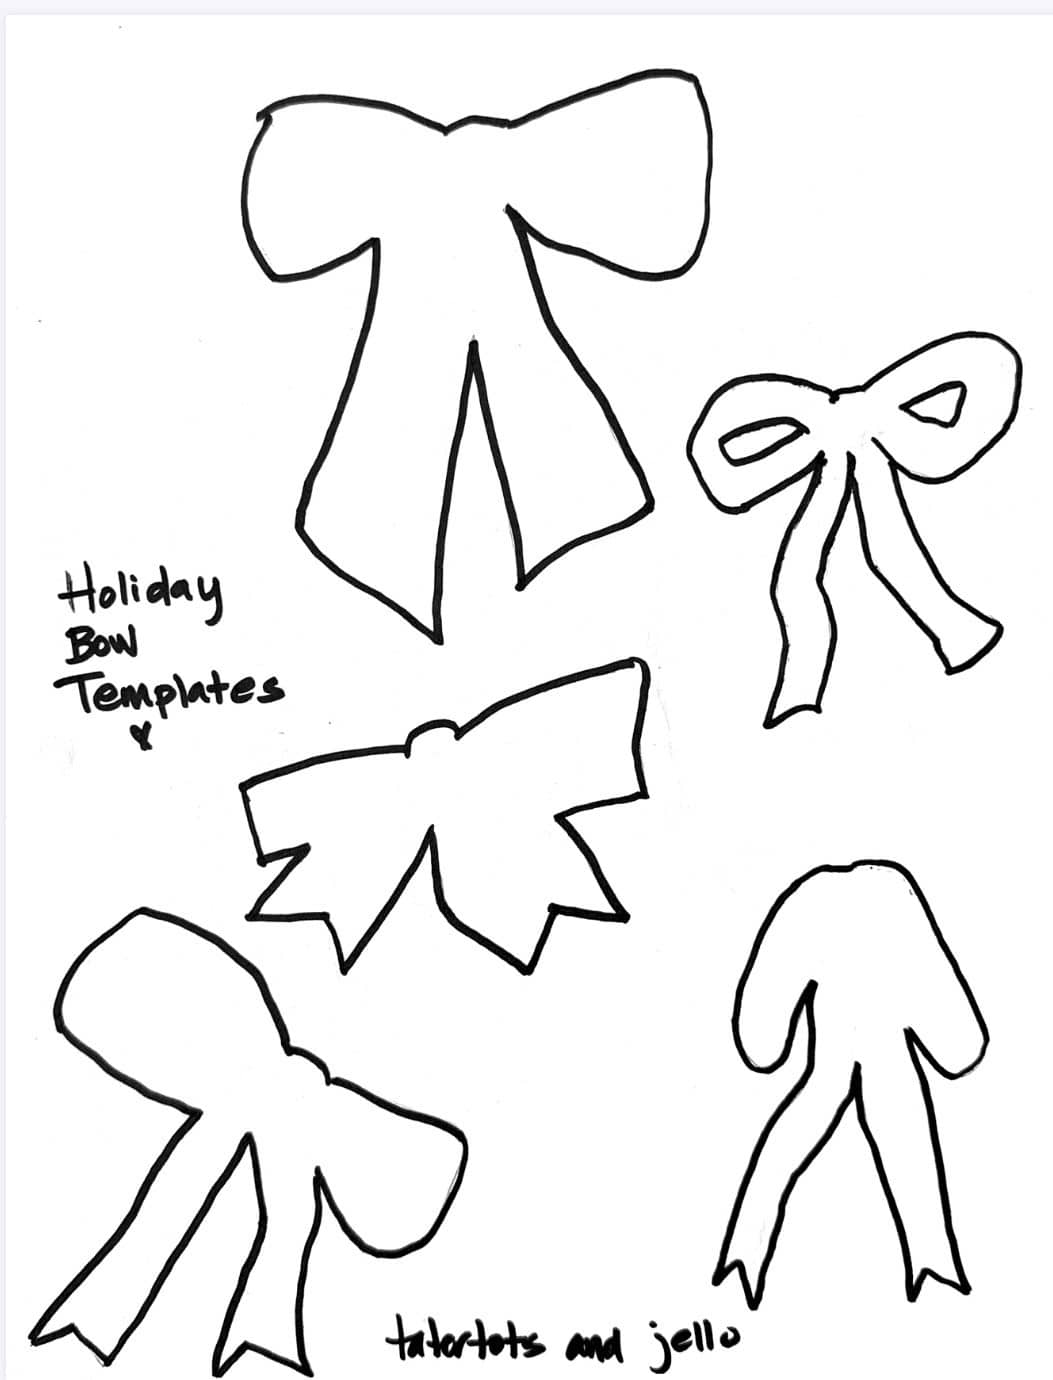
I drew five bow shapes based on the Anthropologie bows, some with long tails and some with open loops. Click the link below, right-click to save the template, and print it on cardstock. I tried printer paper first and it got floppy after a few tracings, so cardstock is worth it. Cut out the bows you want to use.
[DOWNLOAD THE FREE EMBOSSED TIN BOW TEMPLATE HERE]
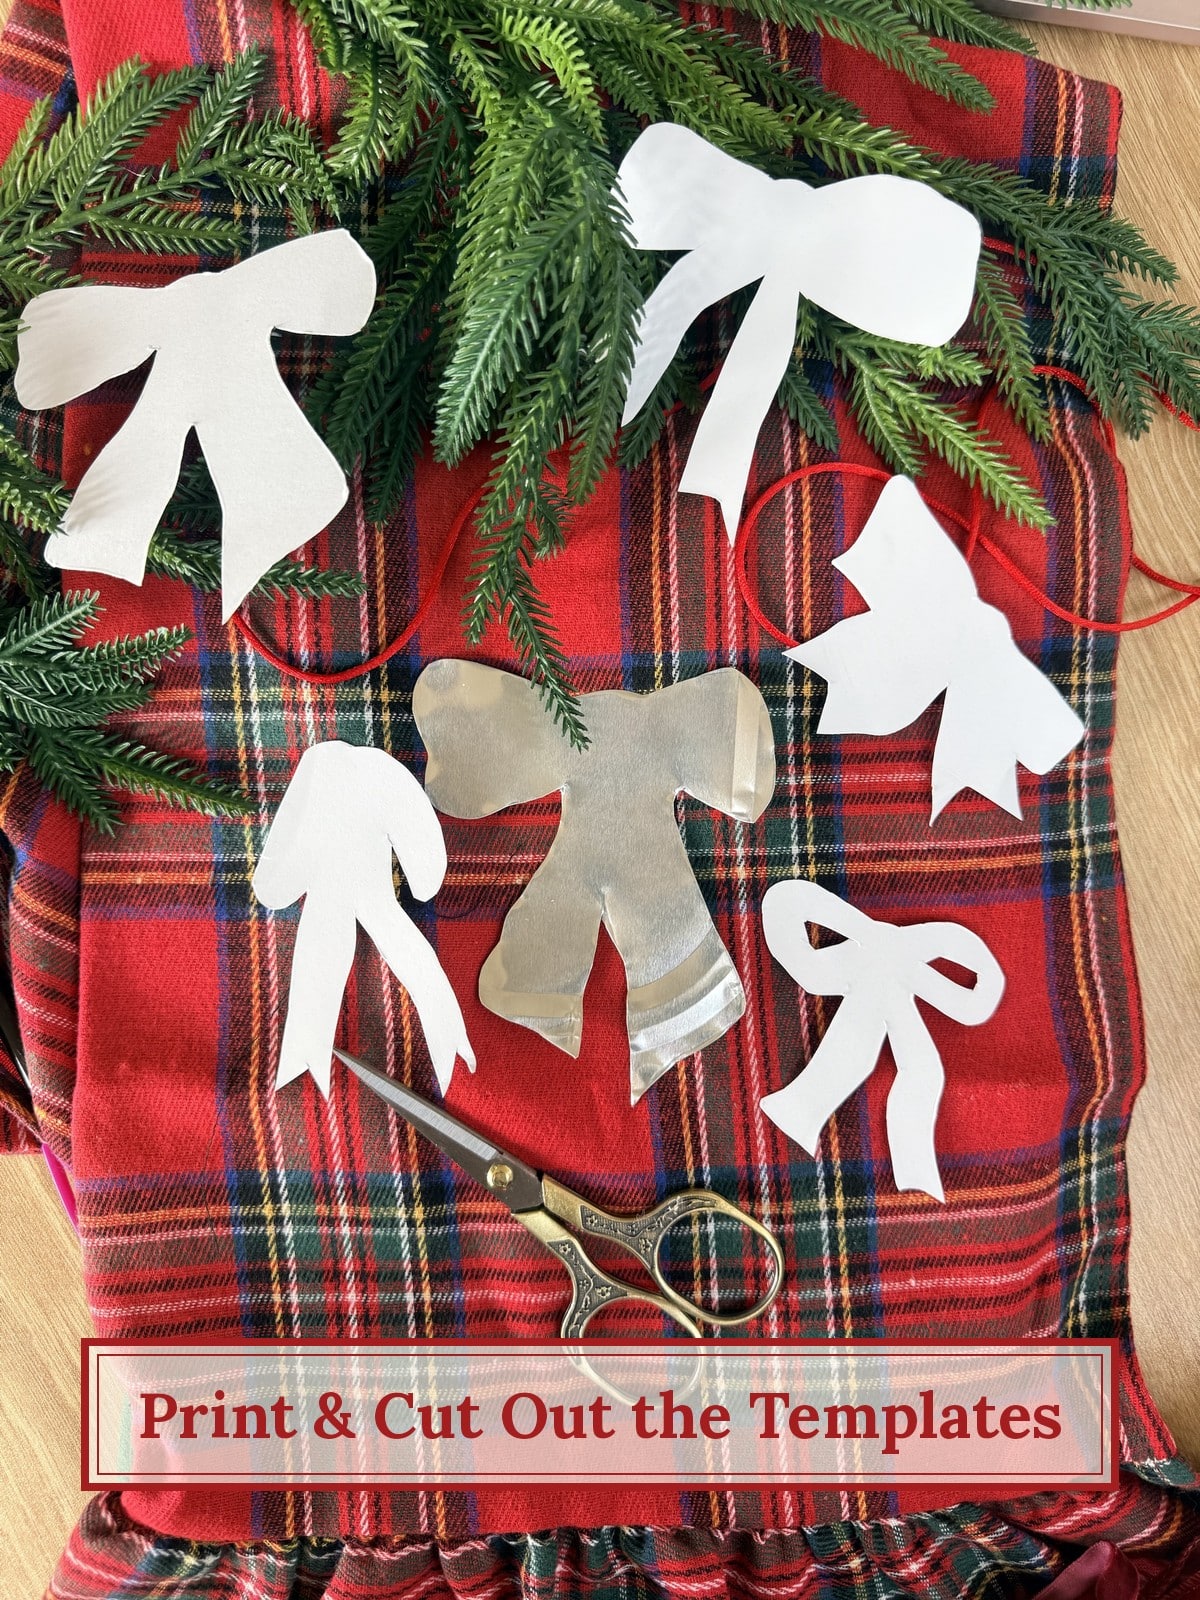
How to Flatten the Dollar Store Aluminum Pan
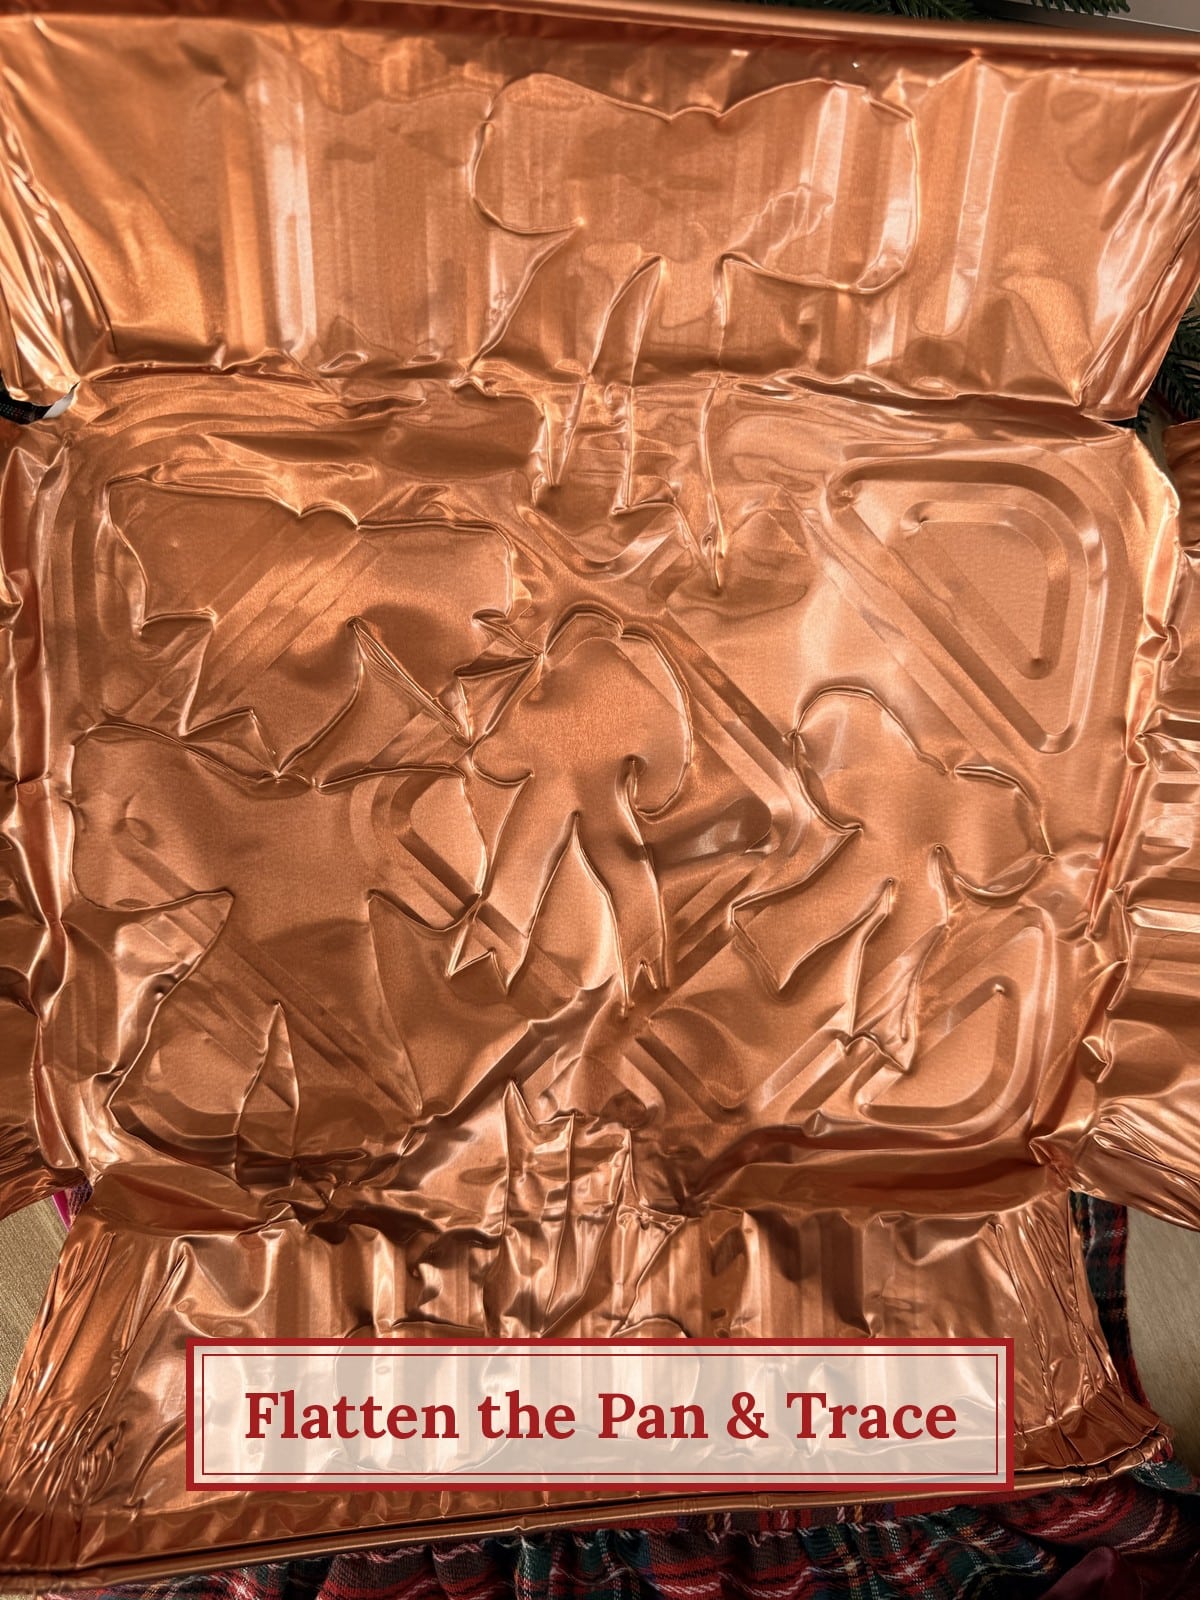
Cut down each of the four corners of the pan so the sides fold out flat. You can trim the sides off or leave them attached and trace right on them. I fit several bows on the bottom of one pan and a few more on the sides. Press out the wrinkles with your hand. Don’t worry about the ridges from the pan, either. Once you emboss over them they just look like old hammered tin.
Trace and Cut Out Your Tin Bows
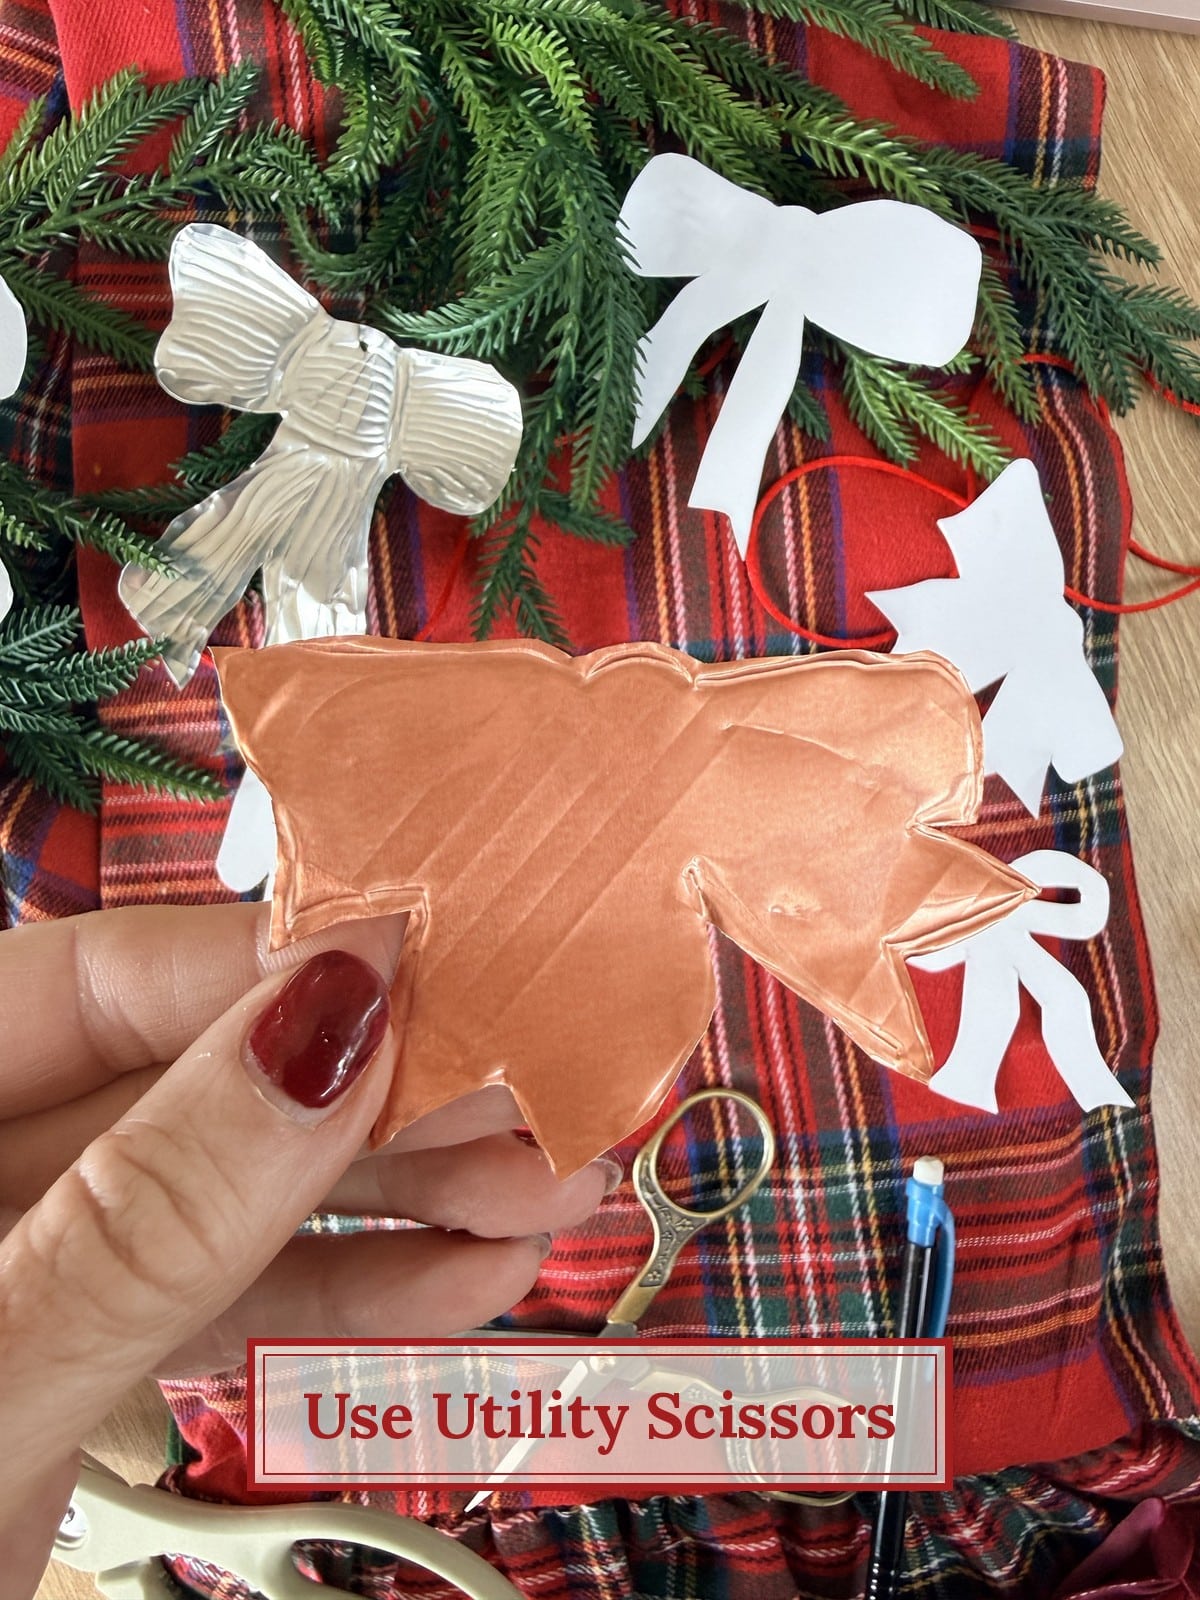
Lay a template on the metal and trace around it with your empty pen, pressing hard enough to leave a dent you can see. Then cut on the line with your utility scissors. The pan cuts much more easily than you’d expect. Take your time on the loops and the little notches at the ends of the tails. The cut edges can be a bit sharp, so I’d keep this one away from little kids.
Emboss the Details on Each Bow
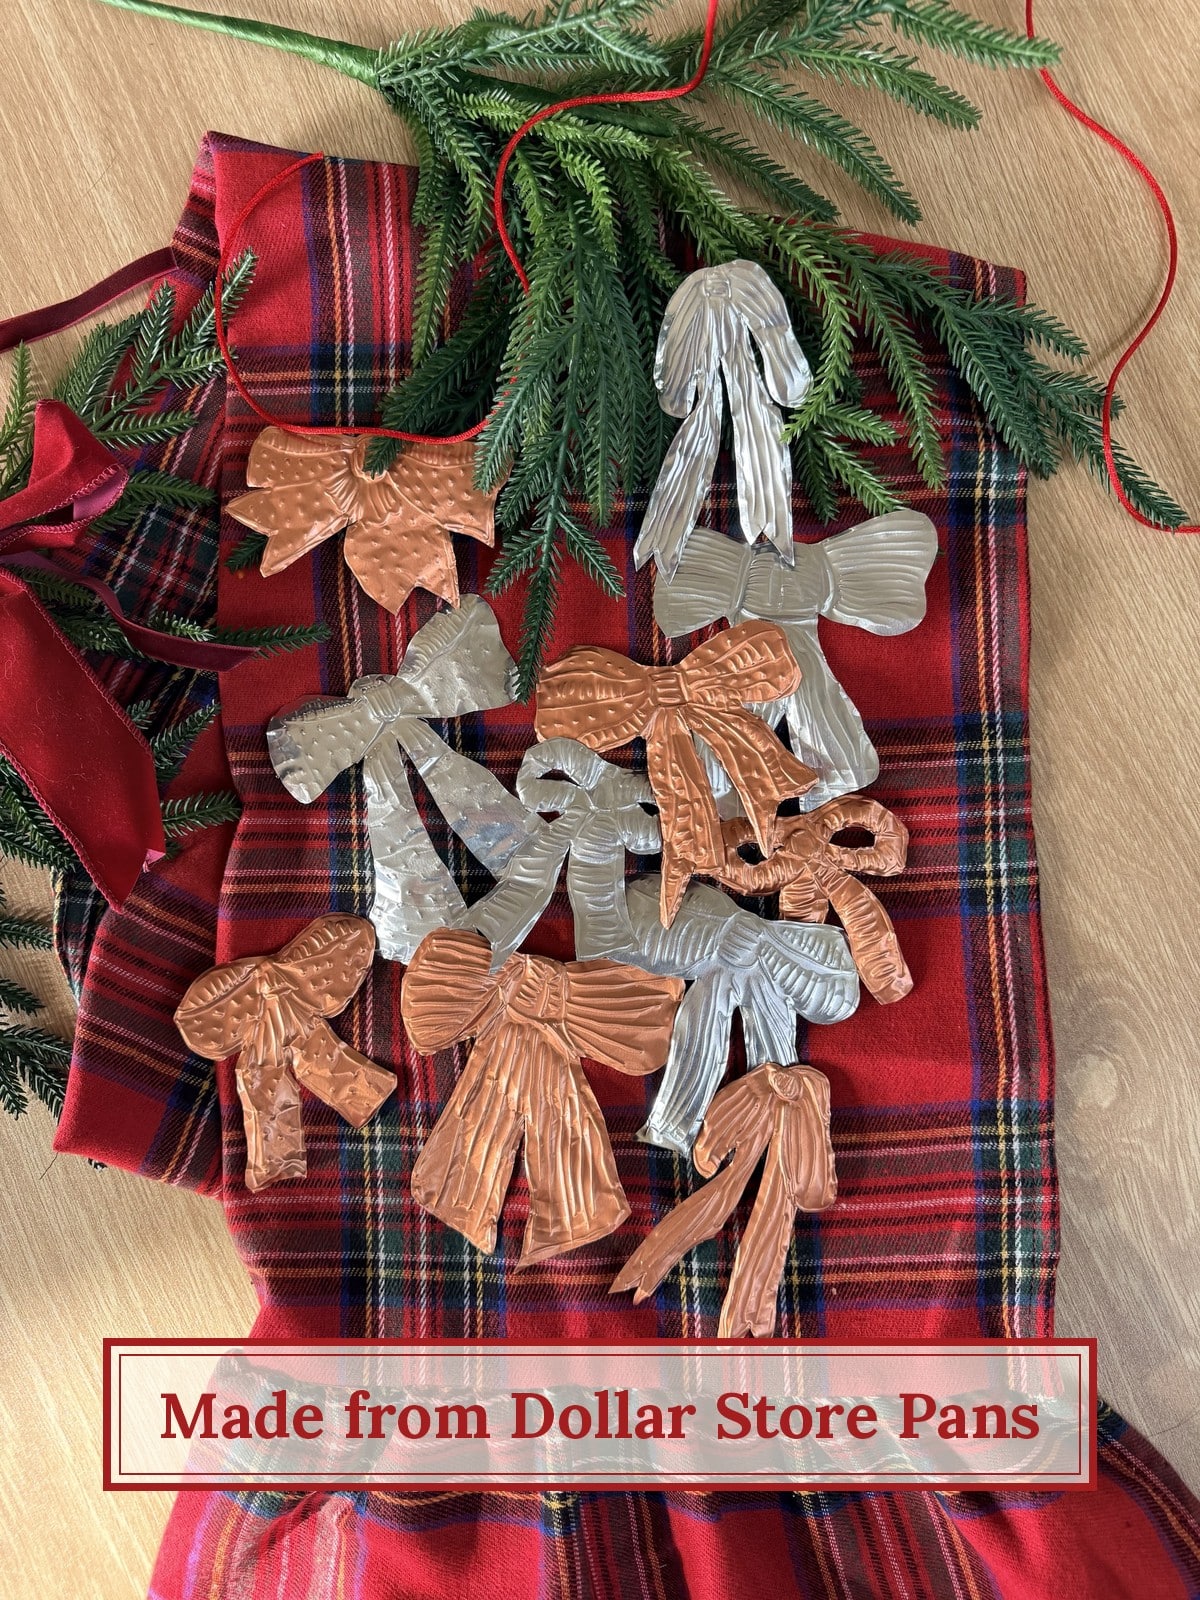
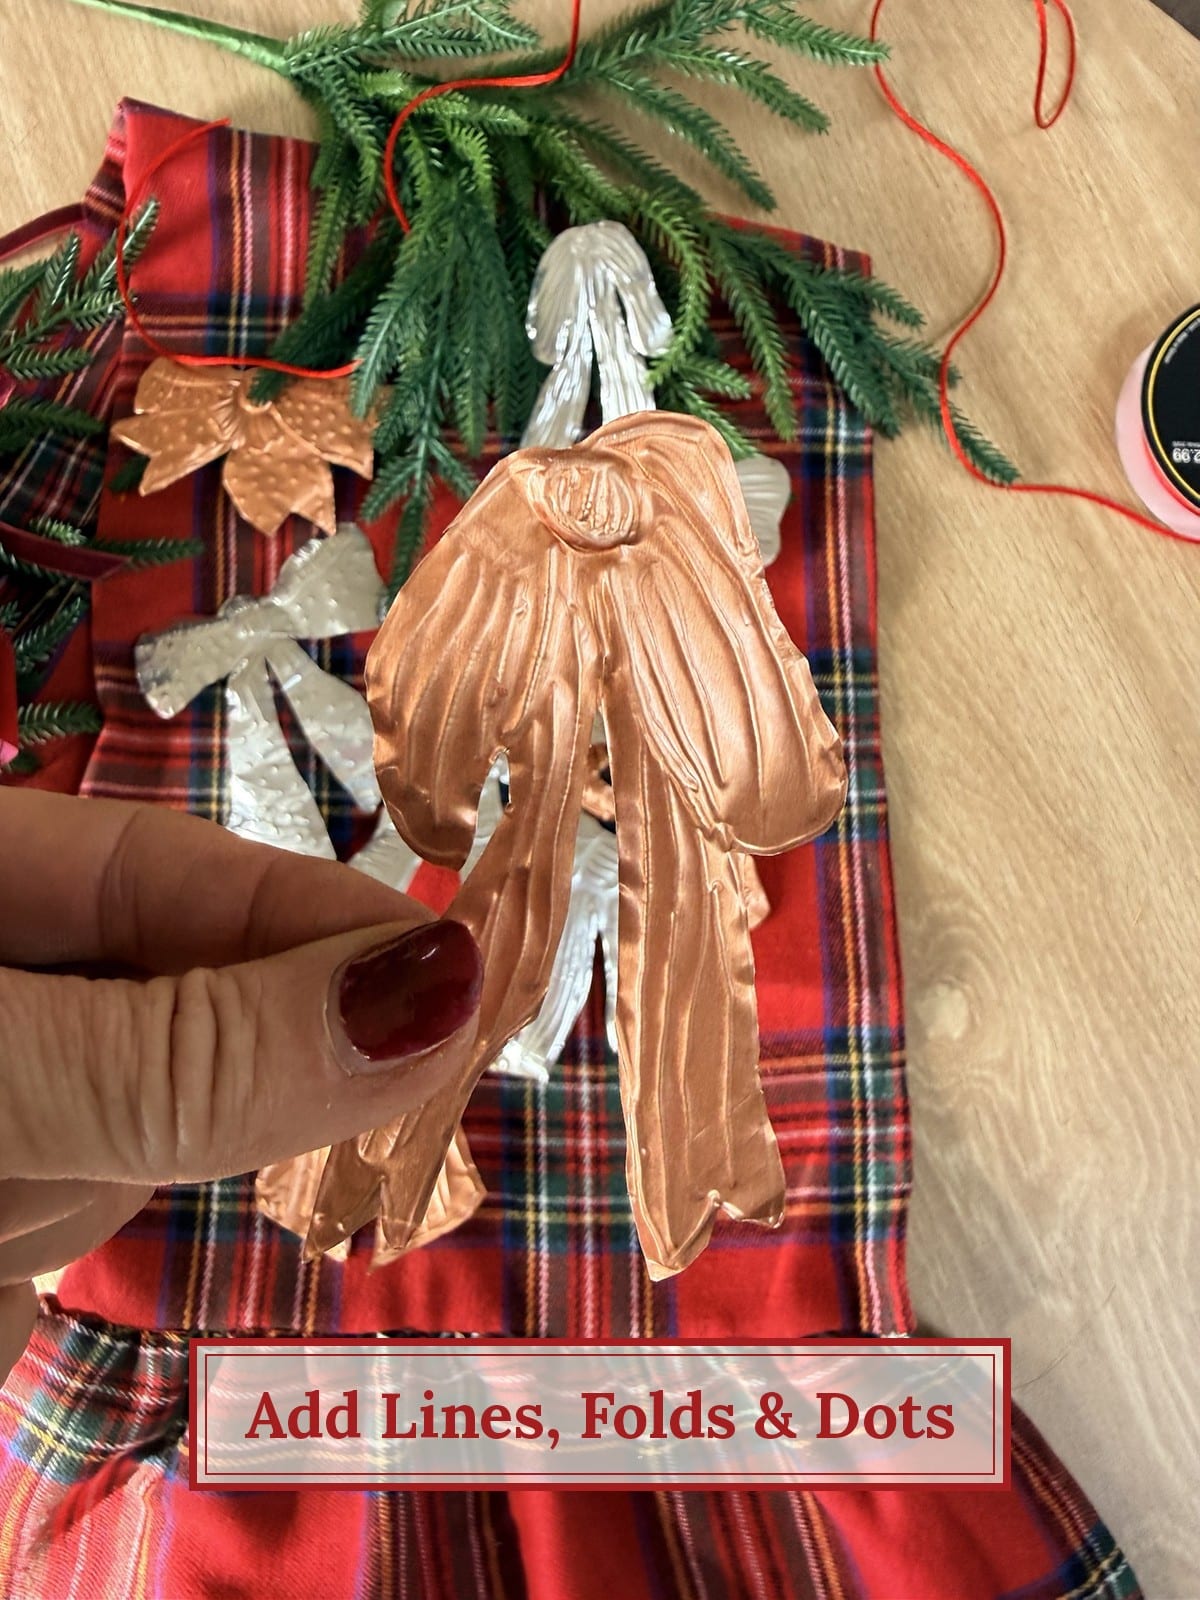
This is my favorite part. With the same pen, draw lines along each loop and tail so they look like gathered ribbon. Add a few lines across the knot in the middle. On some bows I did dots instead of lines, which looks like a polka-dot ribbon. When you flip the bow over, every line shows up raised on the other side, so pick whichever side you like best as the front. I liked the raised side on some and the indented side on others.
Add a Velvet Ribbon Hanger
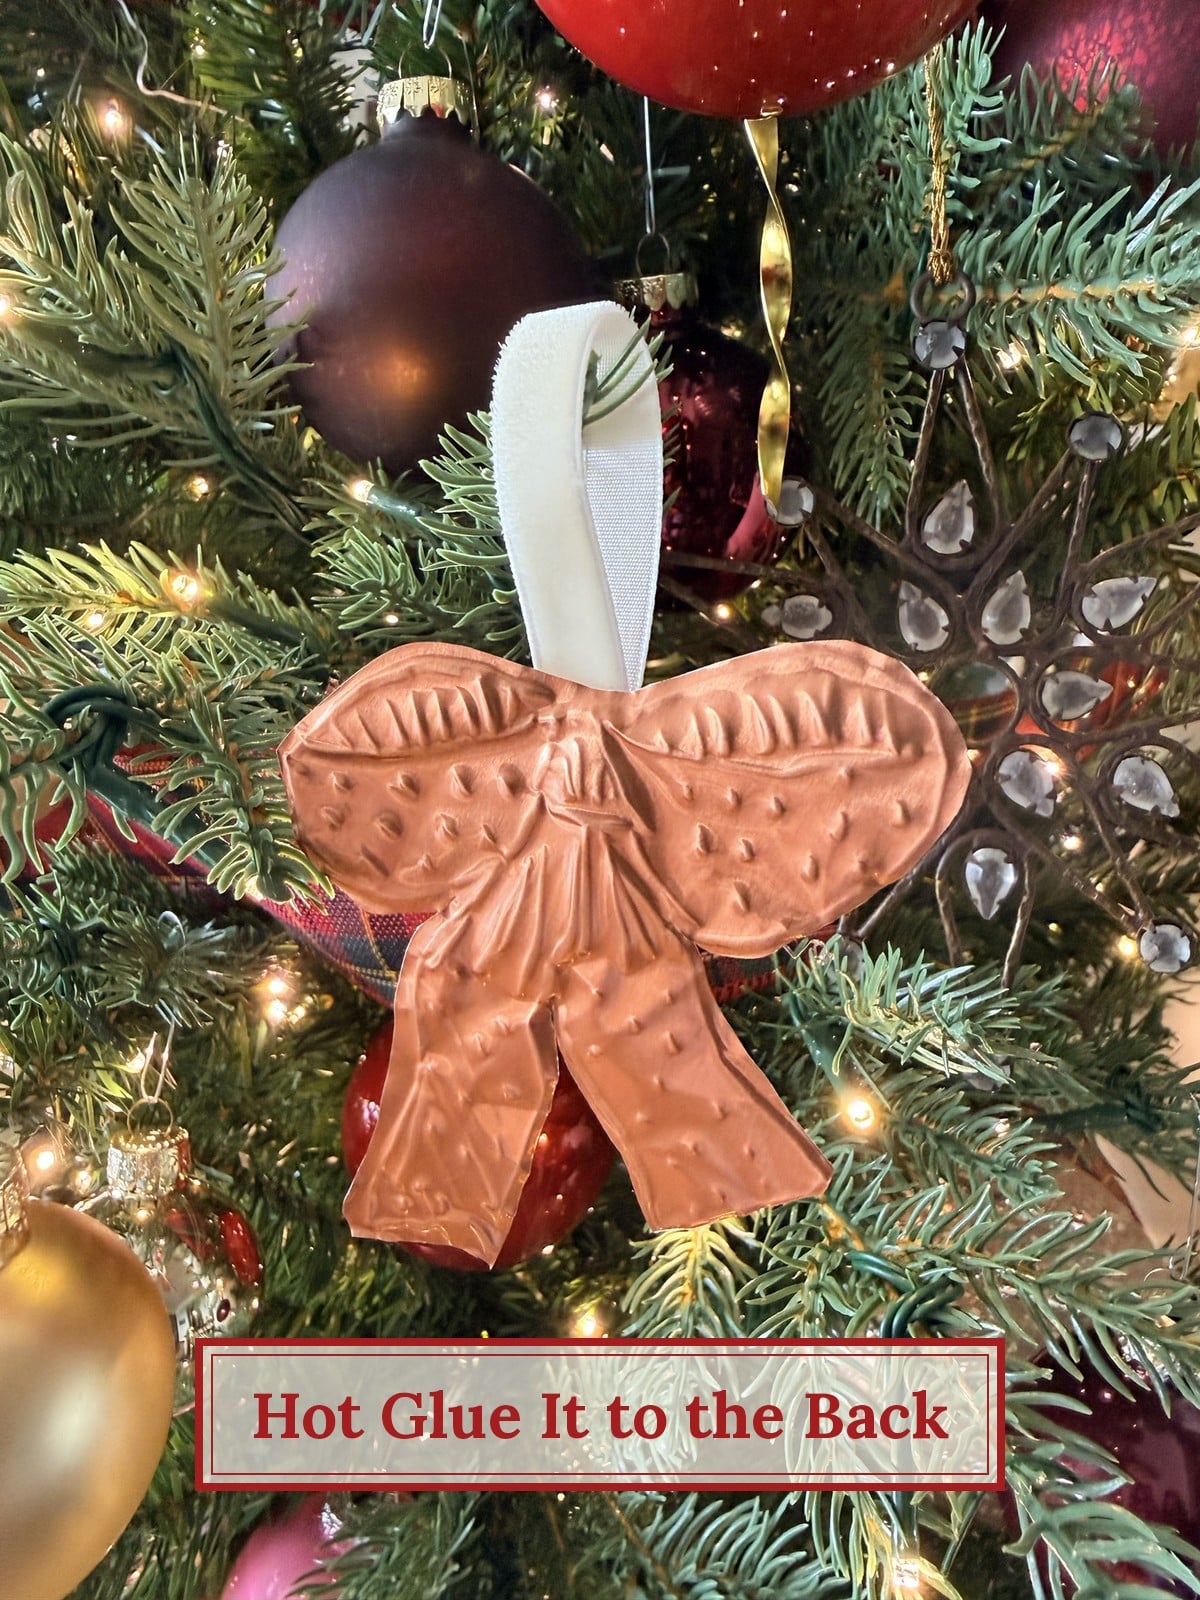
Cut about 5 inches of velvet ribbon, fold it into a loop, and hot glue both ends to the back of the bow behind the knot. Hold it for a few seconds while the glue cools. I used ivory velvet because it looks soft next to the shiny metal, but deep red or green would be pretty too.
More Ways to Use Your DIY Embossed Tin Ornaments
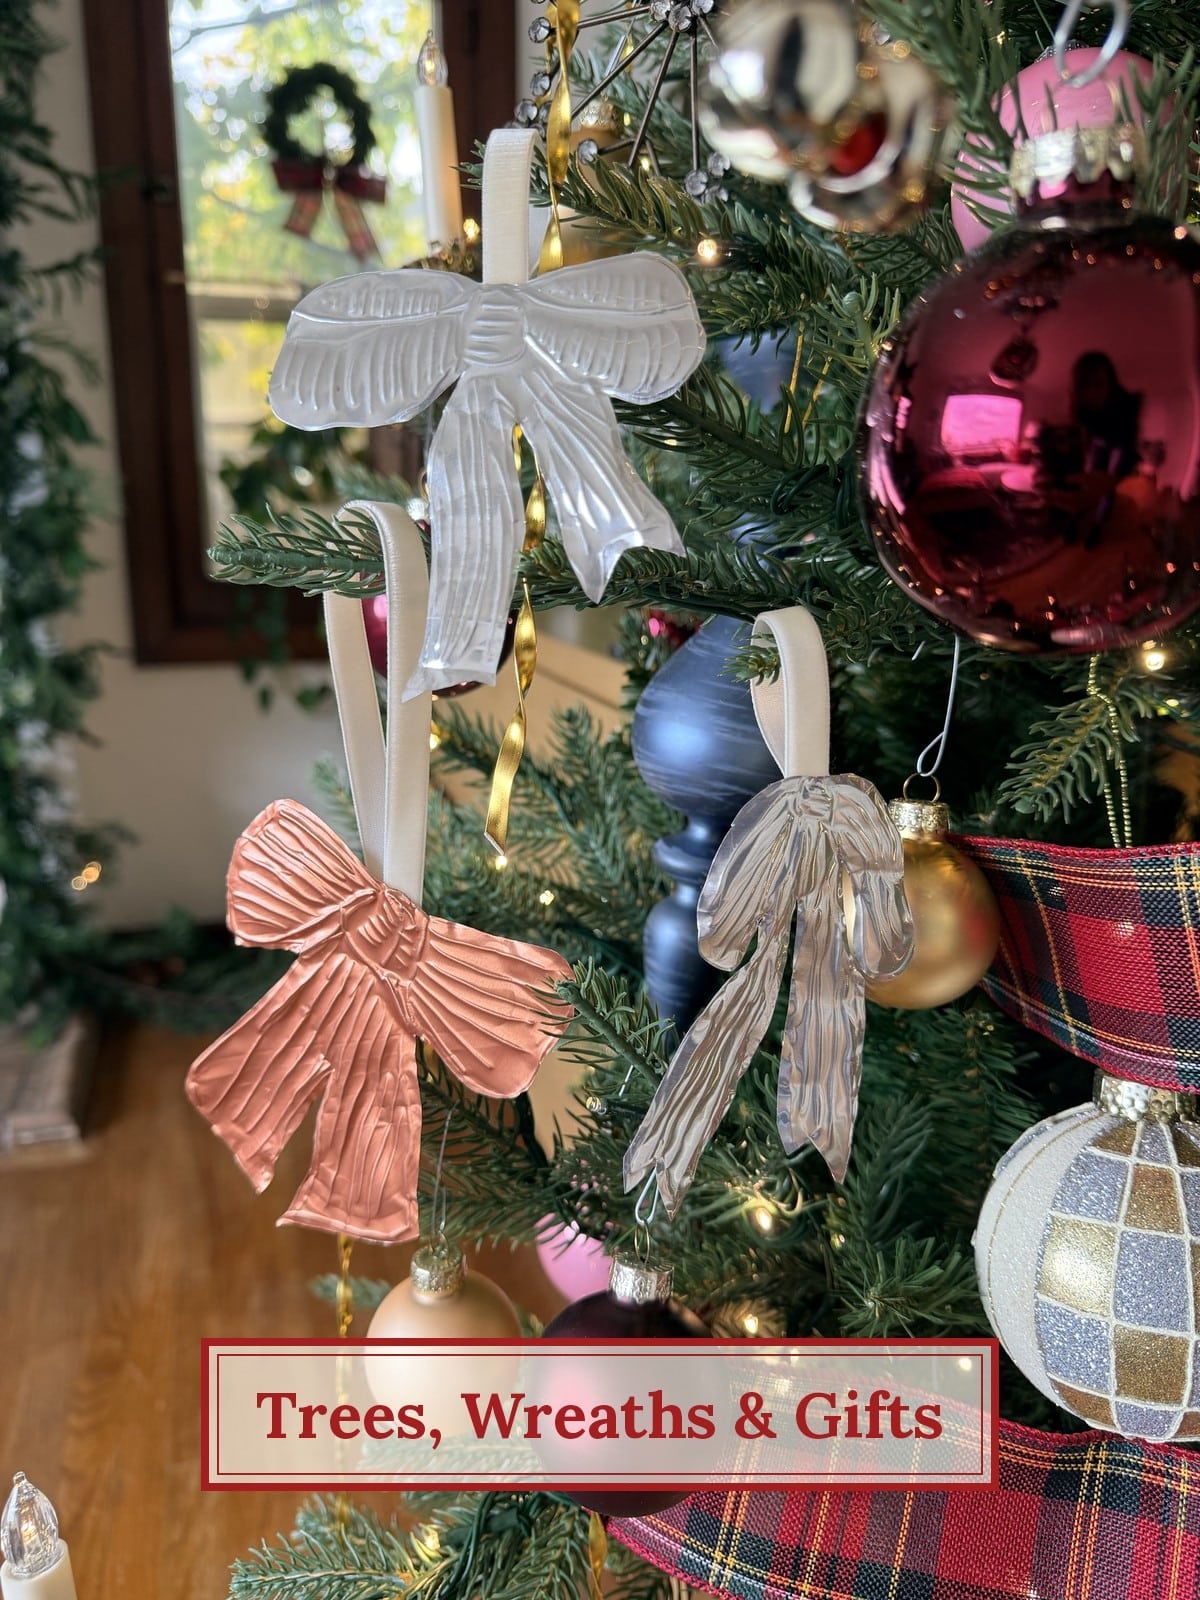
I made more than I needed for the tree, so the extras are going everywhere. You can tie a few onto a garland on the mantel or stair rail, tuck them into a wreath, or use one on a wrapped present instead of a regular bow. I’m also adding them to our neighbor gifts with a handwritten tag, so the bow becomes an ornament they get to keep. When one pan makes 6 to 10, you can afford to give a lot of them away.
These tin ornaments are part of my Old-Fashioned Christmas Craft Club! We’re on project #3 and crafting up a storm over here. I’ll be sharing 24 projects this season, all inspired by old-fashioned Christmas and decorating our 1932 Tudor. It’s completely free, with no sign-up. Just follow along on Instagram at @tatertotsandjello for all of the videos and behind-the-scenes info.
Cozy Neighbor Gifts to Give Out December 1st
DIY Metal Tinsel – Reusable and Pet-Safe
XOXO,




Liked it? Leave a comment! Thanks! xoxo