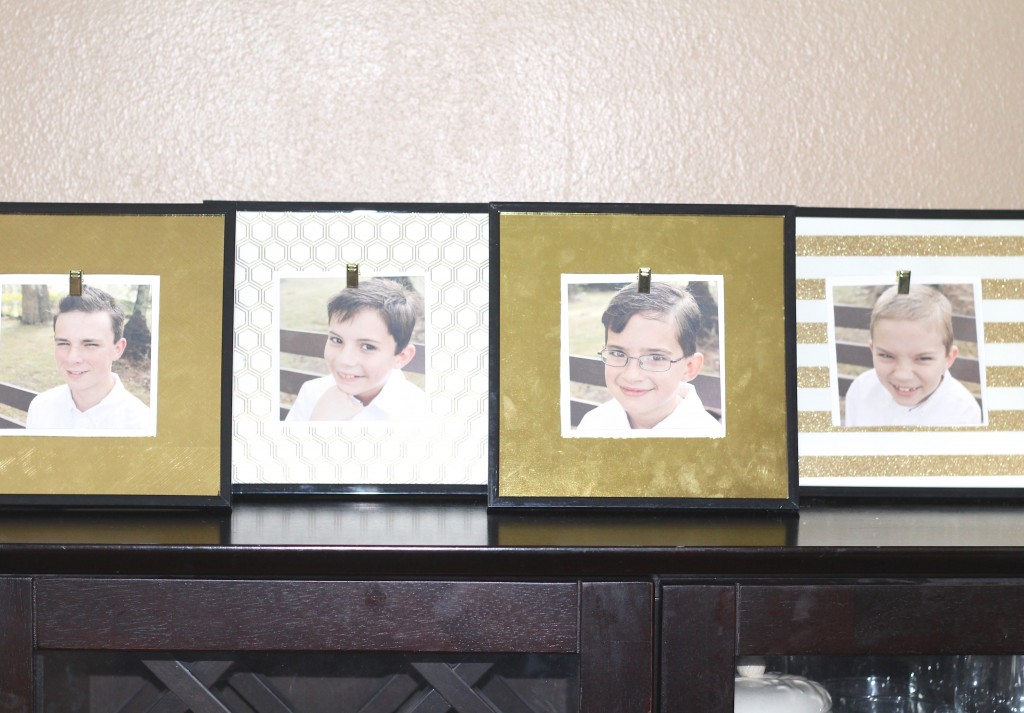
Welcome to the Summer of Paper series – where we’ve invited fabulous guests to create projects using supplies from my Home + Made paper decor line.
 Hi! It’s Jessica from Everyday Party Magazine, and I am the founder and editor-in-chief of Everyday Party Magazine. As far back as high school I’ve loved to throw elaborate parties, even hosting and designing her Junior/Senior prom! After my sons were born, I went back to her party love and now design immersive, themed parties. Check out my designs today to help inspire the bash of your dreams!

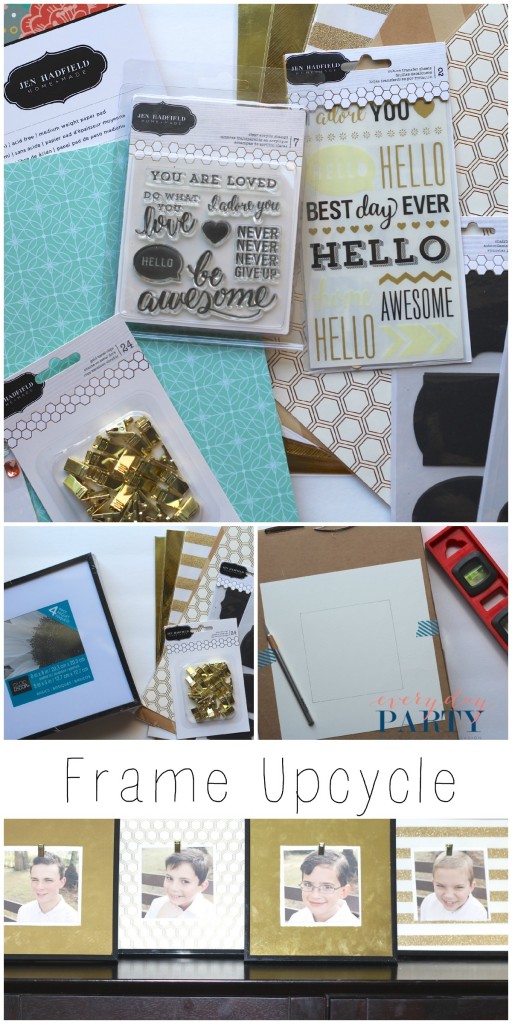
I am THRILLED to share these simple DIY Upcycled Frames using products from Jen Hadfield’s Homemade Line. I was sent so many fabulous new products, and I have already used quite a few, but this project is my favorite so far.
Frame Upcycle
Supplies:
Frames (I bought these new from Michael’s for a few dollars, but you can certainly use what you have already)
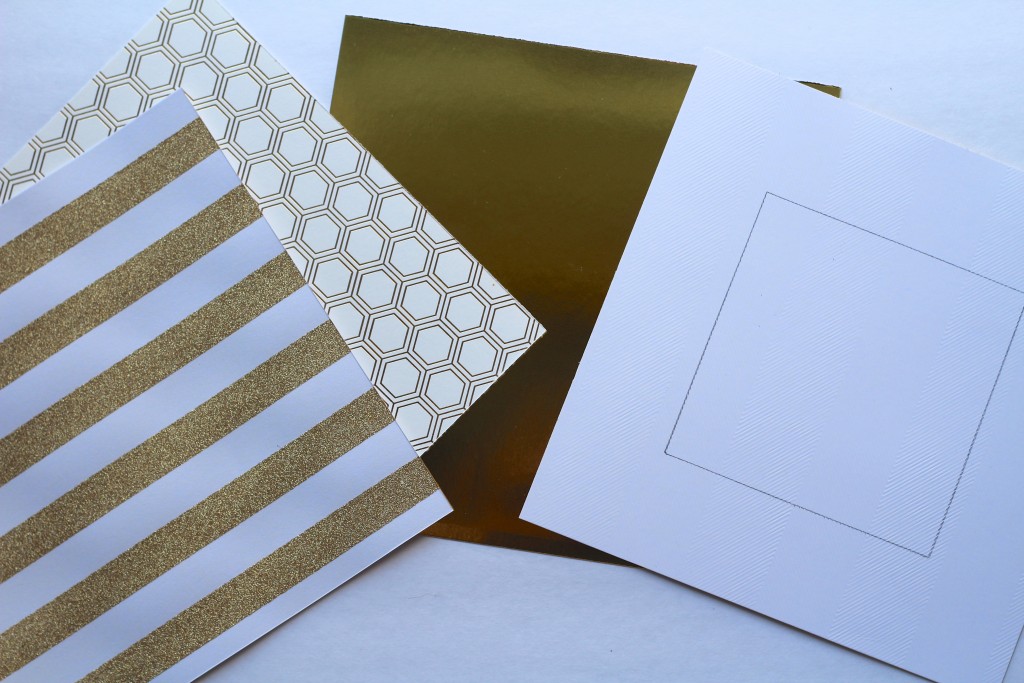
Paper from Jen Hadfield Homemade – one sheet for each frame
Paper cutter
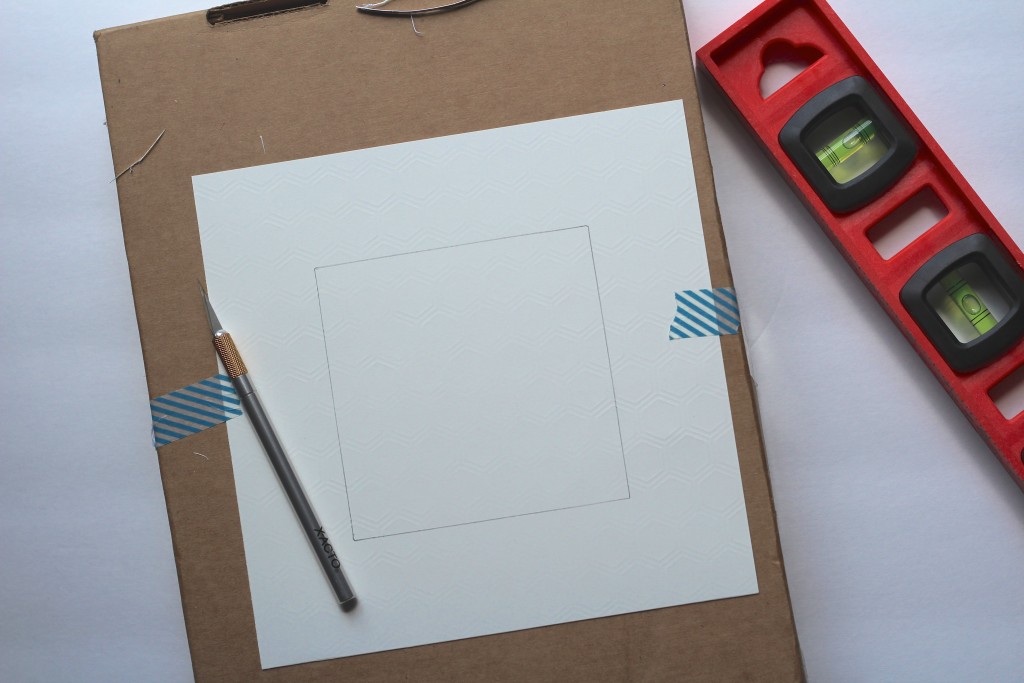
X-acto knife and straight edge tool
Gold Metal Clips from Jen Hadfield Homemade
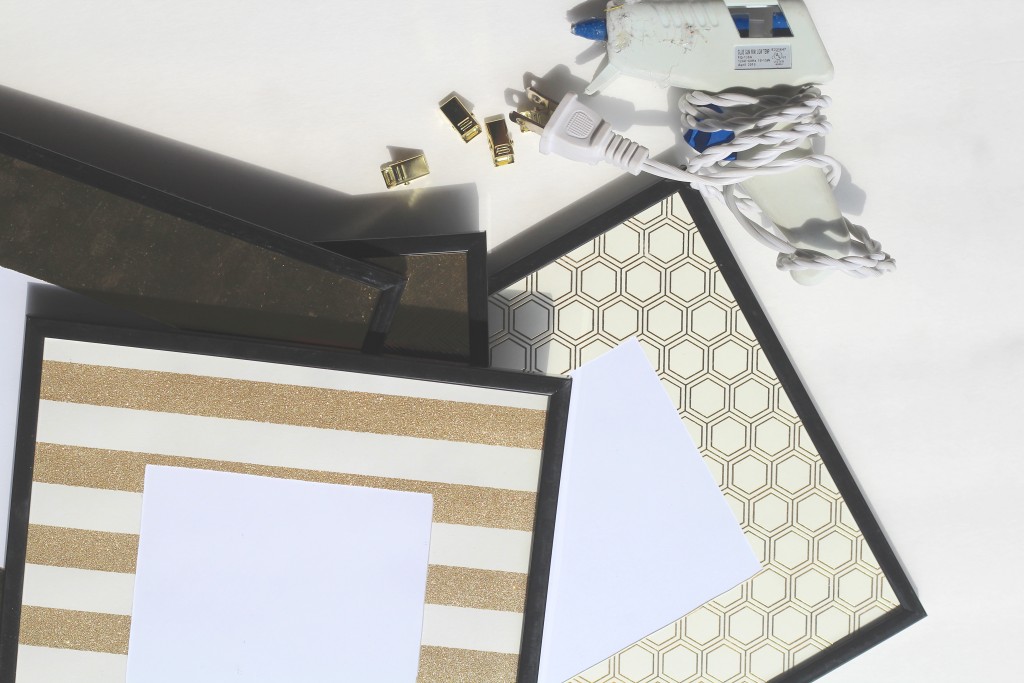
Hot glue gun and glue
Photos
Cutting pad (I used a cardboard box)
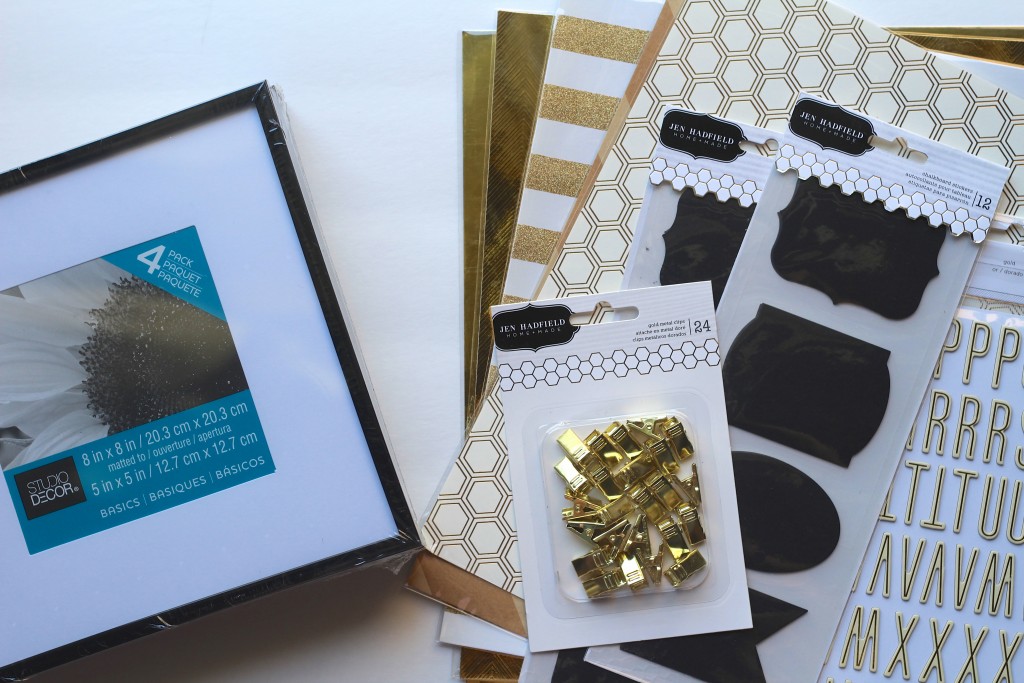 I decided to use the letters and chalkboard stickers on another project.
Start by removing the mat from your frame. If you don’t have a mat already, you can create one to fit your frame. My mat had a 2” border around it, and that is pretty standard, but you don’t have to be exact, it’s your project. Trace the mat and the opening on the back of the paper. I used thicker paper, all of the sheets were gold or had gold in them.
Next, cut the paper to the correct size.
Cut the hole for the photo from the center of your new mat using your X-acto knife and straight edge. I used a cardboard box to protect my work surface. This is a tedious task, but not terribly difficult. Make sure you cut carefully, and keep your lines straight. I used washi tape to hold the mat to the cardboard while I cut it.
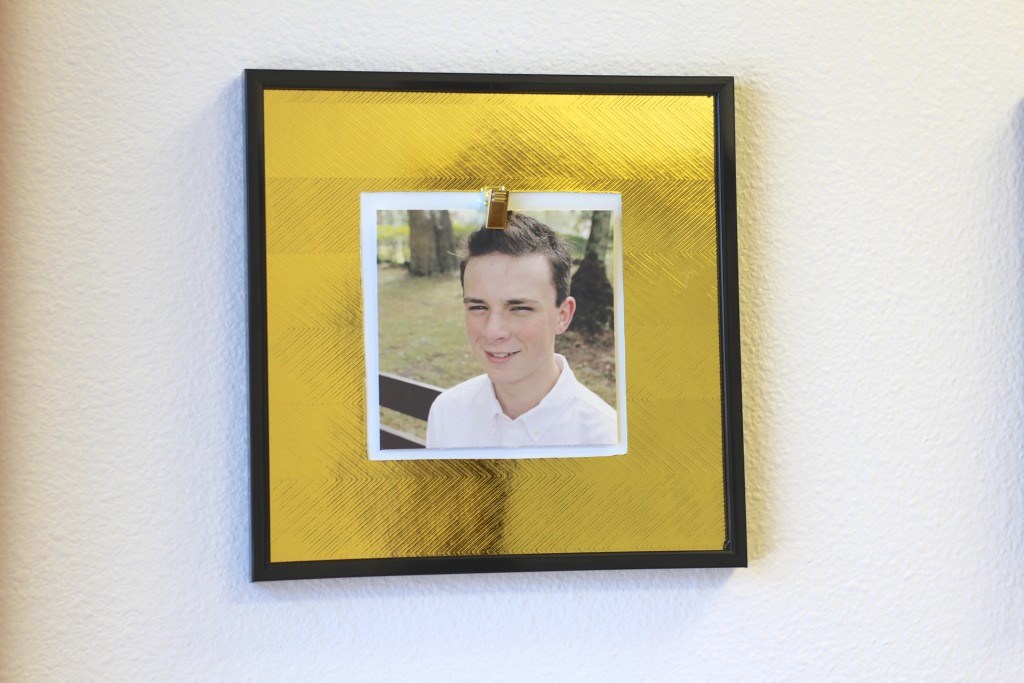
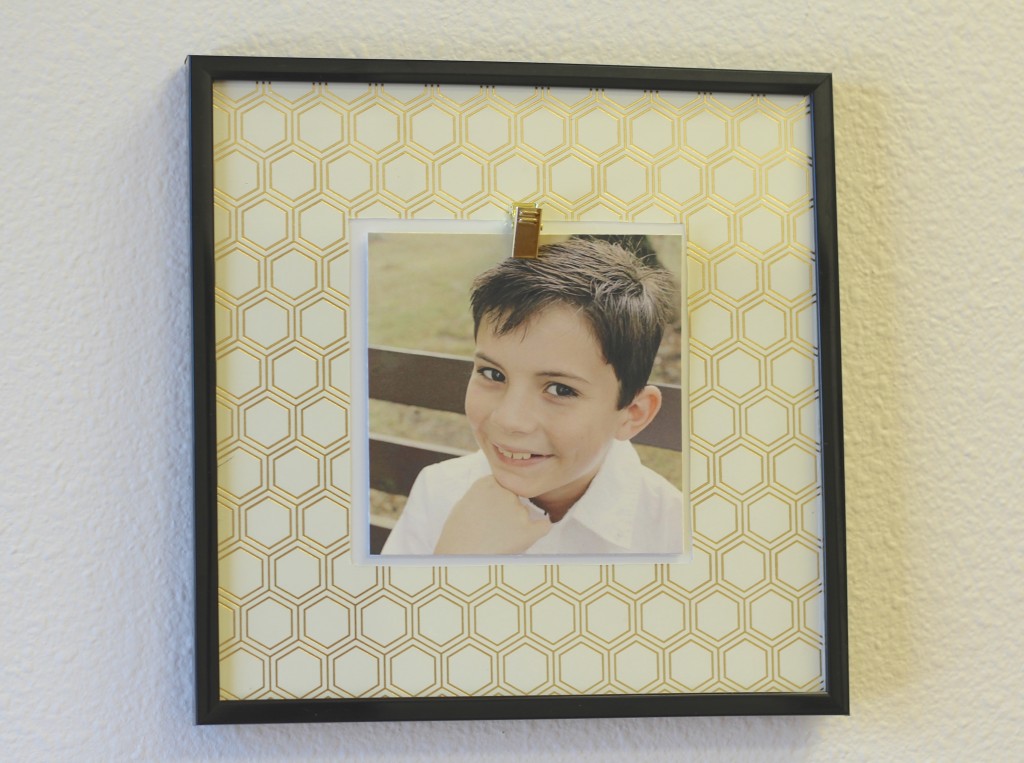
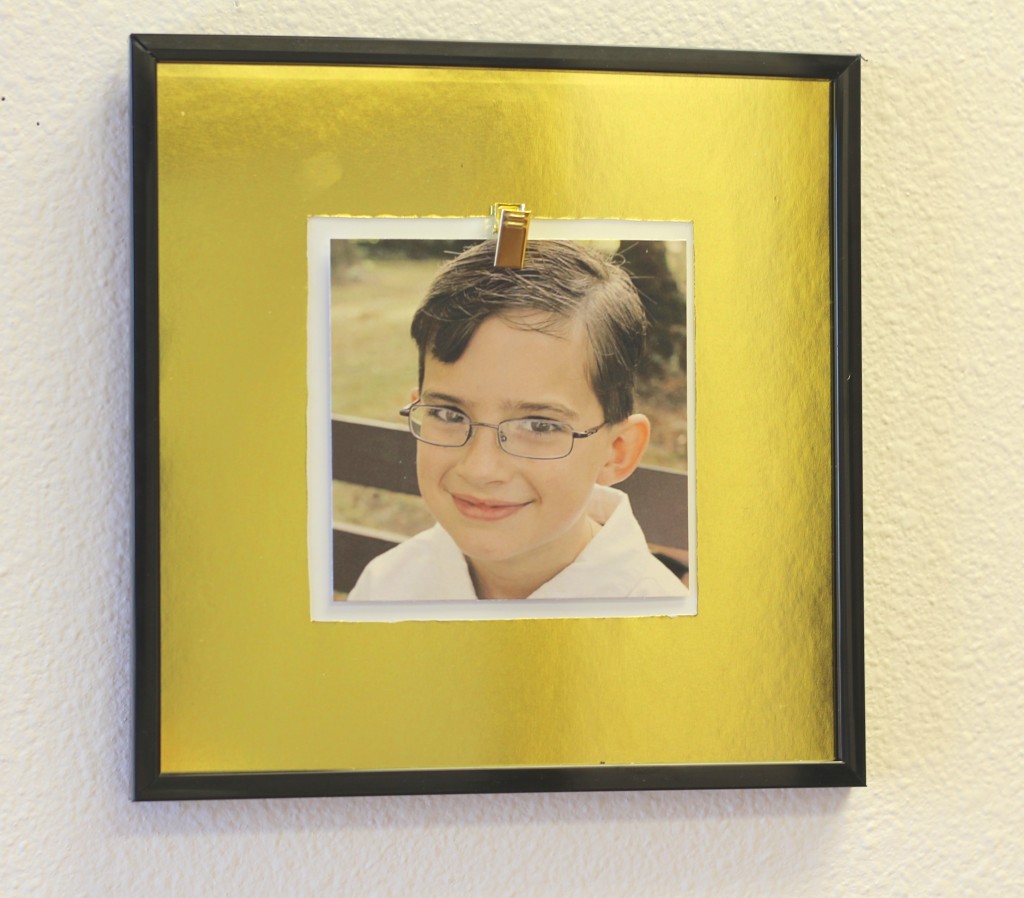
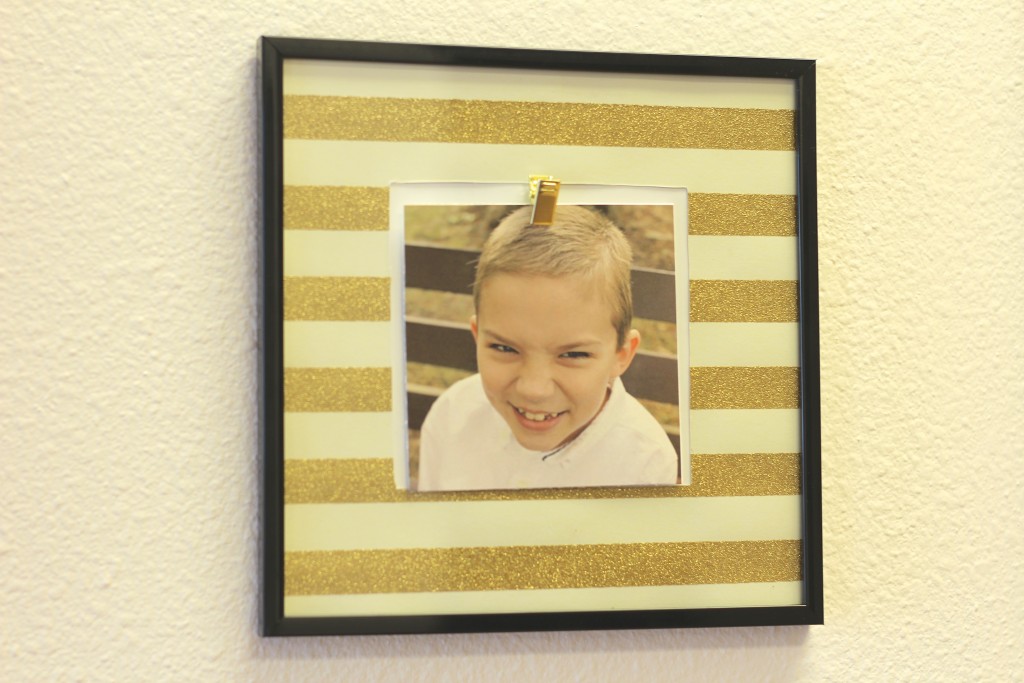
Once you have all the new mats cut, you can put them in the frame. I used the backside of the “stock” image in the frame where the photo would normally be placed.
Next, hot glue the Jen Hadfield Homemade Gold Metal Clips to the outside of the glass. I glued my clip to the top/middle, just where the the mat and the white area meet.
Choose the photos you want to display, and print them to size. I used photos of my boys from our family photo session this fall (Thanks to Heather Anne Naples Photography for wrangling my herd!), and printed them just smaller than the photo opening on presentation paper with our home printer. Then, clip the photos onto the frames with the Gold Metal Clips.
Originally, I wanted to have these frames at home, but my hubby likes them so much, we moved them up to his office and hung them!
I hope I have inspired you to create something new with Jen Hadfield’s Homemade Line, or even refurbish something old!
***********
Thanks Jessica! What a fun idea for up cycling old frames! Jessica has amazing ideas on her blog. Here are a few you’ll love:
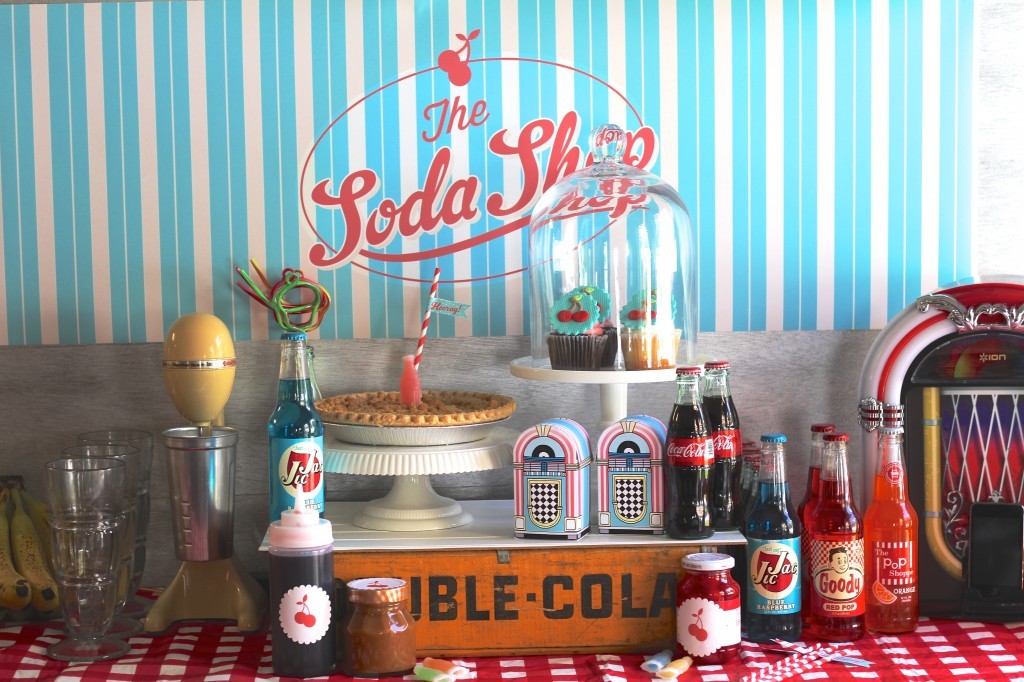
I love the idea for this Vintage Soda Shop Party! So cute!
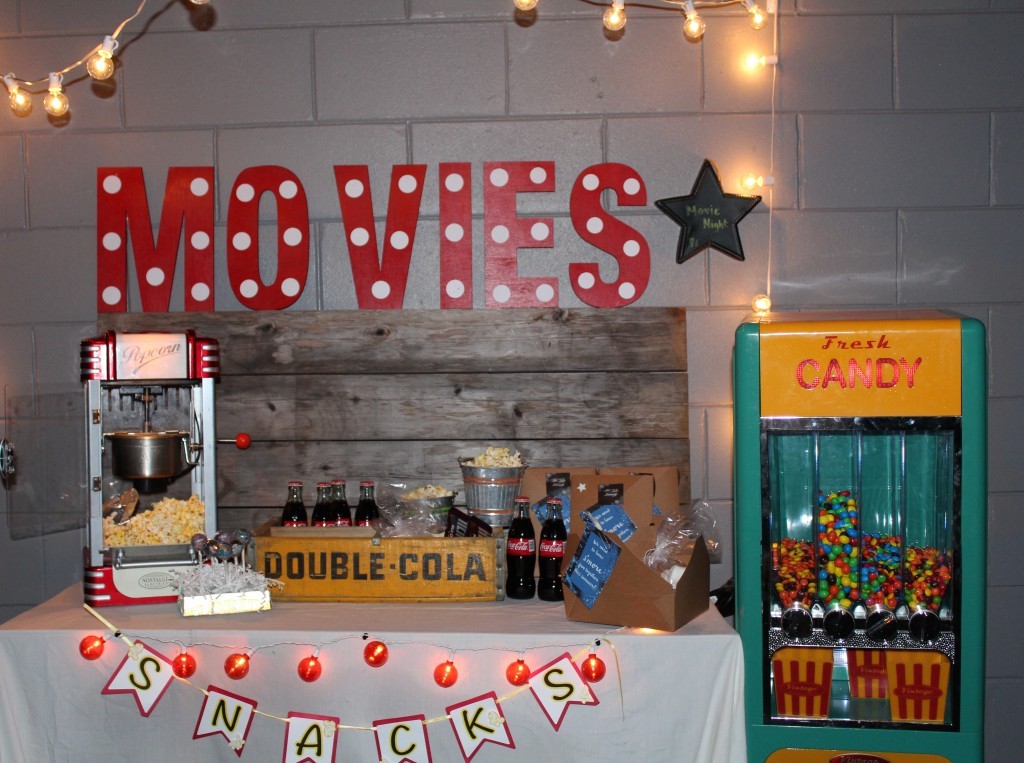
And it’s not too late to throw an Outdoor Movie Night Party! She has some great ideas!
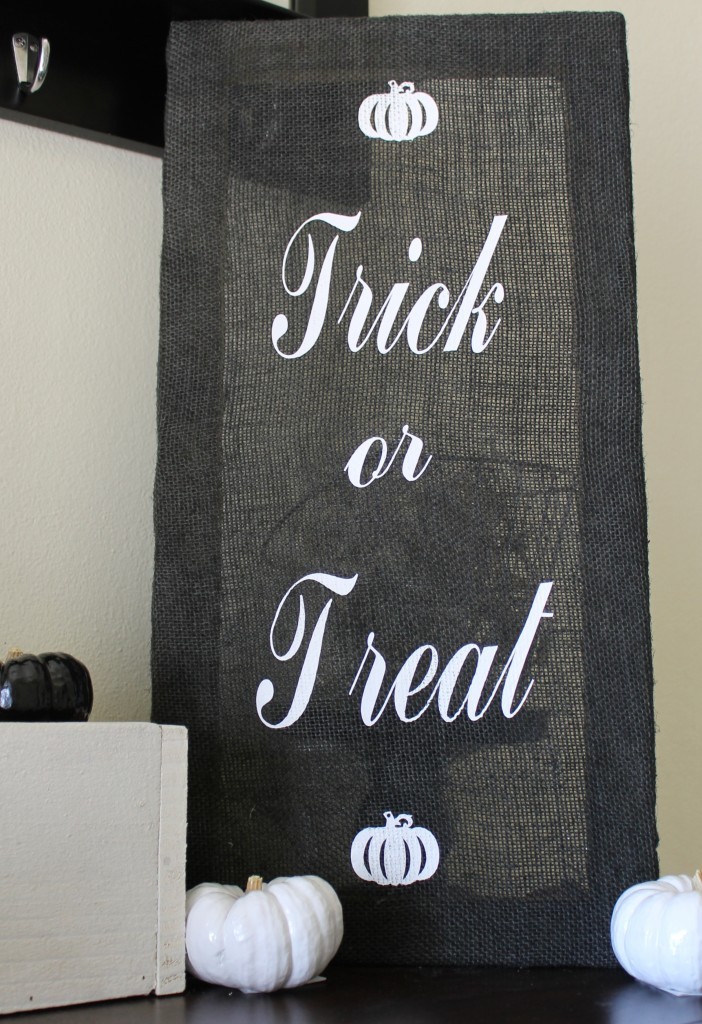
And she has this fun DIY Halloween Sign that you can add to your Halloween Decor!

