Hello. I know that if you are reading Jen’s blog, you love making seasonal DIYs and decorating for the holidays…just like me. There’s just something about making the seasons extra special by adding handmade little touches and decorations throughout your home.
Fall is an extra special time for me. I absolutely live for the PSLs, sweater weather and cozy evenings cuddled up on the couch. I love that the hustle and bustle of summertime is over, but the crazy rush of the holidays hasn’t started yet. It’s the ultimate chill time, don’t you think?
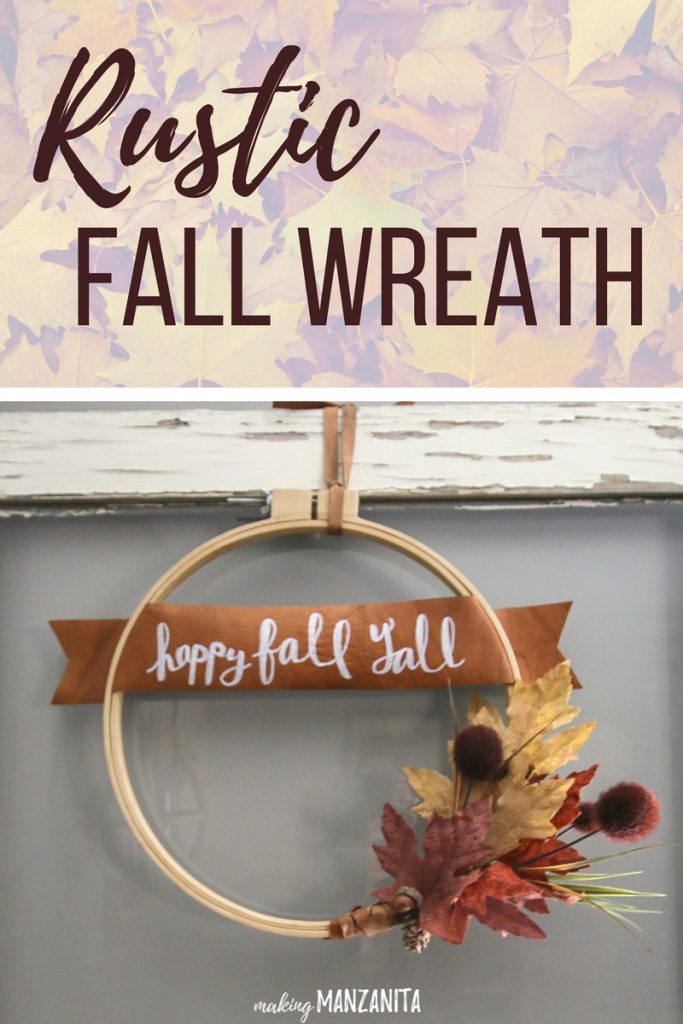
Today’s rustic fall wreath is perfect for this cozy time of year. You can literally make this DIY wreath in less than 30 minutes because it’s just that simple. And because I’m a firm believer that leather is probably the best material for Fall crafts, I definitely needed to incorporate some into this rustic fall wreath. I recently found a way to find FREE leather for crafting and I shared all about it in this post. It’s going to probably shock you.
Supplies for rustic fall wreath:
- Embroidery Hoop (I used a 14”)
- Floral wire
- A few faux fall floral picks and leaves (I got mine at JoAnn’s and Dollar Tree)
- Leather scraps
- One piece approximately 3” by 18”
- Two strips about a half inch wide and 12 or so inches long
- Scissors
- Rotary cutter, acrylic ruler and cutting mat
- Paint pen

Step 1. Cut leather down to size.
Cut the leather down to about 3 inches tall by 18 wide, which should fit perfectly on a 14 inch embroidery hoop. Cutting the leather with a rotary cutter on a mat makes it really easy to get nice straight lines, but if you don’t have one…scissors will work too.
You will also need two strips of leather about a half inch wide.

Step 2. Write your saying on leather.
Use a pencil to trace out you letters first to make sure they fit and then draw over them with paint pen, which writes perfectly on the leather. As an alternative, chalk paint pens work well for writing on leather too, but they are not as vibrant white and are a little more opaque. I hand lettered this saying “happy fall y’all” because I think it’s the perfect fall saying for this rustic fall wreath. To add some character to the lettering, make the down strokes thicker.

Step 3. Add leather to hoop.
To add the leather to the embroidery hoop, just loosen the hoop and slide the leather in between the two wooden rings. I cut the leather on the edges in a V pattern to give it a little more character and make it look like a banner.


Step 4. Add faux picks of fall flowers and leaves.
First, bunch your flowers and leaves together and wrap the bottom of the bunch with floral wire. Then, loosen up the embroidery hoop and feed a piece of floral wire through the two wooden hoops to secure the bunch to the hoop. You can also add floral wire in a couple of other places at the top of the bunch so it doesn’t hang down. I just added one bunch on the side of the embroidery hoop because I wanted to make an asymmetrical wreath. You could continue adding flowers all the way around the wreath in this same way if you wanted.

Step 5. Cover floral wire with leather.
To cover up the floral wire that is holding the fall flowers and leaves in place, I used another strip of leather and just wrapped it around the wreath. I tied the leather in the back.

Step 6. Tie on hanger.
Since the wreath is asymmetrical, if you just loop it onto a wreath hanger, it will typically hang a little crooked, due to the extra weight on one side. To prevent this, I took another strip of scrap leather and tied it around the top of the wreath and then attached that to the wreath hanger and tied a cute little bow.

I eventually moved the rustic fall wreath into my living room and hung it in front of a vintage window I had on the wall already. There’s a small nail in the top of the window that I added especially for hanging fun things like this. Even our dog, Gannon, decided to get in the Fall spirit and was appearing EXTRA cozy and lazy while I was snapping the pictures of this rustic fall wreath.

I love how simple this rustic fall wreath was to put together…. I bet it only took me 20 minutes or so. Not only is the fall wreath unique, but it adds a little something extra to our home as we start to welcome Fall!

If you love leather, I’ve got tons more projects up my sleeve for Fall and Christmas. Seriously, I’ve got oodles of leather in my garage. Be sure to hop over to Making Manzanita and subscribe, so you don’t miss any more fun leather projects.
Thanks Chelsea!! Your wreath is so unique and a beautiful statement! Here are a few more ideas I love from making MANZANITA!
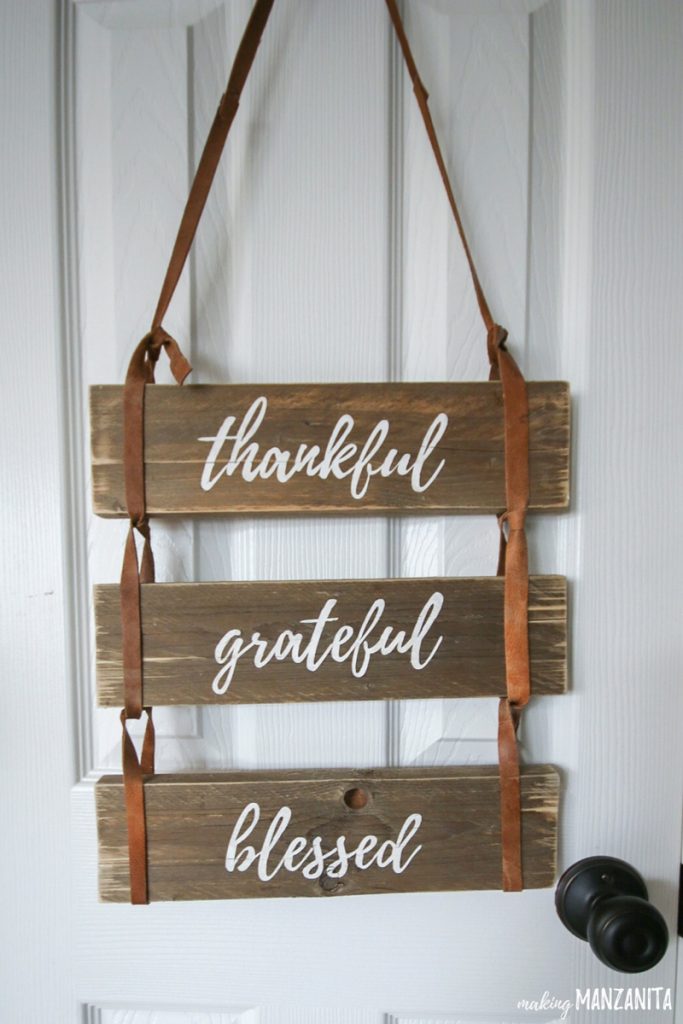
Isn’t this Pallet Board Sign cute? And I think Chelsea sells them in her etsy shop if you want to order one instead of making it!
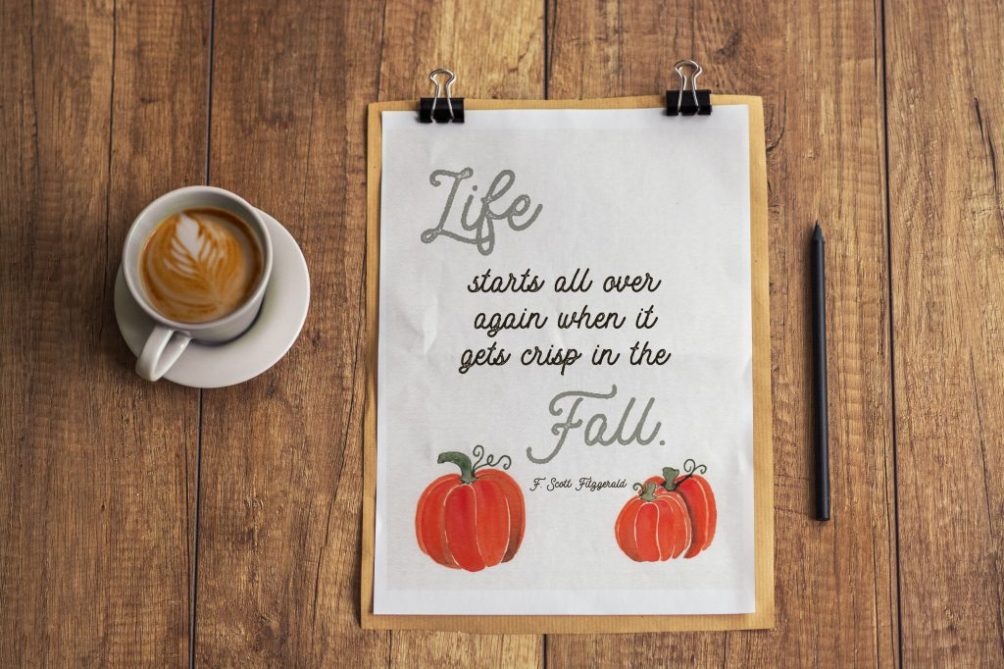
Grab this FREE Fall Pumpkin Printable while it’s still available!
Be sure to follow along with Chelsea at Making MANZANITA!
Making MANZANITA on Facebook
Making MANZANITA on Pinterest
Making MANZANITA on Instagram
Have a GORGEOUS Day!
xoxo
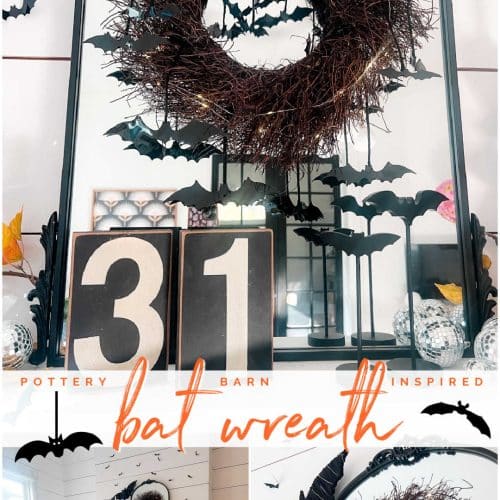


Love this wreath with the leather! So clever!
Tania
Thanks so much for allowing me to take over your blog today and share this Rustic Fall Wreath with your audience. It is such an honor to be a guest on your blog. 🙂
Thanks for sharing your wreath Chelsea! It is absolutely beautiful!
xoxoxo