Welcome to the Summer of Paper series – where we’ve invited fabulous guests to create projects using supplies from my Home + Made paper decor line.
Hi TT&J friends! I’m Amanda from Burlap and Babies!

I am a wife, momma, and home owner living life creatively in the outskirts of Portland. I love to share all about creative DIY projects, home craftiness, baby related goodness, and well, really anything that comes to heart. I hope to inspire you to live life creatively, whether that’s in your daily projects, life, or even parenting.
Today I am excited to share with you how to create a fun dessert for two date night using some of Jen’s fabulous new products as part of her Hand + Made Collection! I don’t know about you, but with a new baby in our home, date night is a very rare occurrence these days. I realized that in the seven months of her little life we have been on a date without her once. Eeek! The Dating Divas would not be impressed with us!
With our five year anniversary just around the corner I’ve been trying to figure out how I could do something special without needing to call on a babysitter and figure out all the logistics of an evening out without a baby and I came up with a perfect solution! If you know me you know I love parties, whether it’s a gender reveal bash, a graduation party, or a birthday party. I love all the little details and seeing it all come together, and this dessert night was no exception! I wanted to make my hubby feel loved and appreciated and this was just the thing! I hope it inspires you to do something special for your loved one.

When I received my box of goodies from Jen of all these new pretties I had so many ideas racing through my head! Ultimately though, a special date night was just the thing that I kept coming back to. I wanted to use it all but I am practicing simplicity so here’s what you’ll need to recreate this dessert for two date night idea!
Cutesy Supplies
Sweet Greetings Cardstock with Foil Accents
Cottage Living: Gold Foil Honeycomb
Gold Metal Clips
Black Chipboard ABC Thickers
Burlap with White Dot Paper
Gold Glitter Pocket Tags
Sweet Sentiment Rub-ons
Wood bird
Mod Podge
Scissors
Exacto knife (optional)
Gold foil pen (optional)
Hot Glue Gun

Yummy Supplies
Chocolate fondue & all the fixins’
Cupcakes
Your favorite dessert wine
All you momma’s out there with little ones, listen up. Yes, I’m talking to you! I’ve learned it’s still possible to carve out time for yourself and your special someone. This date night is super flexible and I want you to make it special for the both of you. If you enjoy baking, maybe bake some cupcakes rather than buy them from the store. If you’re like me though with your first little one and still trying to get the hang of being a mom, give yourself some grace and buy the store bought cupcakes. You’ll thank me later! And I promise, your hubby won’t even notice a difference! He’ll be too busy oogling over all the yummy goodness he just filled his belly with!
First, choose a theme. This paper from the new collection has plenty of lovey sayings to choose from to inspire you. I went with the pink “You + Me” paper as my inspiration but knew I also wanted to incorporate gold and teal throughout as well since I didn’t think my husband would necessarily appreciate a pink-filled date night.

During some alone time the week leading up to your date night you can make this cute little bird as a table decoration. I found mine at Michael’s with a 40% off coupon for less than $2.

To make it, first lay the bird on the the paper of your choice and trace the shape onto the paper. If you have an exacto knife then you don’t have to be precise with your cuts. Just a general, rough shape works. Using a brush, cover your bird with mod podge and stick your paper to it. Now take your exacto knife and cut around the edge of your paper to get a clean cut. If you don’t have an exacto knife, just be sure to trace well and cut the best you can before adhering the paper to the wood.

Once your paper is secure, take a small drill bit and drill a hole in the beak. I found some white and gold striped string that matched the feel of the rest of the party so put this through the beak to hold the sign.

Using one of the darling gold metal clips I attached the You+Me sign. In the drawing section of your craft store you can find a gold leafing pen. Now, I must admit these things are completely addicting! Once you start playing with one you’ll want to gold leaf everything in sight! I colored around the edge of the bird to match the gold throughout the rest of the decor and love how it added to the overall look of the decor. It’s hard to see in this photo, but I promise it’s there and awesome!

To make your cupcake holder you can download this file I’ve provided and either use it to cut out the shape you need using a Silhouette machine like I did or trace it onto the paper of your choosing and then cut out the cupcake holder. Once you have your cupcake holder, take a dab of hot glue to keep it secure. Man I love how that gold foil paper shines!!

Some of the paper that I also fell in love with was the burlap with white polka dots and knew I needed to incorporate it! The plates I used for dessert were 6 inch plates which was perfect with the 12×12 paper. I cut the paper in half and in half again and you have yourself a darling little 6×6 inch placemat.

To dress up the wine bottle, I chose some cardstock called Sunrise Sunset to cover the wine label. Using one of the rub-on transfer sheets, I transferred “I adore you” to the paper. I also used one of the gold glitter pocket tags and some chipboard letters to dress up the bottle with our initials.

Come the day of your date night, you can cut up all the fruit and get everything prepped so once the kiddo(s) are in bed it’s a breeze. To make it special, change up the atmosphere as best you can. If you’re like me, raid your Christmas decorations and pull out a few strands of white lights because what romantic evening doesn’t scream for some white lights? I chose to hang them up on the fence to make a nice backdrop but you could dim the lights and even put white lights up in your dining room to change the mood of your home.

When it’s go time for dessert, this is a great chocolate fondue recipe I found from Hoosier Homemade using just chocolate chips and sweetened condensed milk. Some possible fondue fixings include strawberries, bananas, pineapple, apple, cookie dough, pretzel sticks, marshmallows, and the list could keep on going.
Pro tip: When making the fondue, make it in a double broiler to avoid burning it. Fill a pot half full with water and then put either a bowl or a smaller pot inside the pot you just put water in to more evenly heat the chocolate and milk.

And there you have it! A gorgeous, dessert for two date night that I’m sure even the busiest of couples could find time to squeeze in. Have fun and stay crafty!
*******
Thanks Amanda! What a fun idea! And, I love all the way that you used the Home+Made line in your fun date night! Amanda has such great ideas on her blog, here are a few I know you’ll love:
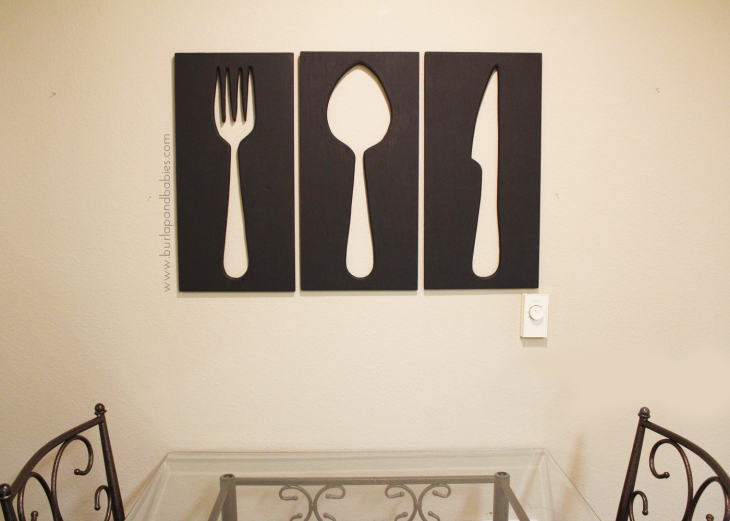
I just love her tutorial for this fun, Giant Utensil Wall Art! Such a great decor idea for a kitchen!
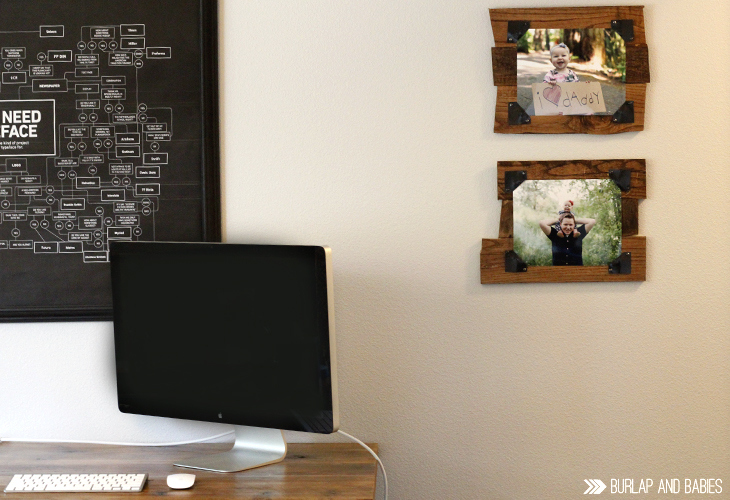
And, I just love these Industrial Picture Frames she made out of pallets! So clever and smart!
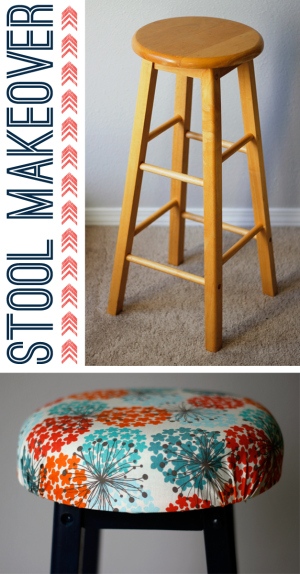
And, I love her thrifty upcycle projects like this Stool Makeover! So gorgeous!


Hi Jen,
I just wanted to alert you that for some reason I am not able to leave a comment on your most recent post and I would love to as I am desperately in need/want of some plantation blinds for my kitchen. I had my daughter try on her Mac as well and she was not successful either. ????
This is darling! I’m so excited you liked the Chocolate Fondue!
~Liz@HoosierHomemade
Thanks Liz! It was so delicious!!