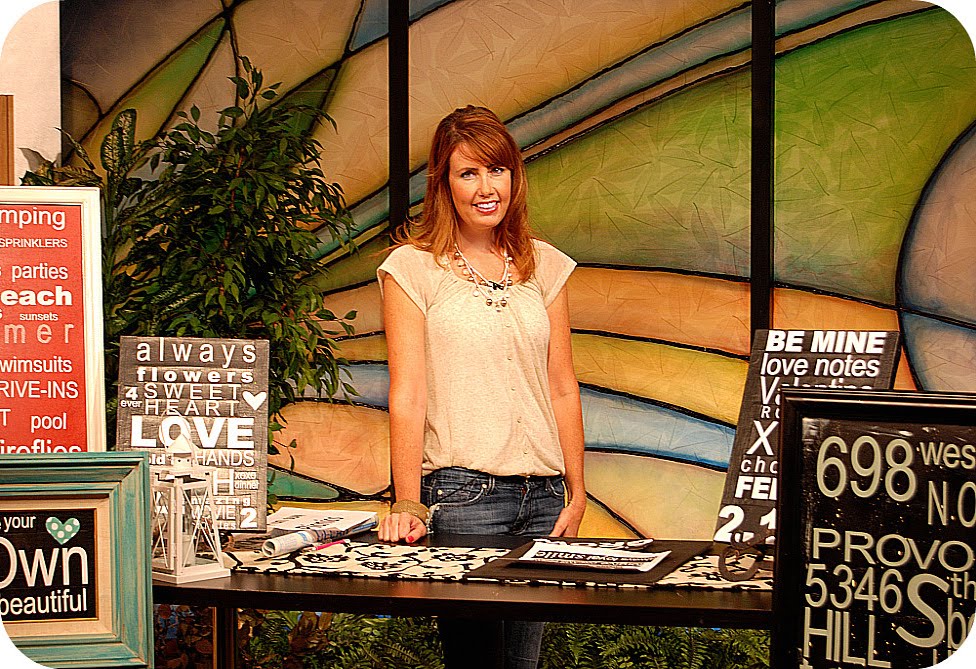
I spent last week getting ready to go on Studio 5. I was so excited to do a demonstration on one of my favorite projects — Subway Art!
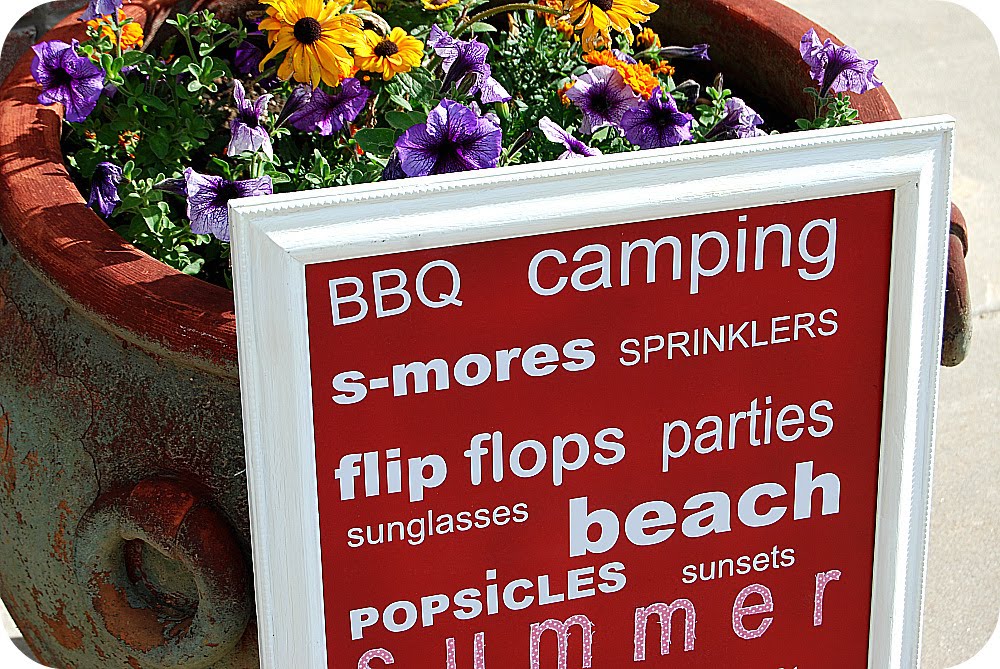
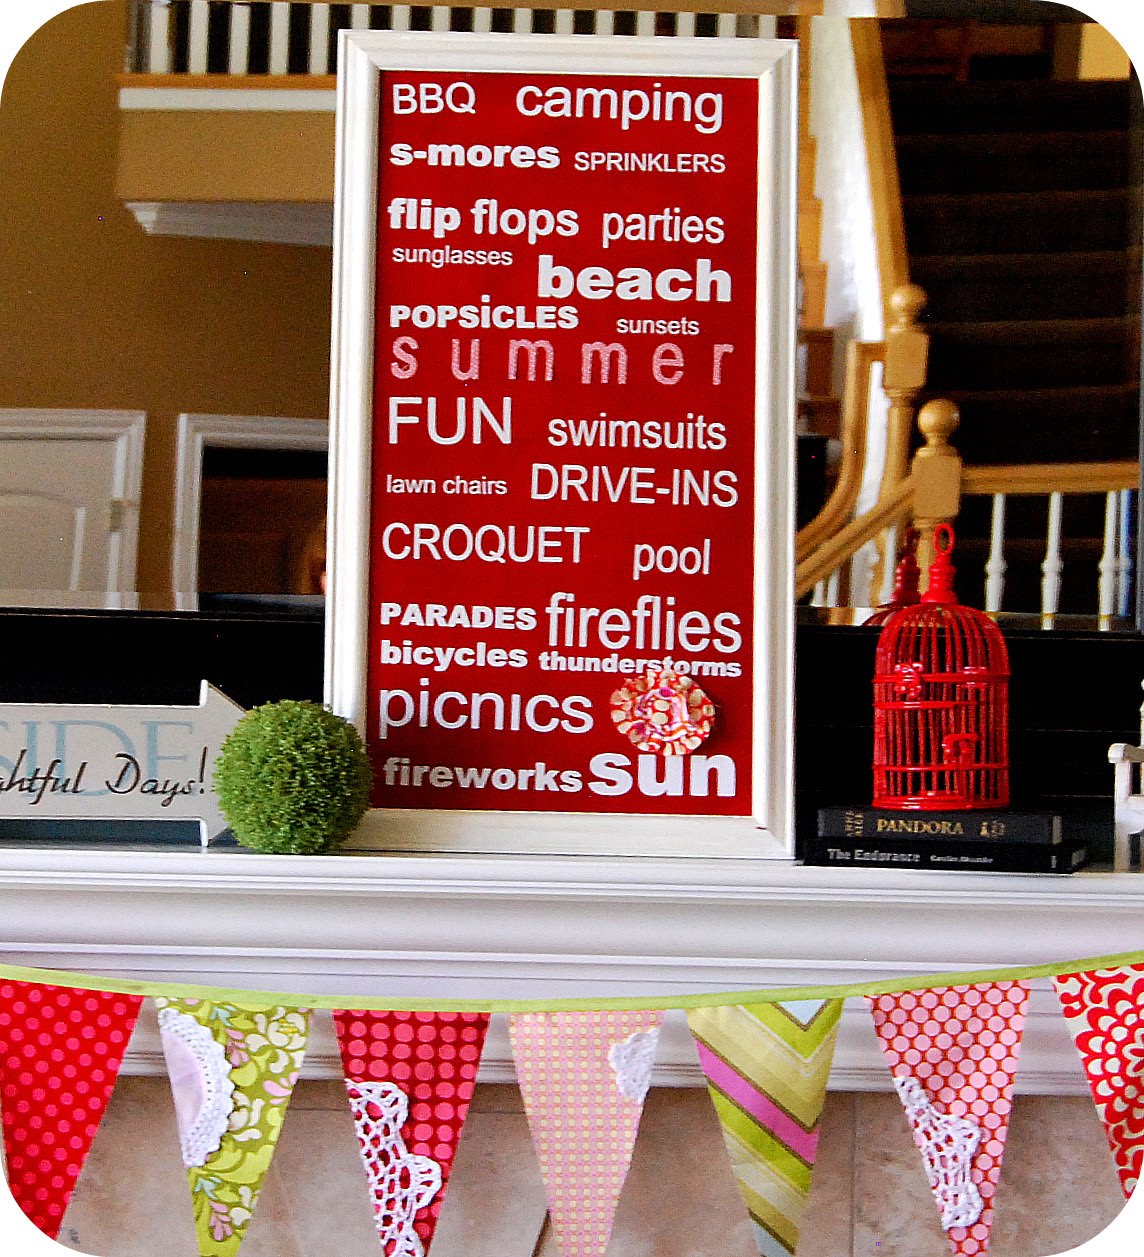
I had some “craft fails” getting ready, {and a meltdown — shhh, don’t tell} but I persevered, finished my projects and had a wonderful time on the show! One of the projects that I made was a “Summertime” version of Subway Art! It actually ended up being one of the fastest projects that I did last week.
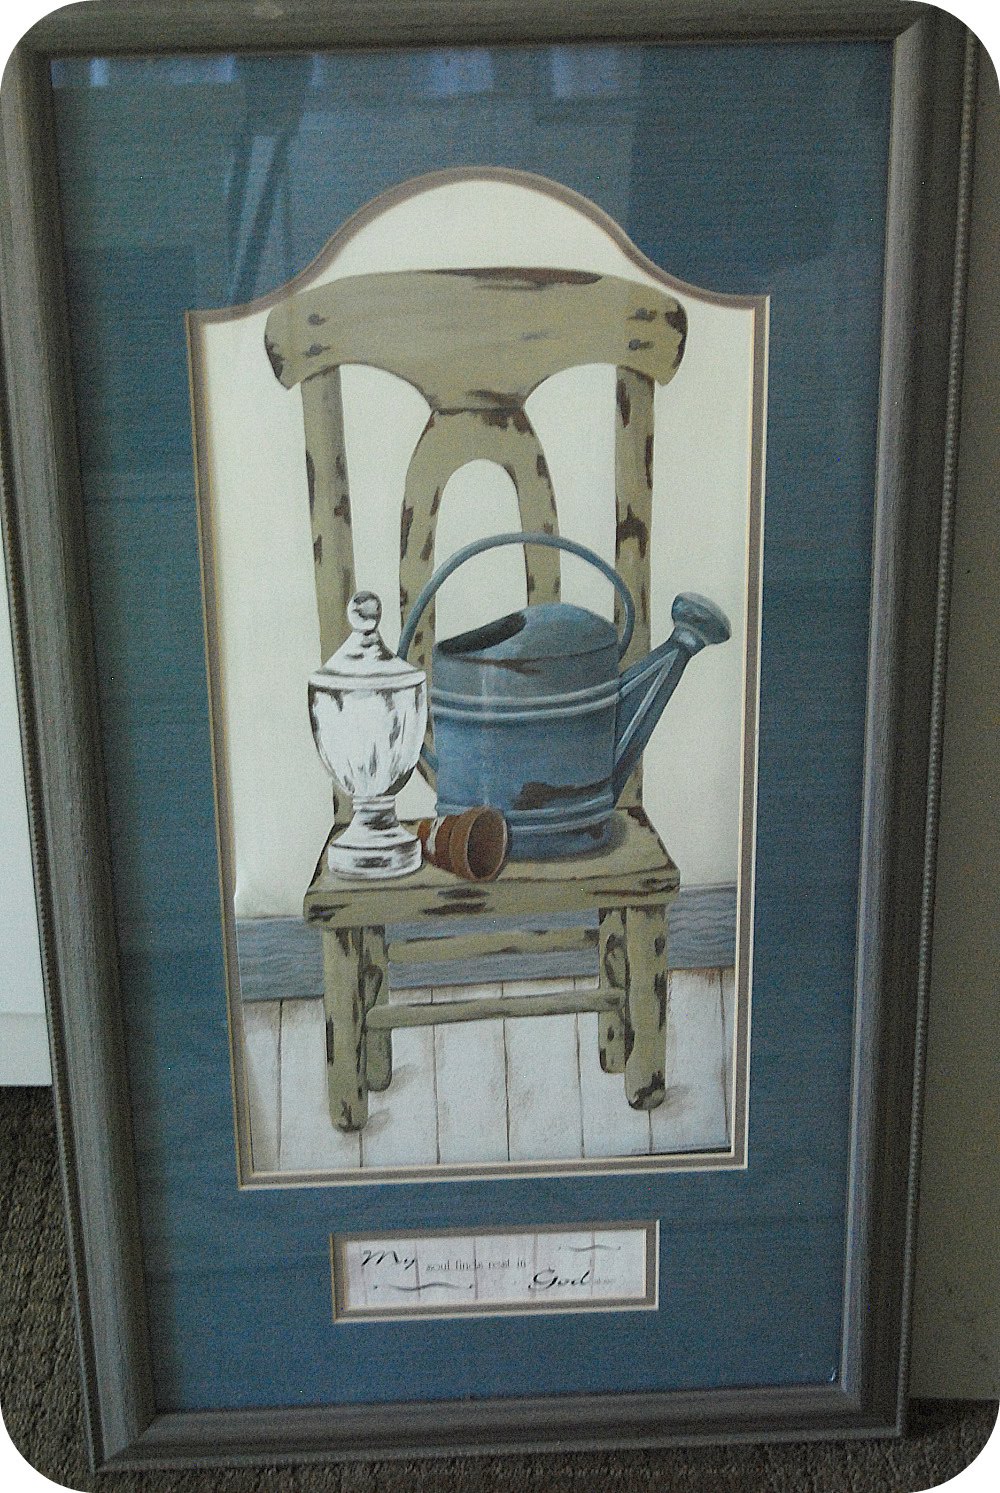
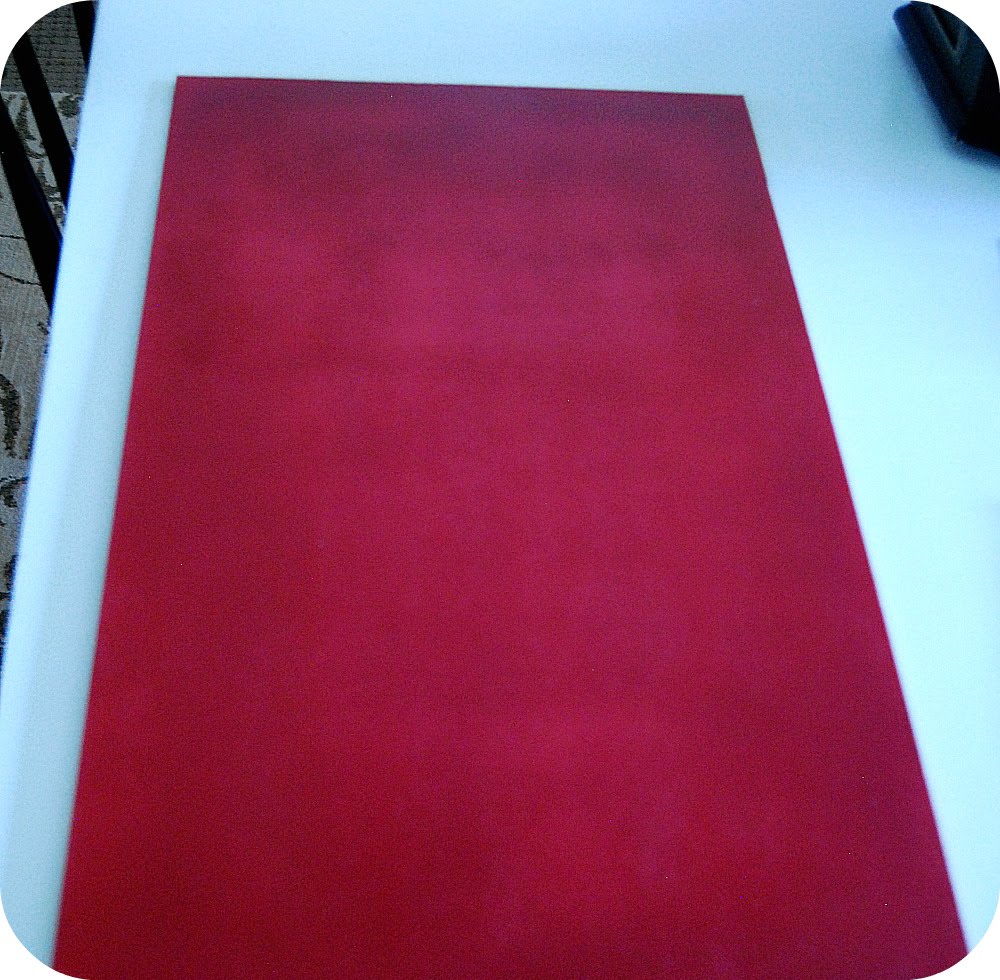
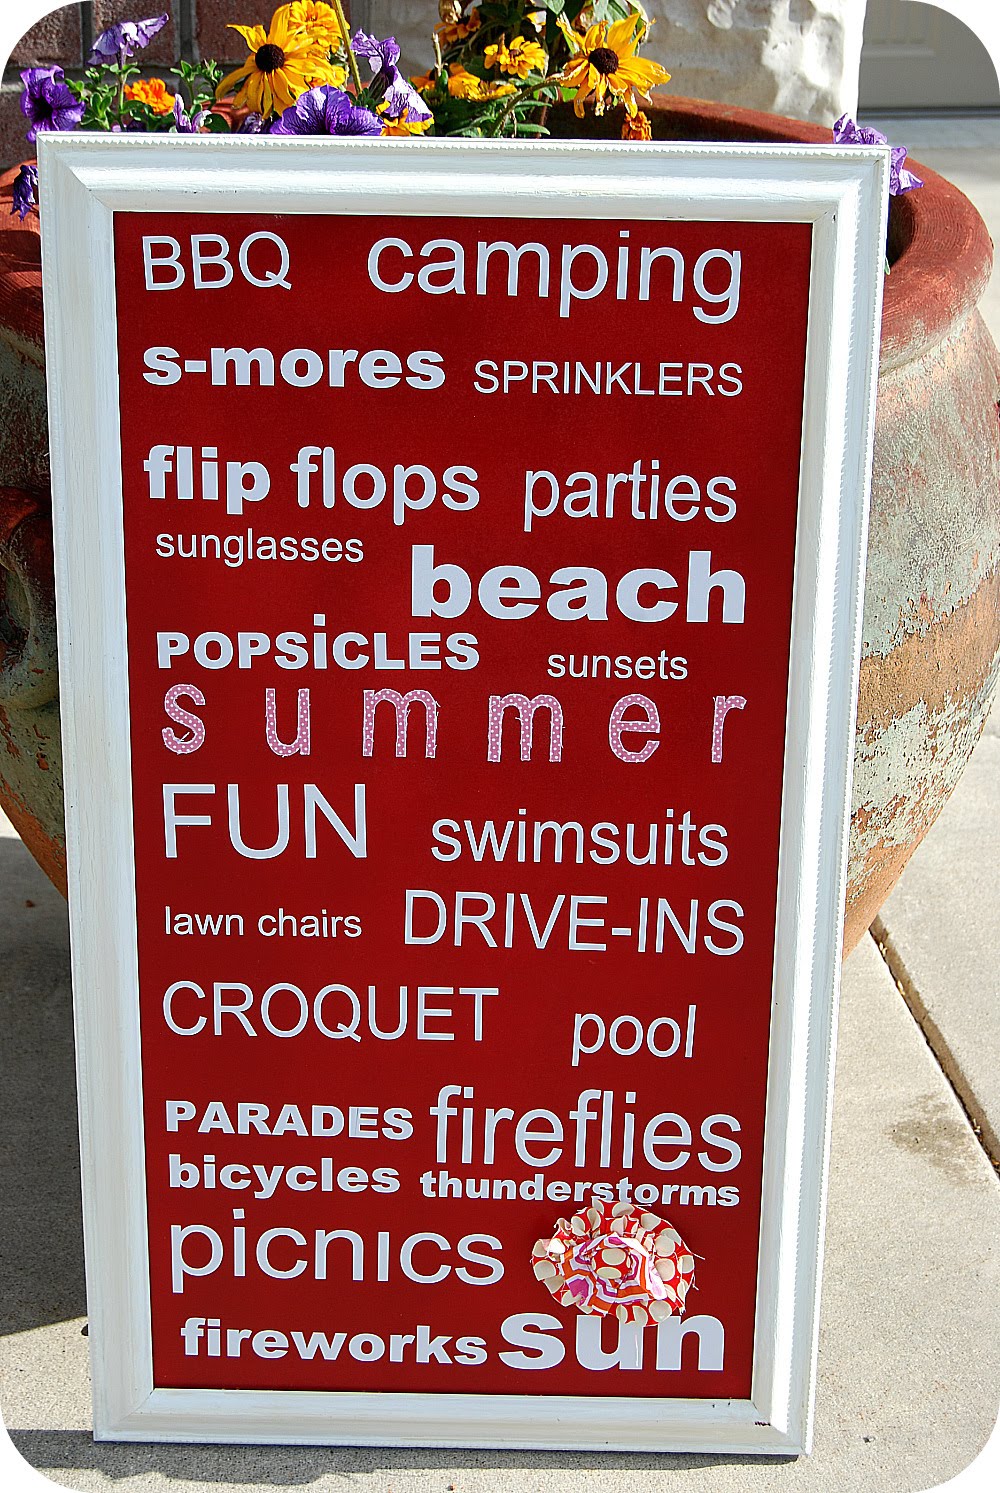
I started off with this picture — I got it at a garage sale for $2. I took it apart and spray painted the frame white. Then I took a think piece of MDF that I had laying around and cut it to the size to fit inside. I spray painted the MDF board a cherry red — the color reminded me of picnic tablecloths.
I used my Silhouette and it was a dream. First I made a list of words that I associate with Summer — like popsicles, fireflies, BBQ’s, etc. Then I used the Ariel font on the Silhouette in three different variations — regular Ariel, Ariel Narrow and Ariel Bold. I also used different sizes of each font.

Then I printed them out and cut each word out. then I laid all of the words on the board to see where they would fit best.
I used “transfer tape” to transfer the vinyl from the print out page to the board. This is the same kind of stuff that is on the back of the vinyl you order from a vinyl store. It’s kind of see-through and sticky. It makes it so that when you transfer the words, they stay straight. Wonderful invention!

I also found some cool stuff at the craft store — fabric on foam with adhesive backing. I tried to cut the word “Summer” on this medium using my Silhouette. It was so thick that the Silhouette couldn’t cut all the way through it, it cut about half way through it. So I cut that word out by hand to go in the middle of the board. I like the way the fabric frays on the edges — gives the board a little texture.

I transferred all of the words to the board — and I left a space at the bottom for a flower. I cut two 2 inch wide by 8 inch long pieces of fabric in different prints. Then I used my sewing machine and sewed a wide basting strip down the middle of each one and gathered them up. Then I hot glued each of the fabrics into a circle, one on top of the other and added a fabric-covered button {I love those!} and used Gorilla Glue to attatch it to the board.


Total time = about 1 hour
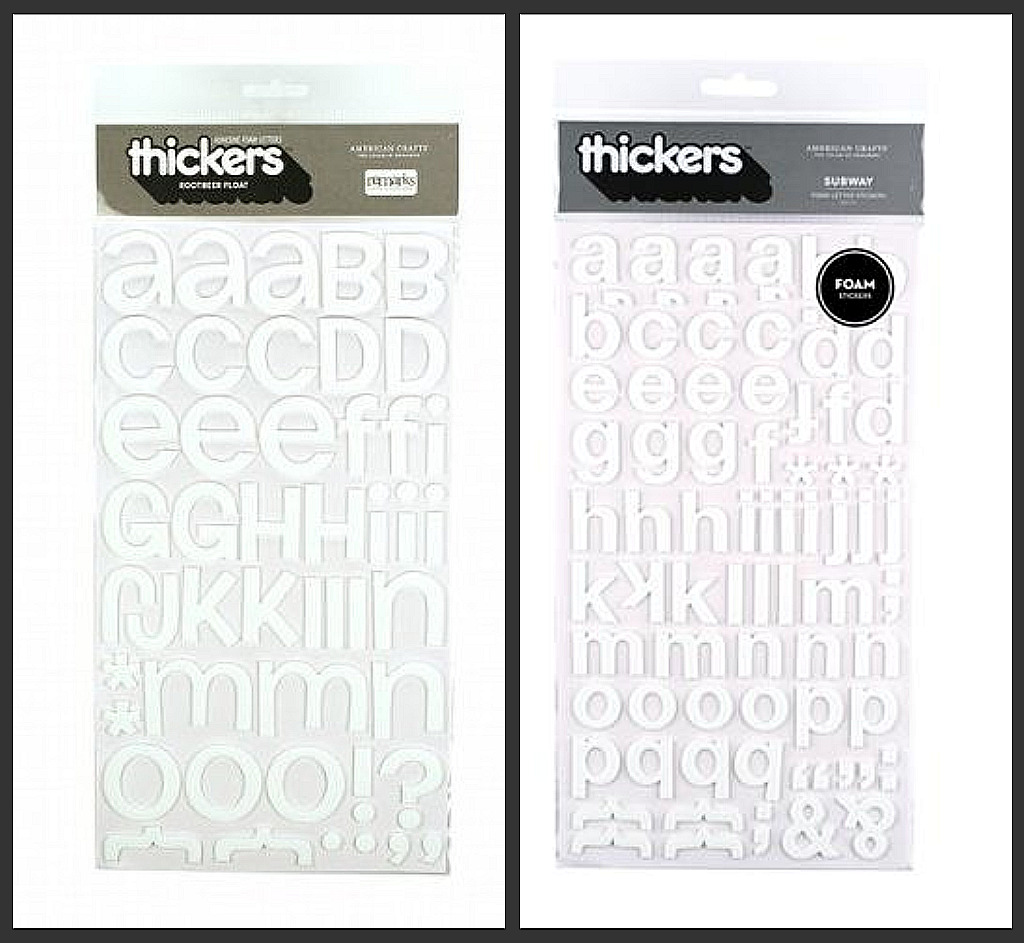
Now, if you don’t have a Cricut or a Silhouette — you can still make this project! What you can do is get some chipboard or foam lettering {found at the craft store}. Get at least 4 different styles and sizes of letters — all in the same color. Use a ruler to make lines where you want your words to go, then use the scrapbook letters to make the same type of sign. Easy Peasy!
You could do this for any season — how cute would a Halloween one be?


I haven't read any blogs in a while… I popped by to catch up and you are blowing my mind… There is so much I want to do! I am making this tomorrow!!!
You are such a genius! What a great project!! I must buy a hot glue gun and get to it! 🙂
Hey Jenn,
I Love this. I just got my vinyls and need to get a fun project done for the DIY Club (once I am not on meds that make me loopy–that might be an interesting project)
I am adding this to my favs list.
Cheri
Wow, I just found your blog and I absolutely love it. I do not have a "crafty" bone in my body, but I "think" I could do the Subway Art if I followed your step by step instructions. I'm excited to try it! Great blog! I can't wait to read more.
I love subway art. I also have major tool envy. I really want a Cricut or Silhouette!
I’m having a new link party “Cheap Thrills Thursday” starting the 29th. It’s for creative ideas that cost under $20. I’d love for you to stop by and join in!
Kat
http://www.BlackKatsDesign.blogspot.com
I love it! I'd love for you to drop by and link up to Vintage Suitcase Friday!
VERY CUTE!! I need one of these! I'm a follower! Come by and say hi at Sassy Sites! 😉
I love your blog and your projects. You give me so many ideas and inspiration. I haven't done subway art but I am going to try this. You are so talented. Thanks for sharing so much.
karie @ karieschiccreations
Thanks for joining us for another great Anything Related! ~Bridgette
How very creative and resourceful! Great way for a unique piece to display!
Love your subway art! Have to make some! I don't have a machine so I will probably go the vinyl letter route, but I totally love the combo of crisp graphics and bright primary colors. And, I am in love with the turquoise yo yo pillow in your header. Gonna make something like that today.
I just wanted to stop by and let you know that I linked to this post today from the new Home & Garden channel at Craft Gossip. 🙂 My hope is to share many of the fabulous projects I see everyday with the vast CG audience. I hope you will not only stop by and subscribe to CG, but will tell your friends about the new category! Hope you see some traffic from it!
Your feature will appear in the main Craft Gossip RSS feed, on the main home page and can be found directly here
http://homeandgarden.craftgossip.com/subway-art-round-up/
(Actually two of yours are featured here) 🙂
Great job! I love anything beach-themed. Congrats on the tv spot!
Thanks for linking up to the Mad Skills party!
Sooo cute! Love the colors and the little touch of whim.
Kendra "Domestic Princess in Training"
I love these subway art boards! You always have such great ideas Jen!
I LOVE this idea!! I can't wait to make one!!
So fantastic, I just love your creativeness!
SO CUTE!!! I think a Halloween one would be awesome too.
I saw you on Studio 5. You were great! I'm tempted to try this project (after I move).
Great idea! The flower is the perfect finishing touch.
I sooooo wanna make some subway art. One day – – one day I'll have time. I love this!! It looks great and the flower is adorable. Too cute!!
OOOH, I can see a Halloween one now! I may have to do that one, I love that idea! I can put it next to Pumpkin Edward 🙂
Love the Summer subway art. Its adorable… EVERYTHING YOU DO IS! i WATCHED you too on your video.. job well done! I so think a halloween one would be cute, I need to make one ASAP! hugs, Jenn
great summer sign!
I LOVE it! So cute! and you are right, you really could do one for any occasion! I wonder if I can convince my hubby to get a Silhouette…wish me luck 😉
I love the Subway SIgns! ANd you are so right. A Halloween one would be great!
very cute! love it :-)!!
I have been IN LOVE with these Subway Signs from the first time I saw them on your blog. I WILL make one after all this construction mess is over! I need one for my new living room…or maybe my kitchen…oooo, or Isaiah's room…maybe all 3?!
Hope you're having a great week!♥
So cute!
I NEED to get a Silhouette or Cricut already! this is just to darn cute for words! Congrats on being on Studio 5! How exciting!
what a great idea for the Summer Subway
Love how you get so much mileage out of one idea and present so many different ways to do it! Great job on TV!!
This is wonderful, love the demonstration too! 🙂
I so thought of you today as I am making this only I am making some thank you cards with the idea! I sure do enjoy all of the fin ideas you come up with and share on here. Hugsssss
Adorable as always, Jen!
I love this project!! And you did great on Studio 5 (as always)!!
Jen, I love it! I actually just posted on an art piece that I made inspired by your beachy-ish subway art, yesterday! I used my silhouette as well! It is so much easier! Thanks for posting this one, I love all the summer things!
I love it… completely adorable. I want to make one of these, just need to decide what words I want to use. Congrats on being on Studio 5!
Sorry about your meltdown 🙁 oh no! We all have those!
Very nice subway art 🙂
🙂
Candy
Truly Jen, you are amazing! I want to make one of these for my home now! Congratulations on being on Studio 5, too! (And it's nice to know I'm not the only one who has an occasional meltdown when under pressure!)
I sure hope you are enjoying your summer! Have a beautiful day! 🙂
As a lover of words, I can't but love this. The colors are great. ~Kelly
unDeniably Domestic
Very cute! I love the color…it does make me think of a picnic tablecloth! I just bought a canvas to try my hand at subway art for a friend's wedding gift. I hope mine turns out as good as yours!
That's just about THE cutest thing EVER! You DO know, I hope, that you've created a MONSTER in Houston! Yep! I can barely wait every morning to turn on my computer and come right on over here to your blog to see what fun you've added! THANK YOU for that! I have systemic Lupus, & some days the pain really gets to me. In the middle up of bad flare-up (which is where I currently am) your amazingly fun blog distracts me from the pain & I am so inspired. YOU ROCK!
this is awesome, jen!
How exciting! and well deserved, wish I could have seen you on TV. I'm sure you rocked it. Super proud of you 🙂
YES!!! Thanks for the inspiration…i'm helping give a baby shower this weekend…wouldn't it be fun to do one for a baby boy!!! 🙂
:: Great job! ::
I love this and the red is so striking! Too cute.
I love seeing you on Studio 5! I want to yell out, "She's my friend!". 🙂
Love the project too, so fun!
人生的苦惱,不在擁有太少,而在奢望太多。..................................................
It looks great! I never even thought of using thickers! I have a ton of those! Such a good idea!
I love this! It turned out so cute and yes a Halloween one would be so cute as well!
Cute! I love the fabric letters and the addition of the flower! Well done- I think I would still be in hysterics if I had to present something on TV!!! Great job!
I love it!!!
Other than the fact that croquet was invented by the devil and even my 4 year old beats me at this game…well, the rest I love!
Wonderful job as usual. Can't wait to see your halloween one! =)
You are amazing Jen! You have such great talent! I've been wanting to do some sort of subway art and this was a great tutorial.
Thanks!
-Robin{keephomesimple}
Oh Jen! I love the red and white. And that fabric stuff is cool. Hmmmm…that needs to come to my house. I am LOVING how you did the flower with the raw edge out. That is a way good idea! You always have such a good eye for color. I wouldn't have put those 2 fabrics together…and they're perfection!
I love when you're on Studio 5 too. And I'm glad that you've recovered from a breakdown. Actually, I'm glad other people have breakdowns. It makes me feel better about myself!
Love.it. Your board was so inspiring…makes me think of all that I need to do at least two more times this summer!
so cute! You are so inspiring 🙂 I cant wait for my Silhouette to get here! Any day now!!!
so super cute! Love it!
You are one talented chick! Love to watch you on Studio 5. This is a great project. I must try it. Thank you for sharing. Karie @
karieschiccreations.blogspot.com
Jen,
Your Studio 5 turned out wonderful! I love when you are on:) Thanks for this tutorial and showing us girls who do not have a silhouette how make these.
Your 'address ART board' was another one of my favs also:)
~♥
That. is. adorable!!! 🙂 So envious of your Silhouette!!
Oh! I love those! they are on my must-do list!!
I wish I was local and could have seen you strut your stuff! This is an adorable project, and I LOVE that flower!! Good work!
~Alison
darling idea!
if you ONLY knew how similar both our projects have been during these last few days… 😉
you work faster then i do, tho!
wish i could of been at your workshop!