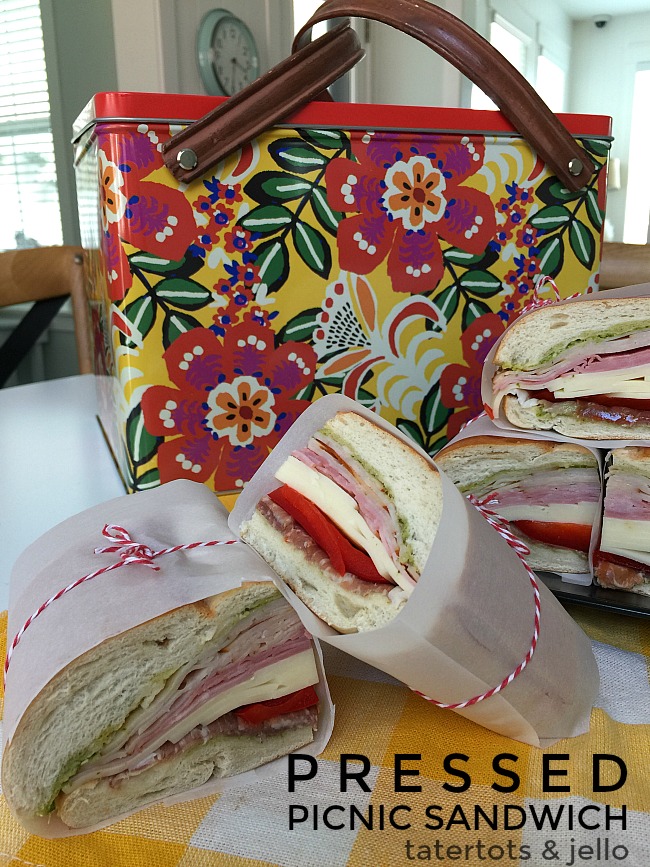
Pressed Picnic Sandwich Summer
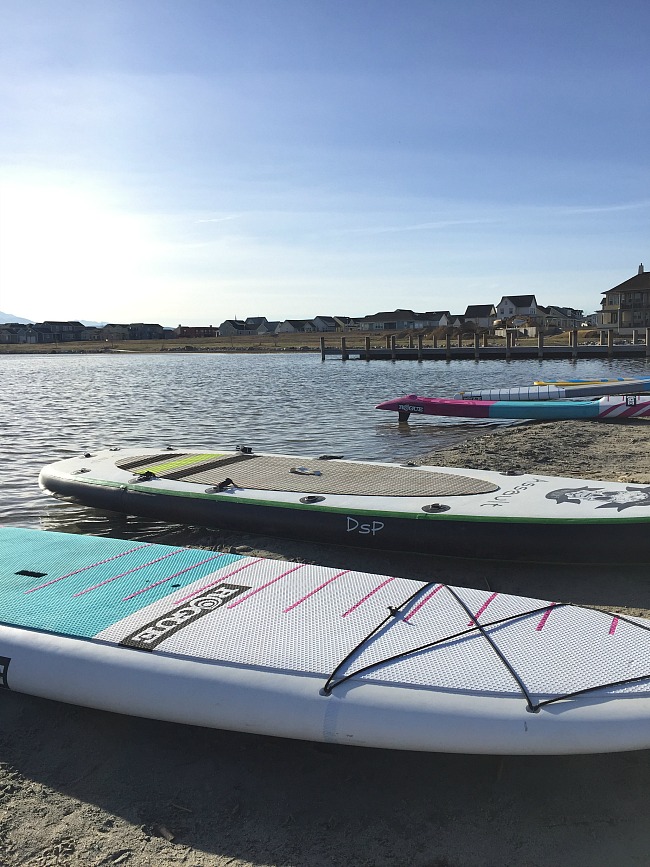
We love our new neighborhood. One of the best parts of where we live is the lake at the center of the community. We love going over to the lake and riding our bikes around. We even went paddle boarding on the lake last week. It was so fun!
We are planning on having lots of picnics together this summer. So I have been experimenting with picnic recipes. Here’s one that is awesome for picnics — Pressed Picnic Sandwiches. The trick on taking sandwiches on a picnic is how to keep the sandwiches from becoming soggy!
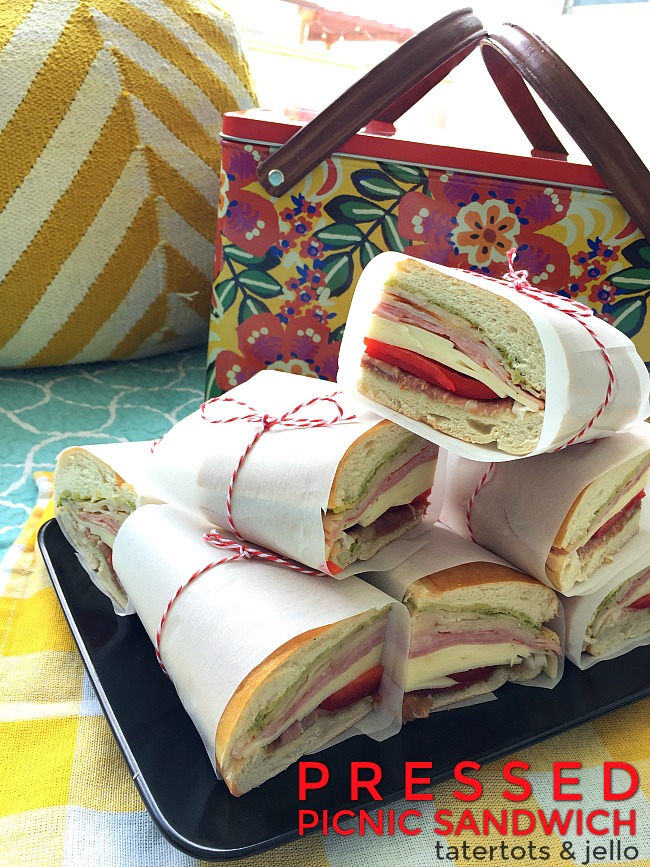
As I was experimenting with this idea, I discovered the secret to keeping picnic sandwiches from getting soggy! There are THREE reasons that pressed picnic sandwiches don’t become as soggy as regular sandwiches. One – the bread. Picnic Sandwiches use french bread or crusty bread which has a harder outside and doesn’t become as soggy. TWO – you carve out the middle of the loaf of bread for a picnic sandwich and fill the hole with your sandwich insides so there isn’t all of that bread inside to get soggy. THREE – you create a barrier with mayonnaise or another type of topping with oil so that it protects the outside of the bread and keeps all of the moisture inside of the sandwich. Isn’t that GREAT??
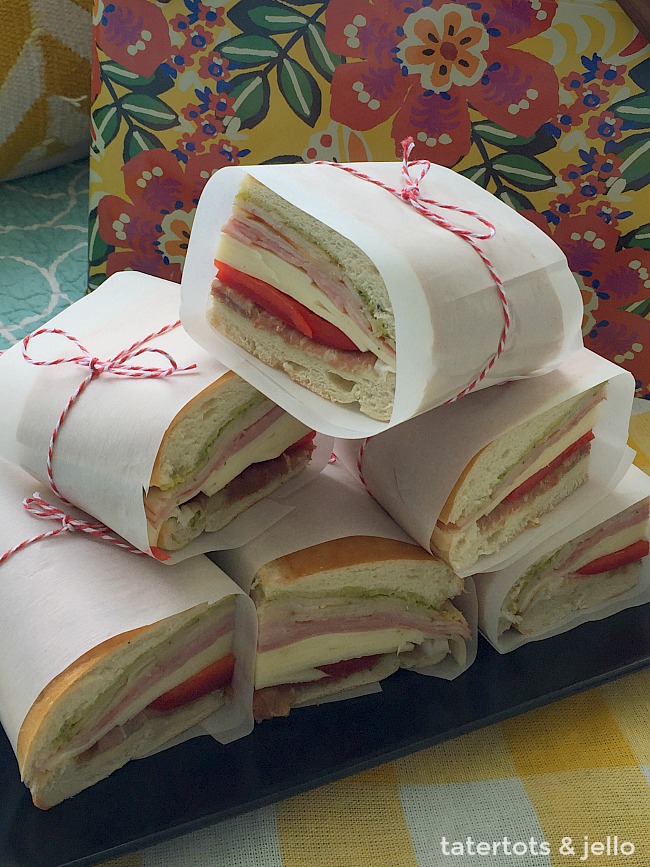
Another great thing about picnic sandwiches is that you can make them ahead of time, even the day before your picnic. They last a long time and taste great.
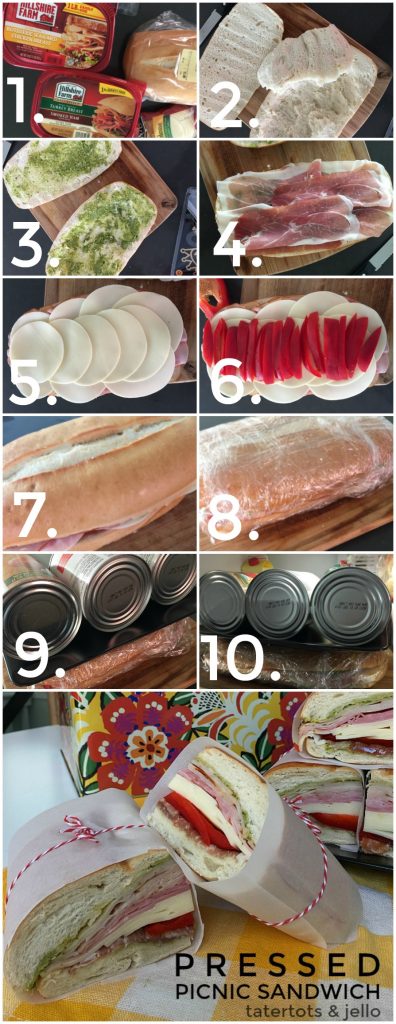
Here’s how to make Pressed Picnic Sandwiches:
Pressed Picnic Sandwich Summer
- Gather your ingredients. Here’s what I used. One loaf of french bread, mayonnaise and pesto sauce, ham and turkey lunch meat, prosciutto, provolone cheese, 1 red pepper.
- Cut your loaf of bread in half. Hollow out the inside of the bread.
- Coat both halves of the bread with mayonnaise. I also added a layer of pesto sauce.
- Add your meat. I did three layers of meat – ham, turkey and prosciutto.
- Add a thick layer of cheese slices.
- Add vegetables that won’t get soggy instead of lettuce. I used sliced red peppers.
- Put the top on the sandwich.
- Wrap the sandwich in saran wrap.
- Put the sandwich on a cookie sheet or bread board and then put a plate on top of the sandwich and weight it down with something heavy like cans.
- Let it sit in the fridge for at least an hour. You can even let it sit for 24 hours before you take it on your picnic.
When you are ready to go on your picnic, slice up the sandwich and wrap each piece in a wrapper of parchment paper. Tie it with string and enjoy!
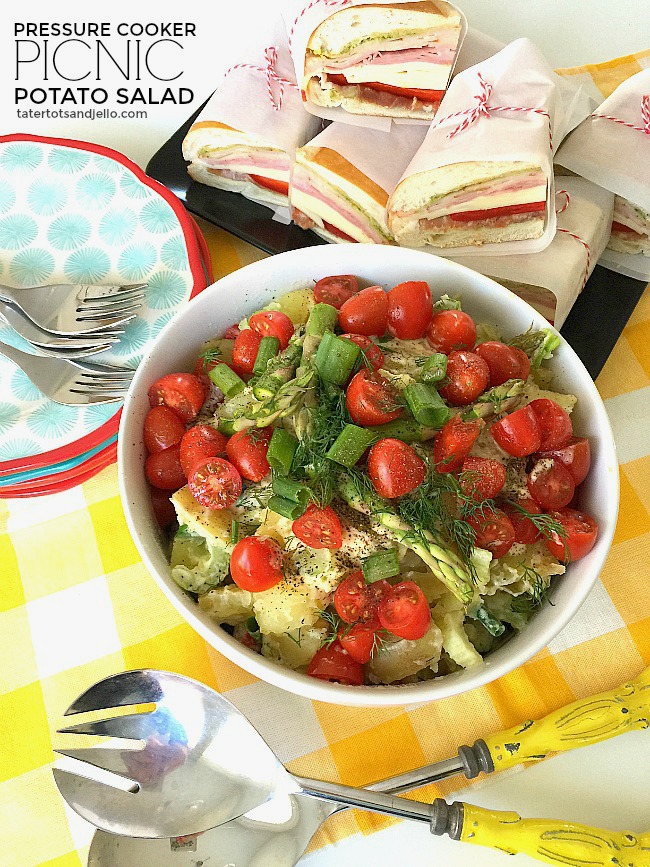
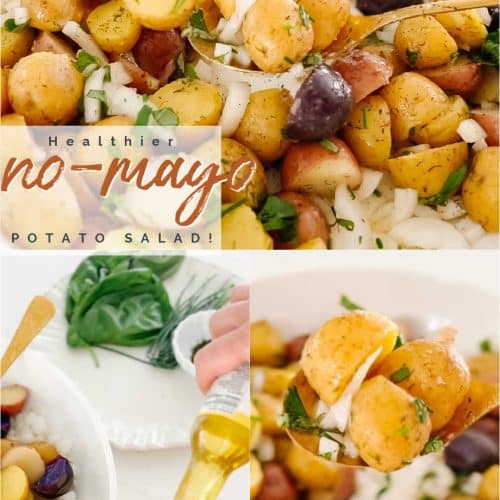
I also made some YUMMY Spring Potato Salad for our picnic. It only took 10 MINUTES in the pressure cooker. So easy!
We can’t wait for more picnics at the lake this summer!!
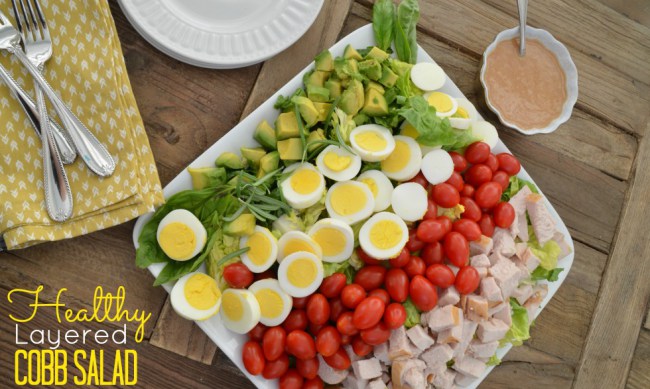
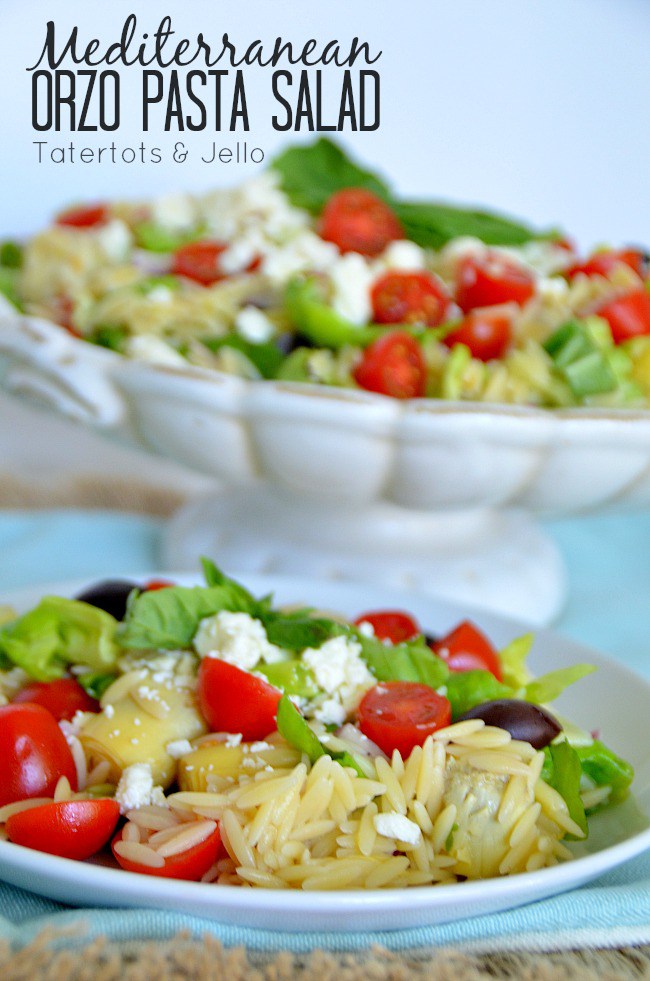
Here are a few other Summer recipes that would be great to take on a picnic!!
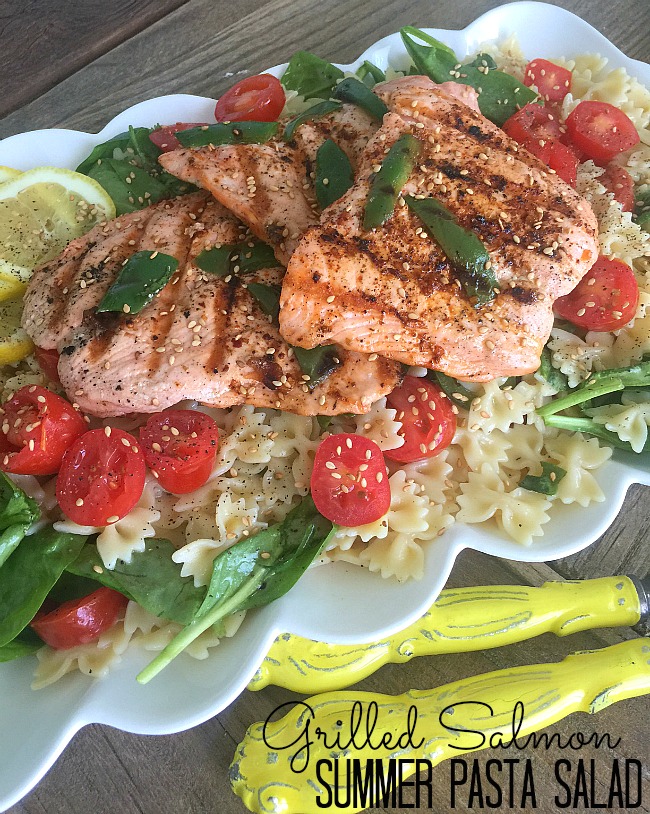
Grilled Salmon Summer Pasta Salad
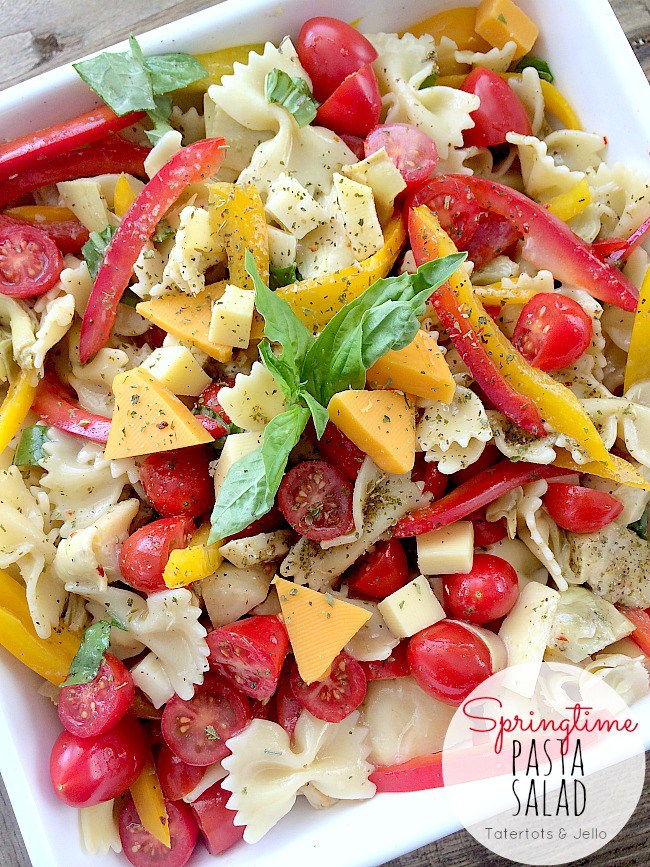
What do YOU like to take on a picnic?
Share YOUR ideas with me in the comments!
Have a SUNNY day!
xoxo




So lovely ????Thank you for sharing
Those are great. Where did you get the red and white string from to tie up the sandwiches?
Hi! I think I got the baker’s twine from Michaels 🙂
Can you share where your picnic basket is from?
Hi Ellen!
Sure – it is from World Market 🙂
xoxo