Hello! I am excited to be here today at Tatertots and Jello to show you how to make an easy DIY Felt Birthday Banner.

I’m Carrie from Kenarry: Ideas for the Home where we share ideas you’ll find useful, including projects we’ve done, recipes we’ve created, products we love and other ideas you can implement at home.
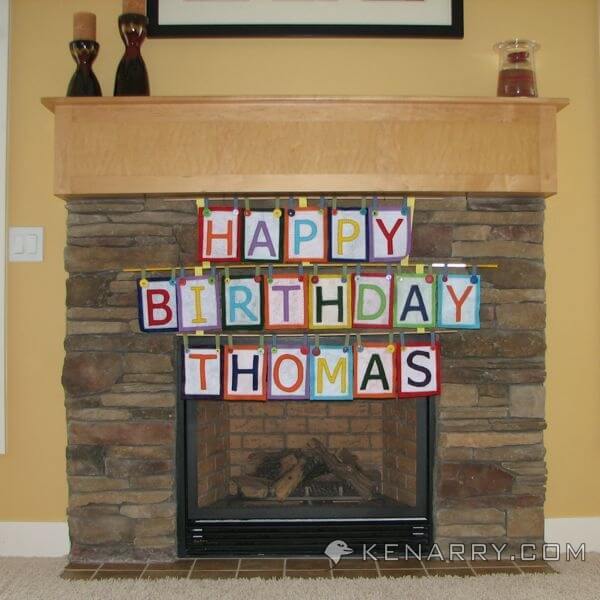
I thoroughly enjoy celebrating birthdays at our house — cake, balloons, banners, streamers. I love it all. At first, I had a paper banner that I displayed for birthdays. But after years of use, it was ripped, wrinkled and ready to be retired. I needed a new banner and wanted to make something that was reusable and could be personalized with the birthday person’s name. That’s when I came up with this easy DIY Felt Birthday Banner.
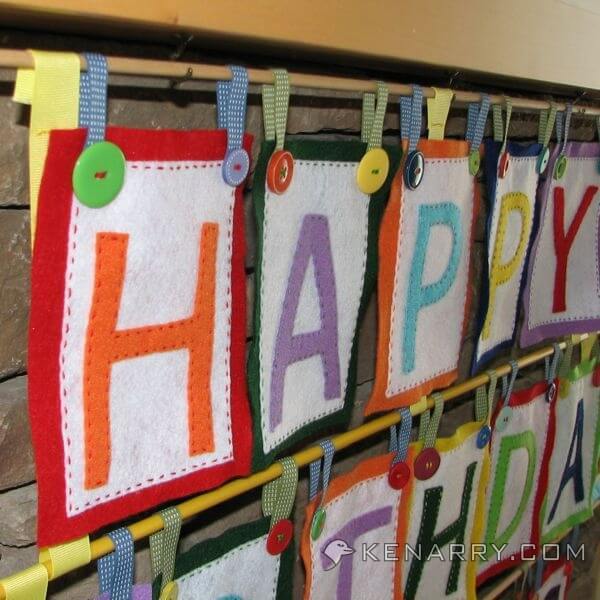
At the time, I didn’t have a sewing machine, so I made the DIY Felt Birthday Banner by hand while I was watching TV at night after the kids were in bed. I chose bright primary colors for our banner, but the DIY Felt Birthday Banner could be made in any color scheme you want. For each letter, I layered a background piece of felt, a white piece of felt and a felt letter. I then attached ribbon loops to hang the letter and finally adorned the letter with assorted buttons.
How to Make a DIY Felt Birthday Banner
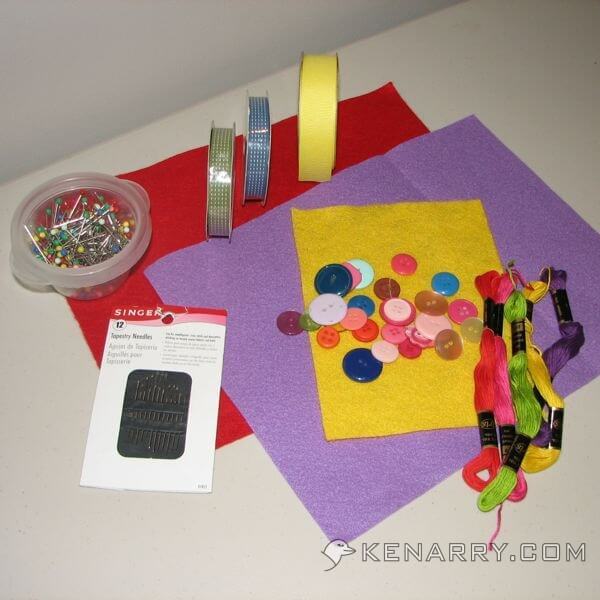
What you need:
- large pieces of felt in assorted colors
- large pieces of white felt
- ribbon, 1/2 inch wide
- ribbon, 1 inch wide
- embroidery floss in assorted colors
- straight pins
- sewing needles
- buttons, assorted colors
- free downloadable pattern for alphabet and felt rectangles (3 MB, PDF)
- three long dowels or thin stakes
Instructions:
Step 1: Plan your DIY Felt Birthday Banner.
Determine how many letters you need to create and personalize your banner. You may be able to reuse letters from one person’s name to form another’s name. For example, if your first son’s name is Thomas and your second son’s name is Samuel, you can re-use the A, M and S from Thomas’ name when you hang the banner for Sam’s birthday. Also, if you’re a parent, remember to make M-O-M and D-A-D letters for your birthdays too.
Step 2: Print and Cut Your Pattern For the DIY Felt Birthday Banner.
Download the free pattern for the DIY Felt Birthday Banner (3 MB, PDF). The pattern includes the large rectangle for the colored felt, the smaller rectangle for the white felt and two guides to measure the ribbons you’ll use to hang the letters. The pattern also includes the letters for Happy Birthday and the full alphabet (Tahoma size 450 pixel font). In order to maintain the correct size, make sure your printer’s page scaling is set to none or off when you print. For reference, the large rectangle should be 7″ high by 5.5″ wide when printed. Once you’ve printed your pattern, cut it along the straight edges. You’re now ready to move to the next step.
Step 3: Cut the Felt and Ribbons
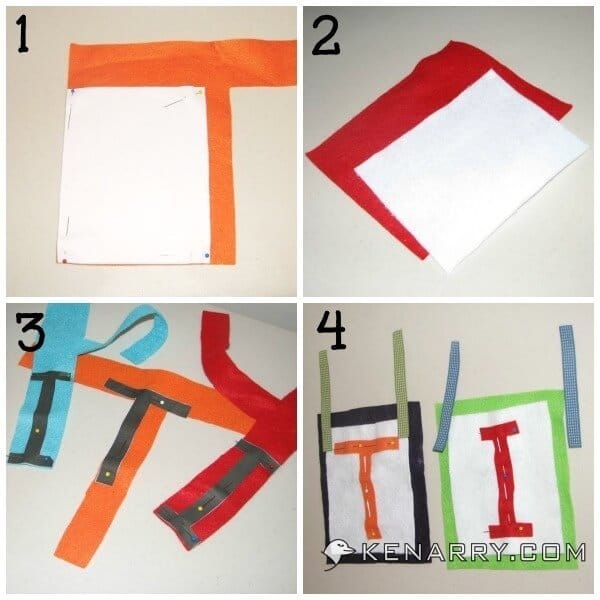
1. Pin your large rectangle pattern to your colored felt and cut around it. Repeat this several times until you have all the rectangles you need for your banner.
2. Next pin your smaller rectangular pattern to your white felt and cut around it. Again repeat this until you have all the white rectangles you need for your banner.
3. Attach your letter patterns to colored felt. As you do so, if you’re using assorted colors, keep in mind which letters will be next to each other in your banner. For example, you wouldn’t want both your B in BIRTHDAY and I in BIRTHDAY to be red.
4. Last, cut the 1/2 inch wide ribbon into strips using the pattern provided. You need two pieces of ribbon for each letter.
Step 4: Organize and Prepare Your DIY Felt Birthday Banner.
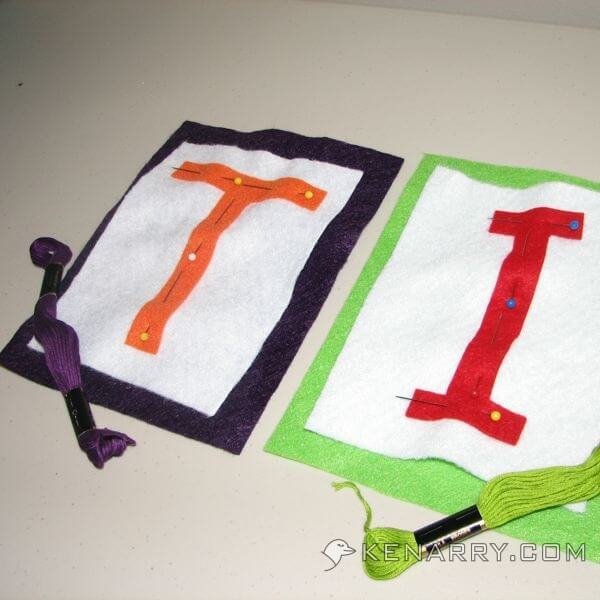
As with any sewing project, the majority of the work is in the cutting, preparing and planning. Next, pin the felt letters to the white rectangles using straight pins as shown in the photo below.
Now determine which colored background will go with each letter. It may be helpful to lay all the colored rectangles on a large table. Put the white rectangles with each letter on top of the colored rectangles in the order they would appear in the banner. You can then rearrange the background colors until you are satisfied with the order of the colors. (TIP: Use a single straight pin to keep all the parts for each letter together until you’re ready to sew it.)
Last, determine which colored embroidery floss you will use with each letter. I chose to use embroidery floss that matched the background color.
Step 5: Sew the Letter to the White Rectangle.
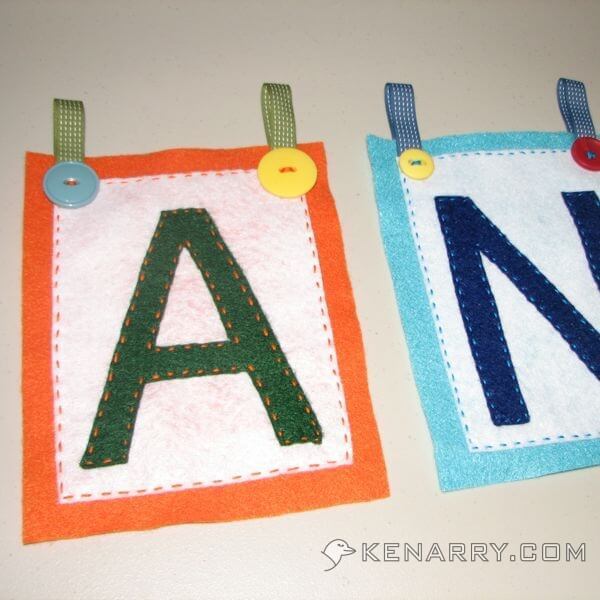
Now comes the easy part – sewing by hand! I chose to use three threads of embroidery floss from each skein. I wanted it thick enough for the stitches to stand out. Stitch along the edge of the letter as evenly as you can. Don’t worry if it’s not perfectly straight as the letters are meant to look handcrafted and slightly whimsical.
By sewing the letter on the white rectangle first, you’ll be able to hide the back side of your stitches when you sew the white rectangle on the colored rectangle in the next step.
Step 6: Sew the White Rectangle on the Colored Rectangle.
Center the white rectangle horizontally and vertically on the colored rectangle and pin it to hold it in place. You’ll start by stitching along the top of the rectangle. Fold your 1/2 inch wide ribbon in half and hide one end of the ribbon between the white rectangle and the colored rectangle. Tuck the other end of the ribbon around to the backside and hold it in place by hand. As you stitch across the top, sew both of the ribbon loops into place. Continue stitching all the way around the edge of the white rectangle.
When you’re finished attaching the white rectangle and 1/2 inch wide ribbon loops, the backside of your letter will look like the photo below:
Step 7: Attach the Buttons.
Use the embroidery thread to attach a button at the base of each ribbon loop as shown in the photo below. Ta da! One of your letters is now complete!
Step 8: Create the Remaining Letters in Your DIY Felt Birthday Banner
Repeat Steps 5-7 to sew each letter until all the letters in your banner are finished.
Step 9: Hang the DIY Felt Birthday Banner
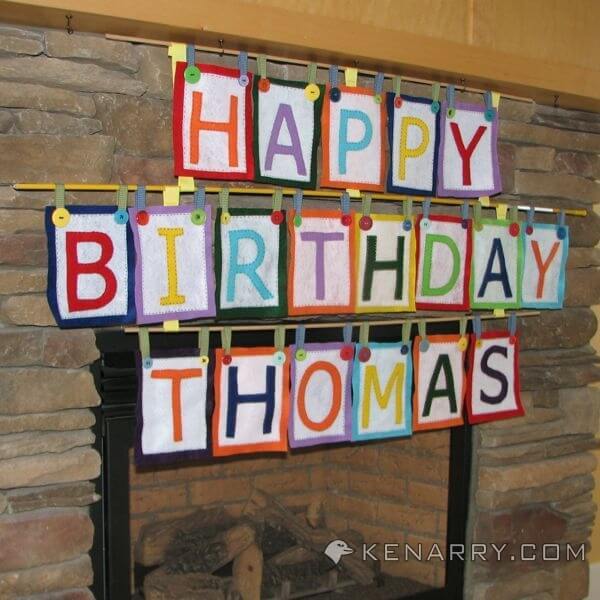
Once you’ve completed all the letters for your DIY felt birthday banner, it’s ready to hang when the occasion arises. I hang ours from our mantle, but you could also hang it from a banister, nails or hooks in a wall or any other creative place you choose. I use three long dowels or stakes to hang the letters of our birthday banner. I also use 1 inch wide ribbons to hang the dowels from one another to form the banner. For mine, I cut 1 inch wide yellow ribbon into five strips that are 11″ long. I folded over the top and bottom of the ribbon by an inch on each end and sewed it to form a loop. The finished ribbons are 9″ long. I slide the dowels through the loops on either side of the ribbon to hang the next line of the banner, as you can see in this photo:
Step 10: Safely Store the DIY Felt Banner for Another Birthday
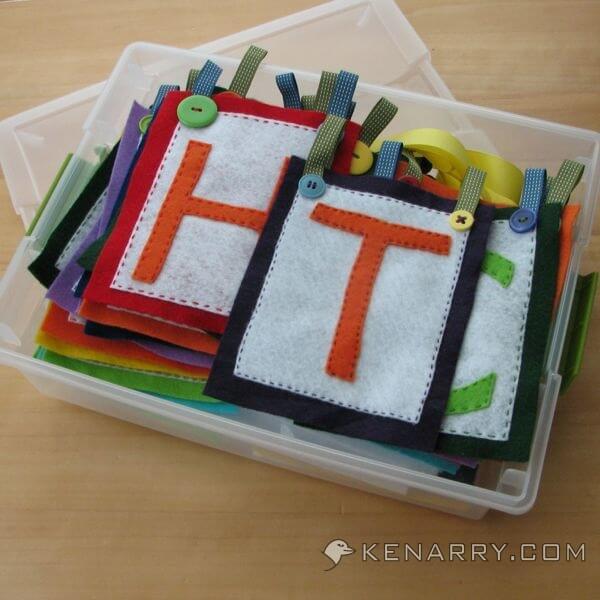
When the birthday celebration is over, I carefully remove each letter from the dowels and store it in a plastic container until the next birthday.
A huge thank you to Jen for allowing me to come visit and share this tutorial with you today. Enjoy celebrating your next family birthday party with your new banner! If you need other ideas for the home, please come by and see us at Kenarry.
~ Carrie ~
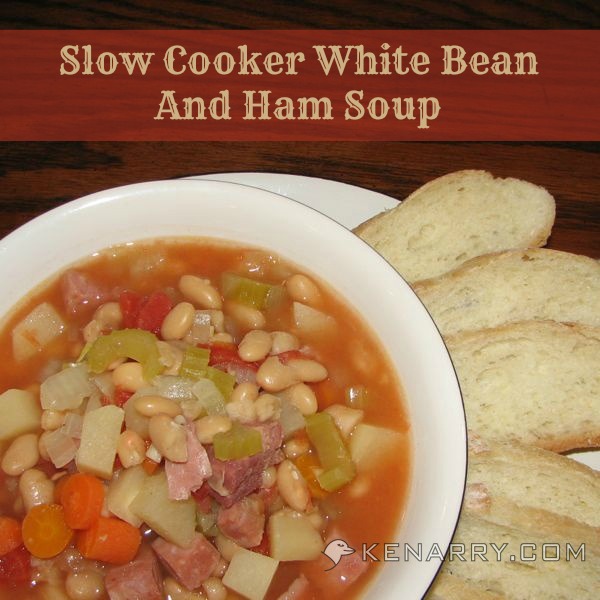
Thanks Carrie!! What a fun idea. Here is another idea I love from Kenarry!
Be sure to follow along at:
Follow Kenarry: Ideas for the Home on Pinterest
Follow Kenarry: Ideas for the Home on Facebook
Follow Kenarry: Ideas for the Home on Google+
Follow Kenarry: Ideas for the Home on Twitter
xoxo






It’s official – social media marketing has arrived for good.
Invite friends, relatives, partners, employees, customers,
associates, and others who have accounts to add the
profile to their network and “like” the page. Here are eight social media marketing tips that will help you master the
art of using social media to your advantage. This represents the ultimate in targeted advertising, as the advertisements you
see on Facebook are specifically geared toward you,
this increasing the likelihood that you might actually click on the ads.
Today, it is not easy to control dilapidating
reputation in the market due to some negative comments.
Remember that your profiles on all the different social media networks should match up where the information given is
concerned. Either way, social media marketing doesn’t
require countless work hours. Followers will begin to feel like they know you as an acquaintance, or a friend, which will make them
much more likely to think of you when they or
a friend require photography services. Many of the comments concerning these Facebook events stated how they wouldn’t be
able to go or they weren’t sure why they were
included on the invite list. How many times have you dined at a great
new restaurant, and immediately recommended it
to friends.
These are so fun! Thanks for sharing! Pinned!
Thanks for the opportunity to share the birthday banner tutorial with your readers, Jen!
What a fun project. We make a BIG deal out of birthdays around here so my family would love this!
Such a great idea! I need to make one of these! Pinning! xo