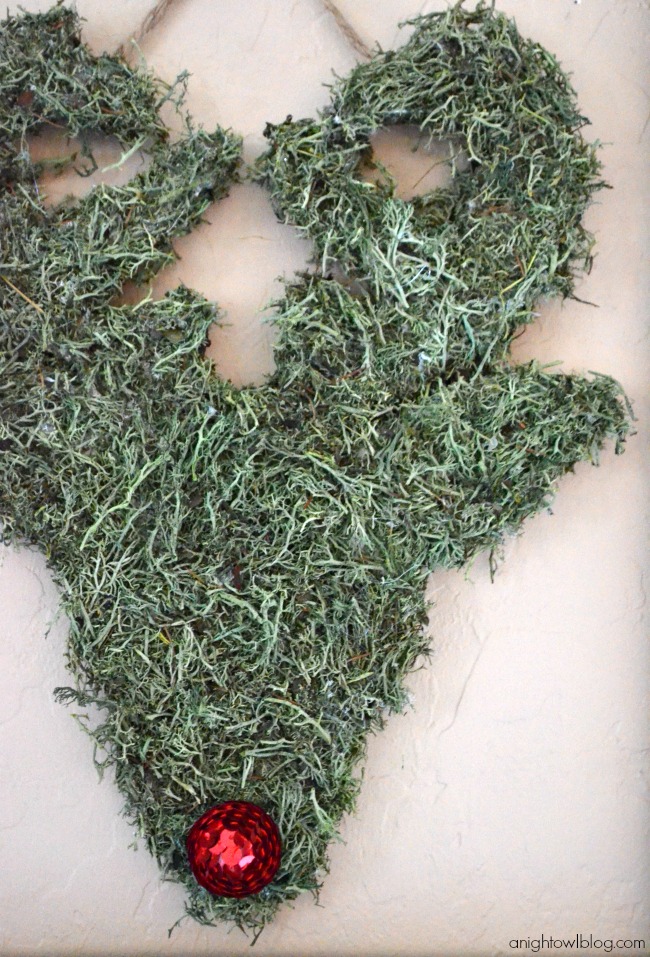
Hi Tatertots & Jello friends! I’m Kimberly from A Night Owl! I’m so excited to be here with you today, sharing a fun {and furry} Moss Covered Reindeer!
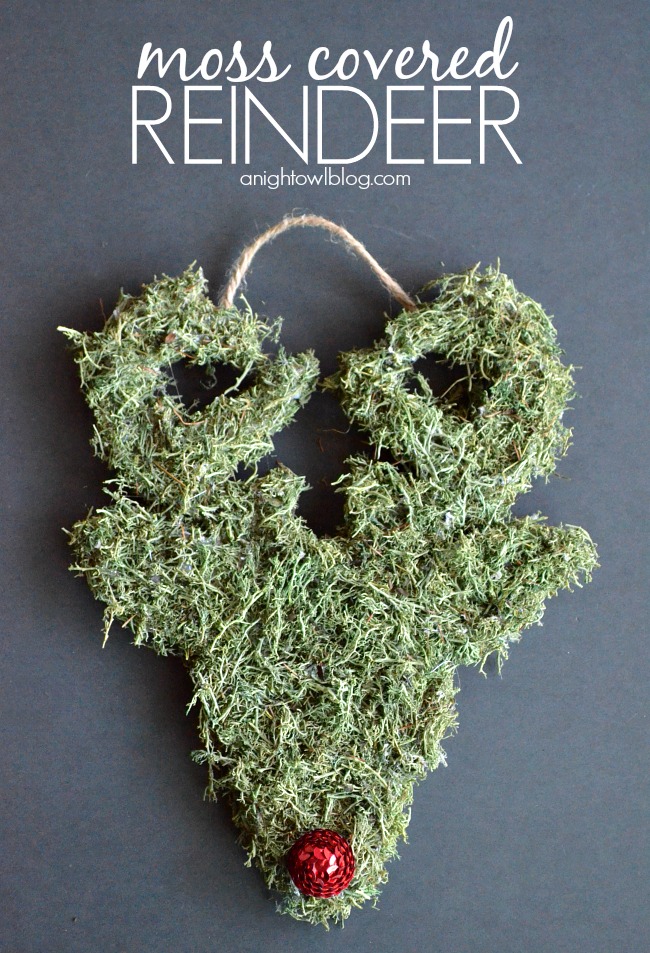
Now antlers and deer are all the rage this year, so it just seems fitting that we add a little more reindeer into the holiday mix, right? We’ve done a couple of reindeer projects already, this little Glitter Reindeer Ornament from our Trim Your Tree handmade Christmas Ornament series and the big guy, Rudolph the Glitter Reindeer! So when I was thinking of what I should share with all of you – I thought we’d share a new little twist on Rudolph with this Moss Covered Reindeer!

Supplies:
Square of styrofoam
“Reindeer” or spanish moss
Hot knife
Glue gun/glue
Twine
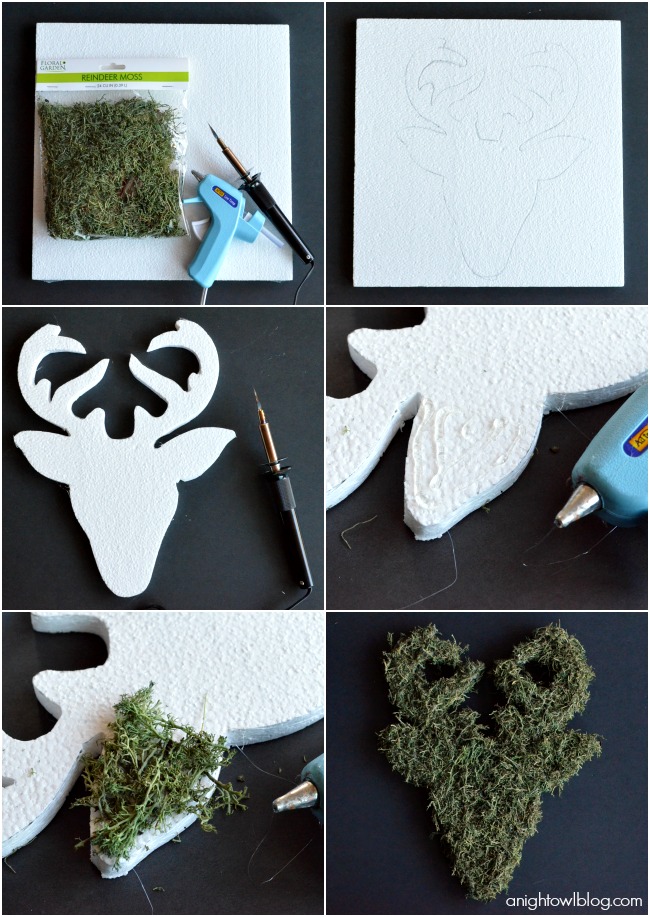
Directions:
- Draw or trace a reindeer shape onto your styrofoam square.
- Using a hot knife or other cutting tool, cut along your trace lines until your reindeer shape is completely cut out.
- Using hot glue, glue patches of the moss to sections of the reindeer until it is completely covered.
- Let it dry then you’ll want to pick up your moss-covered reindeer and shake a bit so that the loose moss comes off.
- Then you may have to go back and fill in a few gaps to ensure total coverage.
- Hot glue a string of twine to the back for hanging, and you’re done!
Now I think this little guy is pretty cute as is…
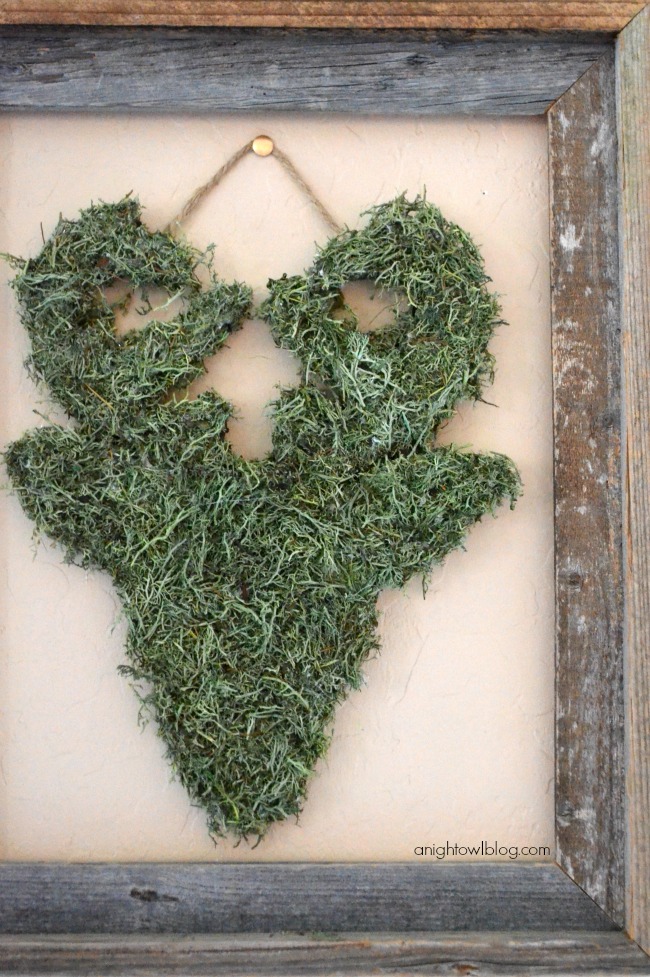
He’d actually be perfect year-round don’t you think? But just like I added a little bling to my other reindeer projects, nothing makes it Christmas more than a red-nosed Rudolph!
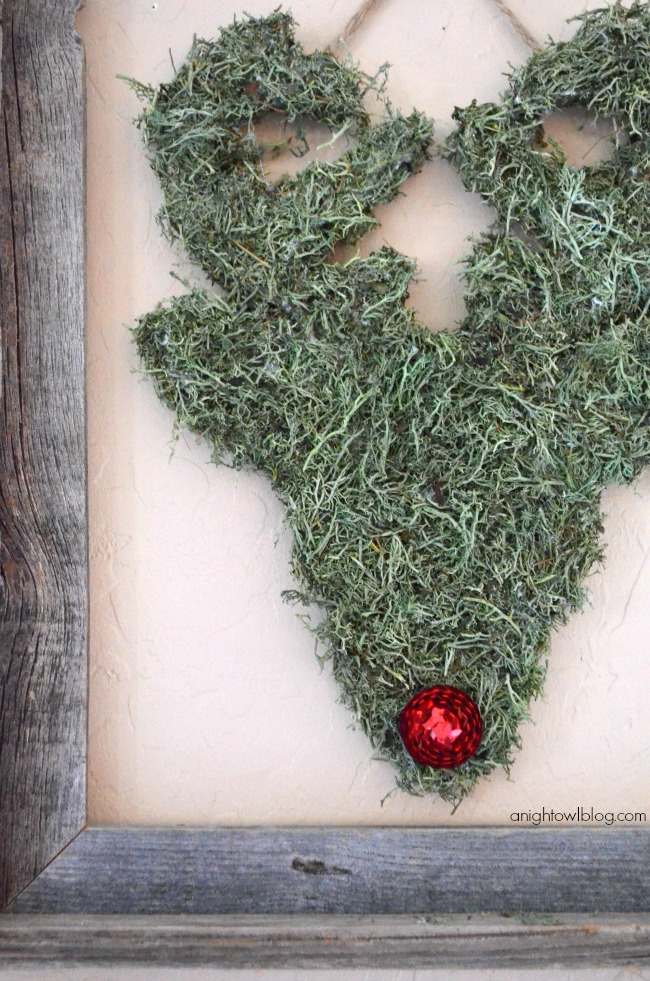
I simply added a small sequined Chrismtas bulb with a dab of hot glue. It just finishes off our Moss Covered Reindeer and gives him a touch of Christmas charm!
I’m excited about how our Moss Covered Reindeer turned out and I think my husband was happy I finally used something other than glitter! What do you think? This project was fairly quick and easy, and that’s JUST my style! If you love this project then I would love to have you stop on by A Night Owl and say hello! A huge thanks to Jen for having me today. I always love a great party! Happy crafting, friends!
********
Thanks Kimberly! I love how she combined the natural element of moss with just a little bit of bling too! So fun!! Kimberly has tons of great ideas on her blog, A Night Owl. Here are a few of my favorite projects of hers:

It’s no secret that I’m in love with gold for the holidays this year! These Golden Fall Planters turned out so beautiful!
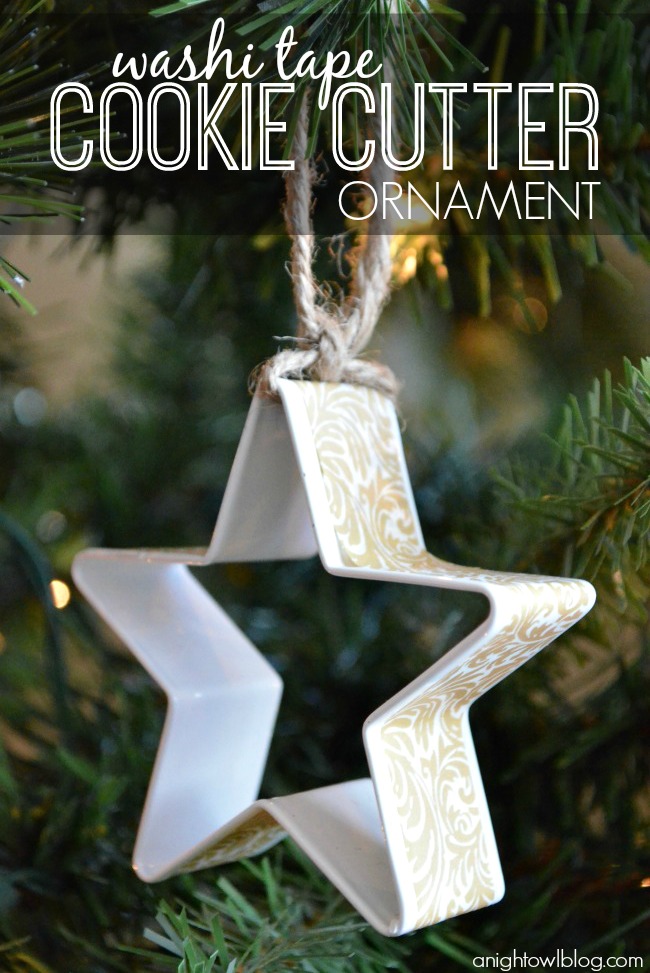
These Washi Tape Cookie Cutter Ornaments are such a simple idea!! You can customize them to go with the theme of your holiday decor, or give them as gifts!
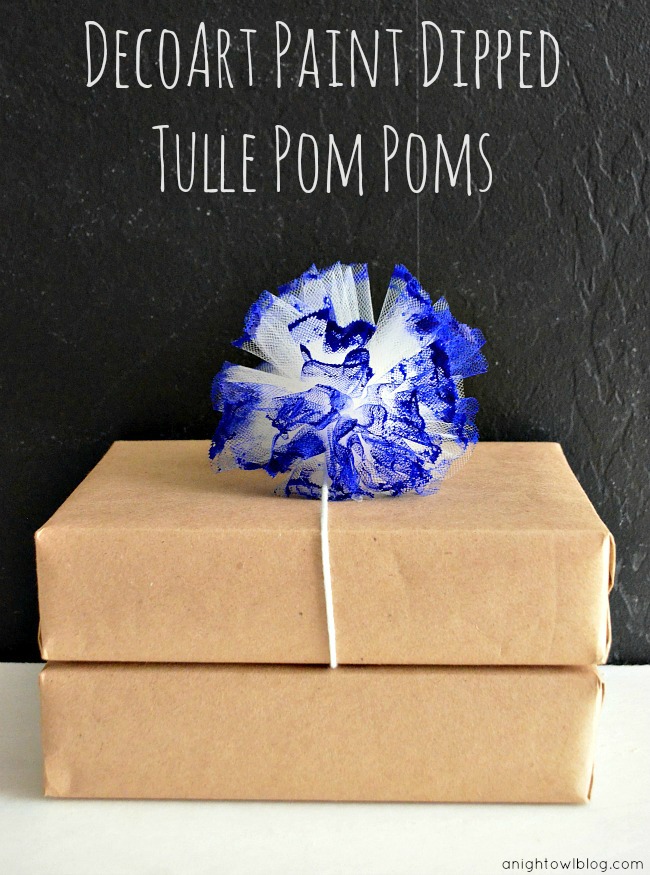
These DecoArt Paint Dipped Tulle Pom Poms would make any gift look a little more festive!! And, string a few together for a cute and fun garland too!
Visit A Night Owl and


Howdy! Do you use Twitter? I’d like to follow you if that would be ok.
I’m undoubtedly enjoying your blog and look forward to new posts.
How much moss did you use for this project? Did you use the whole bag on one reindeer?
Thank you so much for having me, Jen!
That reindeer is just ADORABLE! Reminds me of the project I did just this week, except rather than moss I covered mine in chevron fabric!
I would love it if you stopped by our Facebook page, and said “hello!”
https://www.facebook.com/OurMiniFamily
Your fan,
~Cathy Mini
ourminifamily.com
I LOVE this!! Super cute & love those gold planters too! (must do this real soon!)
I love this so much